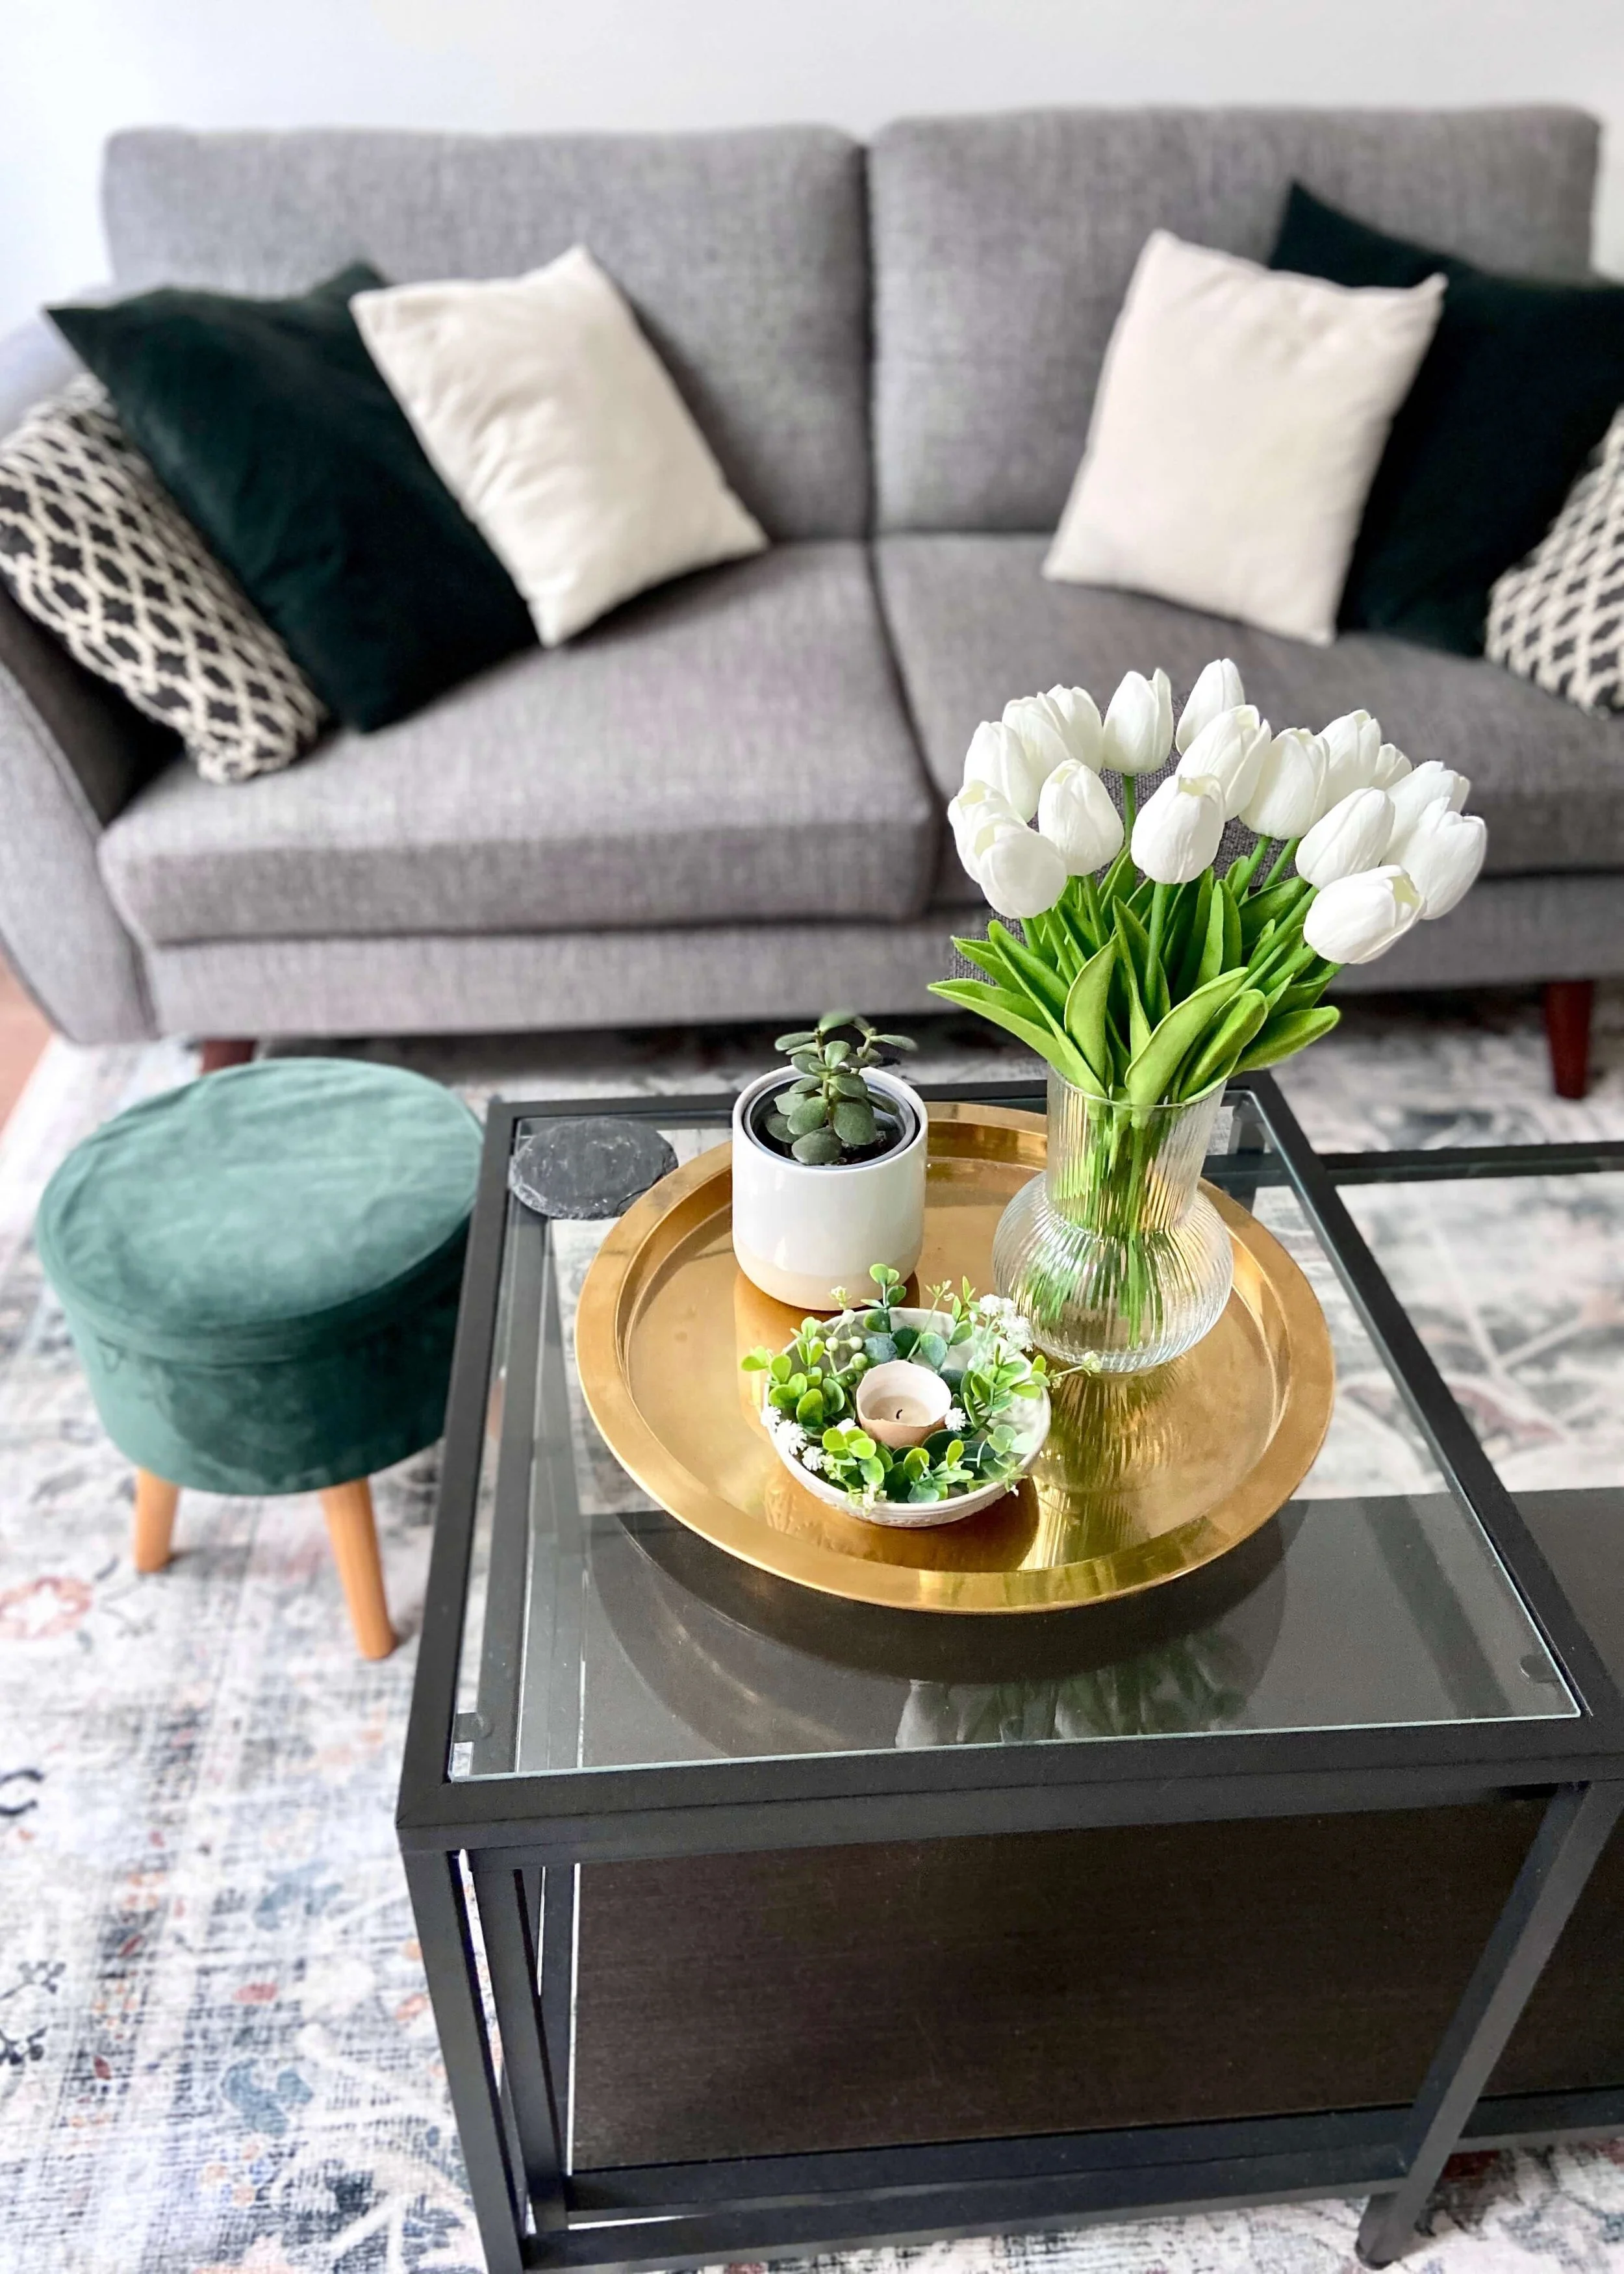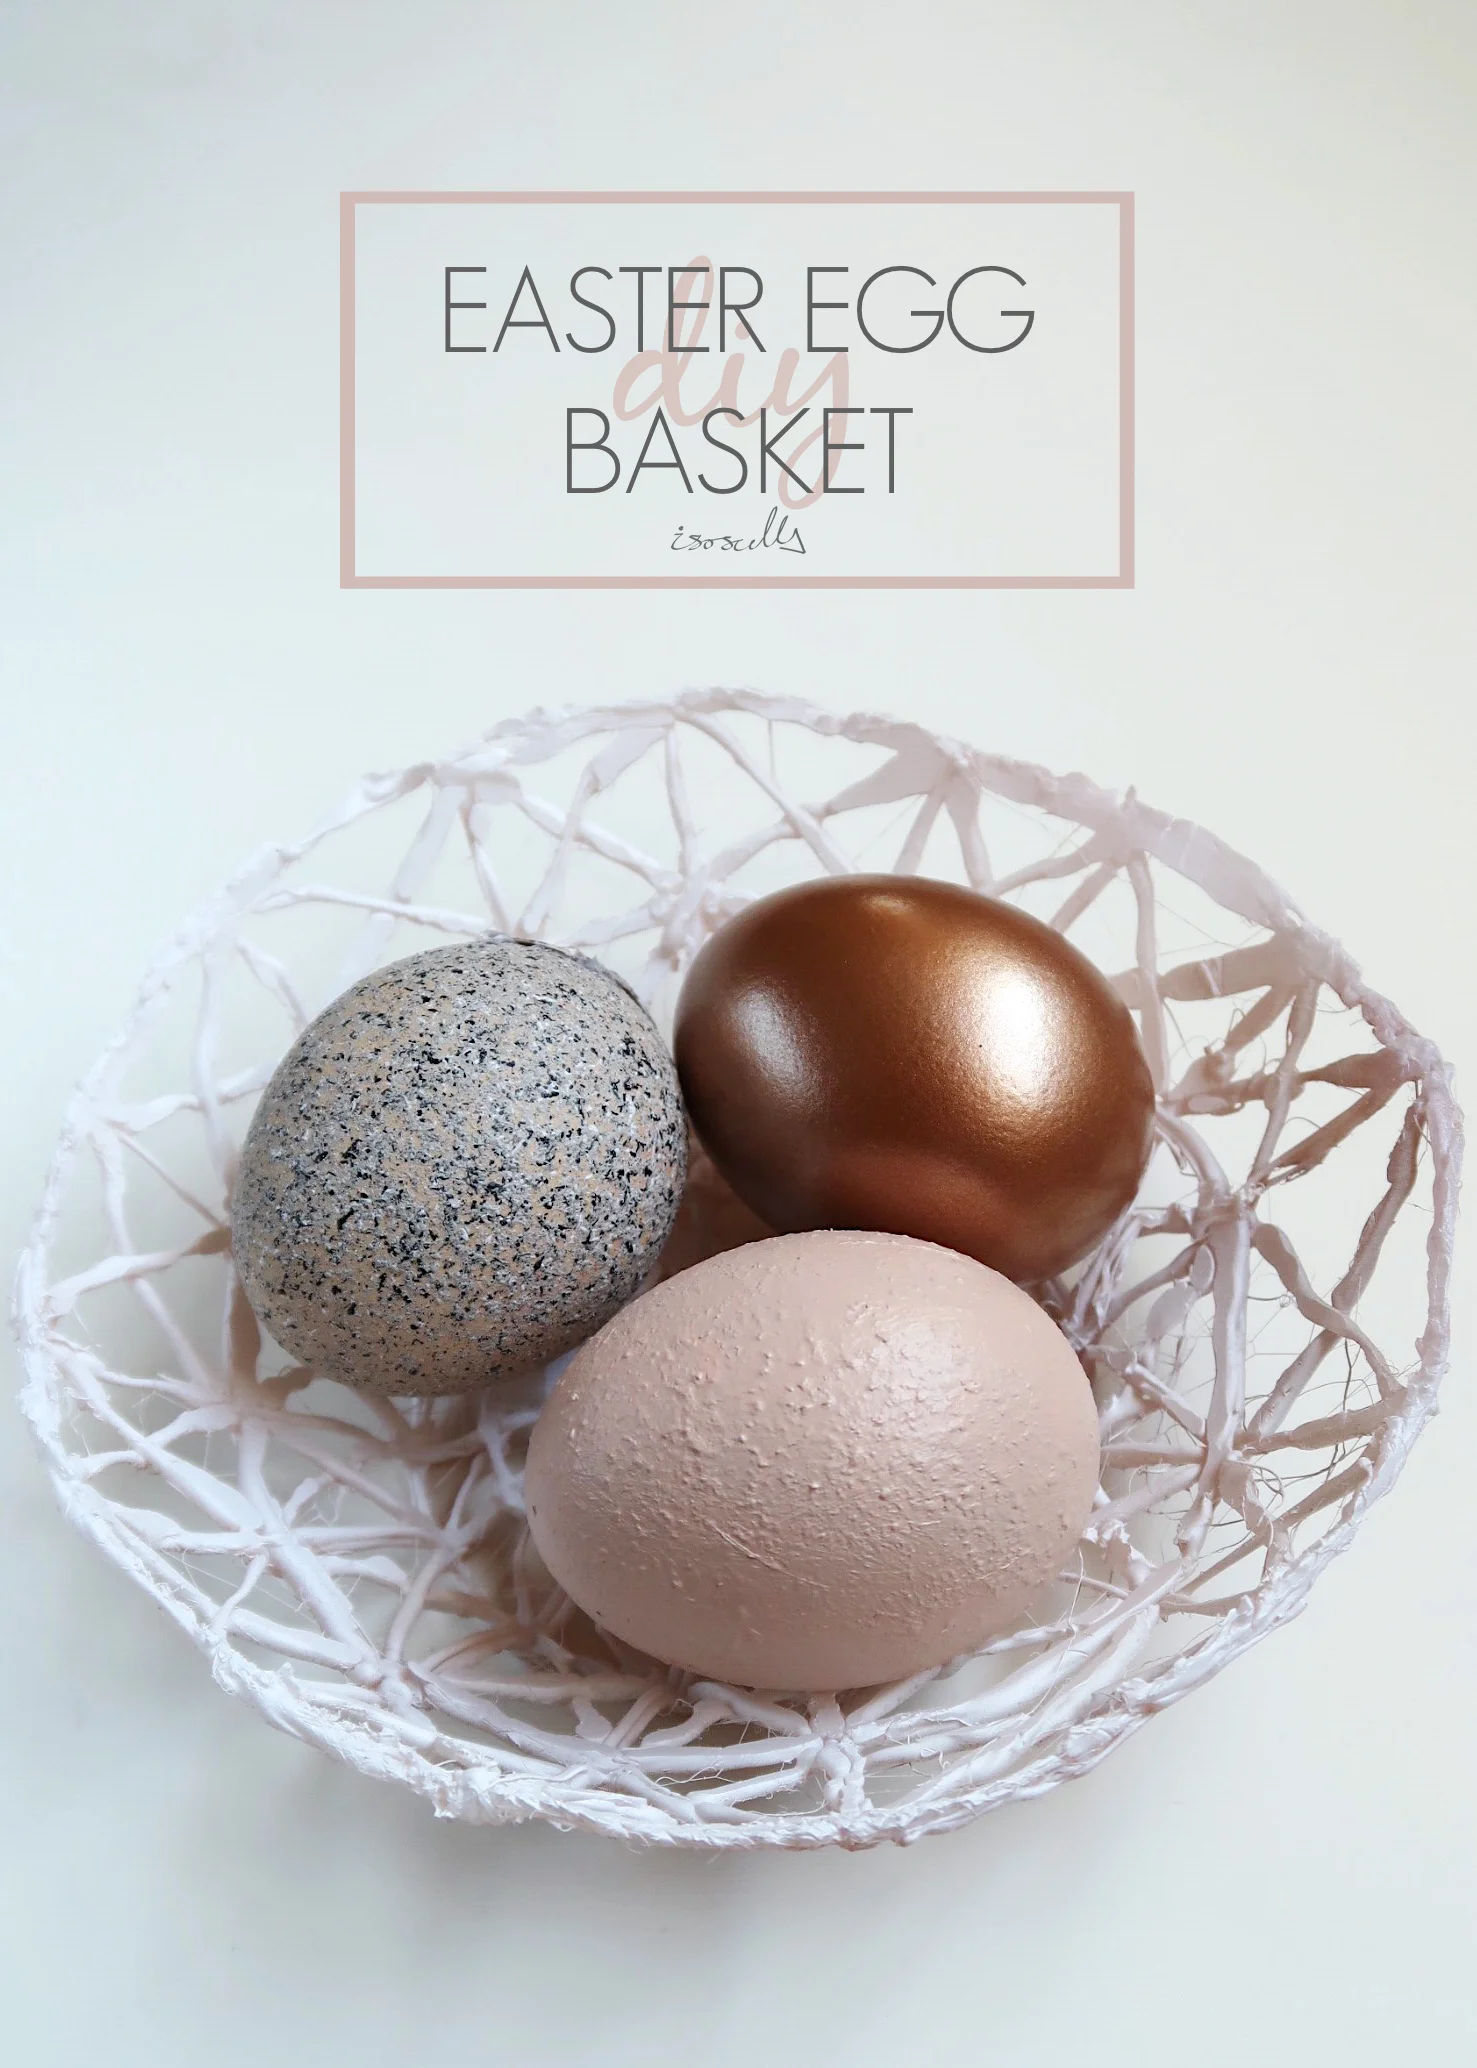


Decorating eggs at Easter time doesn't have to just be for children; with just a lick of paint and a cute basket to put them in, blown out eggs make a really easy and chic bit of Easter decor. And while you're at it, why not have a go at making your own basket? I made this one using the hot glue from a glue gun. Keep reading to find out what I used and how I did it...


MAKING THE EGGS
1. Create a small hole at the top of the egg with a pin. I did this by first scratching the egg shell to create a little divot to keep the pin in place, before lightly tapping the pin through the shell with a spoon.
2. Make a slightly larger hole at the bottom of the egg. Again, I used the method from step 1 to get the pin through the shell. Then I wiggled the pin about to make the hole larger.
3. Put your fingers over the holes and give the egg a good shake. Now this probably seems a bit strange, but I found that by breaking the egg yolk inside and mixing it all together with a good shake, that it was alot easier to blow the middle out.
4. Hold the egg over a bowl and blow out the middle using a straw. To do this I just held my straw over the pin hole at the top of the egg however if you have a small straw that fits into the hole thats even better.
5. Once empty, wash the middle out with water and microwave for 30 seconds. When you've managed to get all the egg out of the shell, hold the shell under the tap to get some water inside and give it another shake. Blow out the water with the straw and once air dry, pop in the microwave.
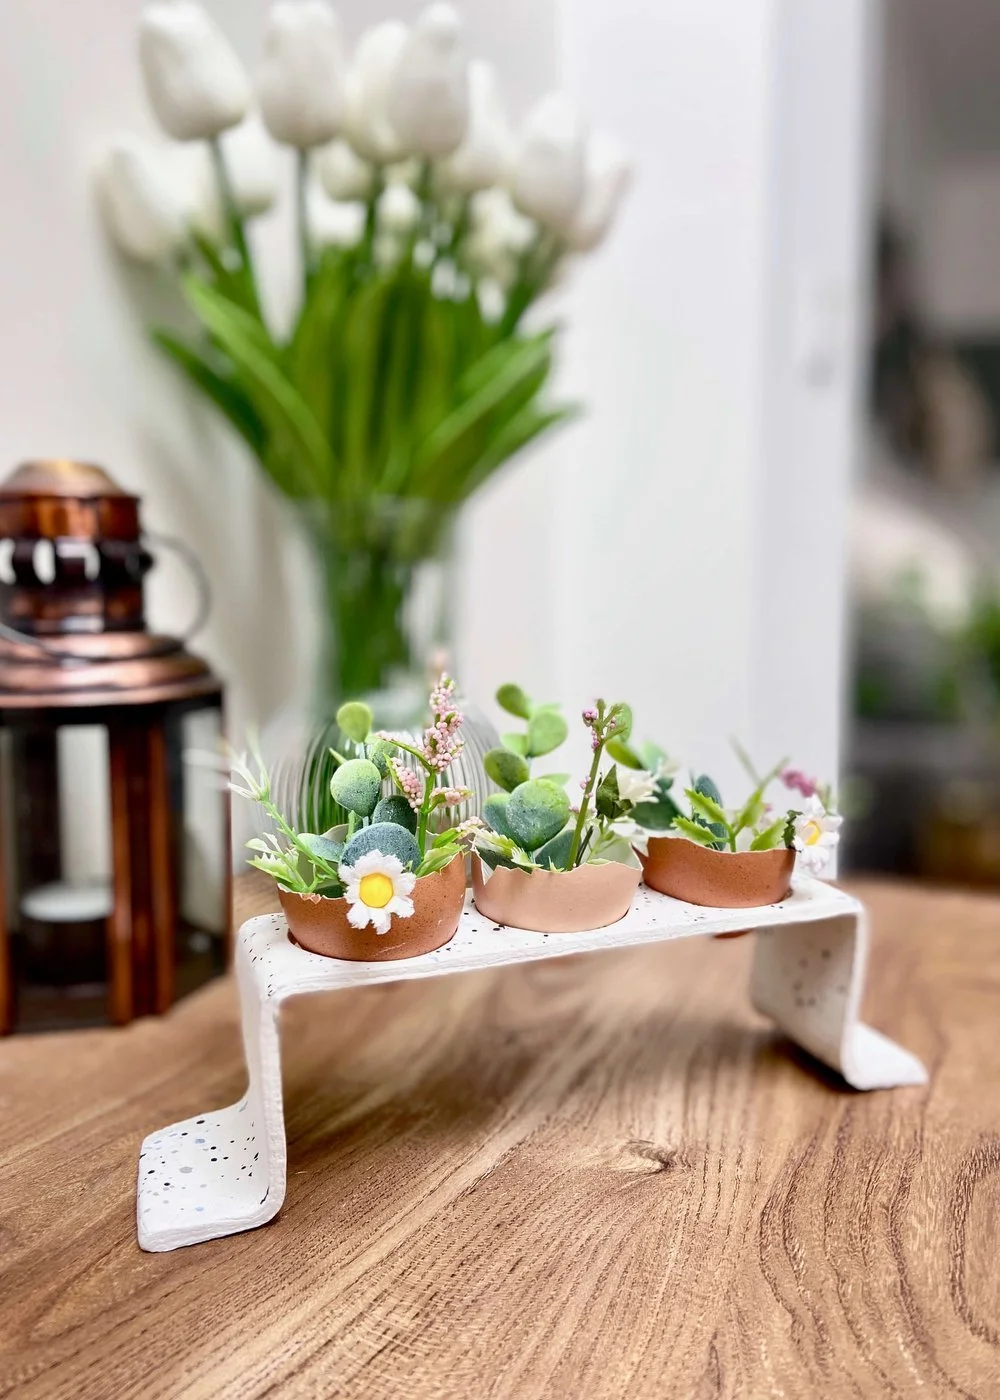
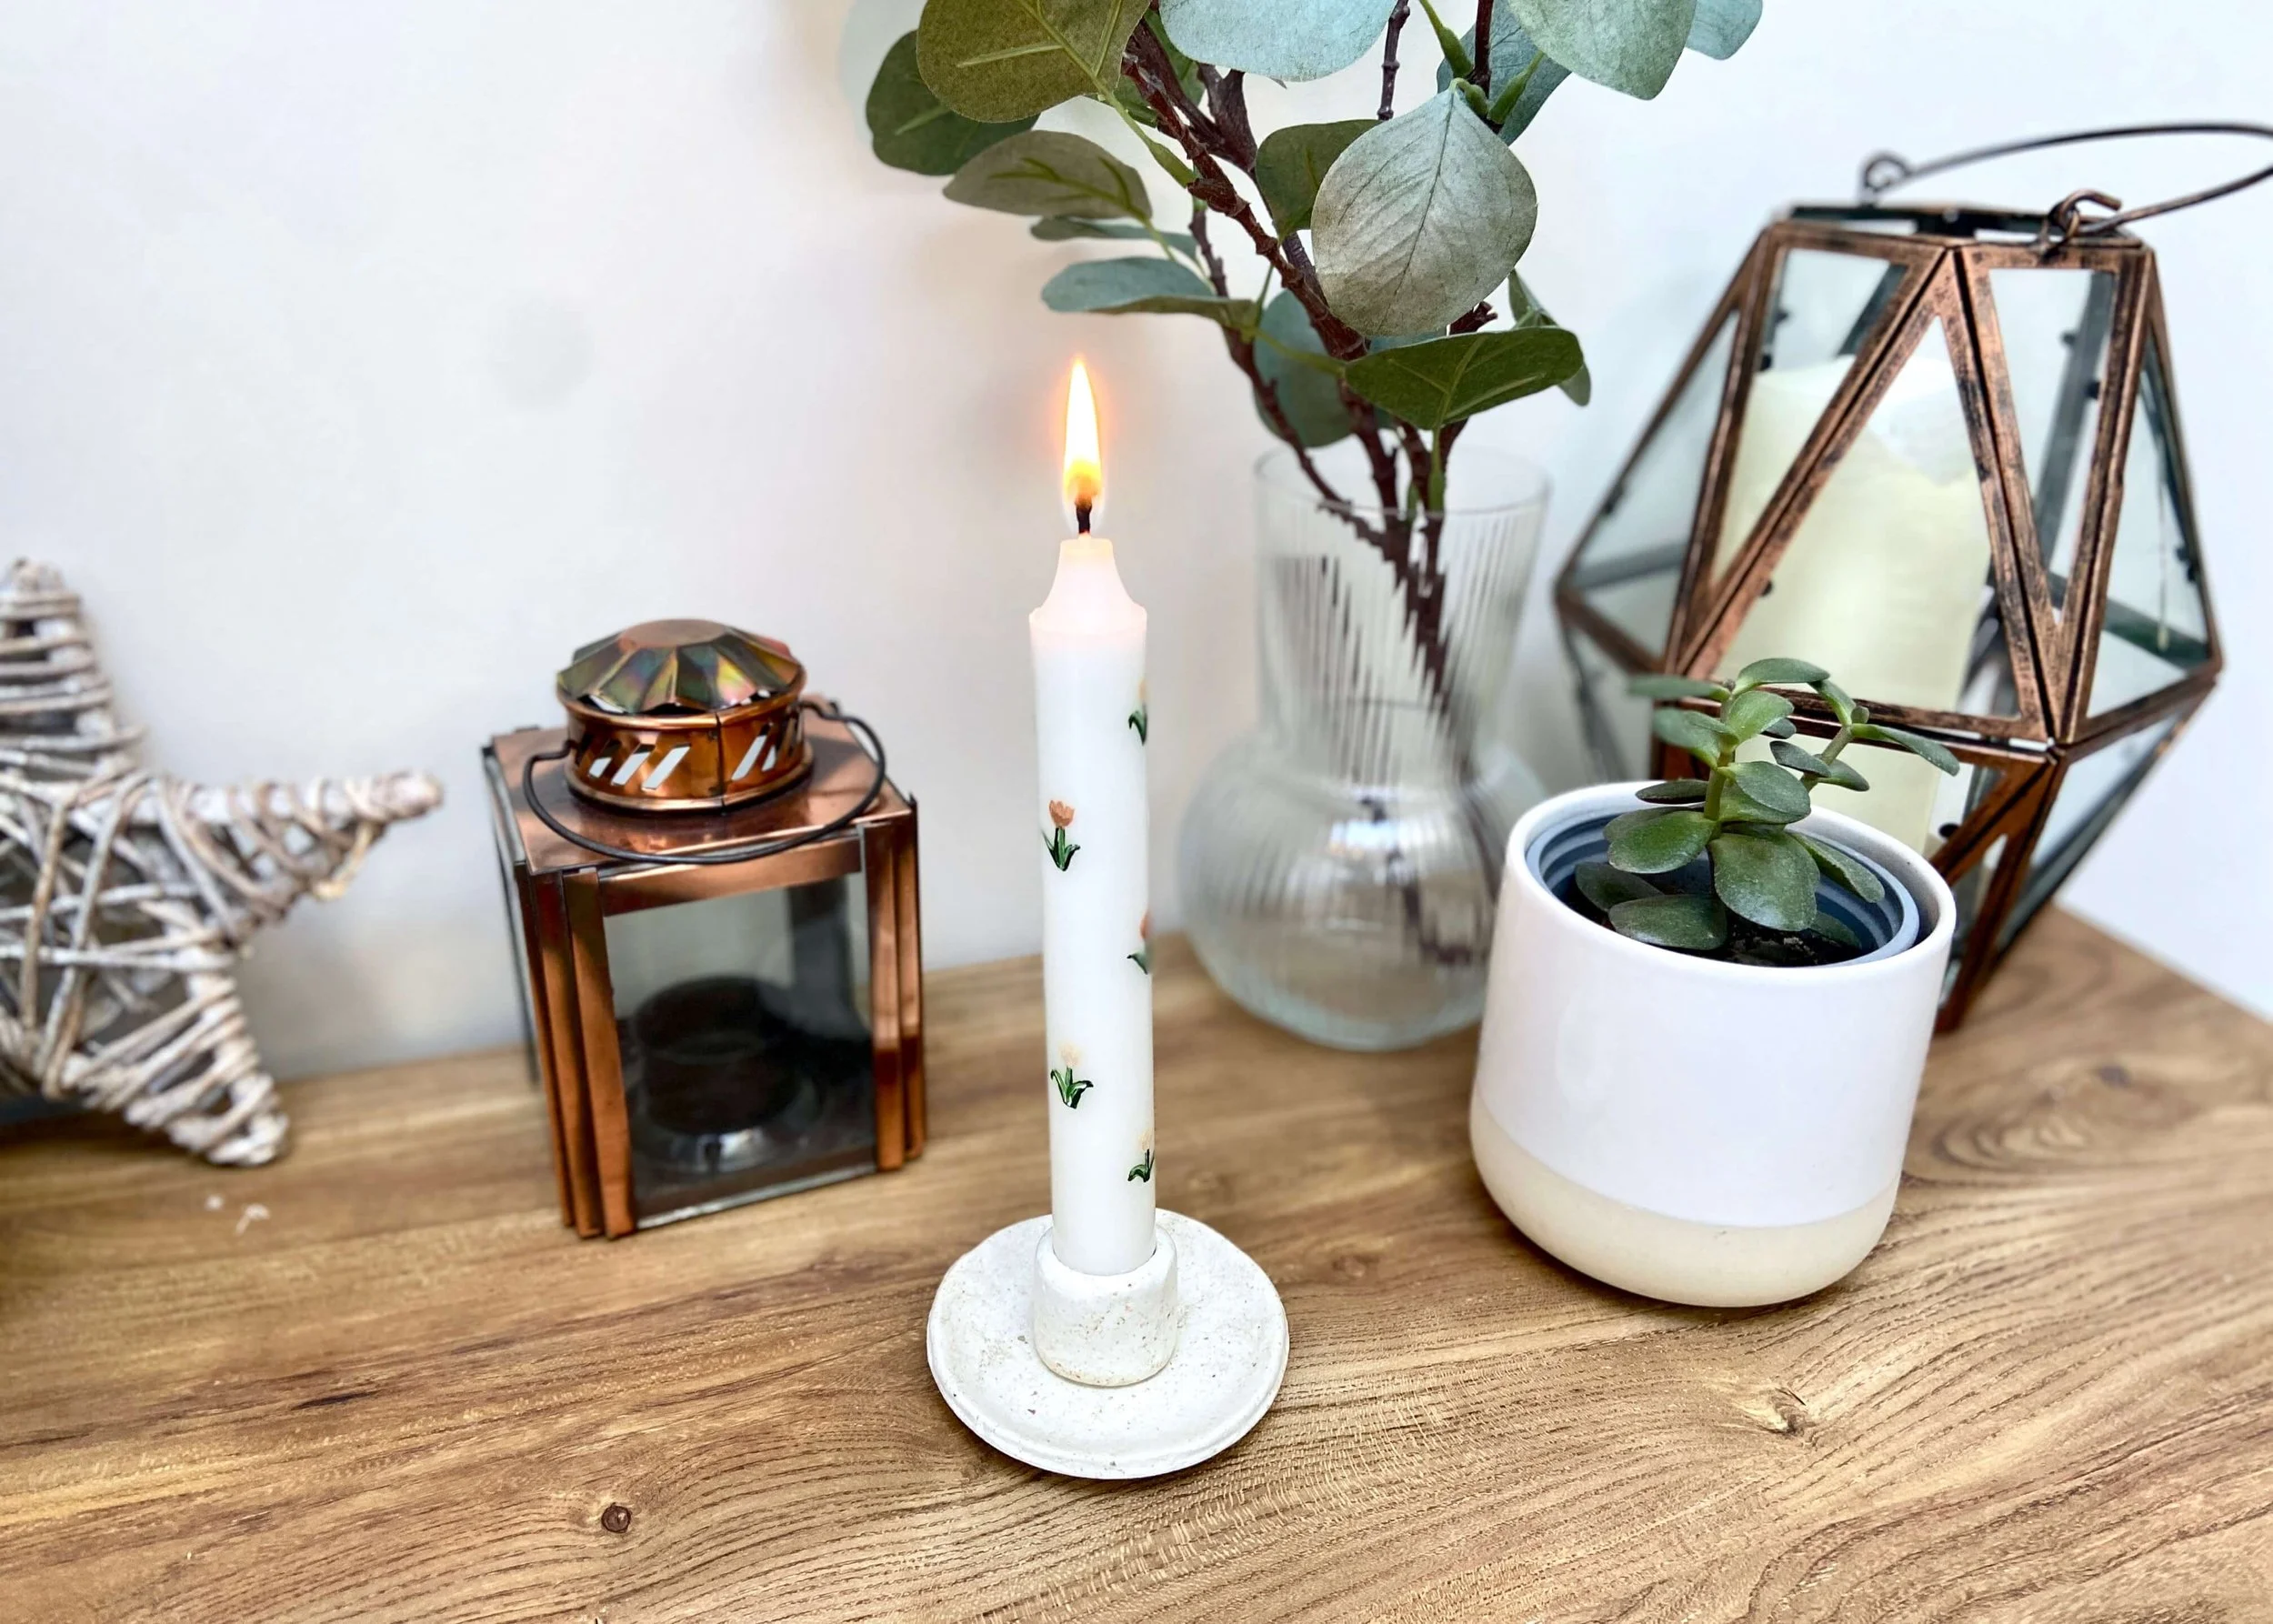
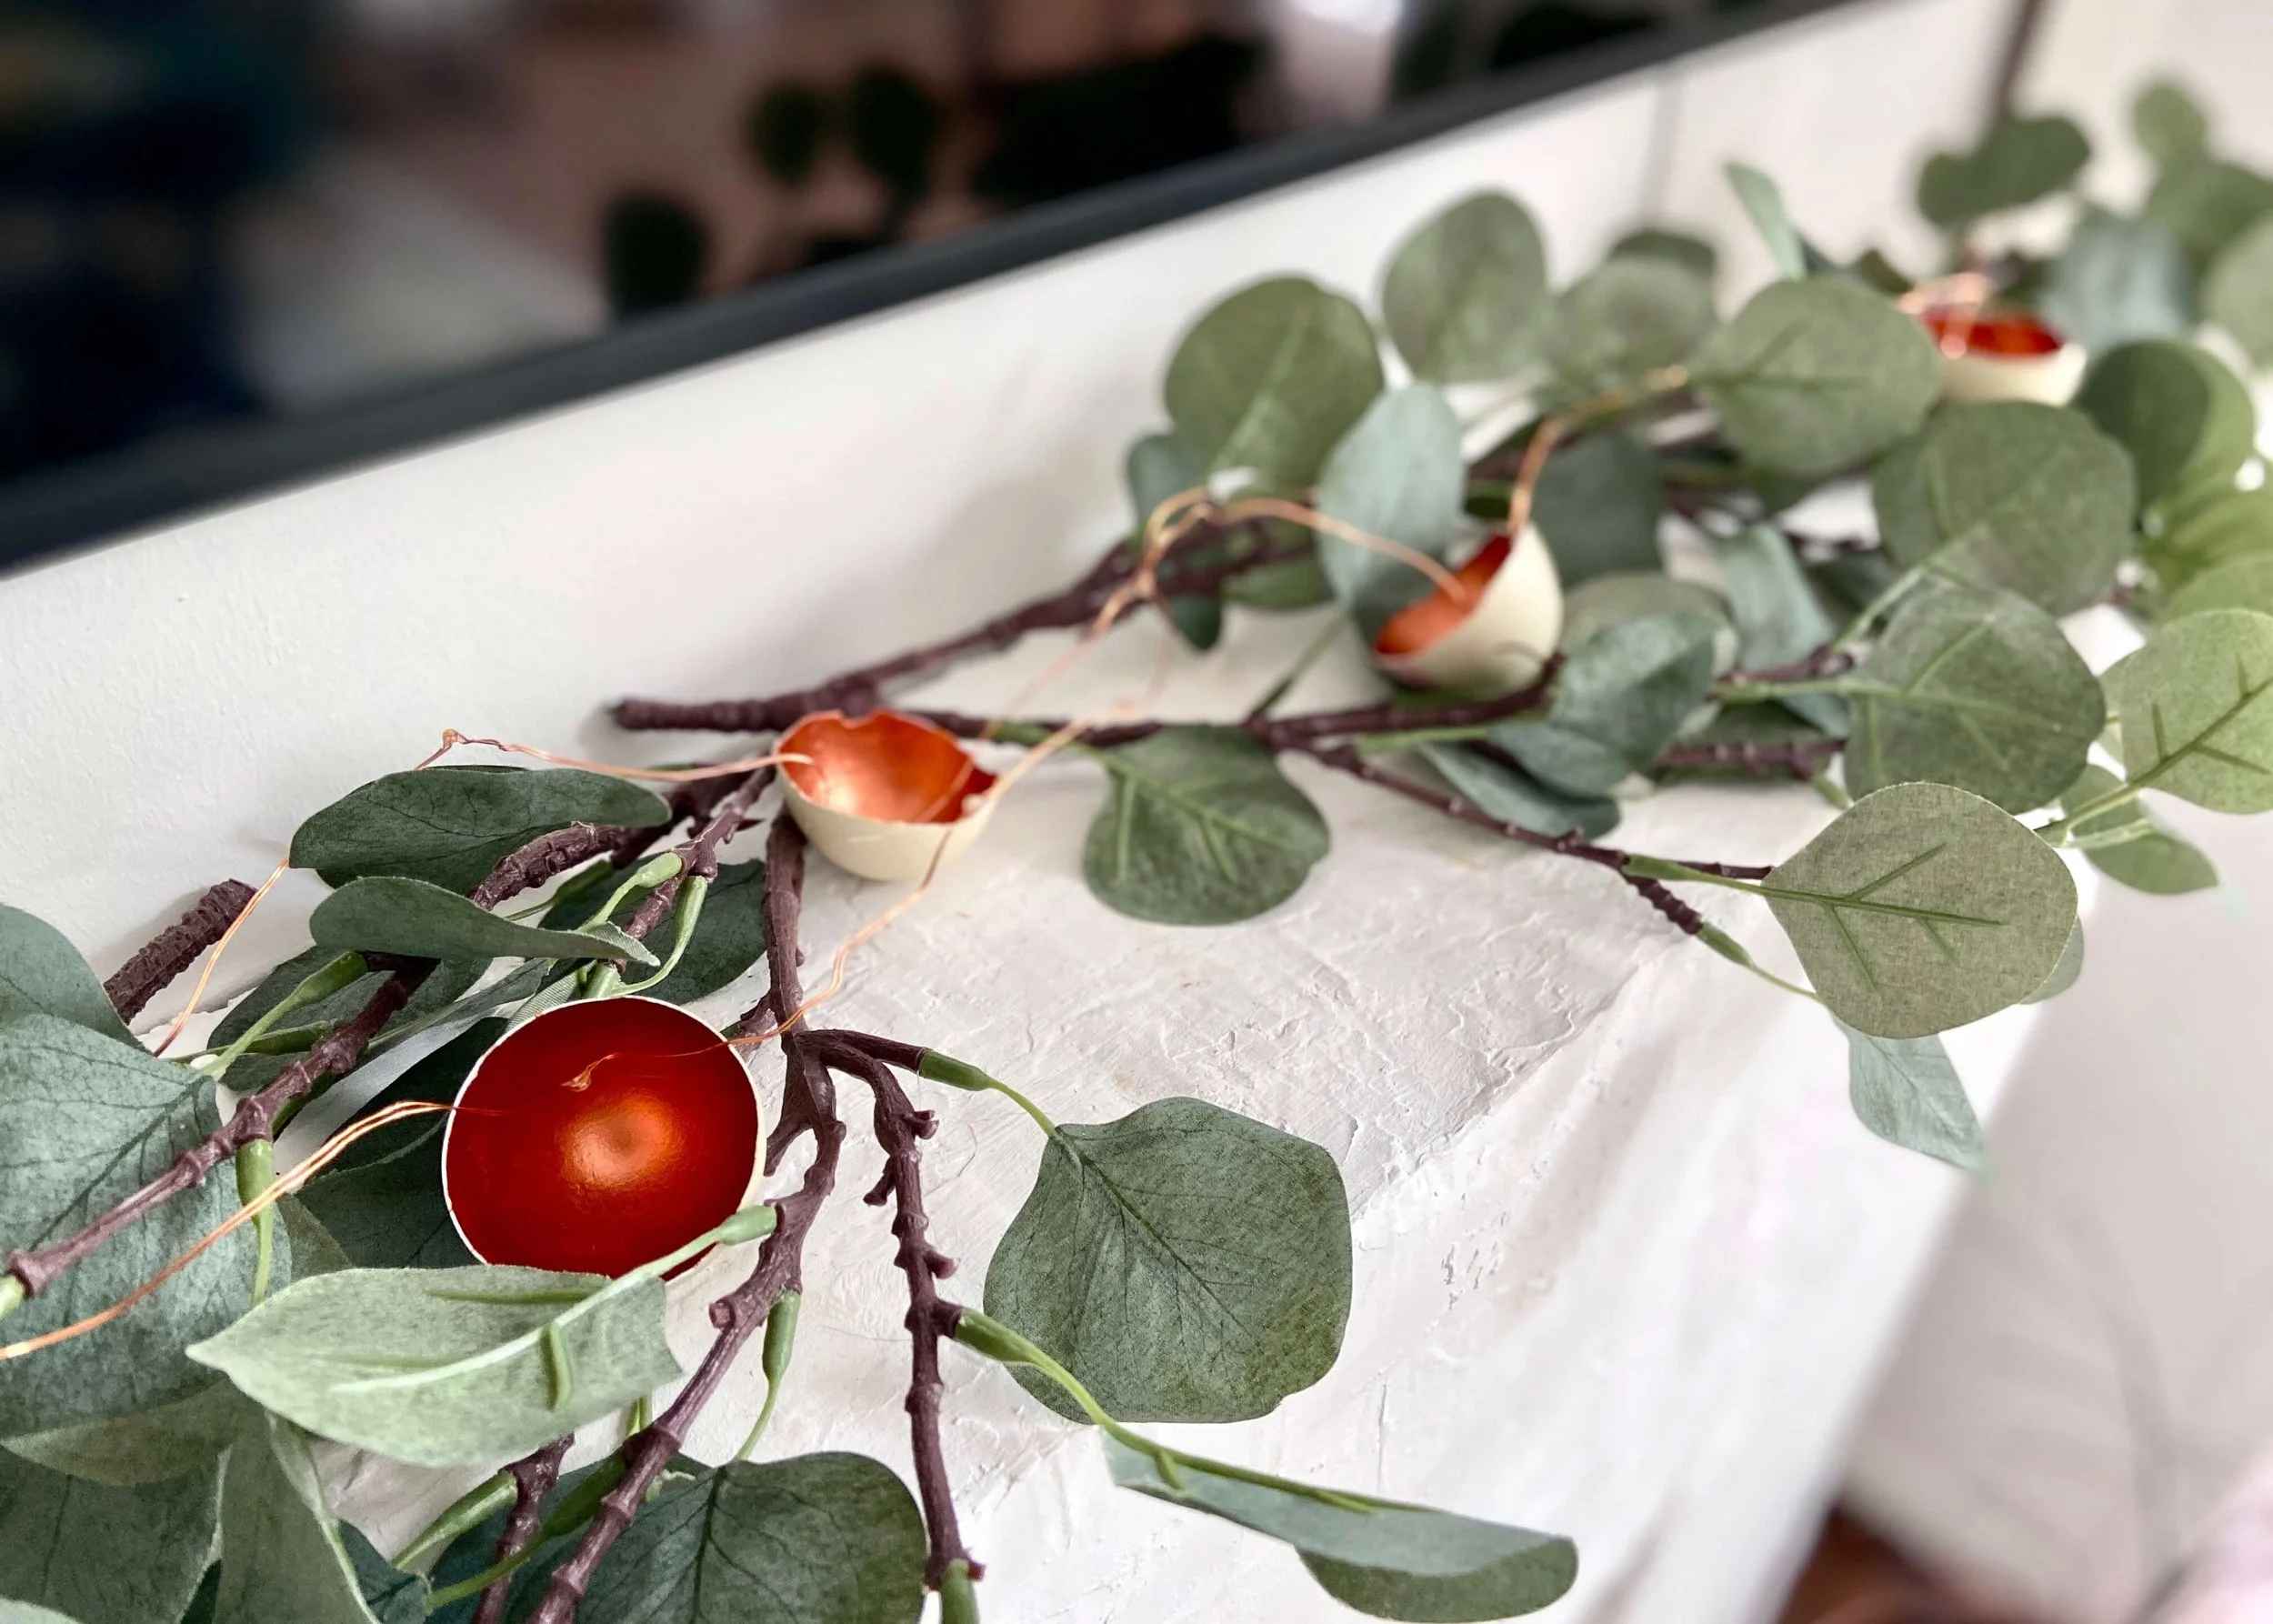
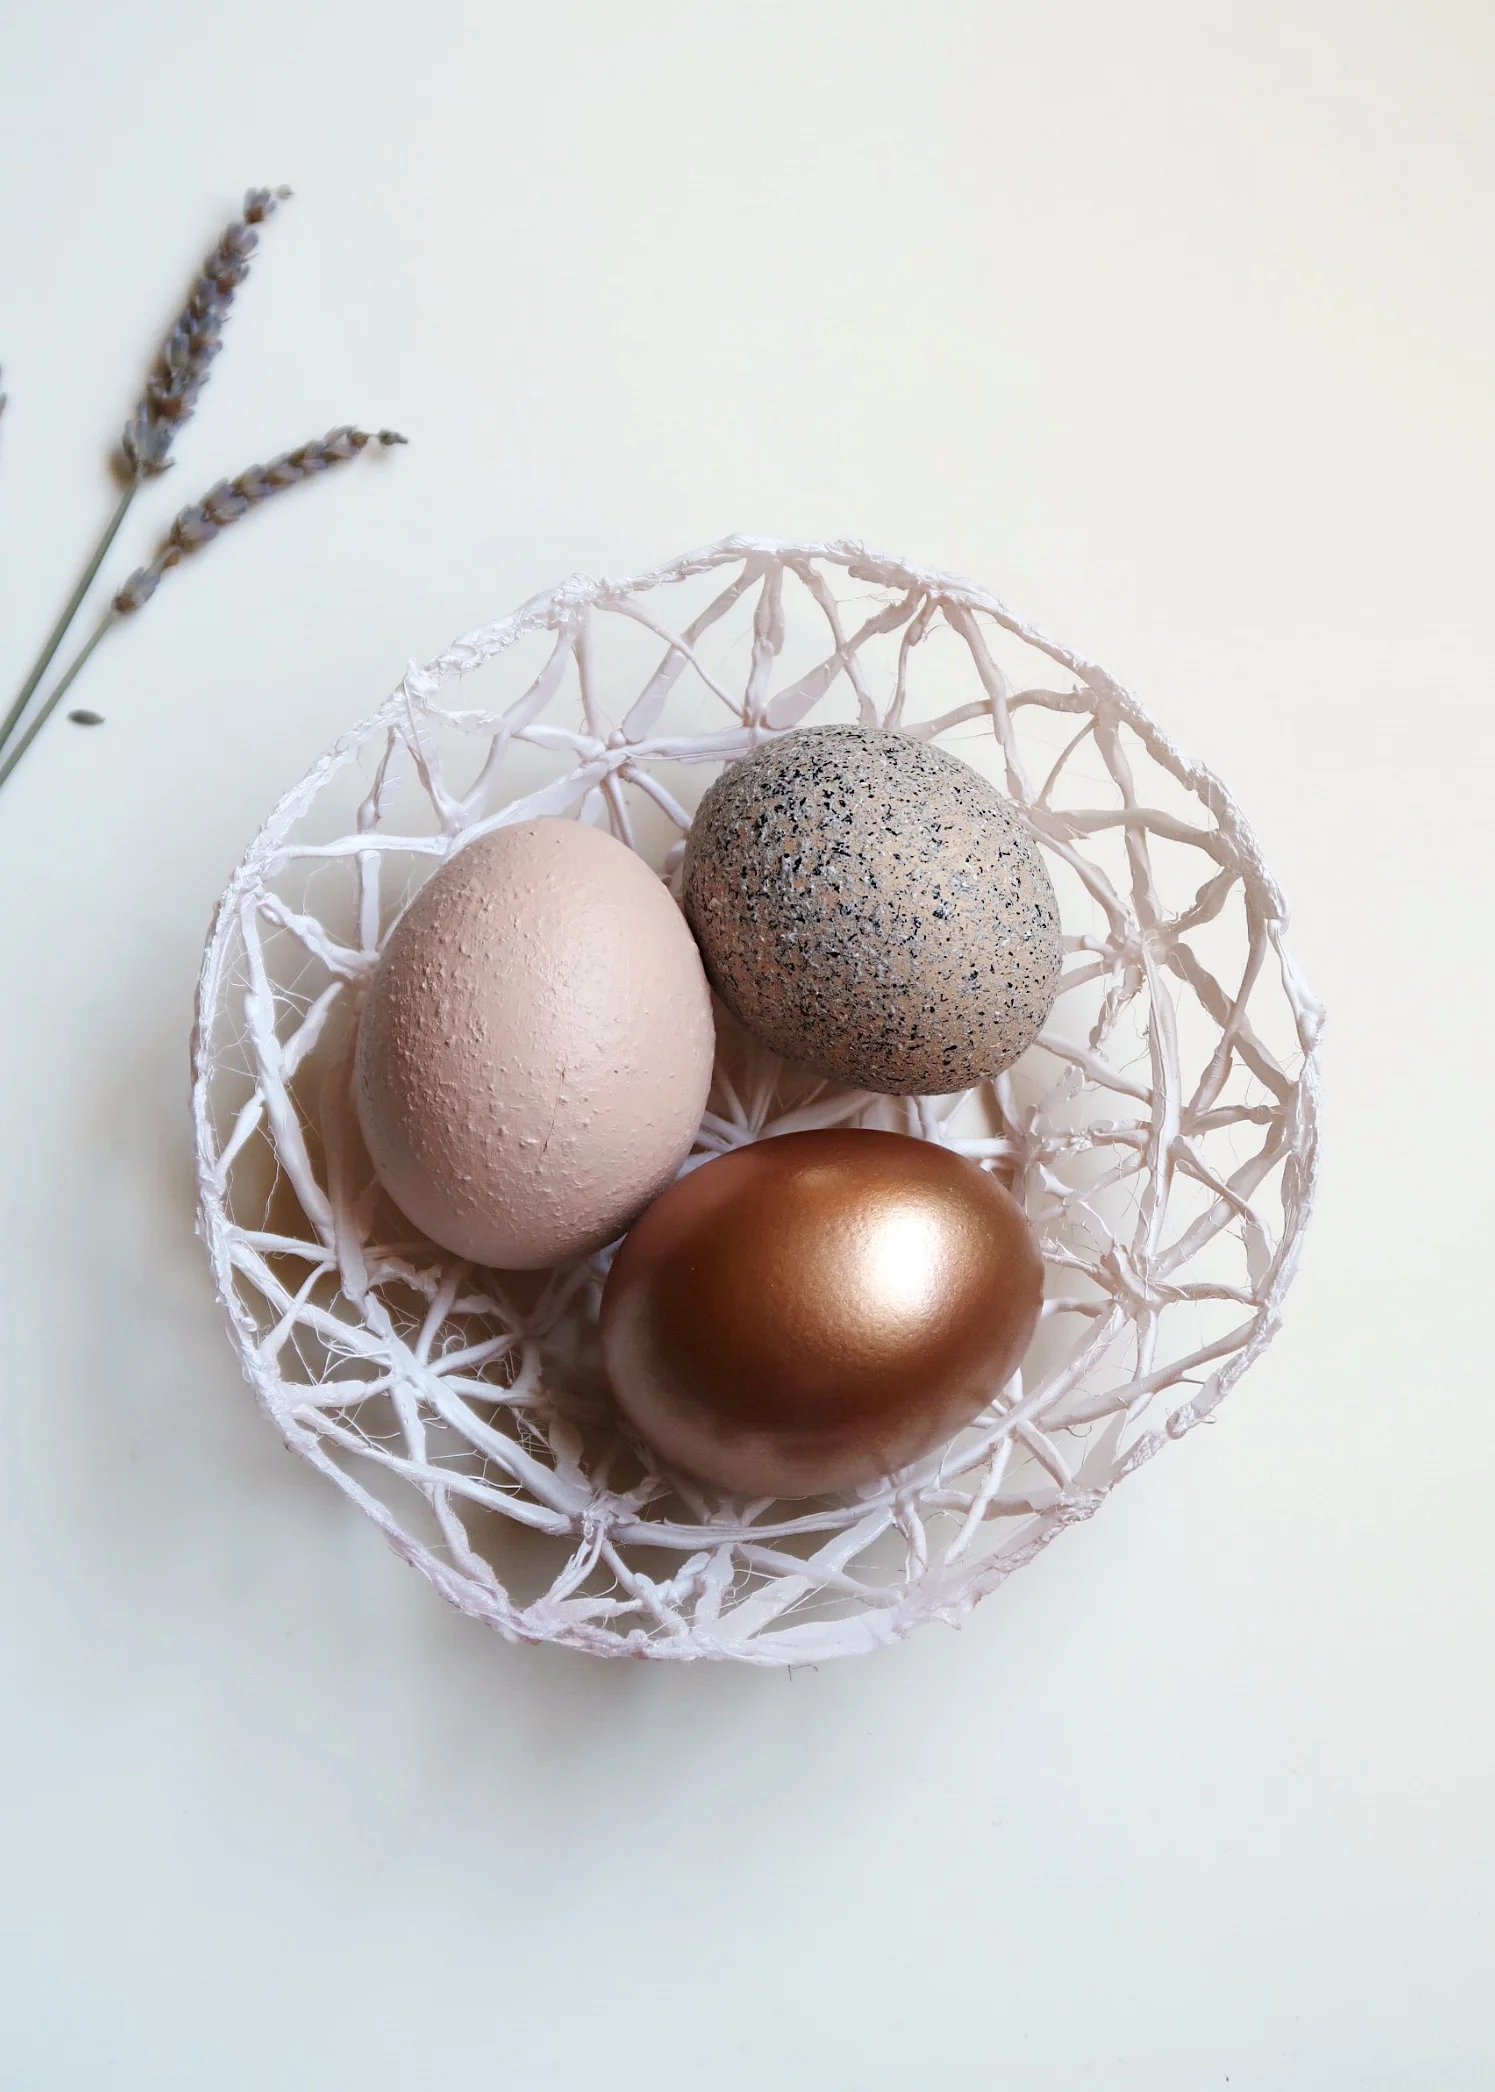
6. Lastly, decorate your eggs however you wish. To create these eggs below, I used a pebble textured spray paint, a copper spray paint, and after creating some texture with the pebble spray paint, painted over with a dusky pink acrylic paint.

MAKING THE BASKET
1. Firstly, grab a glass or ceramic bowl and cover it in vaseline. Now, I didn't do this for the basket here and it was a right pain to get off the bowl. After a bit of googling, I read that vaseline makes this easier - so learn from my mistakes!
2. Turn on your glue gun and start marking circles all around the ceramic bowl. I started by dotting glue around the sides of the bowl and then joined them. I then worked all the way down to the bottom.
3. Next, connect these circles by drawing lines of glue. This is quite difficult to describe, but if you were looking down on these circles from above, you are effectively creating lines to split the circles in half, then quarters and then eighths (and so on!).
4. Then, go around drawing an 'x' in each of the boxes Step 3 created. I did this to make my basket both strong and to appear so that the gaps in it were triangular (forever obsessed!).
5. Leave to completely dry and peel off of the ceramic or glass bowl. As I said before, I struggled quite a bit with this. I broke a nail, and stabbed myself with the pen knife I'd resorted to using, so definitely use vaseline to make this easier. Once off the bowl, you might need to go back in with your glue gun and fix any breakages.
6. Once off the bowl, spray paint. First, I spray painted my basket all over with white spray paint and then to give it a slightly more rustic look, sprayed the underside with a very light dusting of copper spray paint.


It's been ages since I posted on here, and this was my first craft after handing in my thesis, so I thoroughly enjoyed making these and am both surprised and pleased that I managed to squeeze in an Easter DIY before the day itself!
Have a lovely Easter and I look forward to being able to post more regularly on here again :)
♥