


Every year, I see other bloggers and vloggers doing some sort of Christmas countdown and every year I think to myself that I wish I had been organised enough to do one myself. So this year, although I still haven't been organised enough to do a countdown for the whole of December (I am also supposed to be writing my thesis!), I thought I would attempt a smaller countdown; my very own 7 Days of Blogmas. Make sure you don't miss a single post by following Isoscella on Bloglovin.
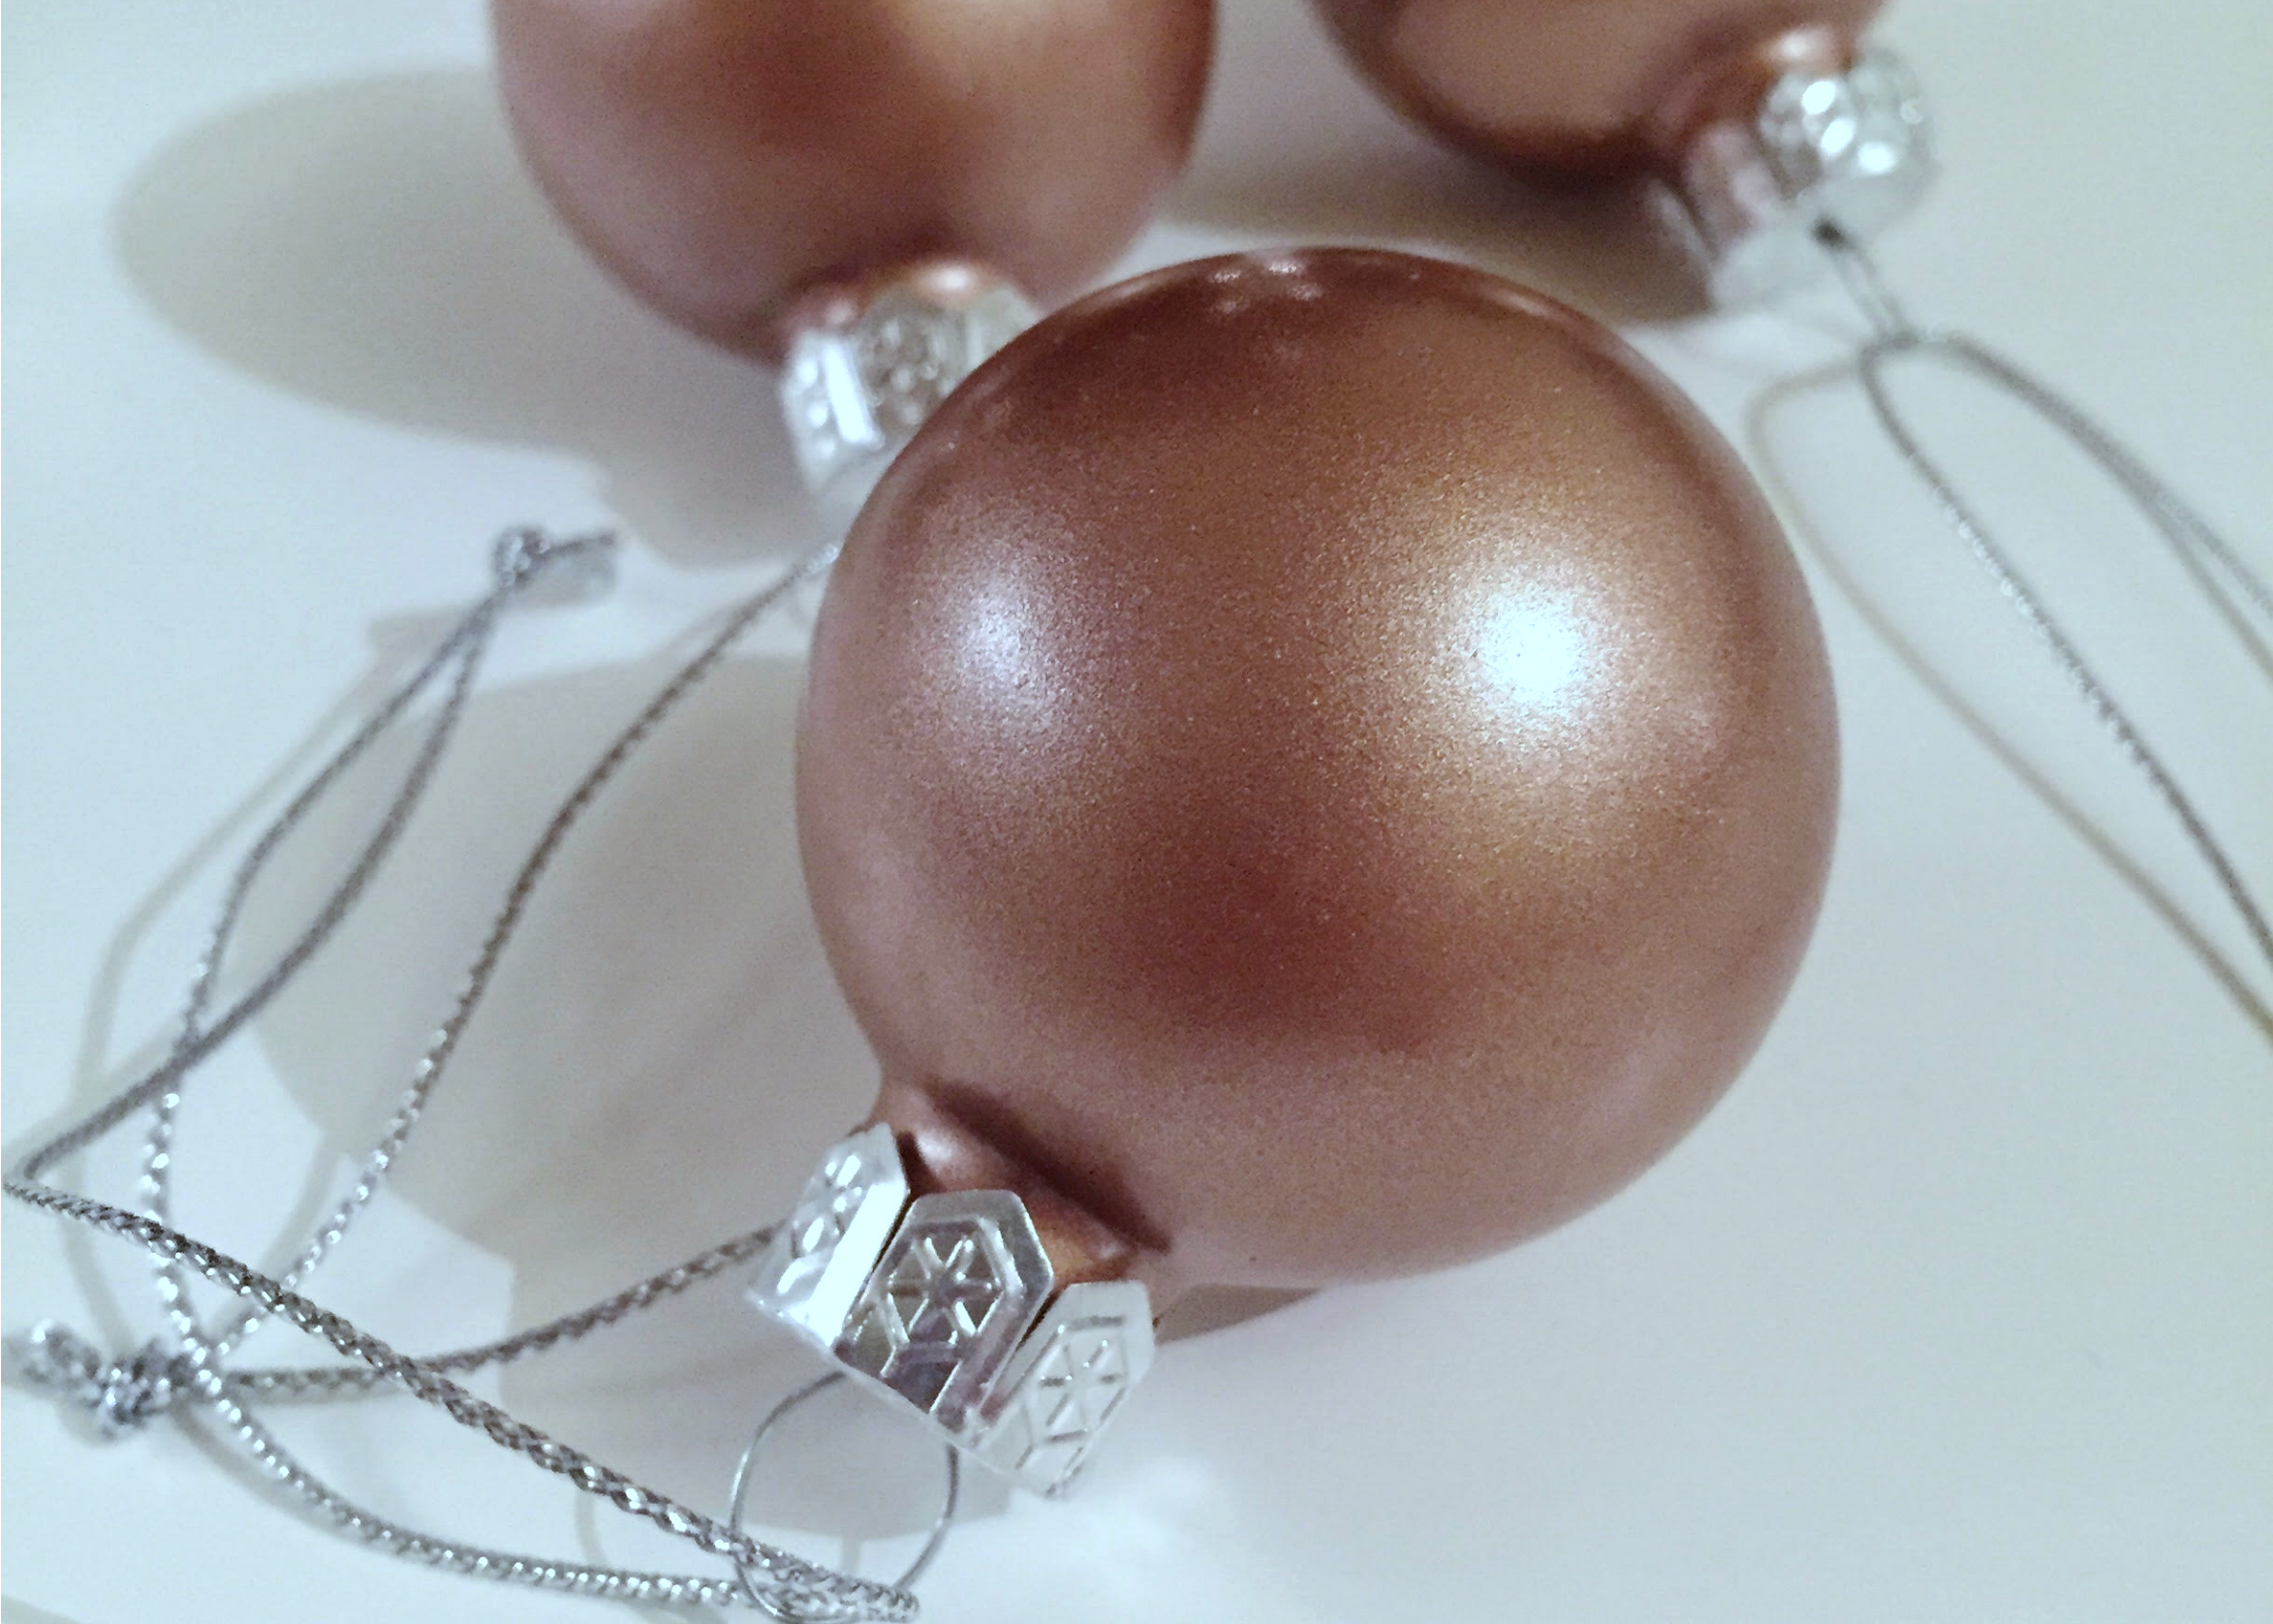
Today I'm sharing a super quick and easy way to spruce up some of those old christmas tree ornaments. If you've been here before, you'll know that I'm obsessed with copper and it'll come as no surprise that my christmas decor this year is copper and white. I really struggled to find copper baubles though, and so I decided instead to spray paint some old ones that were on their way out to give them a new lease of life. I love how they turned out and particularly like the copper against the silver metal caps! Keep reading to find out how I made them and what I used...


4. Leave each bauble to dry. The spray paint I used for this takes hardly any time at all to dry and so I found that my baubles were touch dry after about 10 minutes. To be sure that I didn't damage the paintwork though, I left them for at least an hour.
5. Push the tops of the baubles back on. If you want, you can give your baubles a spray of varnish or sealer. I chose not to so that I didn't change the finish of the paint however you could use a matte or gloss varnish to get the exact finish you want. Once it's completely dry, push the metal caps carefully back on the baubles or remove any tape covering them.
...and hang them on your Christmas tree!
1. Carefully remove the top of the baubles. This bit will only work if you have baubles that have the metal cap clipped on or held in place by two metal prongs inside. If yours are permanently attached, cover them up with painters tape instead.
2. Pop each bauble onto a straw. Now this was just a way I found of holding the baubles so that I could rotate them as I sprayed them. I found that if I put enough straws into them, it holds so well that I could then leave the baubles on the straws to dry propped up in a glass.
3. Spray paint each bauble. Hold the spray paint a few inches away and spray thin even strokes starting from the bottom upwards. When you've finished the sides, don't forget to give the top a quick spray!

Don't forget to join me tomorrow for more festive fun!
Let me know what you think of this DIY in the comments below.
♥


