• ABOUT ME
    • PRIVACY POLICY
  • COLLABORATE
  • BLOG
    • ART
    • WEDDING
    • LIBRARY
    • DECOR
    • JEWELLERY
    • STATIONARY
    • NAIL ART
    • BAKING
    • CHRISTMAS
    • EASTER
    • ART PRINTS
    • WEDDING STATIONARY
  • CONTACT
Menu

ISOSCELLA

Street Address
City, State, Zip
Phone Number

Your Custom Text Here

ISOSCELLA

  • ABOUT
    • ABOUT ME
    • PRIVACY POLICY
  • COLLABORATE
  • BLOG
  • ART
    • ART
    • WEDDING
    • LIBRARY
  • DIY
    • DECOR
    • JEWELLERY
    • STATIONARY
    • NAIL ART
    • BAKING
    • CHRISTMAS
    • EASTER
  • SHOP
    • ART PRINTS
    • WEDDING STATIONARY
  • CONTACT

DIY // EASY TRIANGLE EARRINGS

September 14, 2015 isoscella

I hope that you have been happy and well since my previous post. I'm trying really hard to post more regularly, so be sure to let me know what you think of this blog post and what kind of posts you would like to see more of in the future! I do have some nail art posts up my sleeve... But today, I thought I would share with you an easy little jewellery DIY.

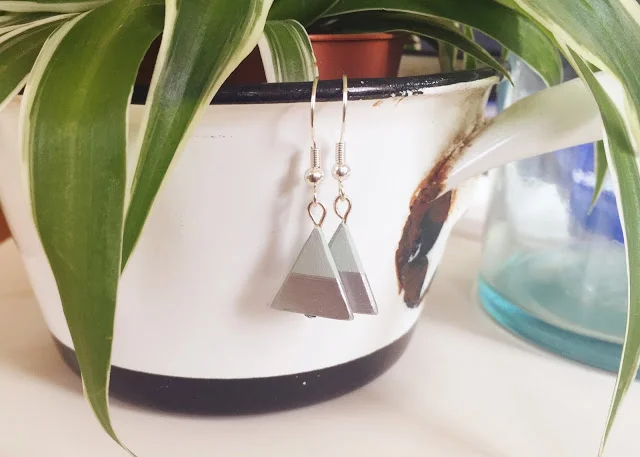
Back when I first started blogging, I was working part-time (oh those were the days...!) and spent quite a bit of my spare time making clay jewellery. Although I tend to do clay projects less now, it's something I still really enjoy and so on my annual leave over the summer, I made quite a few pieces of air-dry clay jewellery. One of my favourite pieces was these little earrings; not just because they are so quick and easy, but because they are both triangular and mint green (could it get any better?!).

Air-dry clay  |  Headpins  |  Fishhook earwire  |  Round nose pliers  |  Wire cutter  |  Acrylic paint

air-dry clay triangle earrings how to DIY

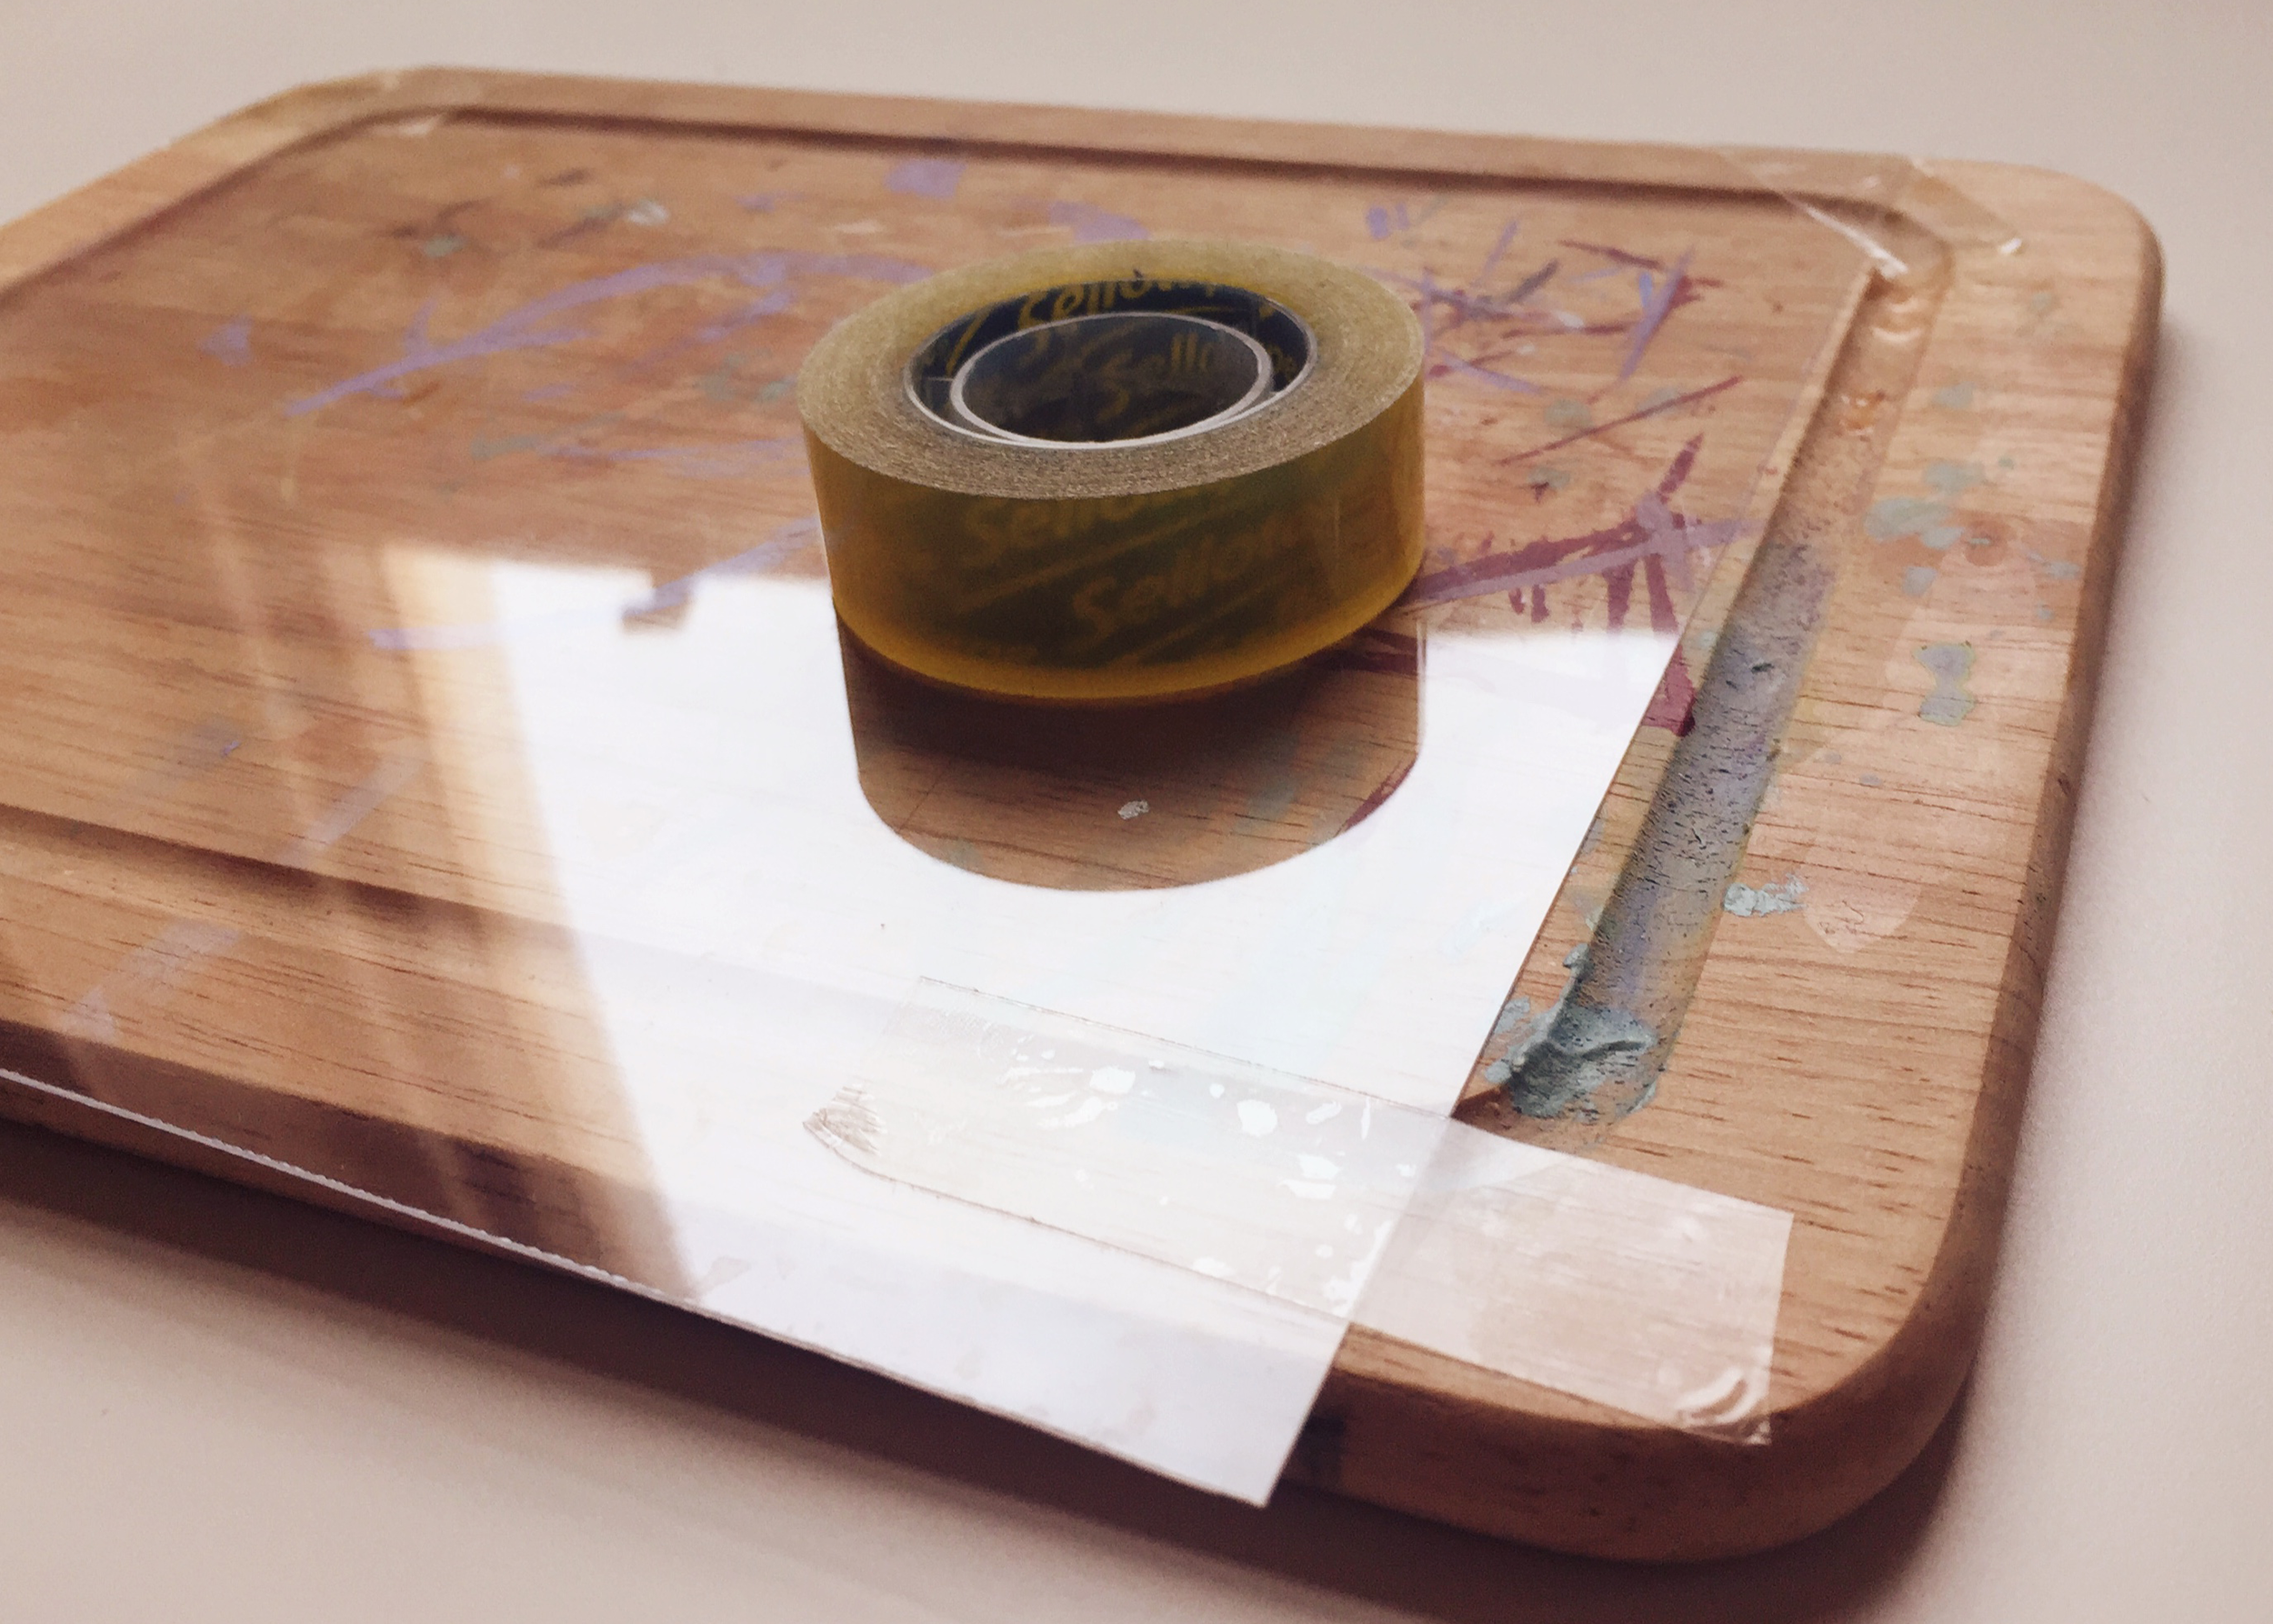
1. Knead the clay until soft and roll out onto a smooth surface. Here, I rolled out the clay onto a chopping board covered in acetate (so that it didn't stick!) until it was about 4mm thick.

2. Using the scalpel, cut out two triangles of equal size. I freehand cut out a tall rhombus (like this) and cut it in half to create two equal isosceles triangles. Who knew all that geometry in Maths would actually come in handy?!

3. Push a headpin through the base of each triangle through the tip. It can be tricky to push the headpin all the way through the clay without distorting the shape, however once it is all the way through, you can always neaten up the edges with the side of your scalpel (that's what I did!).

4. Leave the clay to dry overnight. Once dry, the clay will be much harder and slightly lighter in colour. If there are still any dark areas, leave it for a bit longer.

5. Smooth the edges of the clay triangles with sandpaper. For this, I first (very gently!) used a coarse sandpaper and then used a fine sandpaper.

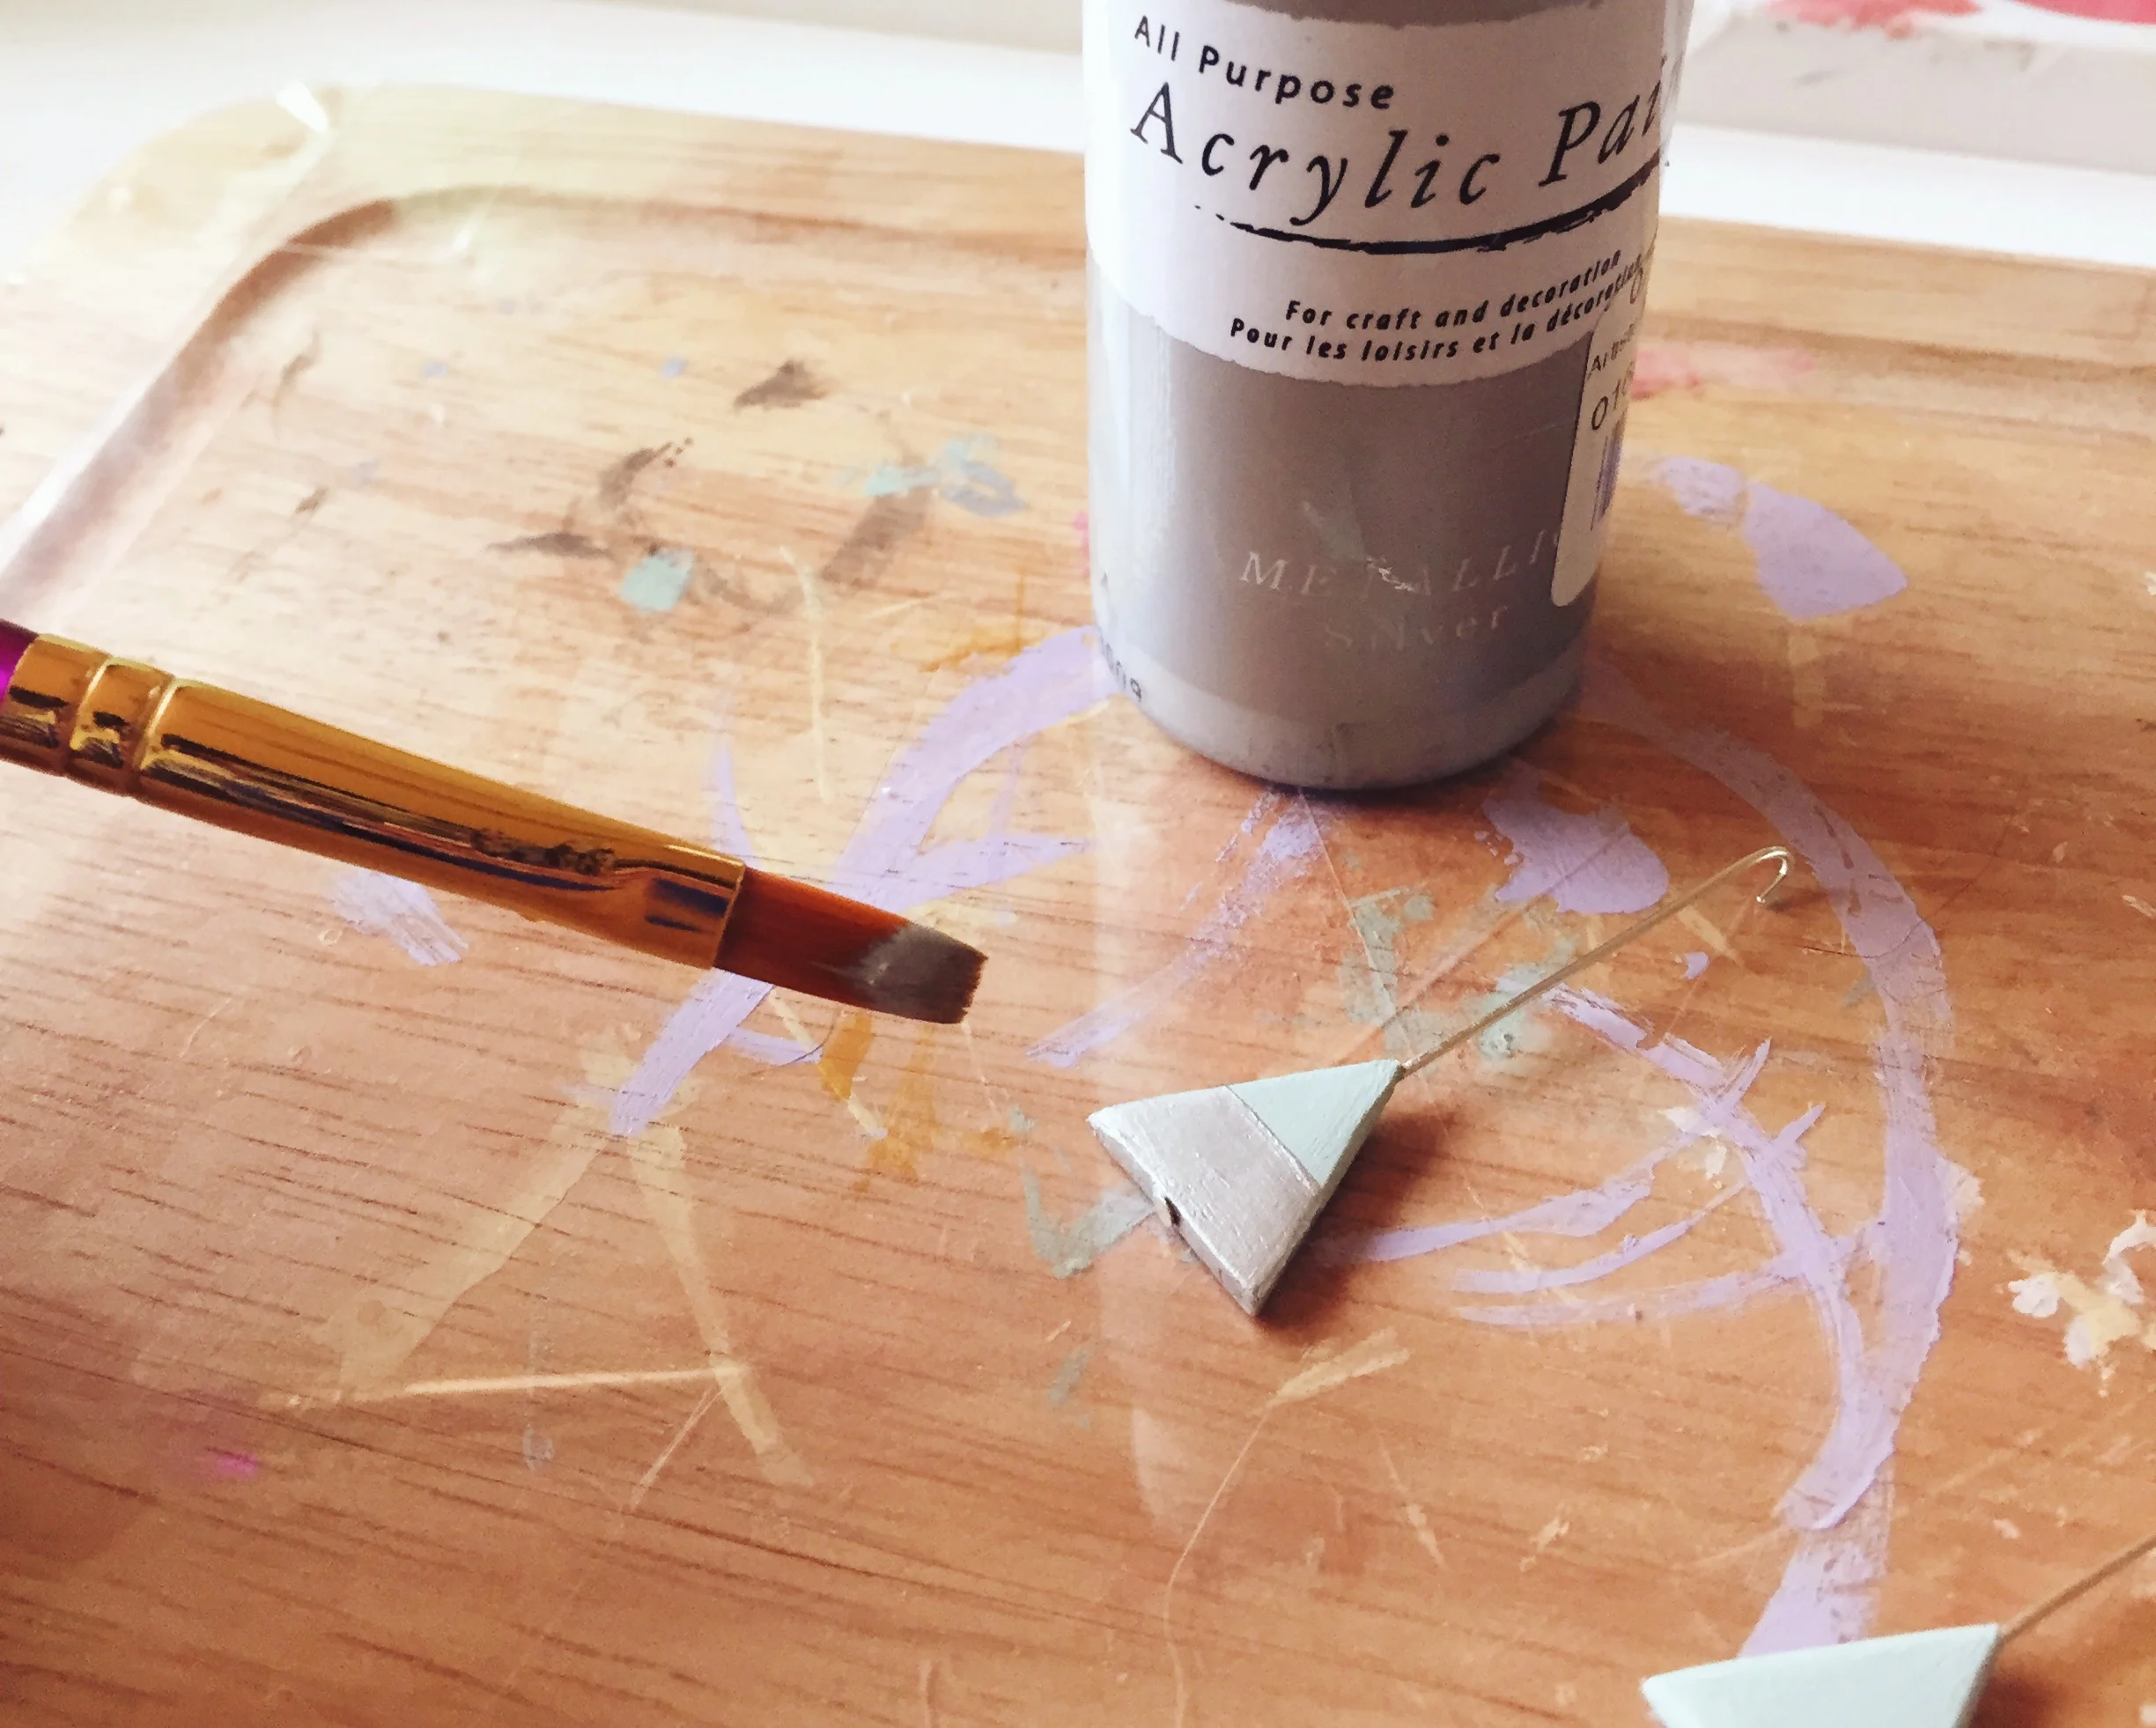
6. Paint all over the clay triangles with acrylic paint. I chose to paint my earrings in a shade of mint (of course!). I'm still as obsessed with this colour as I was back when I started this blog it would seem. Once I had built up enough coverage, I mixed in tiny bit of water into my left over paint and went over the paint work to smooth out any imperfections.

7. Once dry, paint silver paint over the bottom half of each triangle. For this, I just 'eyeballed' half way and painted freehand. However, if you want to make sure this line is crisp, straight and not wonky (like mine), then you might want to use a bit of masking tape.

8. When this is dry, cut off some of the excess headpin. Using the wire cutters, you want to remove most of the wire sticking out from the top of the triangle, leaving about 9-10mm above the triangle to create a loop.

9. Using round nose pliers, create a loop (but don't close it yet). This is probably the trickiest part, I'm definitely always least happy with my loops! The Crafty Owl Cafe have a really helpful youtube video here, which I've found very helpful.

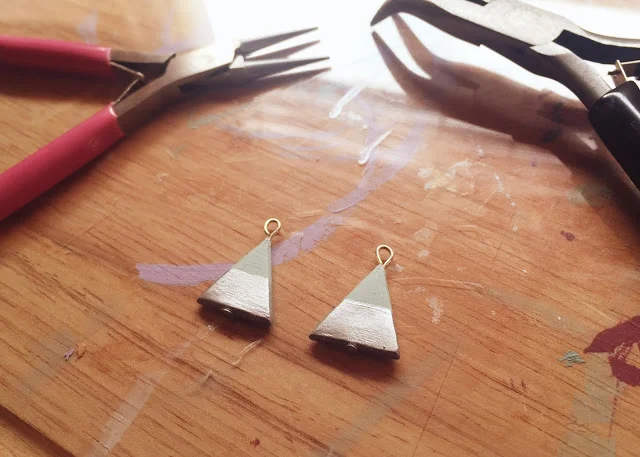
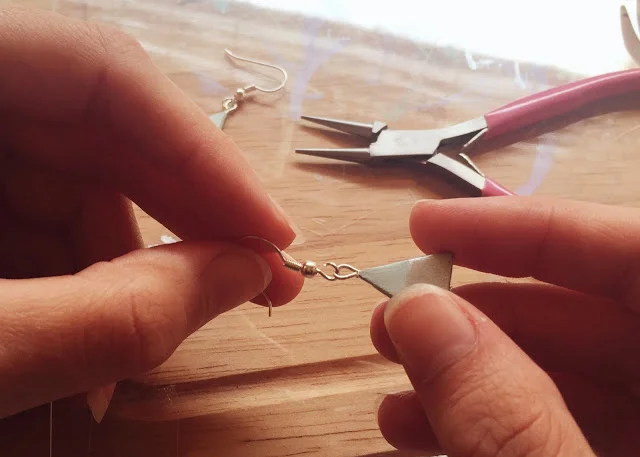
10. Attach the earring hooks to the loop you created on the headpin. To do this, you want to hook the loop (on the bottom of the earring hook) to the headpin loop and using the pliers, close the headpin loop up.

... and that's it!

Pretty simple right?! And although they are so simple, they don't look it! A stylish and quirky handmade gift for anyone.

What do you think?

Let me know in the comments below and d

on't forget to share and subscribe :)

♥

In DIY Tags jewellery
← NAIL ART // MINK WITH A HINT OF PINKPATTERNS AT PETWORTH →
 

Decorating, DIY-ing and doodling my way through life. Have a look around and let’s get creative!

>> FIND OUT MORE <<

Follow
The office is still one of my favourite transformations in the house! 😍

I started by panelling the wall with MDF strips and then painted the wall with a mix of colours. I used three IKEA drawer units for the base of the desk and then secured the de

ART

DIY

LIFE


THE LATEST

Featured
Wooden Mushroom Decor
Apr 26, 2025
Wooden Mushroom Decor
Apr 26, 2025
Apr 26, 2025
Hand-Painted Floral Mural Arch
Mar 29, 2025
Hand-Painted Floral Mural Arch
Mar 29, 2025
Mar 29, 2025
Easy IKEA Antilop Makeover
Mar 1, 2025
Easy IKEA Antilop Makeover
Mar 1, 2025
Mar 1, 2025
Clay Leaf Shelf
Jun 29, 2024
Clay Leaf Shelf
Jun 29, 2024
Jun 29, 2024
Nursery Feature Wall
Jun 15, 2024
Nursery Feature Wall
Jun 15, 2024
Jun 15, 2024


THE GREATEST

Featured
DIY // IKEA LACK TABLE INDUSTRIAL HACK
Sep 22, 2020
DIY
DIY // IKEA LACK TABLE INDUSTRIAL HACK
Sep 22, 2020
DIY
Sep 22, 2020
DIY
DIY // CLAY ALL-SEEING EYE MIRROR
Aug 14, 2020
DIY
DIY // CLAY ALL-SEEING EYE MIRROR
Aug 14, 2020
DIY
Aug 14, 2020
DIY
DIY // CLAY FACE DISH
Apr 29, 2020
DIY
DIY // CLAY FACE DISH
Apr 29, 2020
DIY
Apr 29, 2020
DIY
DIY // ABSTRACT ART FLORAL EGGS
Mar 25, 2020
DIY
DIY // ABSTRACT ART FLORAL EGGS
Mar 25, 2020
DIY
Mar 25, 2020
DIY
DIY // WIRE FACE EARRINGS
Feb 16, 2020
DIY
DIY // WIRE FACE EARRINGS
Feb 16, 2020
DIY
Feb 16, 2020
DIY

Follow
^^ BACK TO TOP
How does Monday come round so quick?!Wishing I could cosy up here today ✨

#mondaymood #storyofmyhome #mydailyhomesquare #interiordesign #budgetdiy #realstylishhomes #ourdiyhomes #femalediycollective #discoverunder5k #myhousethismonth #myhousedownsou
I&rsquo;ve got the day off today (woop!) and although it&rsquo;s not quite warm enough to sit out here yet, the sun is shining and I think a little walk to blow out the cobwebs is exactly what I need. Hope Monday is treating you well! ☀️

#summerdrea
Had such a lovely day seeing one of my besties and her adorable new baby that I completely forgot to share today&rsquo;s new blog post!

Head over to the blog for all the details of this easy DIY ring dish 🔝✨

#diy #diyhomedecor #diyhome #diyvalenti
That sunshine 👌🏻☀️

#mycosyhome #livingroomdecor #livingroominspo #mydiymydecor #homeobsessed #lovemydecor #homeinterioruk #discoverunder5k #diyhome #diyhomedecor #myhousethismonth #myhousedownsouth #realstylishhomes #ourdiyhomes #happythursday #in
A little corner our home on this chilly Tuesday morning ✨
.
.
#interior #homeobsessed #mycosyhome #homeinterioruk #instadecorating #homesofinstagram #happymonday #mondaymotivation #instainteriors #cornersofmyhome #myhousethismonth #myhousedownsouth #

Copyright 2021 isoscella. All rights reserved.

Powered by Squarespace