

Another quick and easy clay jewellery DIY from me again! I'm loving simple delicate jewellery pieces at the moment and after pulling out a beautiful concrete necklace by Maple + Mauve that one of my friends bought me for my birthday (how lucky am I!), I thought I would have a bash at making my own sphere necklace using air dry clay.
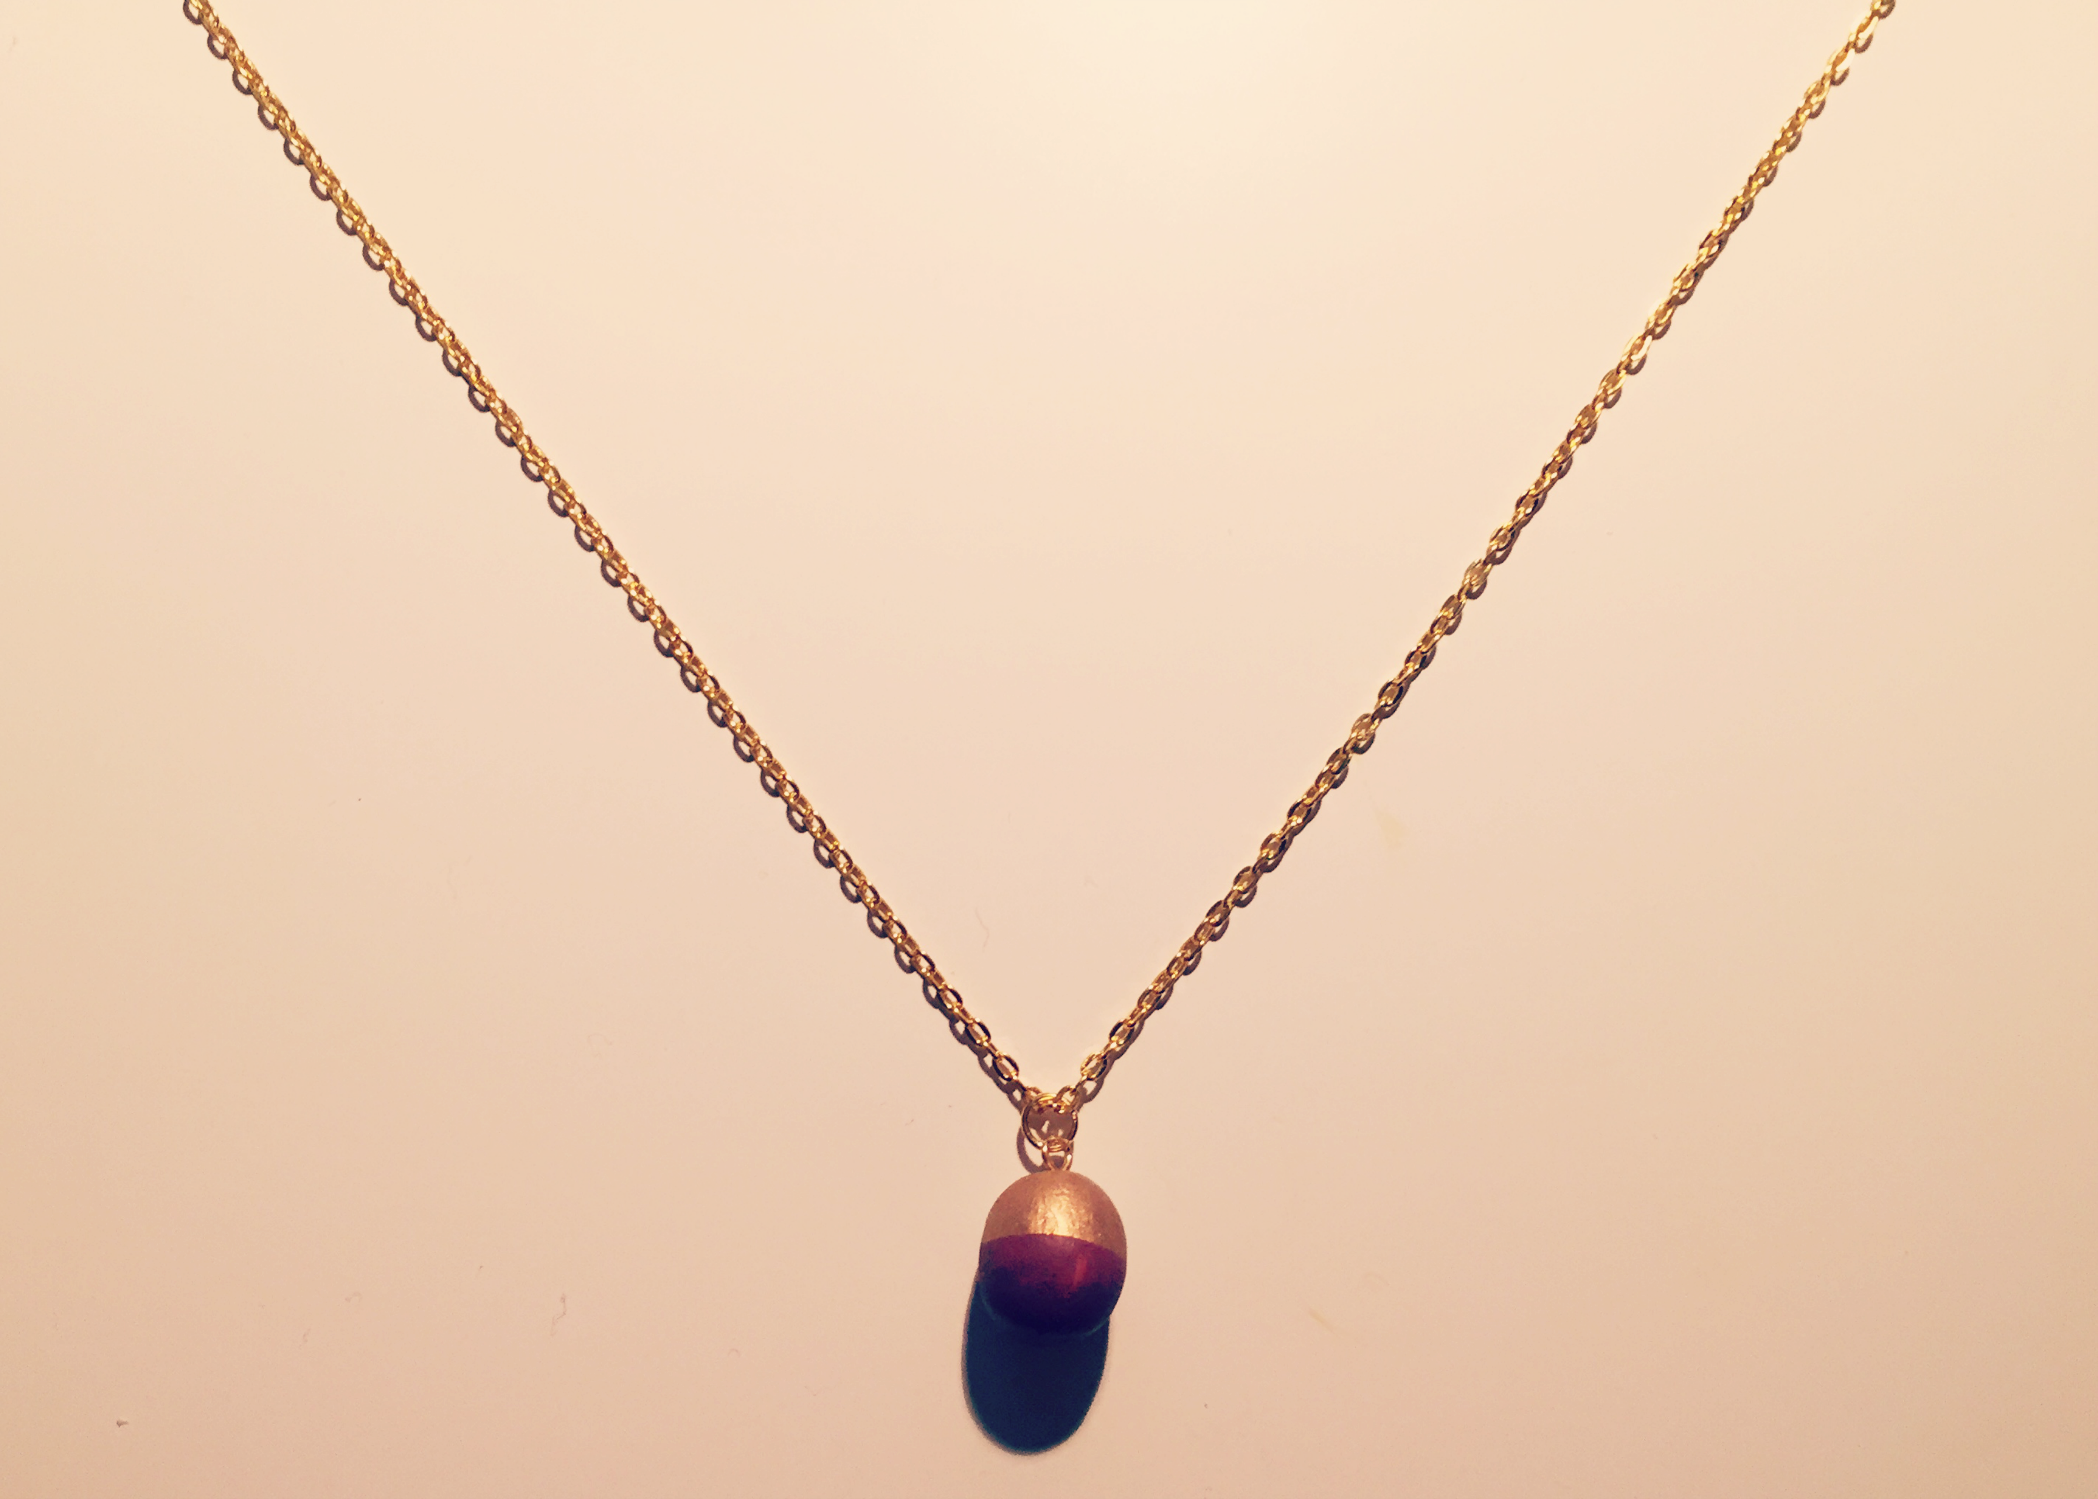
I really love the 'dipped' effect that I've seen on some other jewellery pieces and so wanted to also incorporate this. Rather comically, it didn't quite go to plan... Instead of a burgundy sphere with a gold dipped effect on the lower half, I accidentally dropped the entire sphere into my bowl of gold paint and ended up with an entirely gold sphere (and entirely gold fingers!).
It seemed a shame to start again and so I decided to work with what I had; mixing up some more burgundy paint to create a gold sphere with a burgundy dipped effect on the bottom. Now the reason I've explained this (and not just pretended that I meant it to turn out this way!) is that otherwise the photos below won't make sense. Plus, it's always good to share our little crafting disasters isn't it!

Air-dry clay | Headpin | Eyepin | Acrylic paint | Superglue | Wire cutters | Round nose pliers | Jump rings | Chain | Lobster clasp


1. Knead the clay to soften before rolling into a ball. Here, I found that it took very little time at all before the clay was malleable. Once it was, I just rolled the clay in the palm of my hands until it was roughly a sphere.
2. Push a wire through the centre of the clay. For this, I used a spare headpin and just gently pushed it through what I felt was roughly the middle.

3. Leave the clay to dry overnight. Once dry, the clay will be much harder and slightly lighter in colour. If there are still any dark areas, leave it for a bit longer. To neaten up any lumps and bumps, I very gently sanded it with a fine sandpaper.
4. Remove the wire and paint the ball with paint. When I was happy with how the clay was looking, I removed the headpin and painted all over the clay with one colour of acrylic paint. As I explained above, this was originally burgundy but as you will see later, the sphere ended up being entirely gold.

5. Using the cutters, trim an eyepin so that it is the same length (or just shorter) as the ball. Here, I used a gold plated eyepin and cut the eyepin using the wire cutters.
6. When the ball is dry, push the eyepin into the ball & fix with superglue. Using my pliers (you don't want your fingers to get stuck!), I held the eyepin at the loop and painted superglue over the rest of the eyepin. I then pushed the eyepin back into the sphere and left it to dry.

7. Once dry, dip the ball into another colour of paint to create a 'dipped' effect. To make sure that I didn't drop the clay in this time, I used another eyepin like a little fishing rod.

8. Attach a jump ring to the loop of the eyepin. Using two sets of pliers, open up the jump ring by holding one side and pushing the other side away from you. Loop the now open jump ring through the eyepin and close it up by pulling the side of the jump ring back towards you.

9. Using the cutters, trim the chain to your desired length. I wanted mine to be quite long and so I cut my chain down to approximately 30 inches. Don't forget to keep any leftover chain, you can always use these for other projects!

10. Pull the chain through the jump ring & attach a jump ring to one end of the chain and a lobster clasp to the other end of the chain. To attach the lobster clasp, I find it easier to use a jump ring. To do this, you'll want to open up a jump ring (as above), loop the chain and clasp onto the now open jump ring, and then close the jump ring.

... ta dah!

Although it certainly wasn't how I'd planned it to be, I'm still pretty pleased with how it turned out. As it's air-dry clay, it's really light and the gold paint is really metallic and vibrant which makes it a nice little addition to a plain t-shirt.
Let me know what you think in the comments below!
And if you liked this post, don't forget to share and subscribe :)
♥


