


Preserve your wedding flowers and memories in a beautiful framed arrangement
Weddings take SO long to arrange but boy does the event itself go quickly. It’s almost a month later now and I’m still reeling a bit from it all. it was just such an incredibly lovely weekend, and I’m so lucky to be surrounded by such wonderful supportive people. Fortunately, there are some post-wedding crafts that are keeping the memory alive, one of which is to preserve my wedding bouquet. I had my bouquet made by a local florist, who, was also lovely, and who got my love for green but helped me introduce some interesting textures and white and peachy tones to keep things interesting. We flew out on holiday just a day after our wedding weekend but I knew I needed to dry my bouquet out best I could over the 2 weeks I was away and so I hung it upside down in a relatively cool dark room. When I got back, they were certainly dry, but the colours had changed quite a bit. I’m no expert but I wonder if the room wasn’t quite dark enough, though I have to say I do like how much more autumnal it now looks with the flowers and berries in beige and brown. Let me know if you know a better way of preserving the colour in the comments below! Anyway, I did a bit of research and with my limited floristry skills, created this DIY wedding bouquet frame. As I say, I’m no expert, and would love to hear if you’ve tried something different, but here’s how I did it…


Dried bouquet
Acrylic sealer
Glue
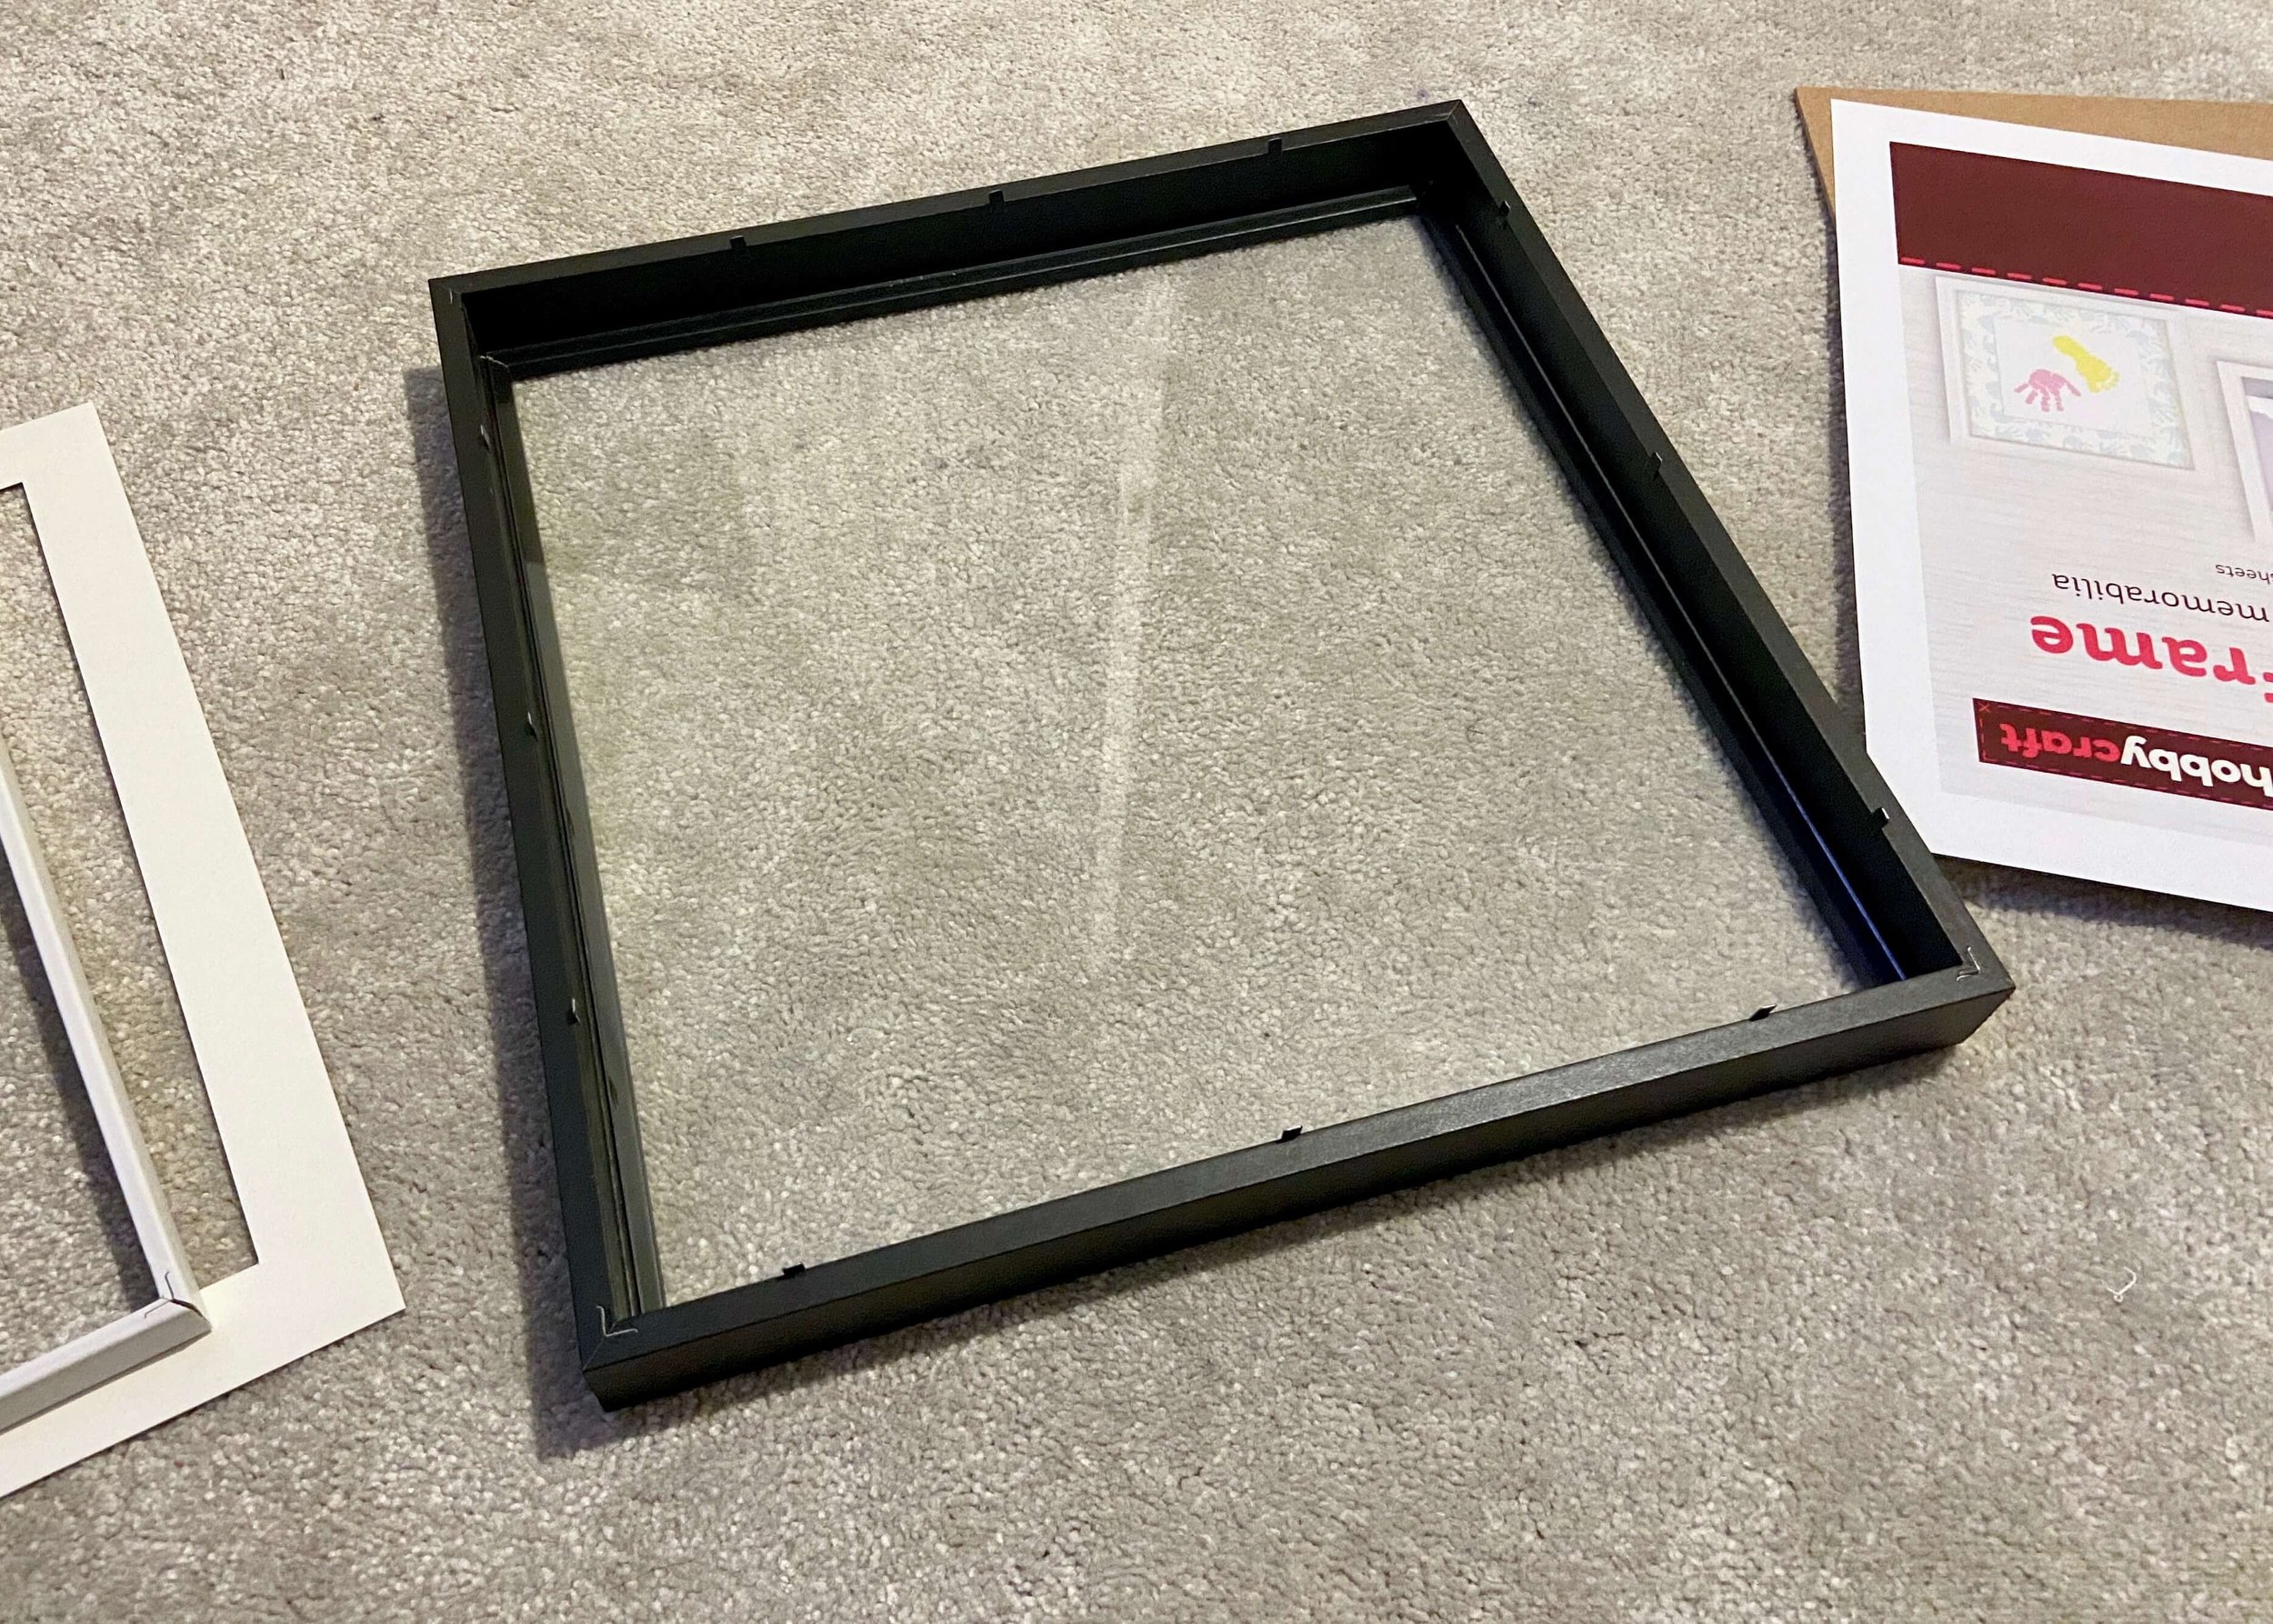
Shadow Box


1.
First of all, poke some string through the middle of your bouquet and hang it upside down in a cool dark room to dry. This can take 2-3 weeks.

2.
Once dry, seal your flowers and foliage with an acrylic sealant. Here I sprayed the whole bouquet but later I realised I needed to take it apart and spray them individually.
3.
Buy a shadow box frame and take it apart.

4.
Turn the paper backing that comes in the frame over and stick it to the wooden backing of the frame with glue.
5.
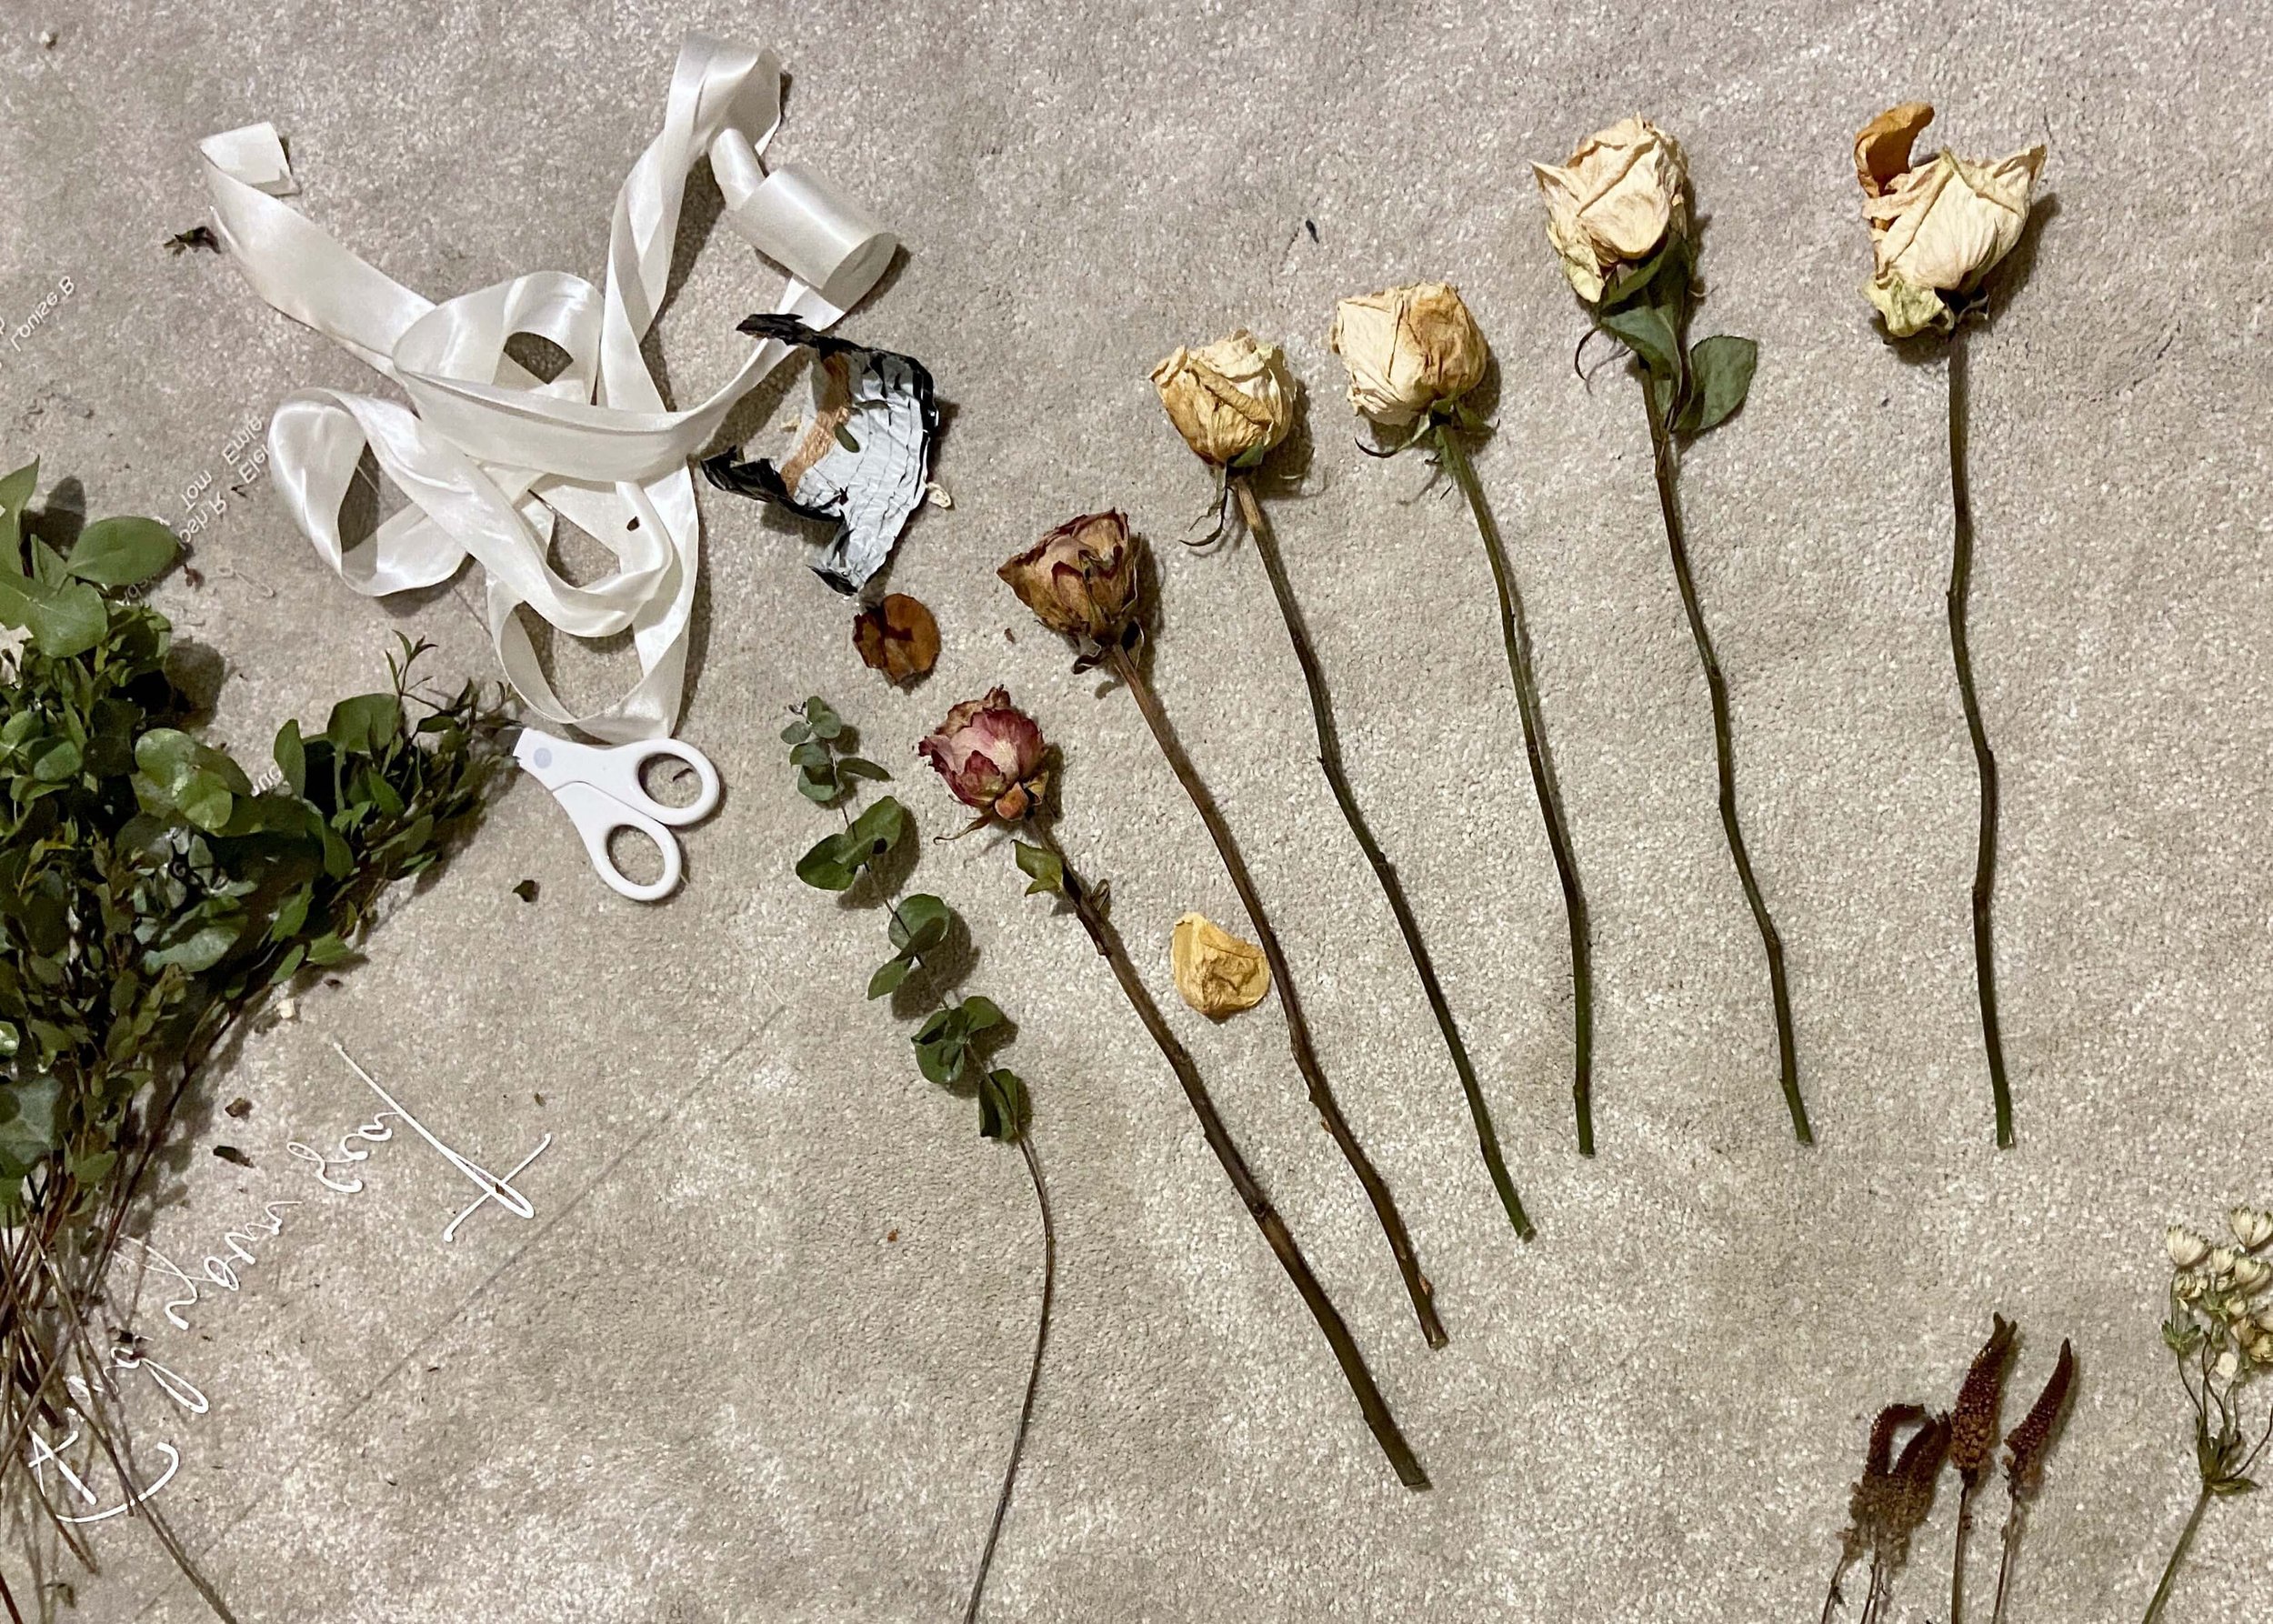
Next, careful remove the ribbon around your bouquet and cut any tape or twine holding it together. Carefully separate your bouquet and the individual flowers.

6.
I couldn’t fit more than half my bouquet in my frame and so I loosely organised these in my hand on top of the frame backing cutting the stems to fit.

7.
Once I was happy with the arrangement I used cellotape to stick the arrangement to the backing.
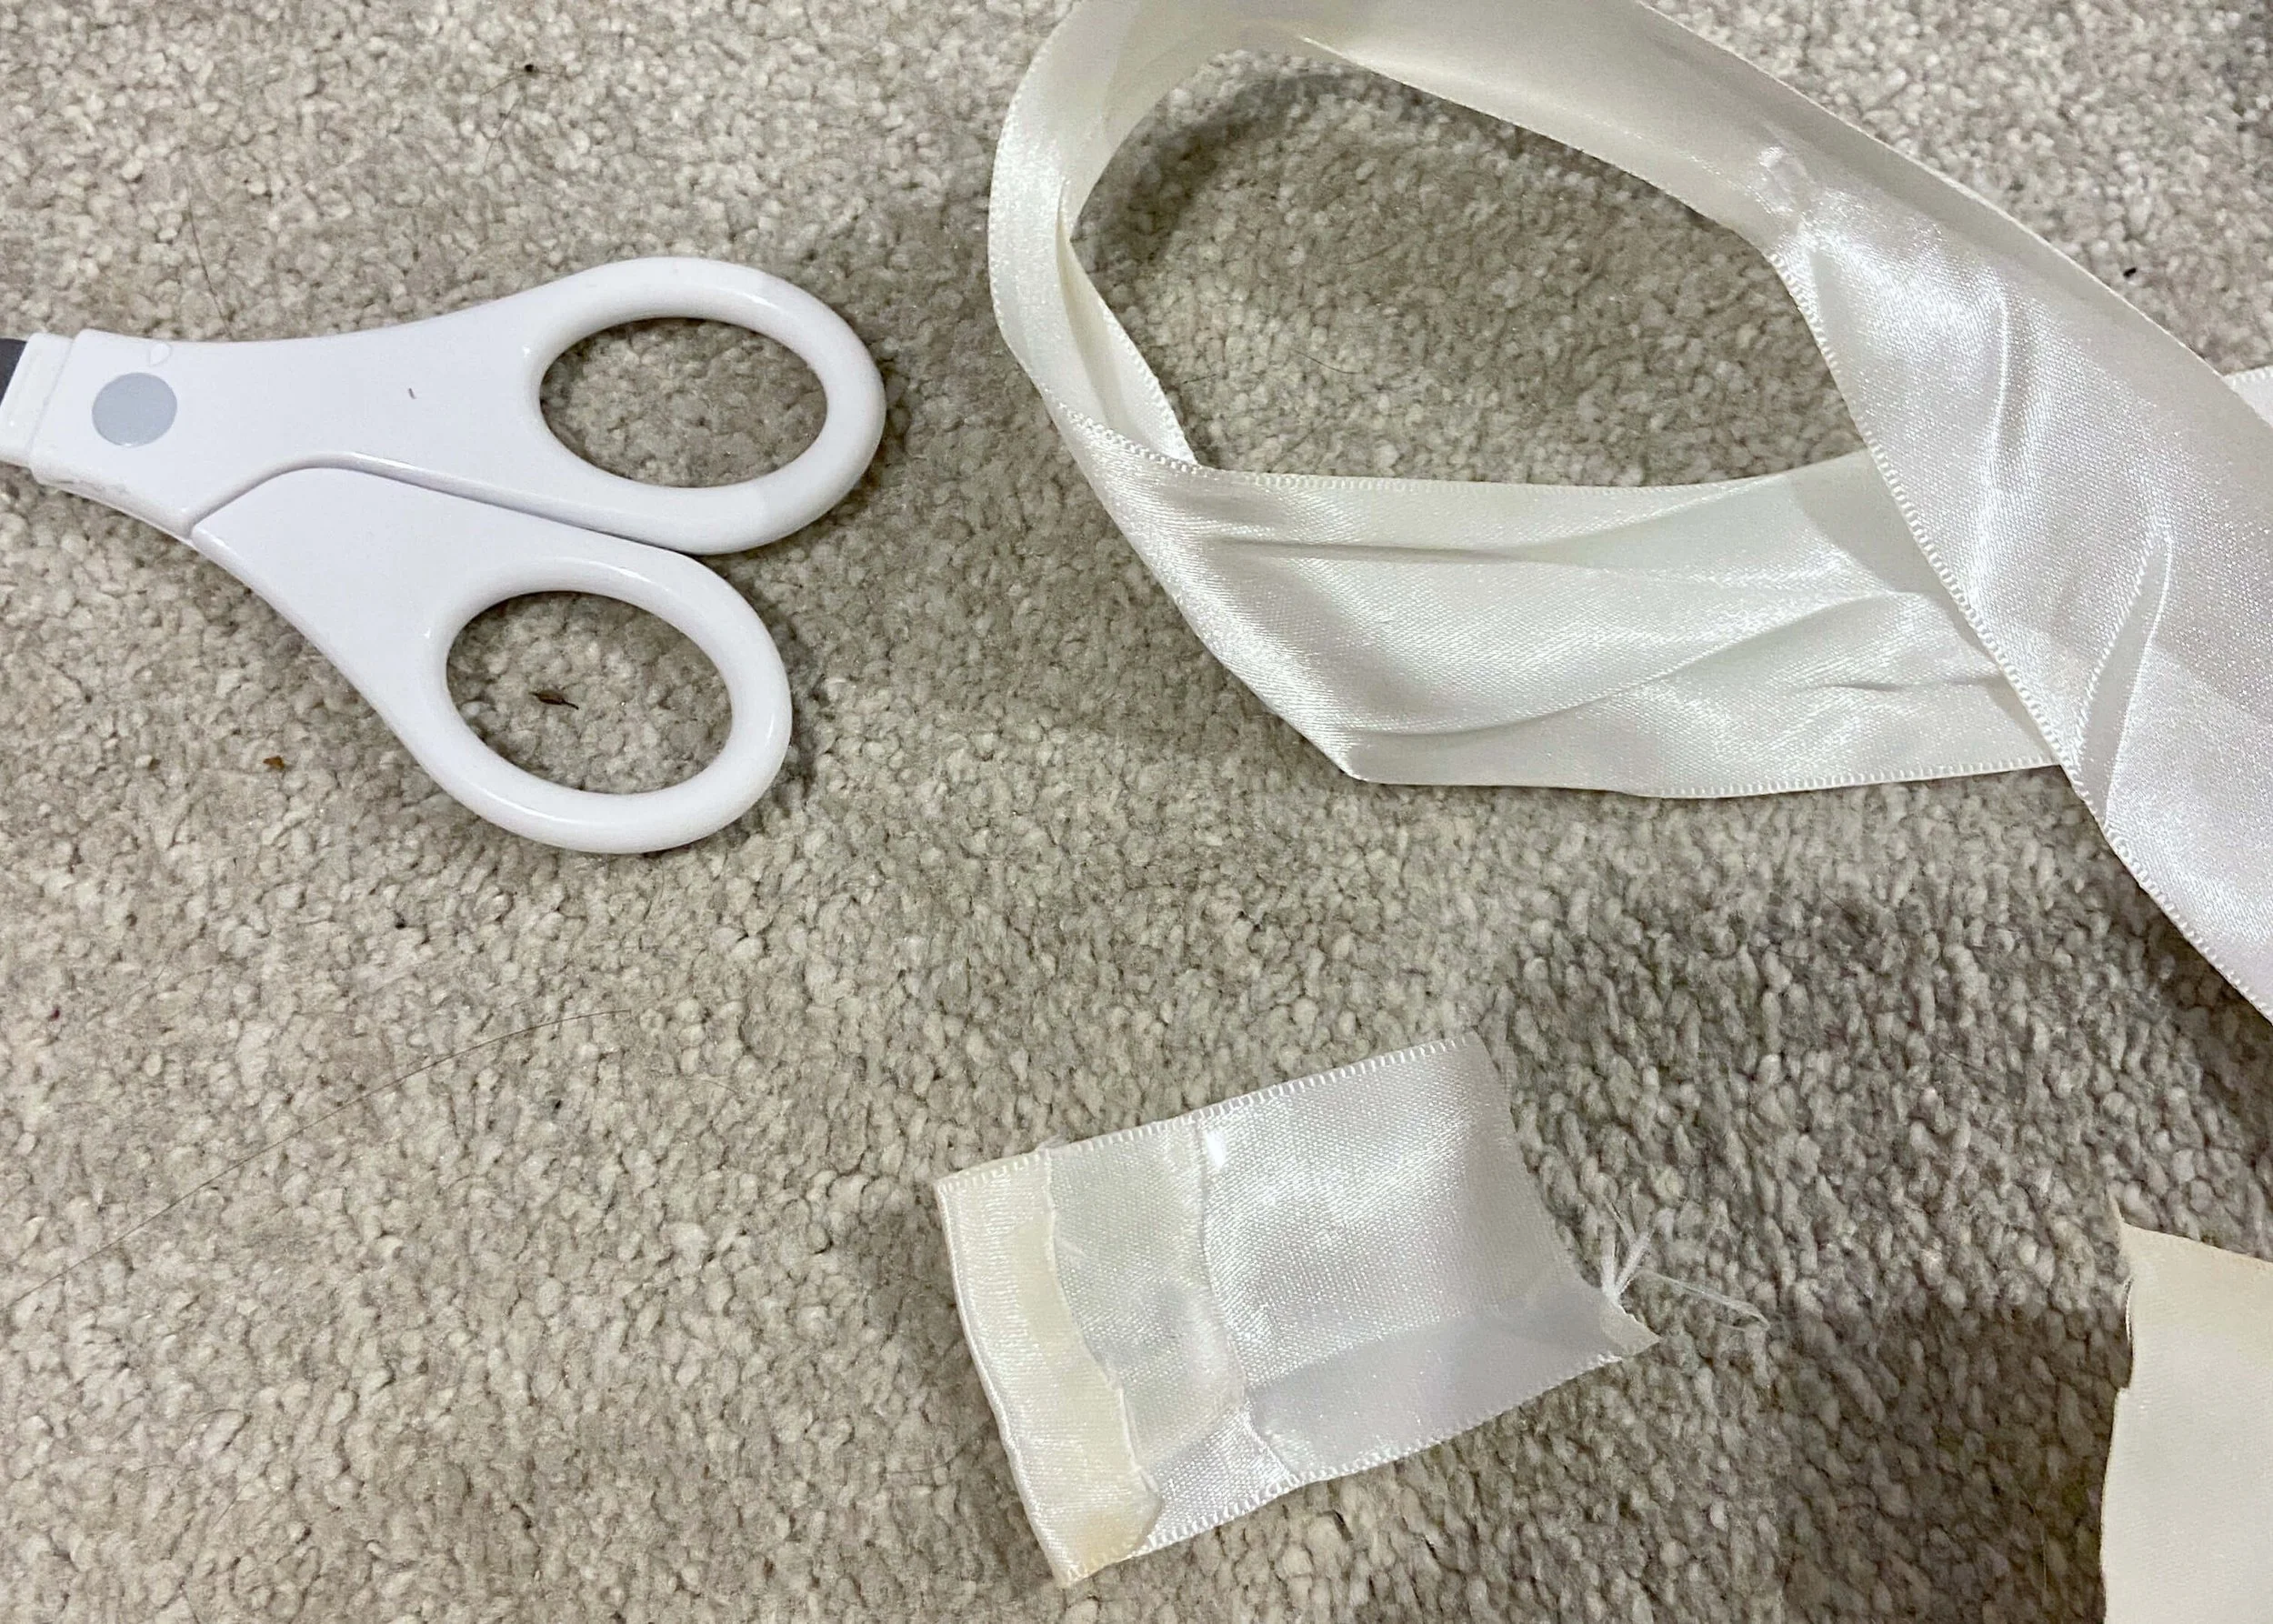
8.
Cut off a short length of your original bouquet ribbon and stick the ends under so they are neat and not frayed.

9.
Stick the ribbon over the cellotape with glue and then carefully push in some of the pins from your original bouquet. Glue stem bottoms beneath this to make it look full.

10.
Add in any stems where you have gaps, and then carefully place the rest of the frame over the bouquet and backing. Be sure to have all of the metal tabs wide open for this. Once it’s in, turn it over and press all the tabs down.


