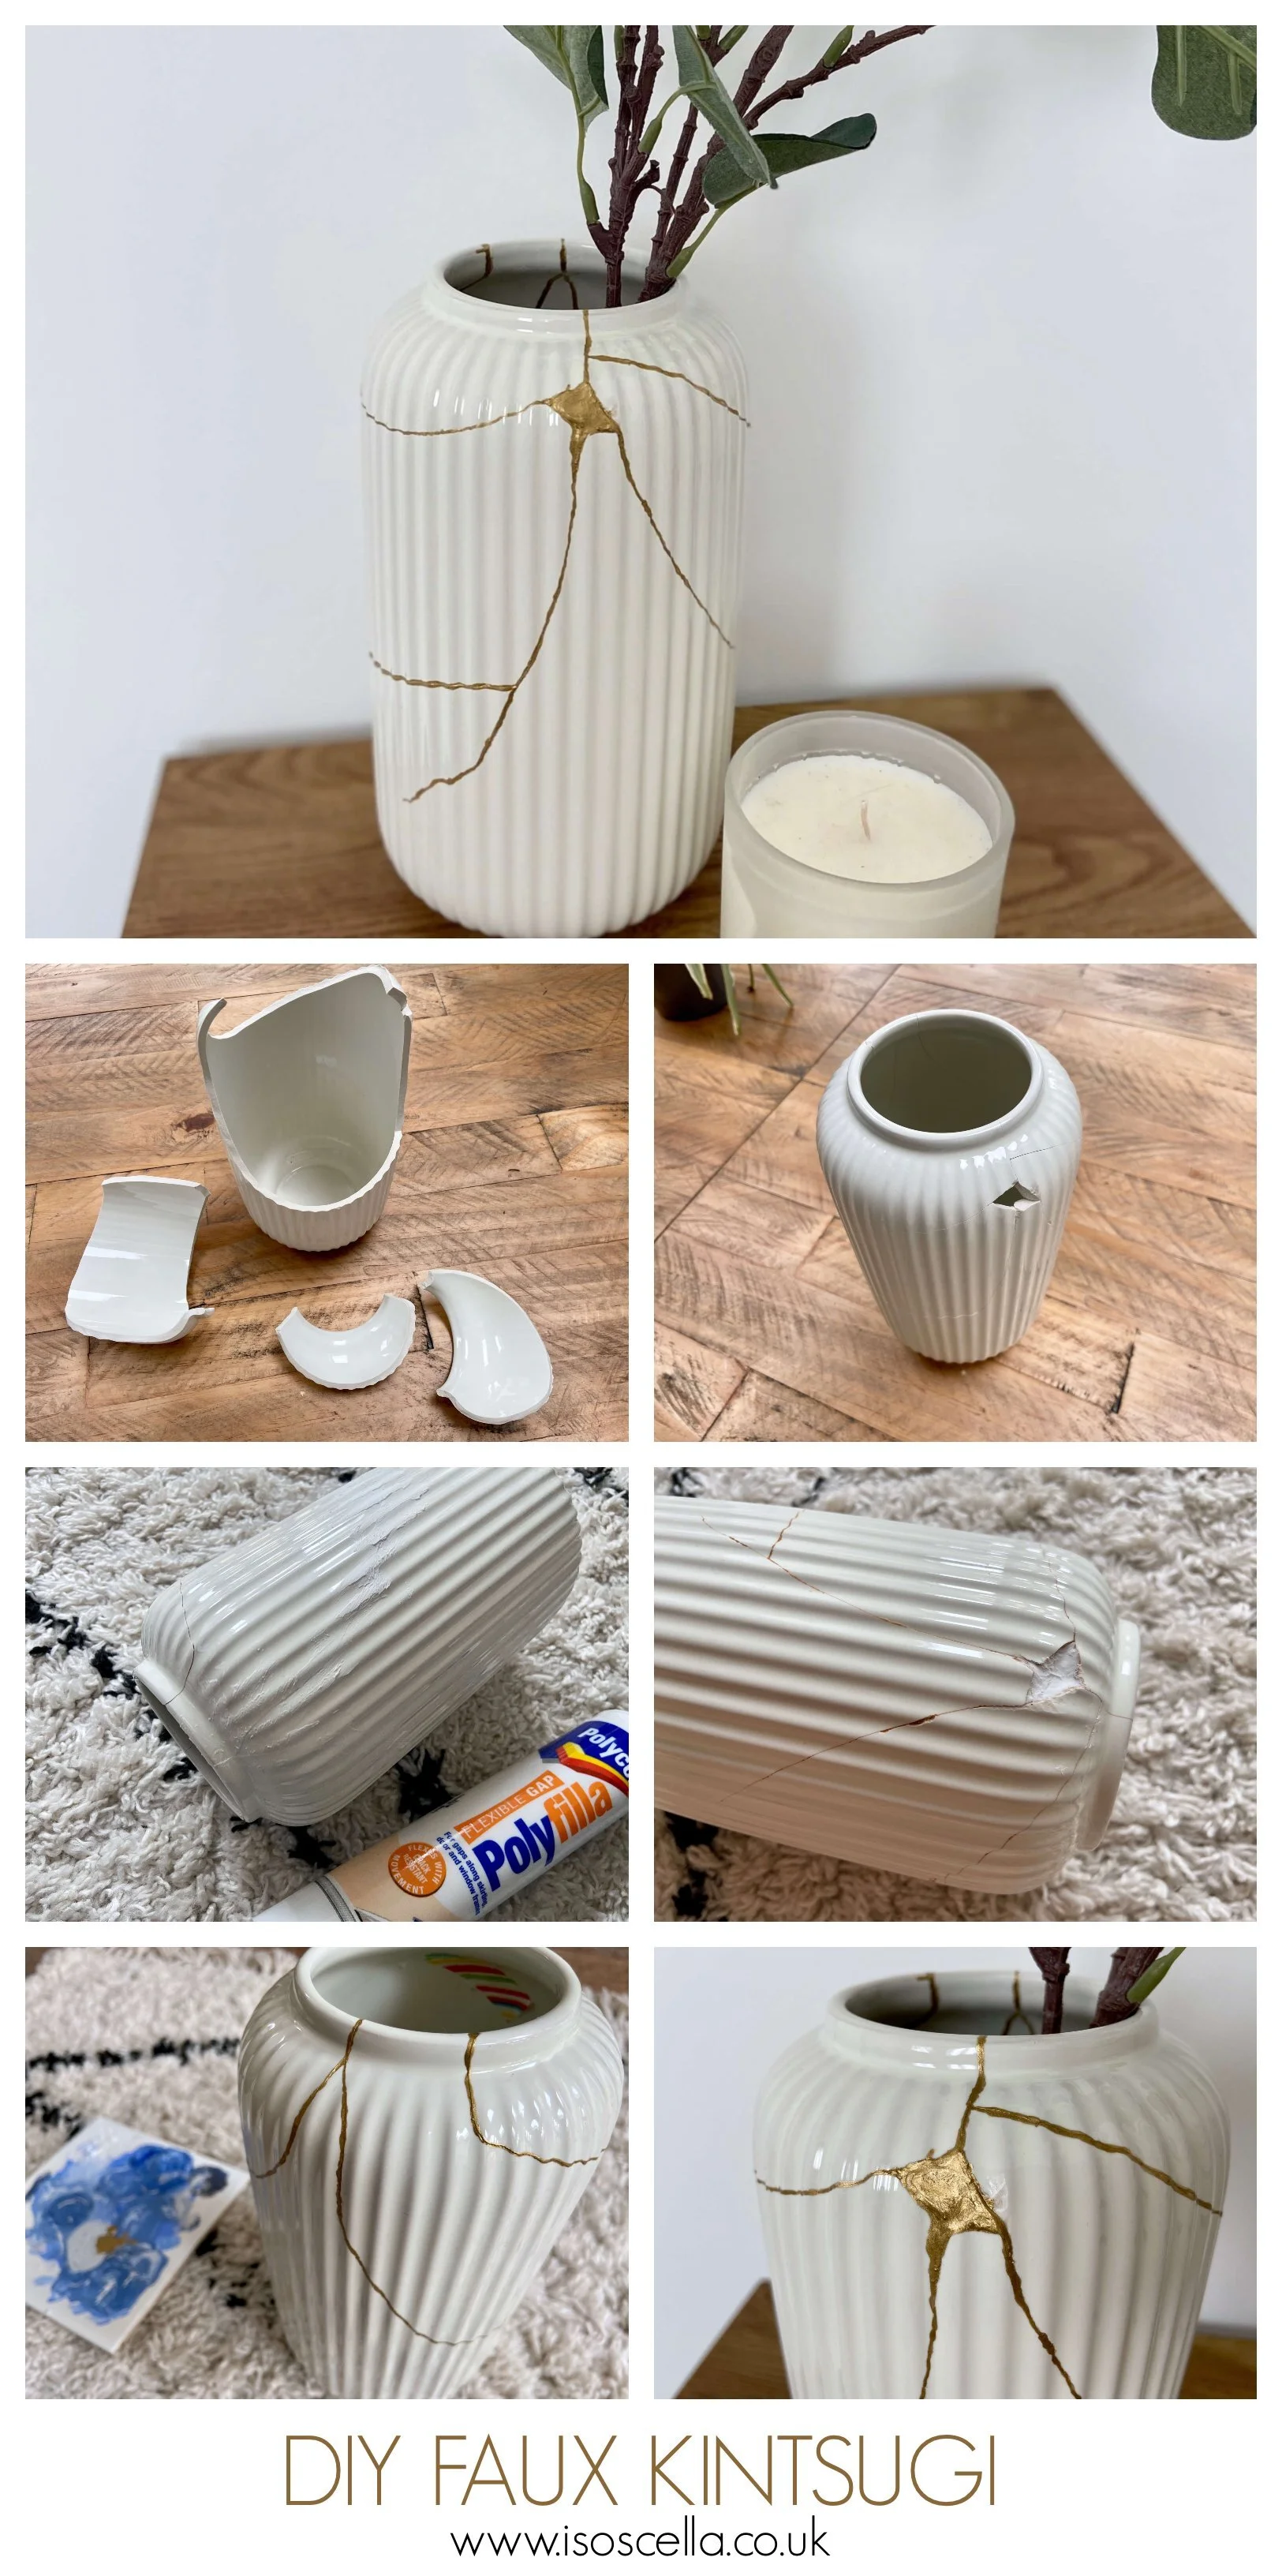
Give broken vases a new lease of life with faux kintsugi!
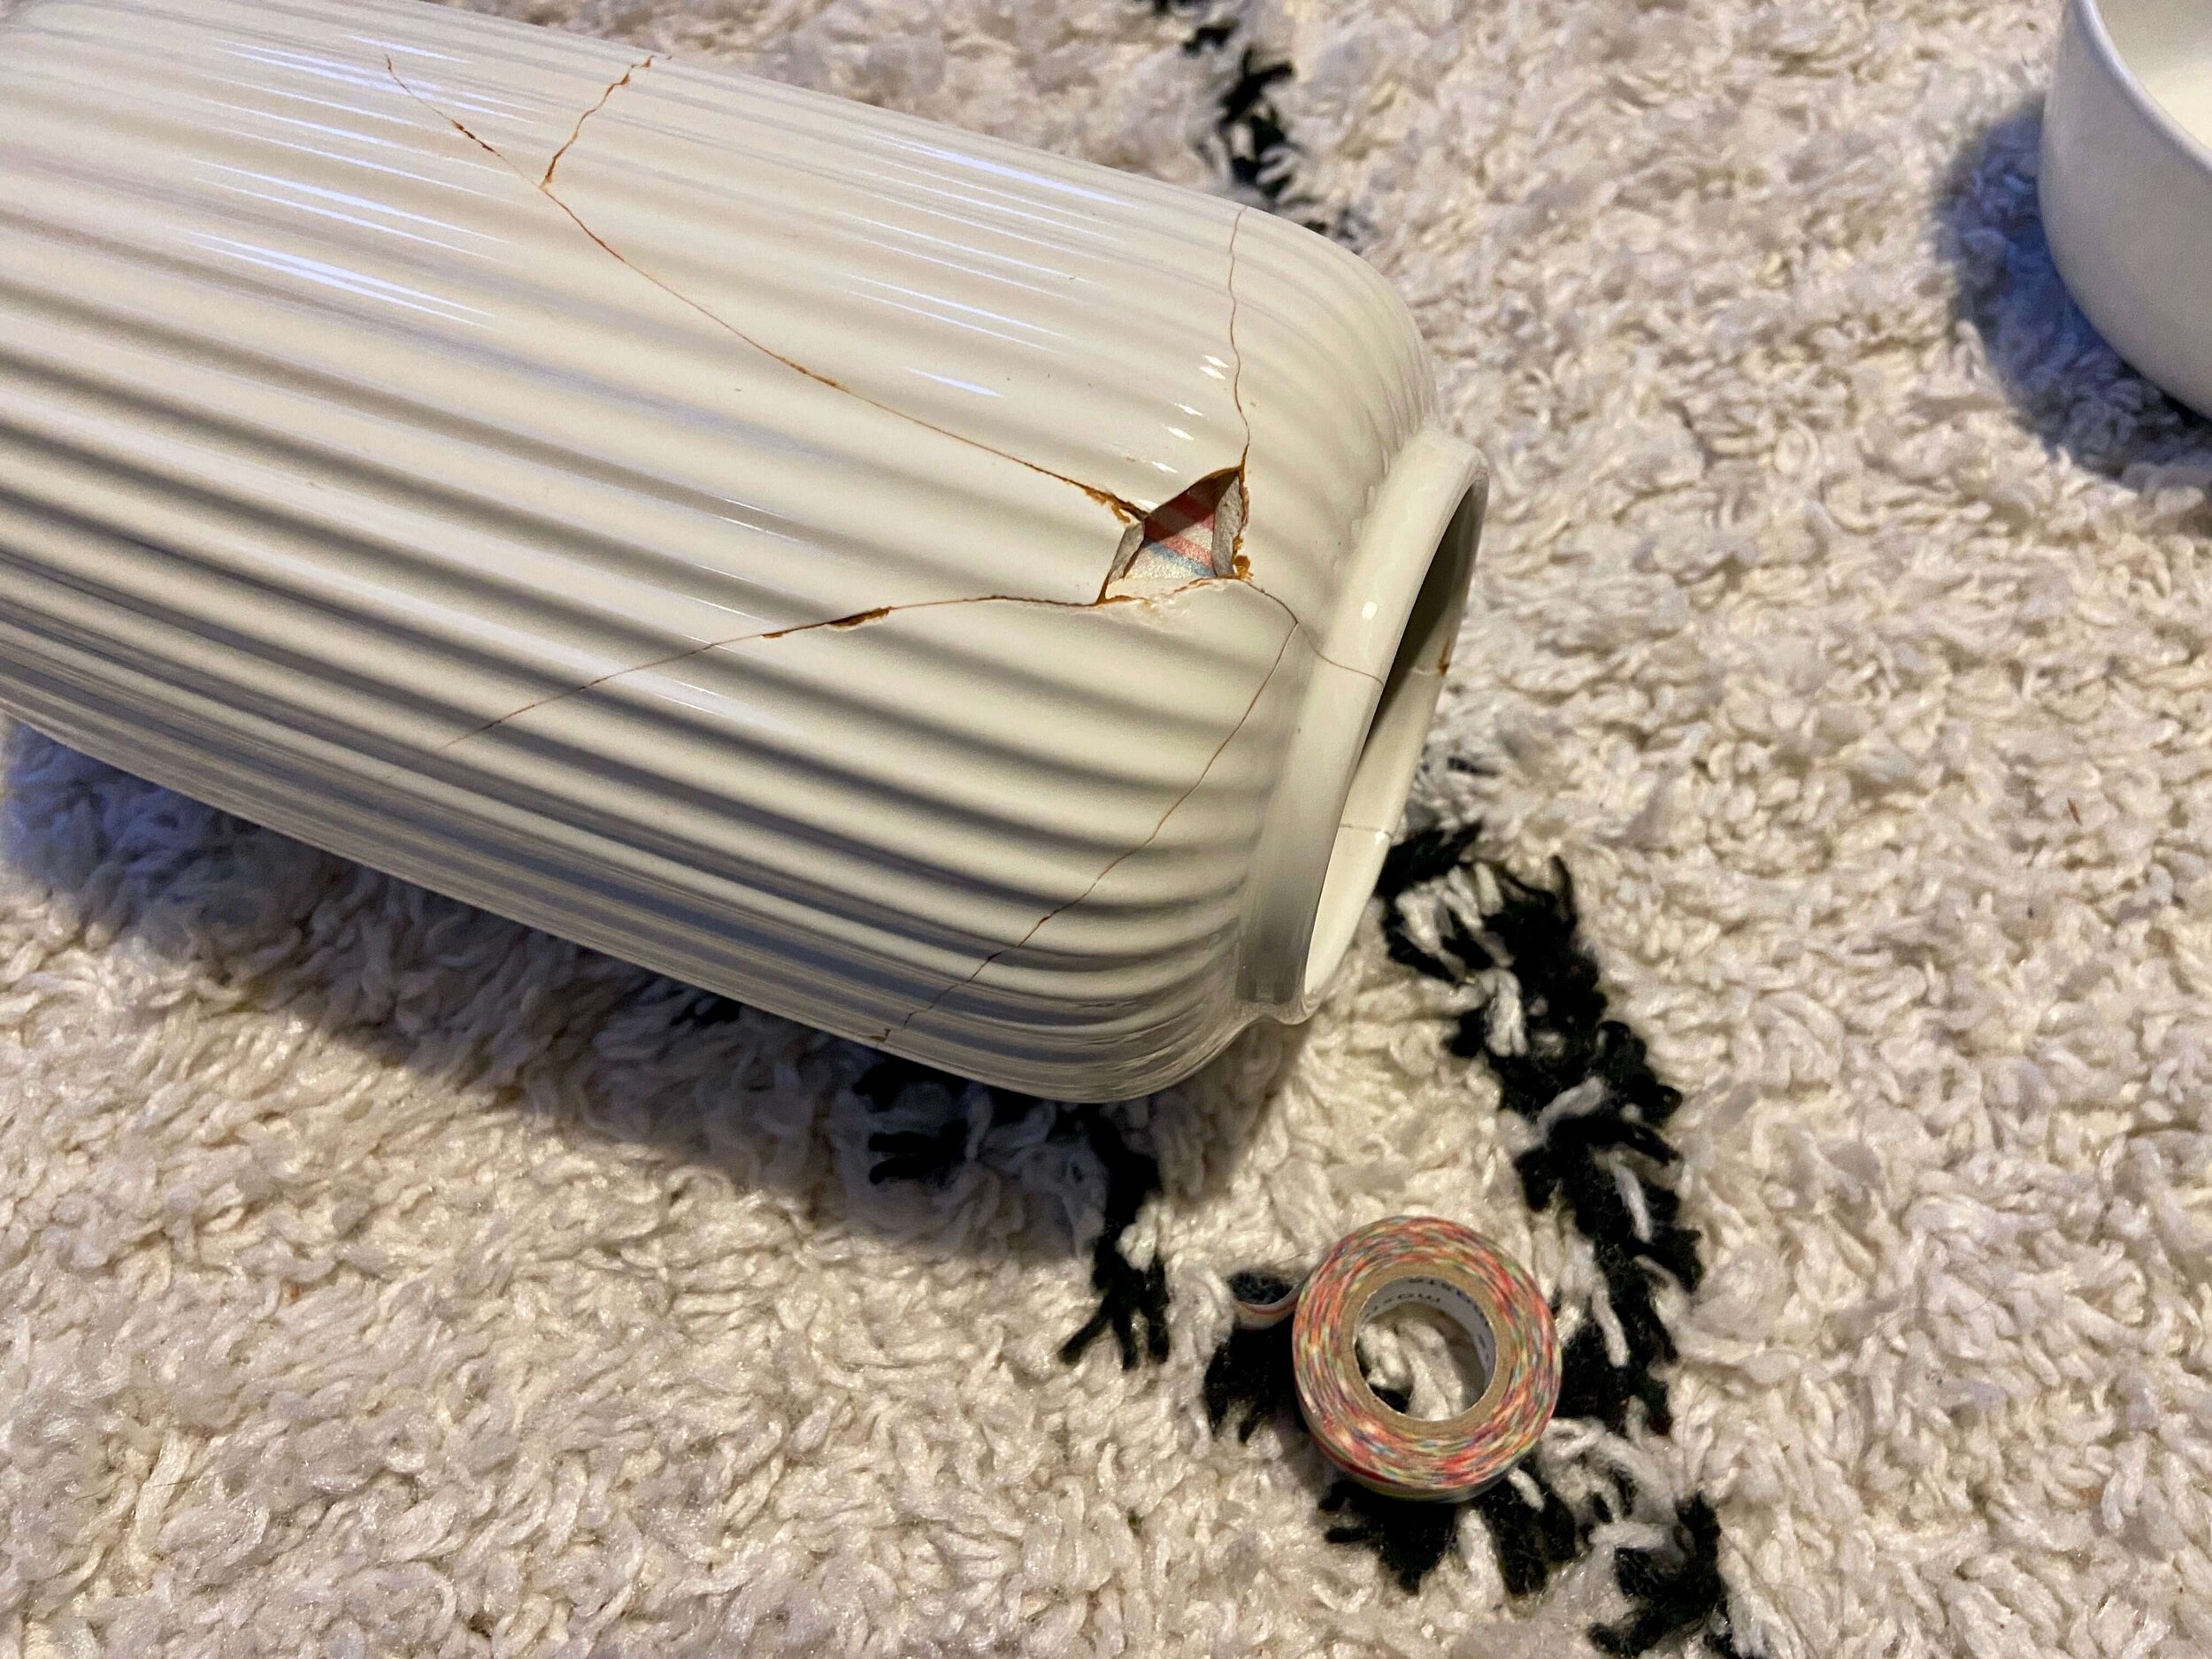
If you follow me over on instagram, you might have seen a story of mine recently where the kittens broke another one of our vases (lucky they’re so cute!). It was such a shame as although its just an Ikea vase I loved the style of it. Ikea is a bit of trek for us, and it was literally a few days later that we had a delivery from them, so we don’t have any immediate plans to get another delivery or head up there (although that could very possibly change!). Anyway, it broke really quite cleanly and although we lost a bit of it, when I was looking at the fragments I realised I could probably glue it back together and it would be relatively sturdy.
After a bit of research online, I came across photographs of vases that had been mended with gold (actual gold!), which is a Japanese art of putting pottery back together. It not only looks stunning, but the philosophy behind it, to value an object’s beauty as well as its imperfections without hiding them, is also quite beautiful. I knew I wanted to try and achieve this effect with my vase but obviously melting gold and mending my vase with it was not going to possible. Keep reading to find out how I achieved this faux Kintsugi effect…

Broken vase


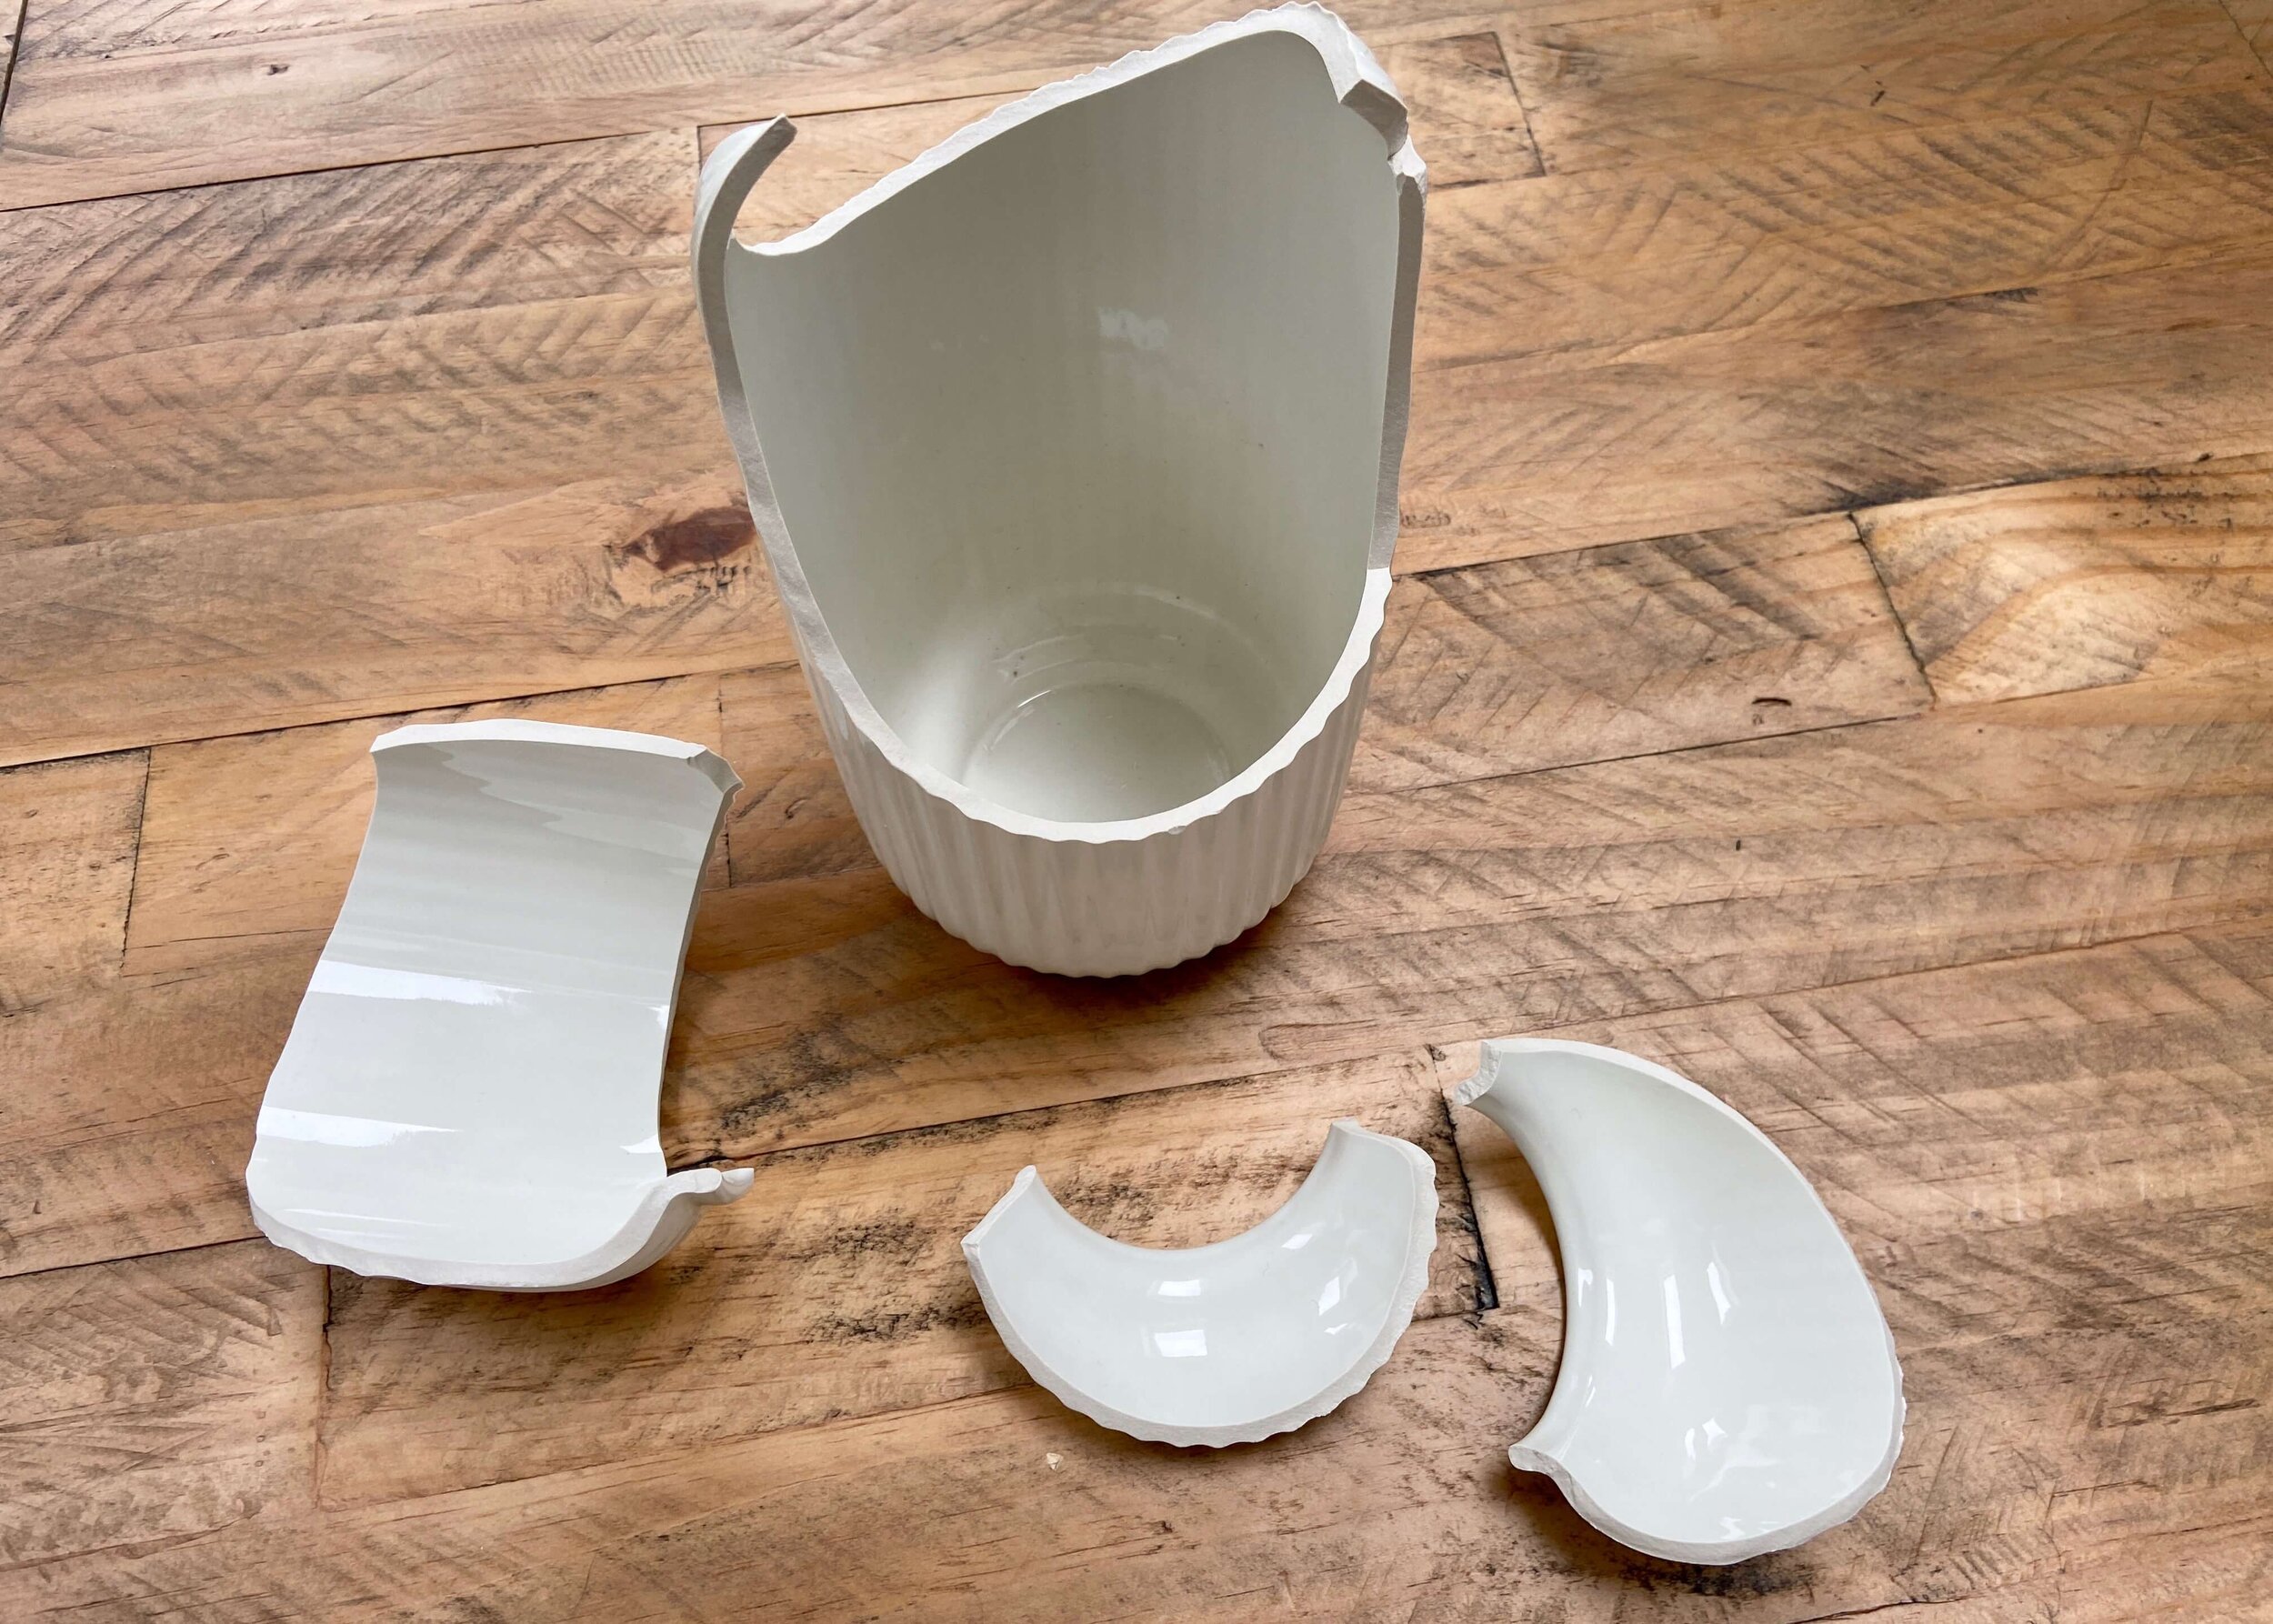
1.
First of all, take your broken vase and the pieces and see if you’ve got enough pieces to re-create the vase. A few small gaps here and there is fine, in fact it adds a nice new look to the vase, but you’ll need to have enough to provide a solid structure.

2.
Once you’ve got your pieces and you’ve worked out what goes where, start gluing your vase back together. I just used what I already had, which was superglue, and although this worked well, if you have a thick glue that seeps out of the cracks and gives them some texture, that would be perfect.

3.
Leave your vase and glue to completely dry. If you’ve used a nice thick glue you can skip this step, but if like me you used a thin superglue, then fill the cracks as much as possible with a gap filler. I used polyfilla and this is holding up well.
4.
Where you have small pieces missing, stick some tape behind the gap on the inside of the vase and fill the space with your gap filler. Overfill this again and wipe away any excess. Leave this to completely dry.

5.
The gap giller may contract as it dries, and so you may want to add another layer once the first is completely dry. Again, fill to excess and then wipe away to make it smooth.
6.
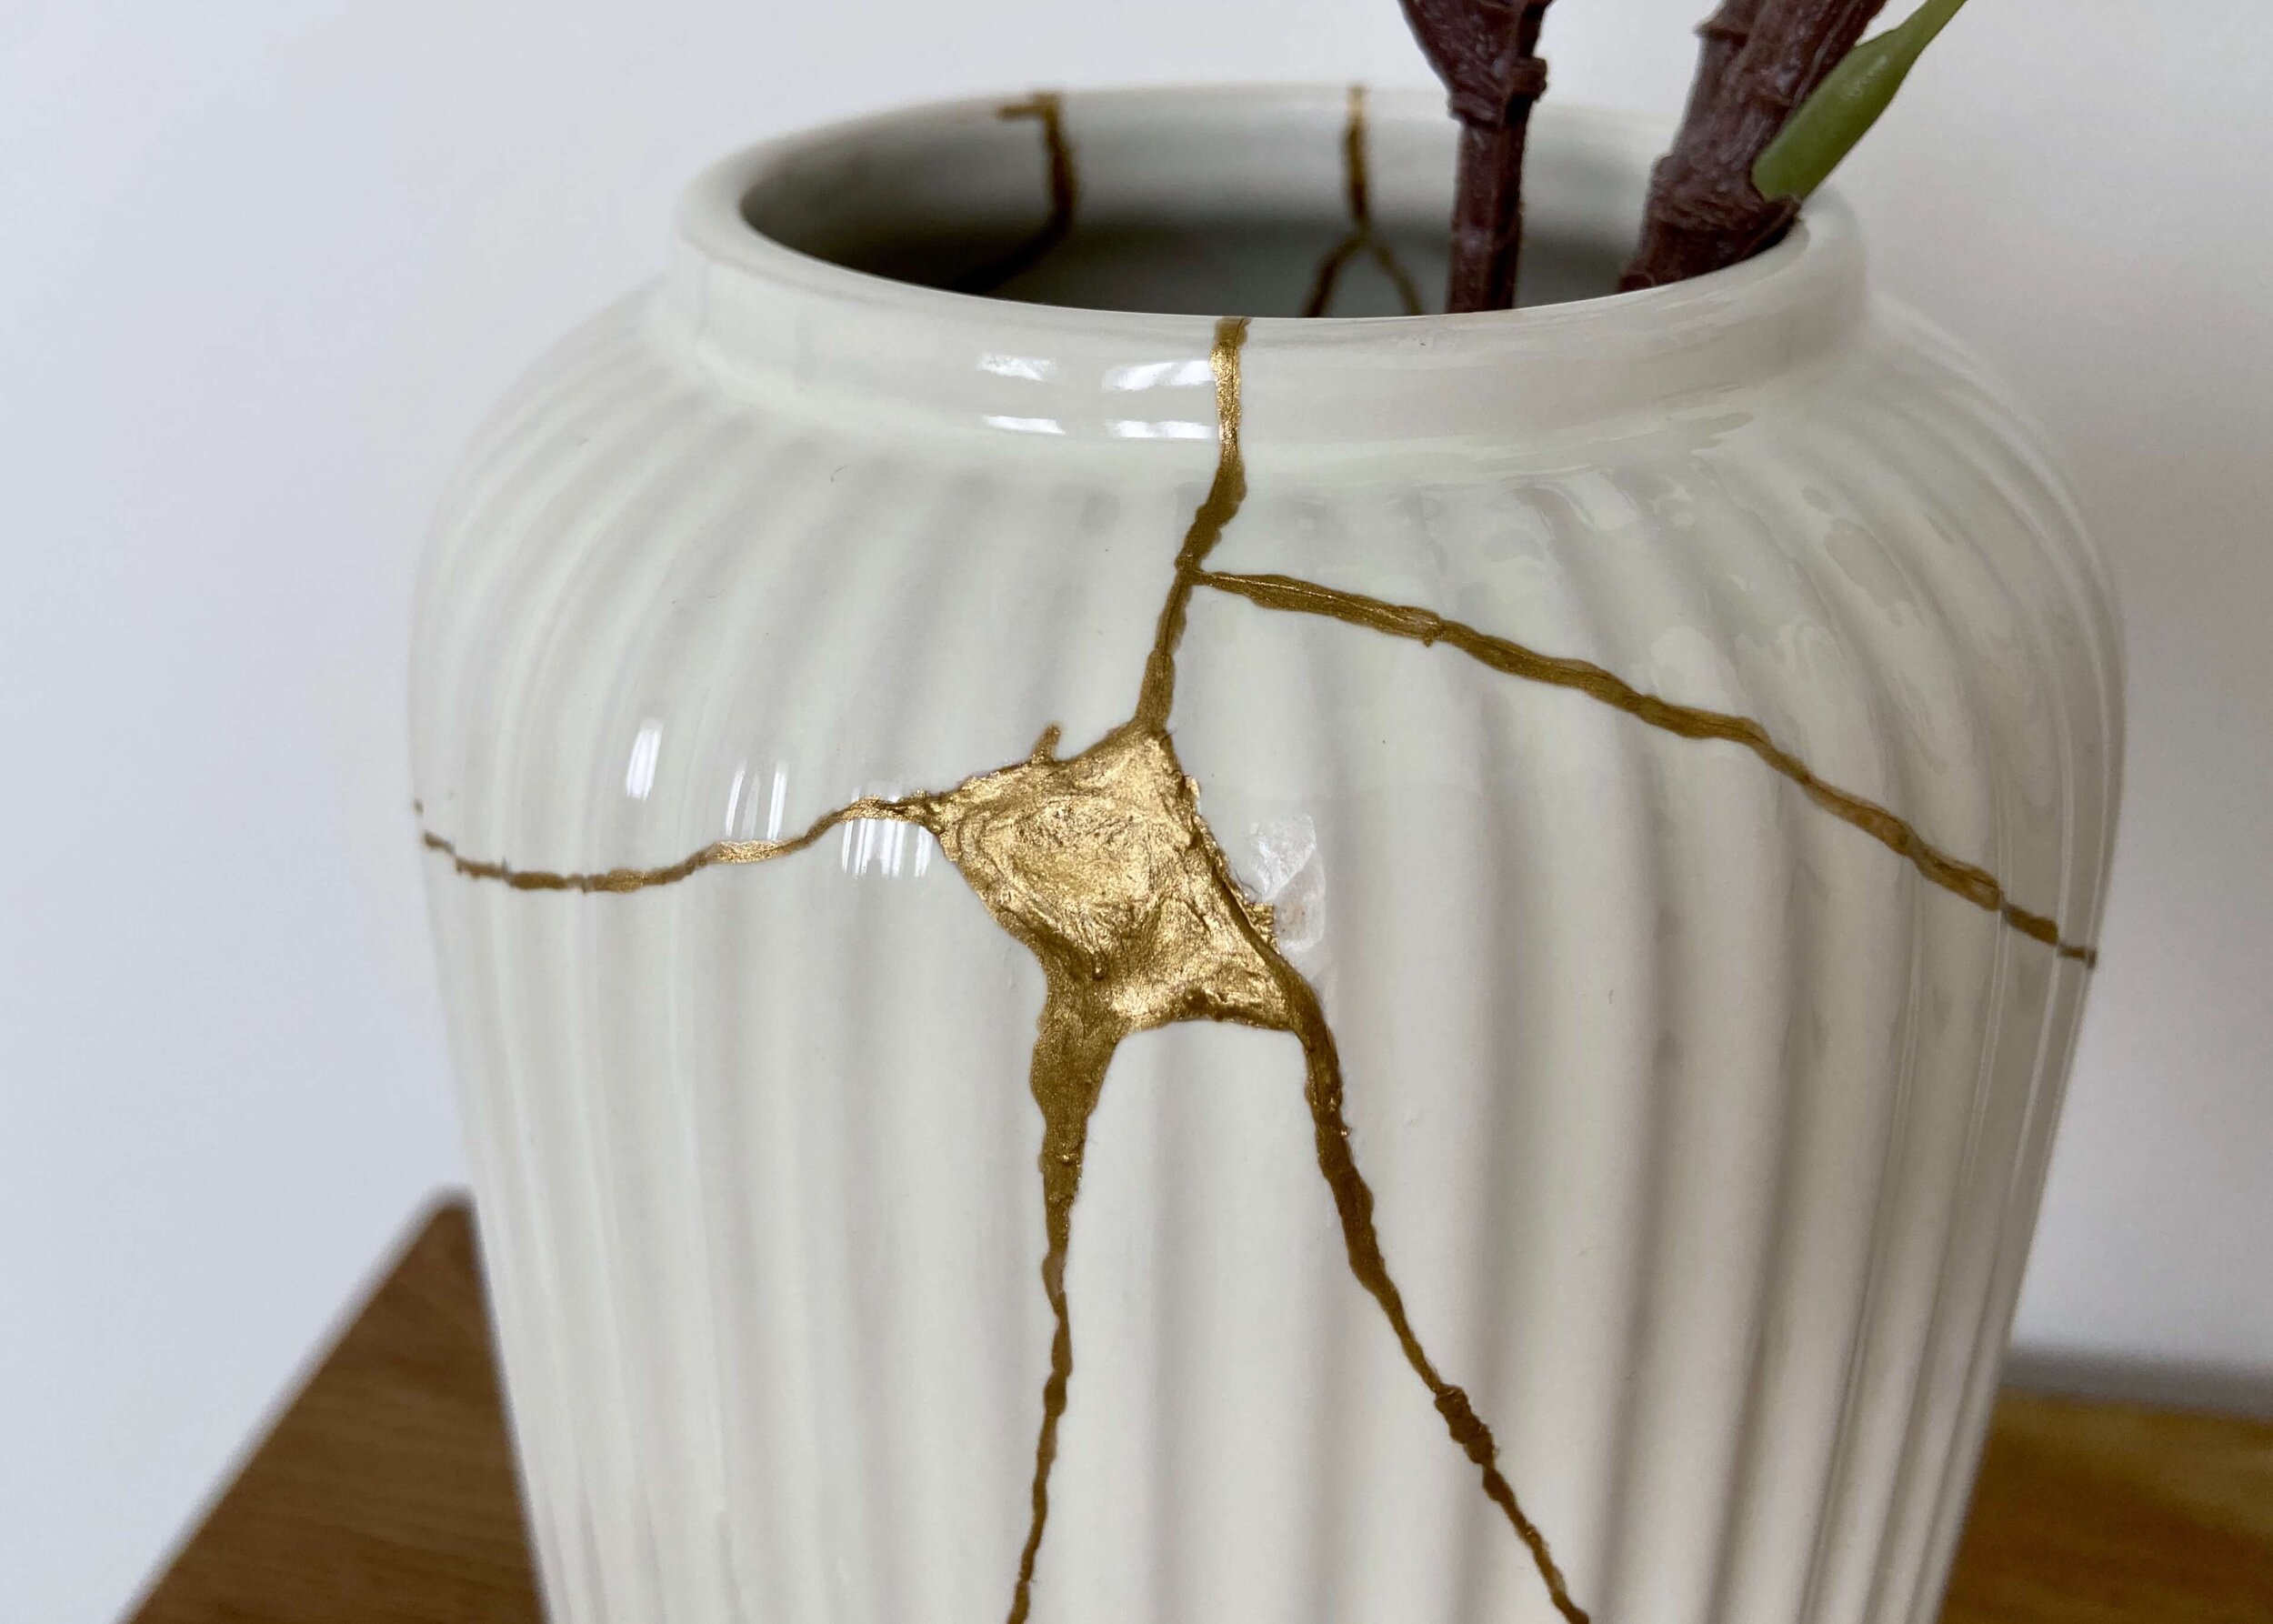
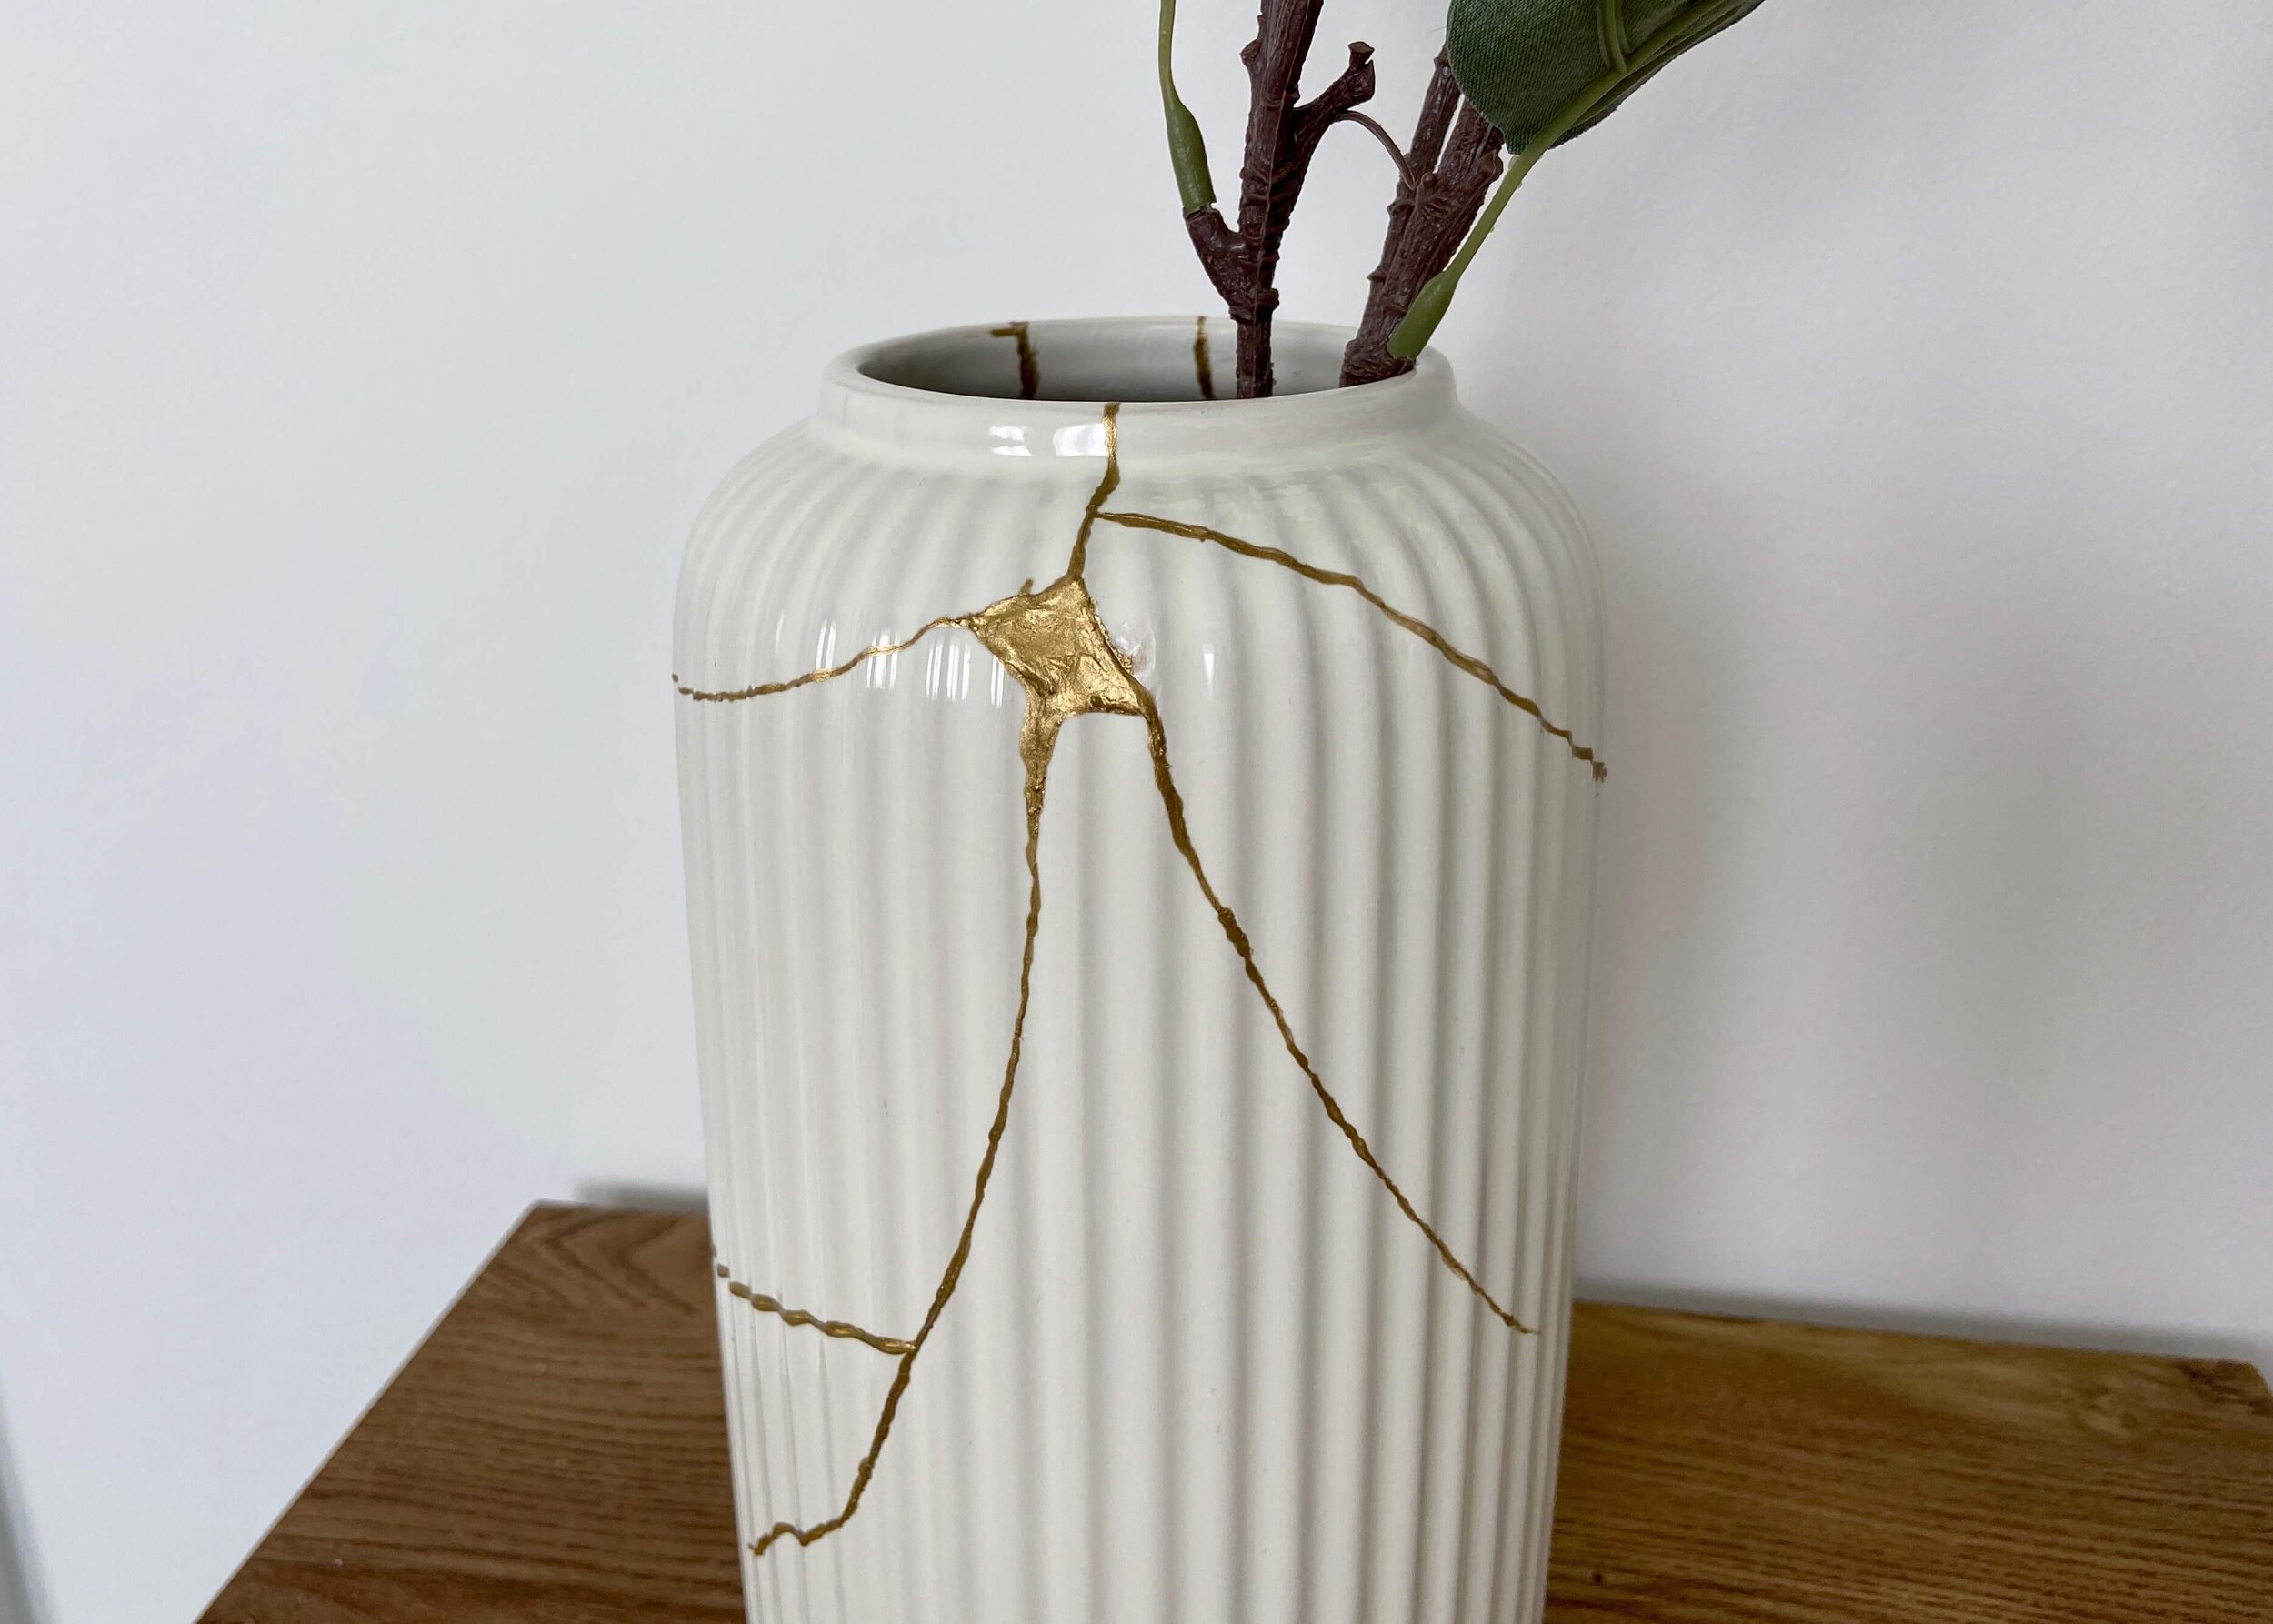
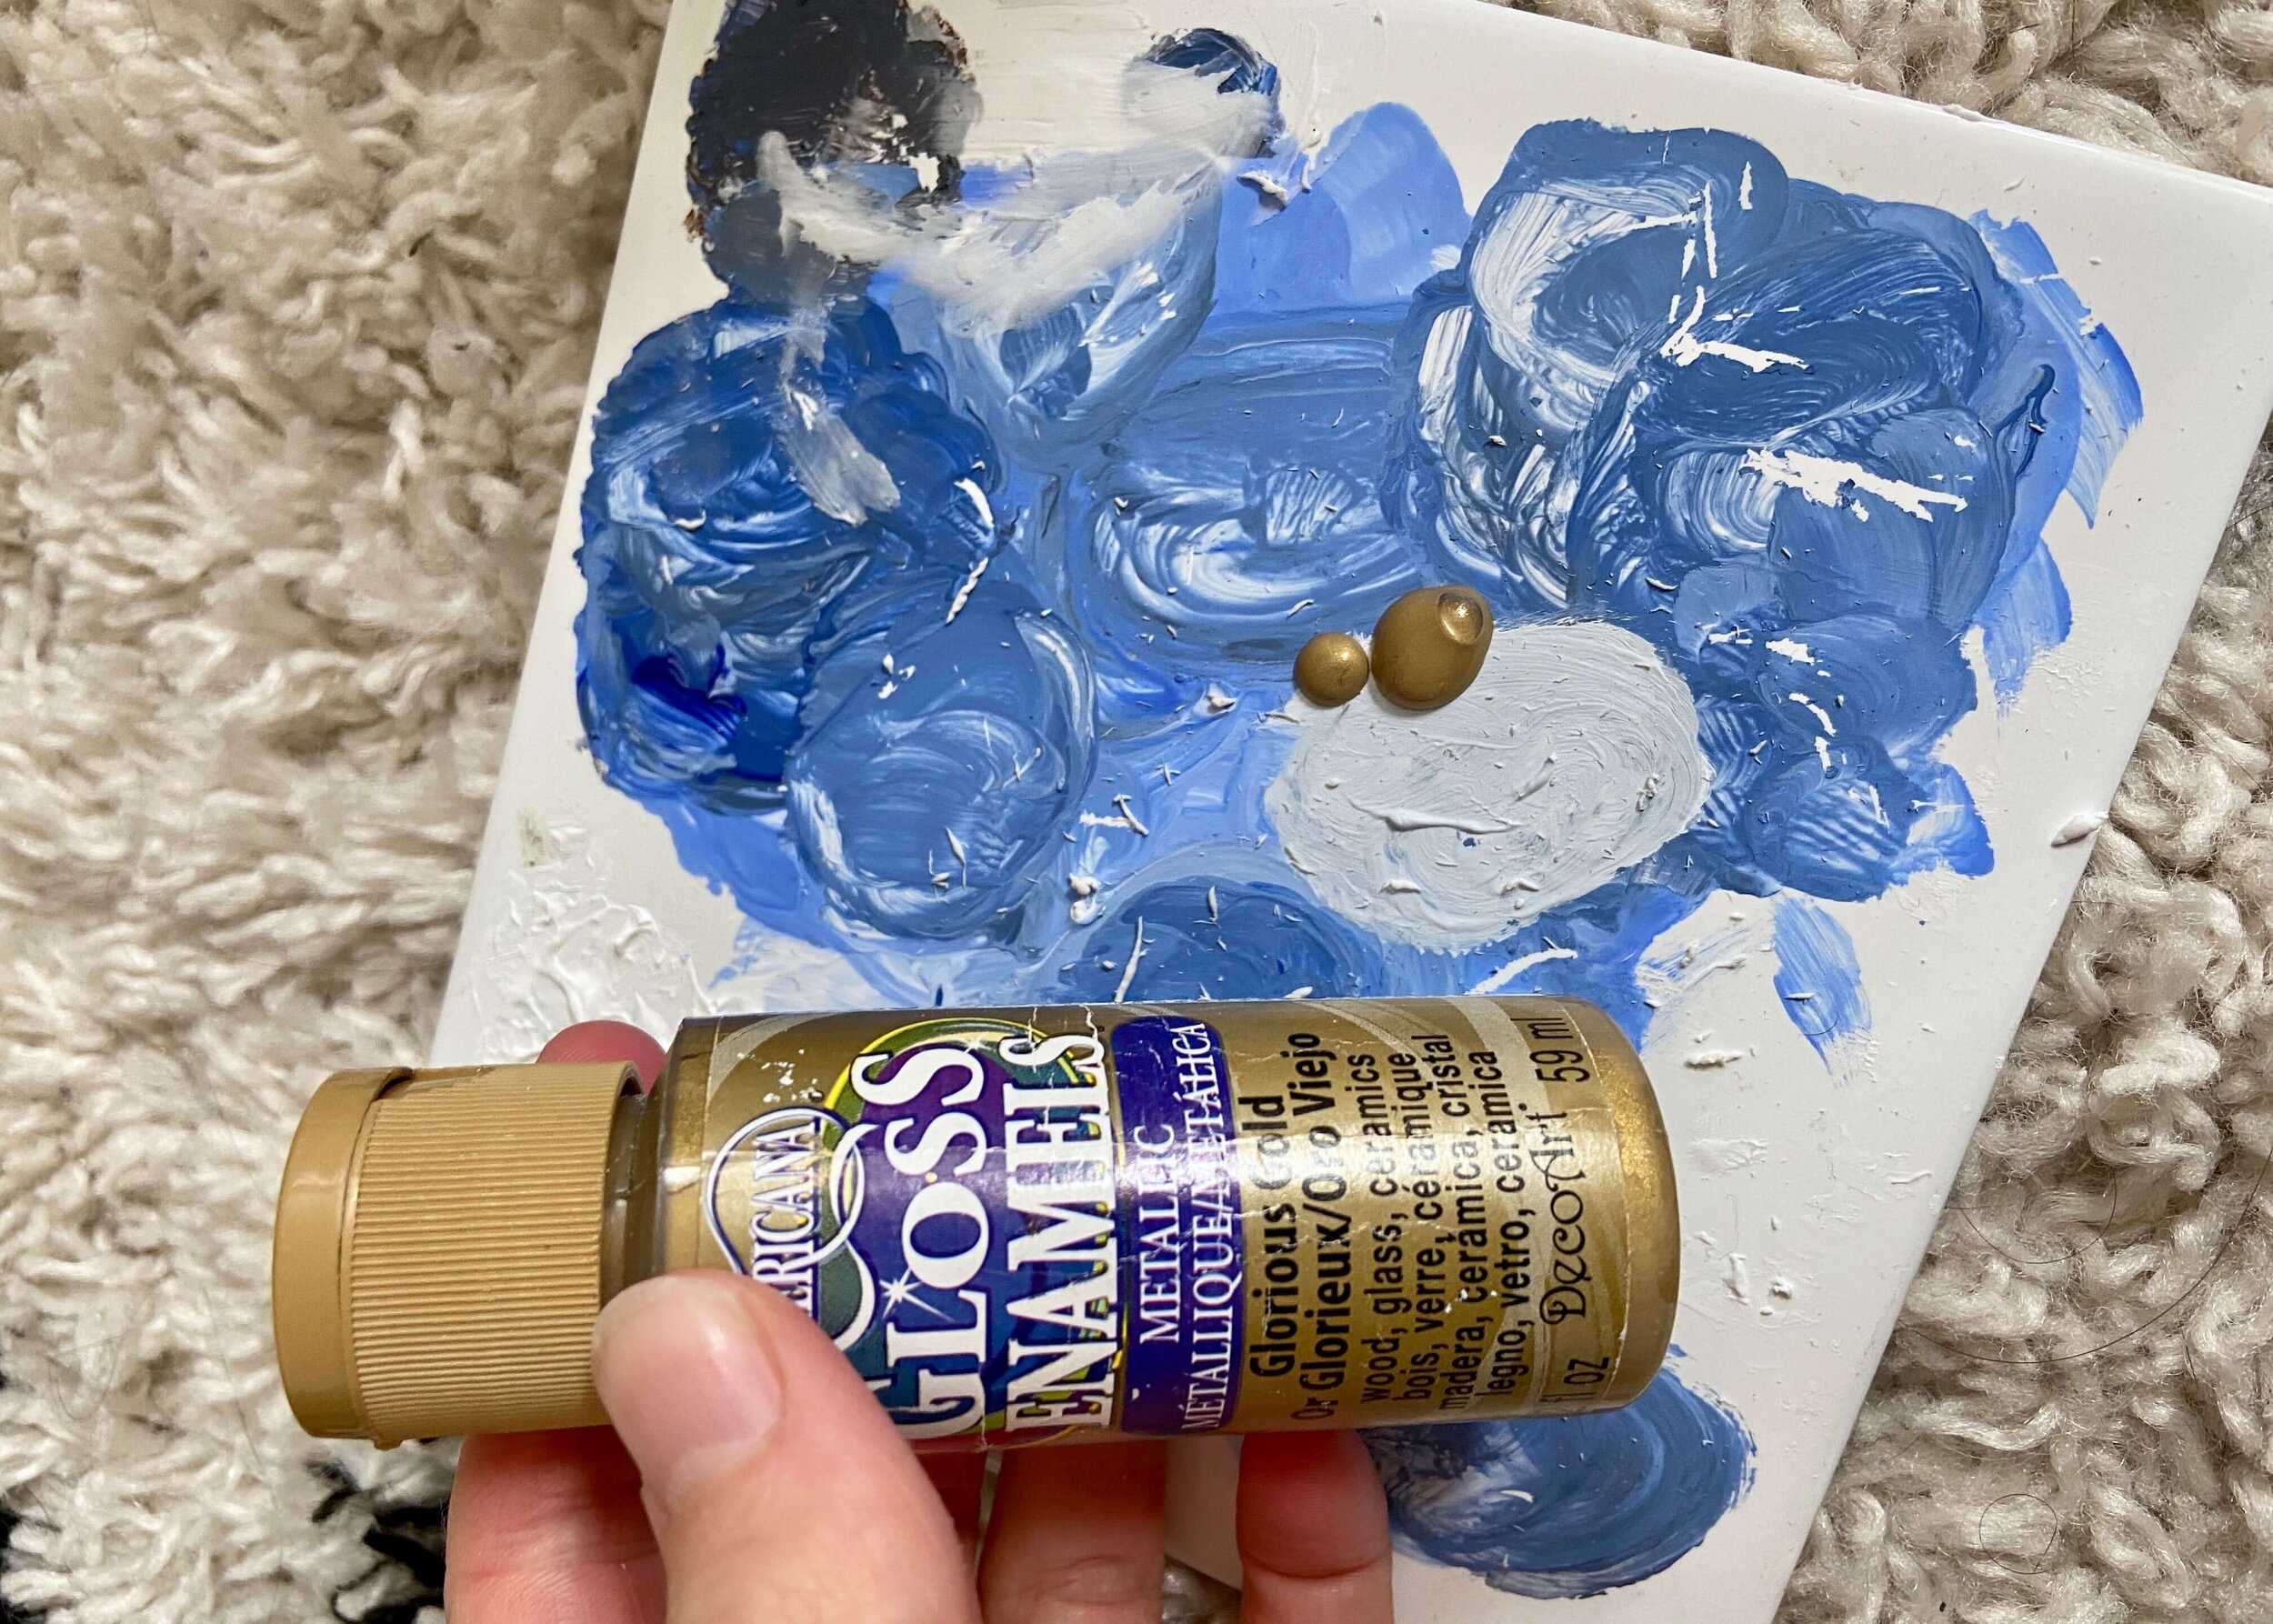
Once this is all dry, find some thick gold metallic paint like this gloss enamel. Using this and a think brush, paint all over the cracks and try to build this up so that it isn’t flat to the vase.

7.
I went over my cracks and gaps with paint twice to really try and build up some depth as with real kintsugi, you get this texture over the cracks where the gold seeps out and sets. Finally, unpeel the tape from inside your vase and leave to dry.