


It was the first room we painted and I’m so excited to reveal how it’s now looking!
Being the smallest room in the house, the downstairs toilet or cloakroom, was the first room that I took some dark green paint to. I painted the wall facing the door in dark green, but after living with it for a year, the one coloured wall began to feel a bit jarring. After a scroll on Pinterest, I fell in love with the idea of continuing the green all the way around the top of the room and having white panelling on the bottom half. Beadboard looks great in bathrooms and cloakrooms but having watched a few DIY-ers on Youtube install it, I realised the cutting around the toilet and sink was way beyond my skill set. In my search for an alternative, I came across this textured faux beadboard wallpaper on Amazon, and although I’d never wallpapered before, it seemed as though it would probably be easier to do the cuts I needed with the tools I had. I definitely went into this optimistically, but I love how this room has turned out. Keep reading for all the DIY details!

WHAT WE DID
First of all, I removed everything from the walls and decided how high up I wanted the wallpaper to go. It made sense to keep the panelling the same height as the top of the tiles above the sink, and so using a level I marked this all the way around the room. I then taped off any woodwork and the ceiling and painted two coats of dark green paint above this line. I absolutely adore this paint by Rustoleum, it has such a nice finish, is so easy to apply and dries really quite quickly. Before the paint was completely dry, I removed the painter’s tape.


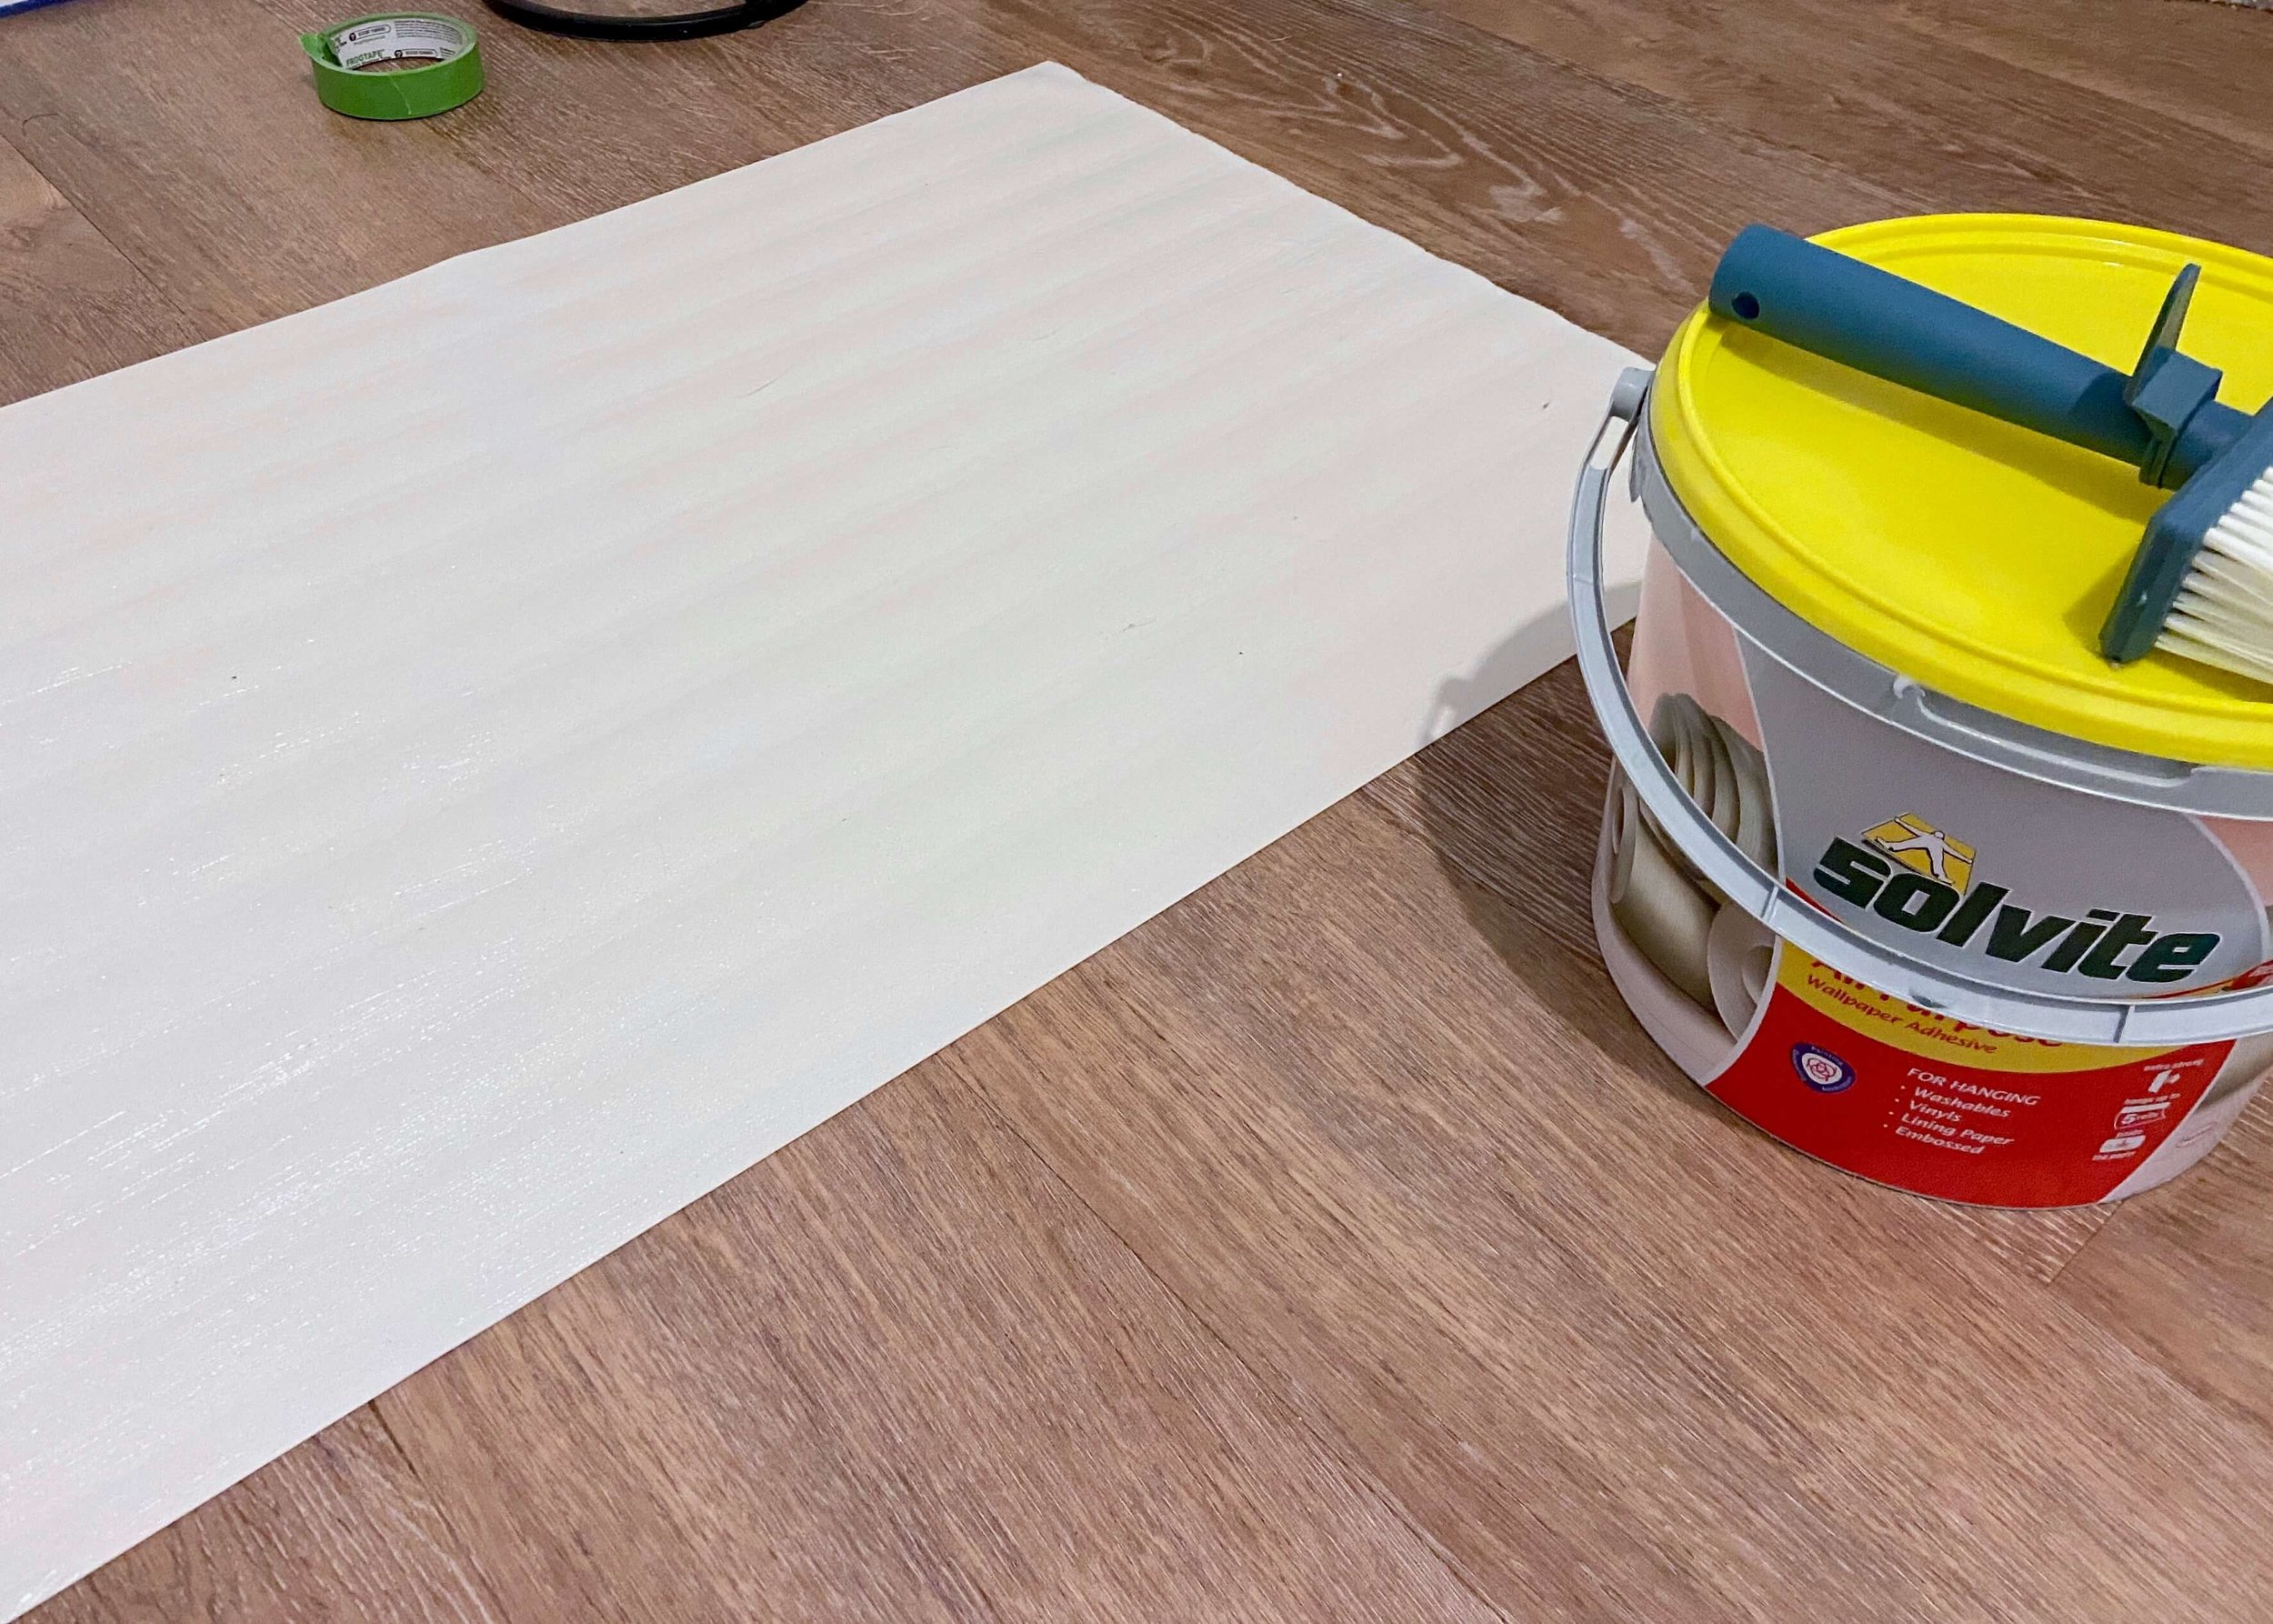
Next, I measured the height needed for the strips of wallpaper, and as I was a newbie, I cut off lengths of wallpaper and worked with them one at a time. I would definitely recommend cutting your wallpaper a little long; I cut mine around 2cm longer than I needed. This meant that I had plenty, and could cut the bottom right up next to the skirting board (which is often not straight!). Once I had my strip of wallpaper, I applied a generous amount of wallpaper paste, and left it to soak in for 5 minutes. I then lined up the top of the pasted wallpaper with the line on the wall and took my time to smooth it out and position it. I found it helpful to use a dough scraper to get all the bubbles out, but you want to be really careful, as this wallpaper is really delicate and it doesn’t take much to dent it or rip it.
I repeated this process all the way around the wall, working from right to left so that the pattern on my wallpaper strips always matched up. I took my time getting the strips as close to one another as possible, and when I reached the toilet and pipes behind the toilet, I stuck the wallpaper to the wall where I could, and used the edge of the scraper and a knife to try and create the tension I needed to get a close cut to them. I struggled a bit with tearing here, but it was so much easier when I moved to using a stanley knife with new blades. I would definitely recommend looking up video tutorials of how to do this, there are tutorials out there that will describe how to do this in a far more helpful way than I can.


We wanted the bottom half white and so once the wallpaper was finished and dry, I painted it using a Dulux matt emulsion. I then cut lengths of pine trim to the lengths of my wall, creating 45 degree angles at each end so that they fit nicely against each other, and painted them in the same white paint. After allowing them to dry, I used No More Nails to adhere them to the wall. If you have the tools, you could use a nail gun here, however using glue on the wallpaper felt like a good way of enabling us to remove this in future if we want to. I started gluing the strips to the walls by the tops of the tiles, and used a level to ensure that these were the same height and straight, all the way round. Caulking is the most important step of any project, it finishes everything up beautifully, and so I caulked the tops and bottoms of the trim, the bottom of the wallpaper and the corners of the room.
BEFORE

AFTER

What do you think? I‘m so happy with how this turned out, and although wallpapering is really not for me, I think I’d do it again to get this result. I’m not too sure about the tiles beside the faux beadboard, however I didn’t want to risk removing them and damaging the plasterboard behind, so for now it’s fine. I may at some point paint them white… That’s all for today, but stay tuned as I slowly decorate and create DIY’s for the rest of our house. I still need to finish the other side of the gaming/office room, and I’ll be sure to update you when I have!


