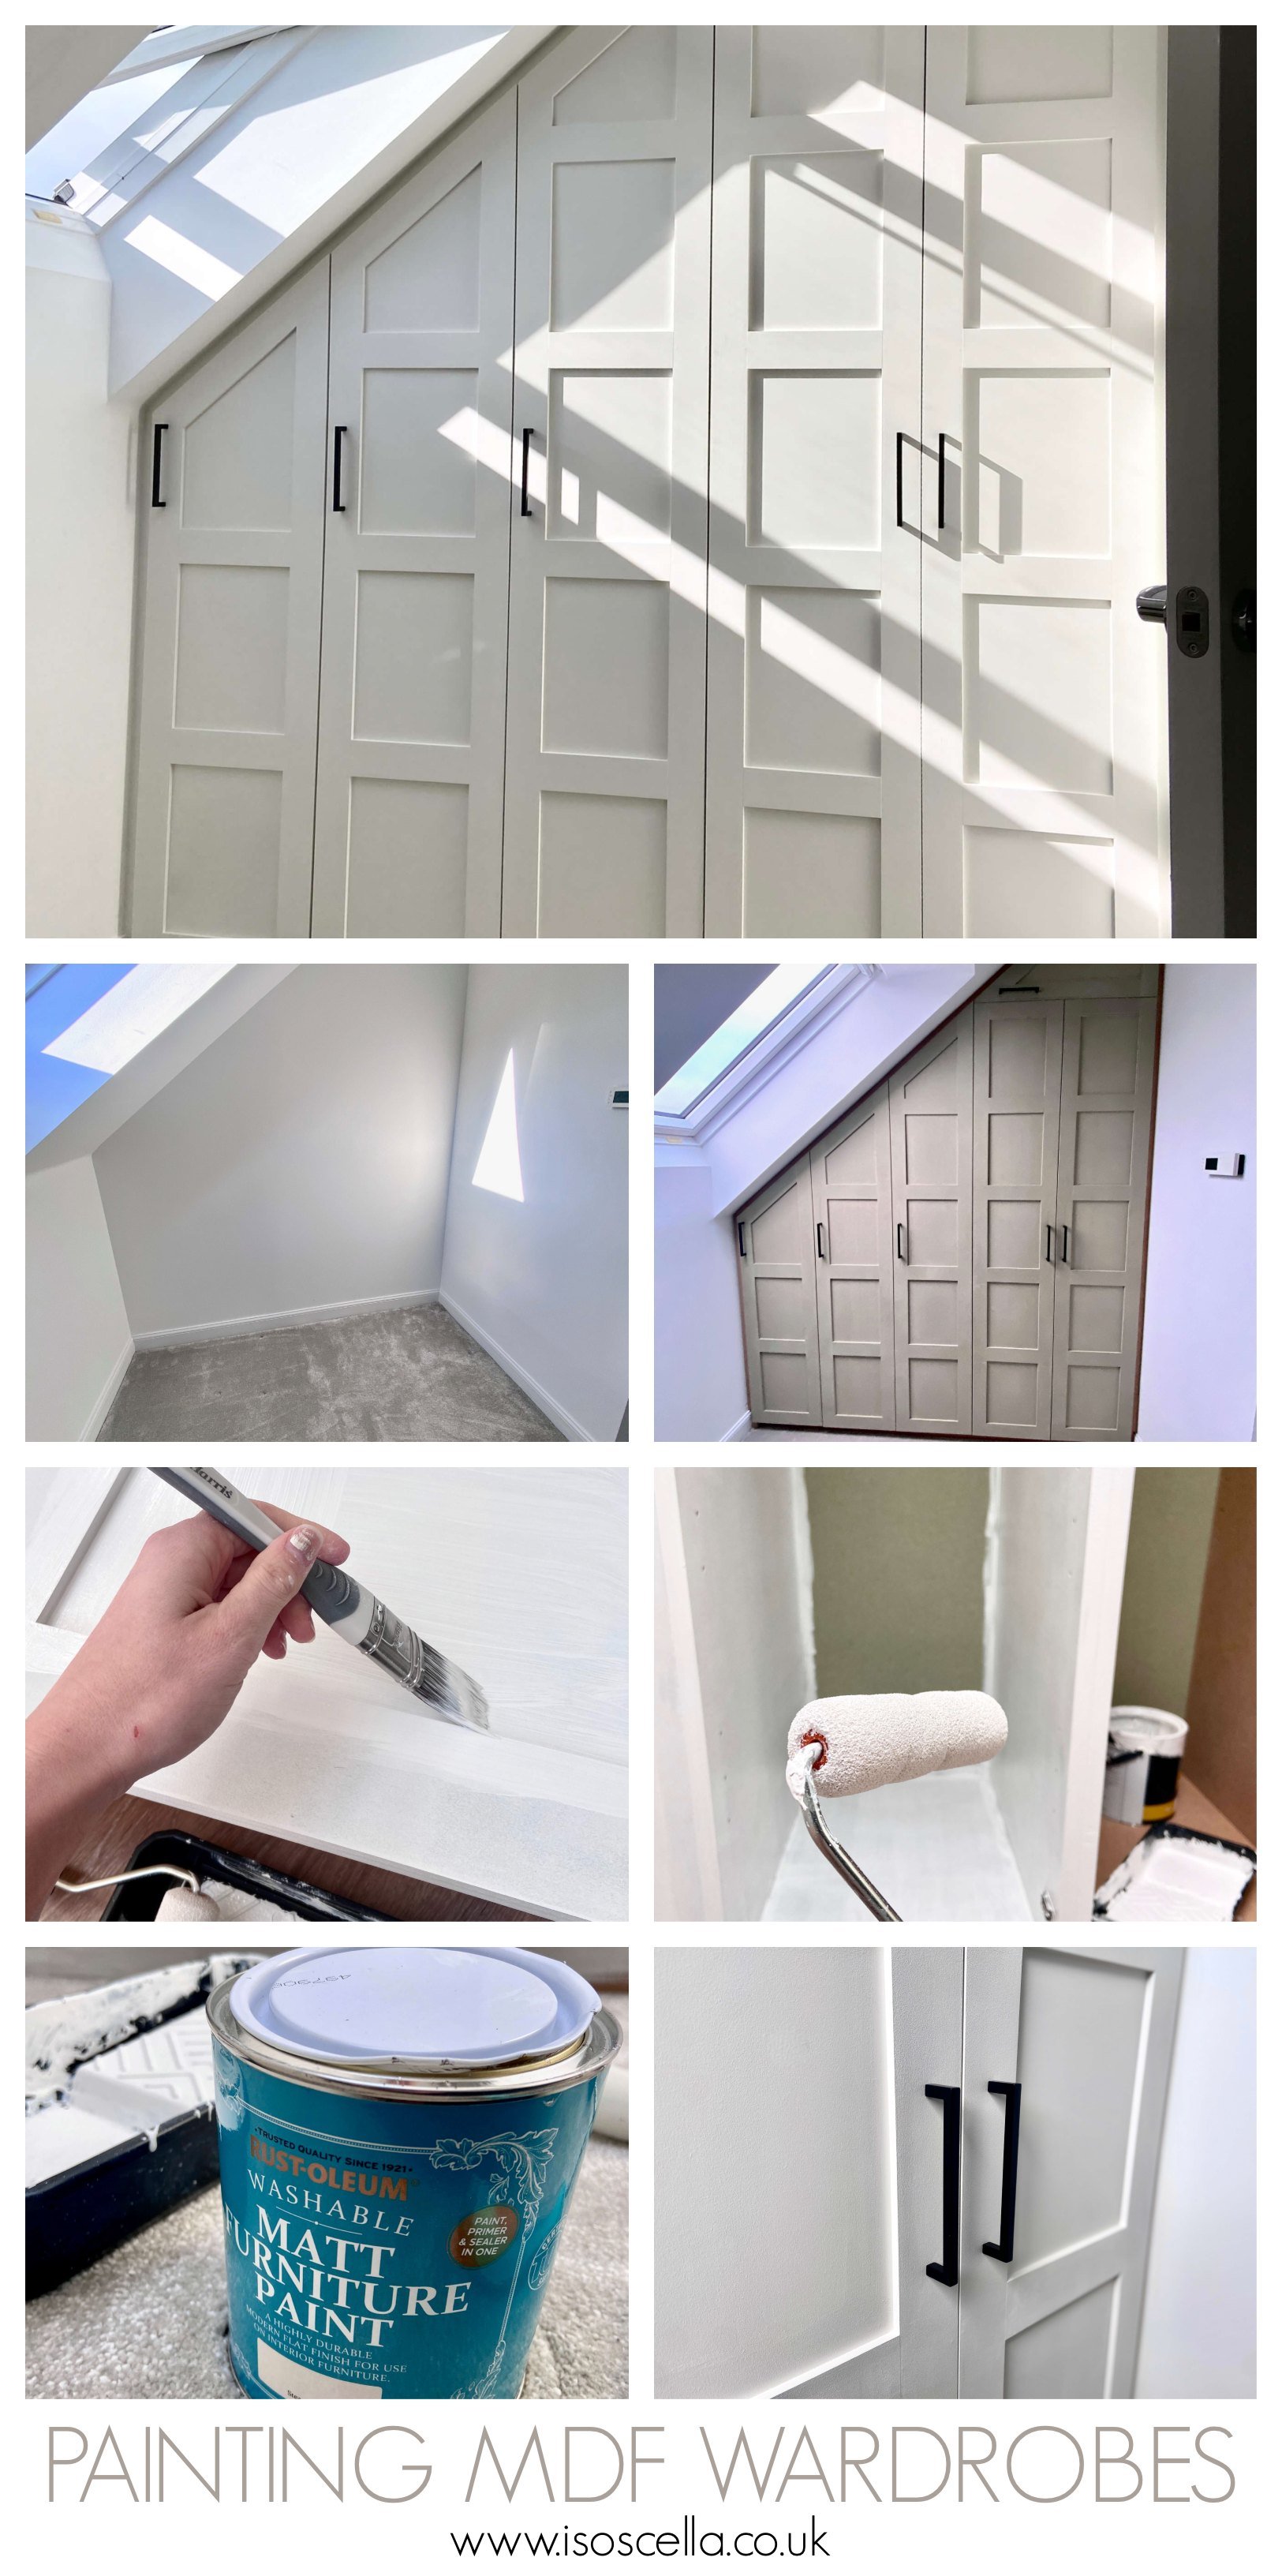
How we primed and painted our built-in MDF wardrobe
I’m very excited to be sharing this post and project. We haven’t had a proper wardrobe since we lived in our first flat together back in 2017 and so to have an actual built-in wardrobe is very exciting for us! To save the pennies, we’ve just been making do with a combination of a chest of drawers, a clothes rail and (much to my husband’s dismay) a ‘floordrobe’. I have far too many clothes, I’m one of those people who holds on to clothes for sentimental reasons as well as in the hope that I’ll someday fit back into them, so getting a wardrobe was a great opportunity to have a good clear out.
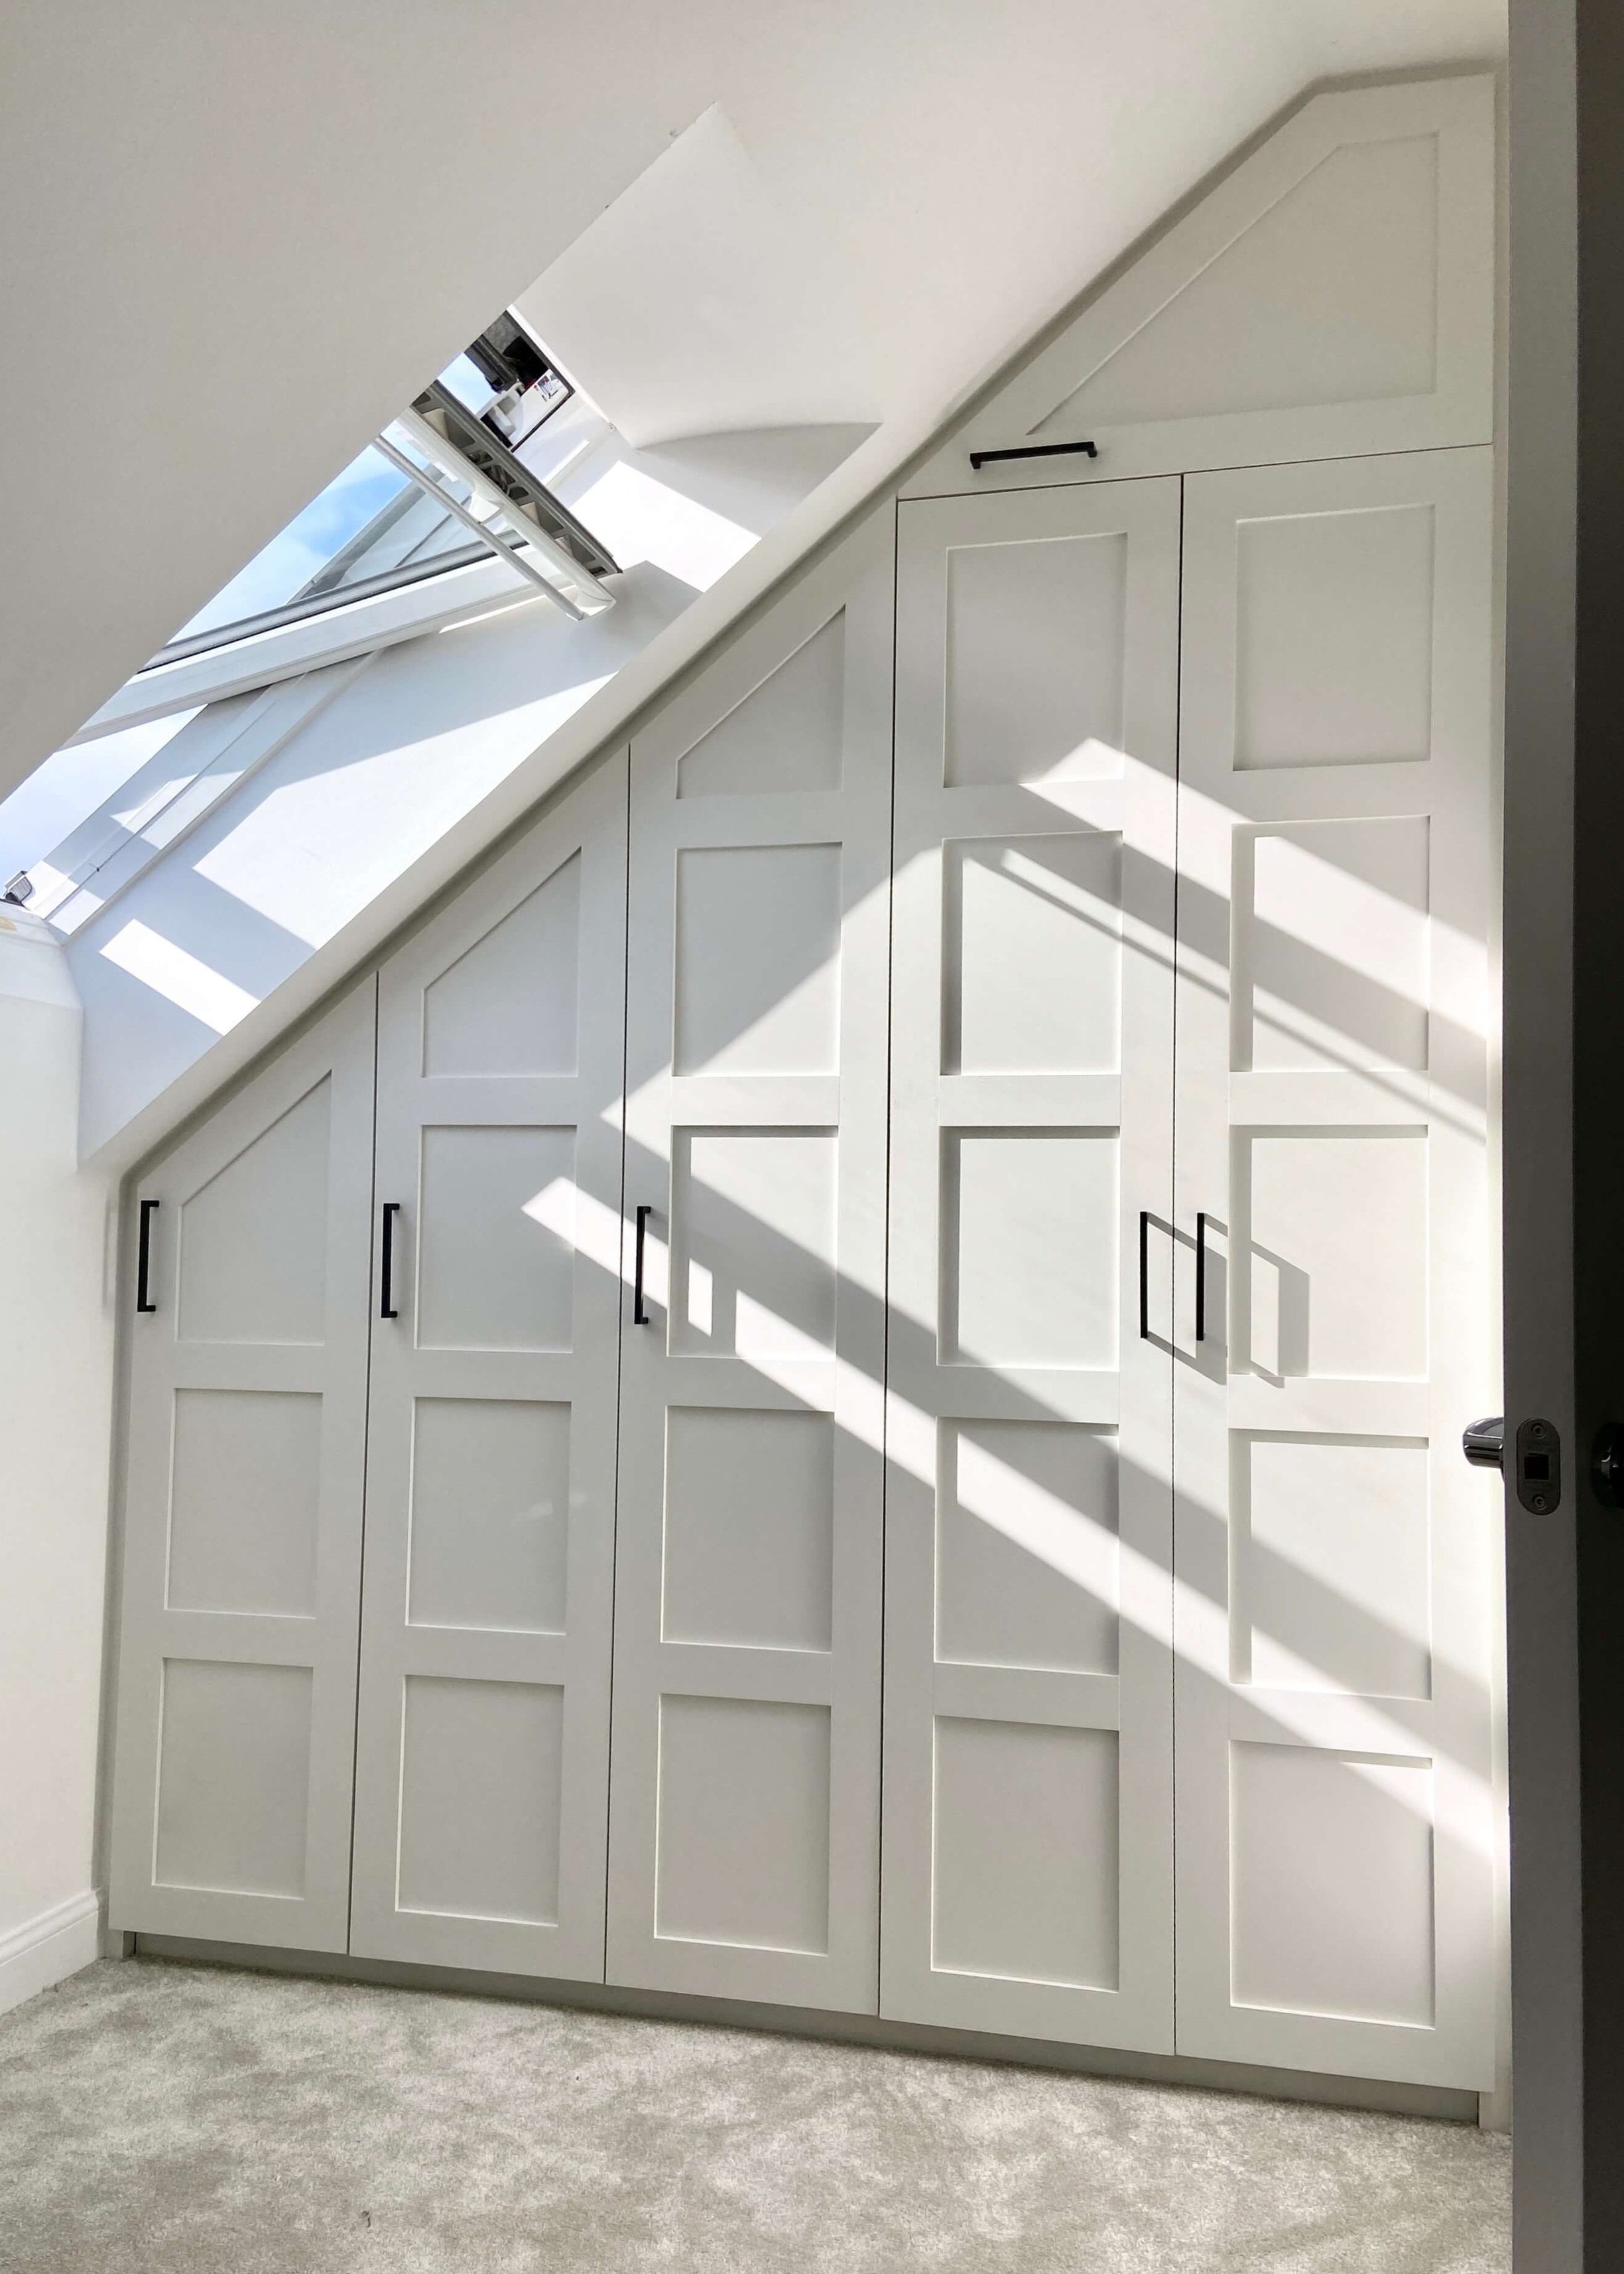
We’ve never had a carpenter build anything for us before so the process was all new to us, but we love how it’s enabled us to make the most of the space and get the exact look we were after. We decided to have it made in MDF, and like a lot of carpenters, we were left to finish it off ourselves after it was built and installed. Initially I was pretty excited to be able to paint it ourselves, we know how much I love a DIY project, but once I saw the final product and paid the final bill, it dawned on me that if I got anything wrong it would not only be really annoying but also potentially quite expensive.

PRIMING MDF
I’ve used MDF a fair amount before, I used it for our office wall panelling, my recent hallway upgrade and for smaller projects like this Christmas village, so I know that MDF is porous and needs to be primed before it’s painted with a water-based paint. If you don’t prime it first, any water-based paint is just going to get absorbed by the MDF which can make it warp and expand. I definitely did not want that to happen to our wardrobe and so I spent some time researching what primer might work best and how best to apply it.
I ended up using Leyland’s Trade MDF Primer which worked really well and dried pretty quickly. To apply it, I started by removing the doors, taking off all of the hinges, handles and rails. Be sure to label these, and to make a drawing of which part of your wardrobe corresponds to which number or letter. Although you might be tempted to skip this step, if your carpenter used hingers like ours, they are adjustable and they will have adjusted each one to ensure each specific door hangs exactly how you want it.


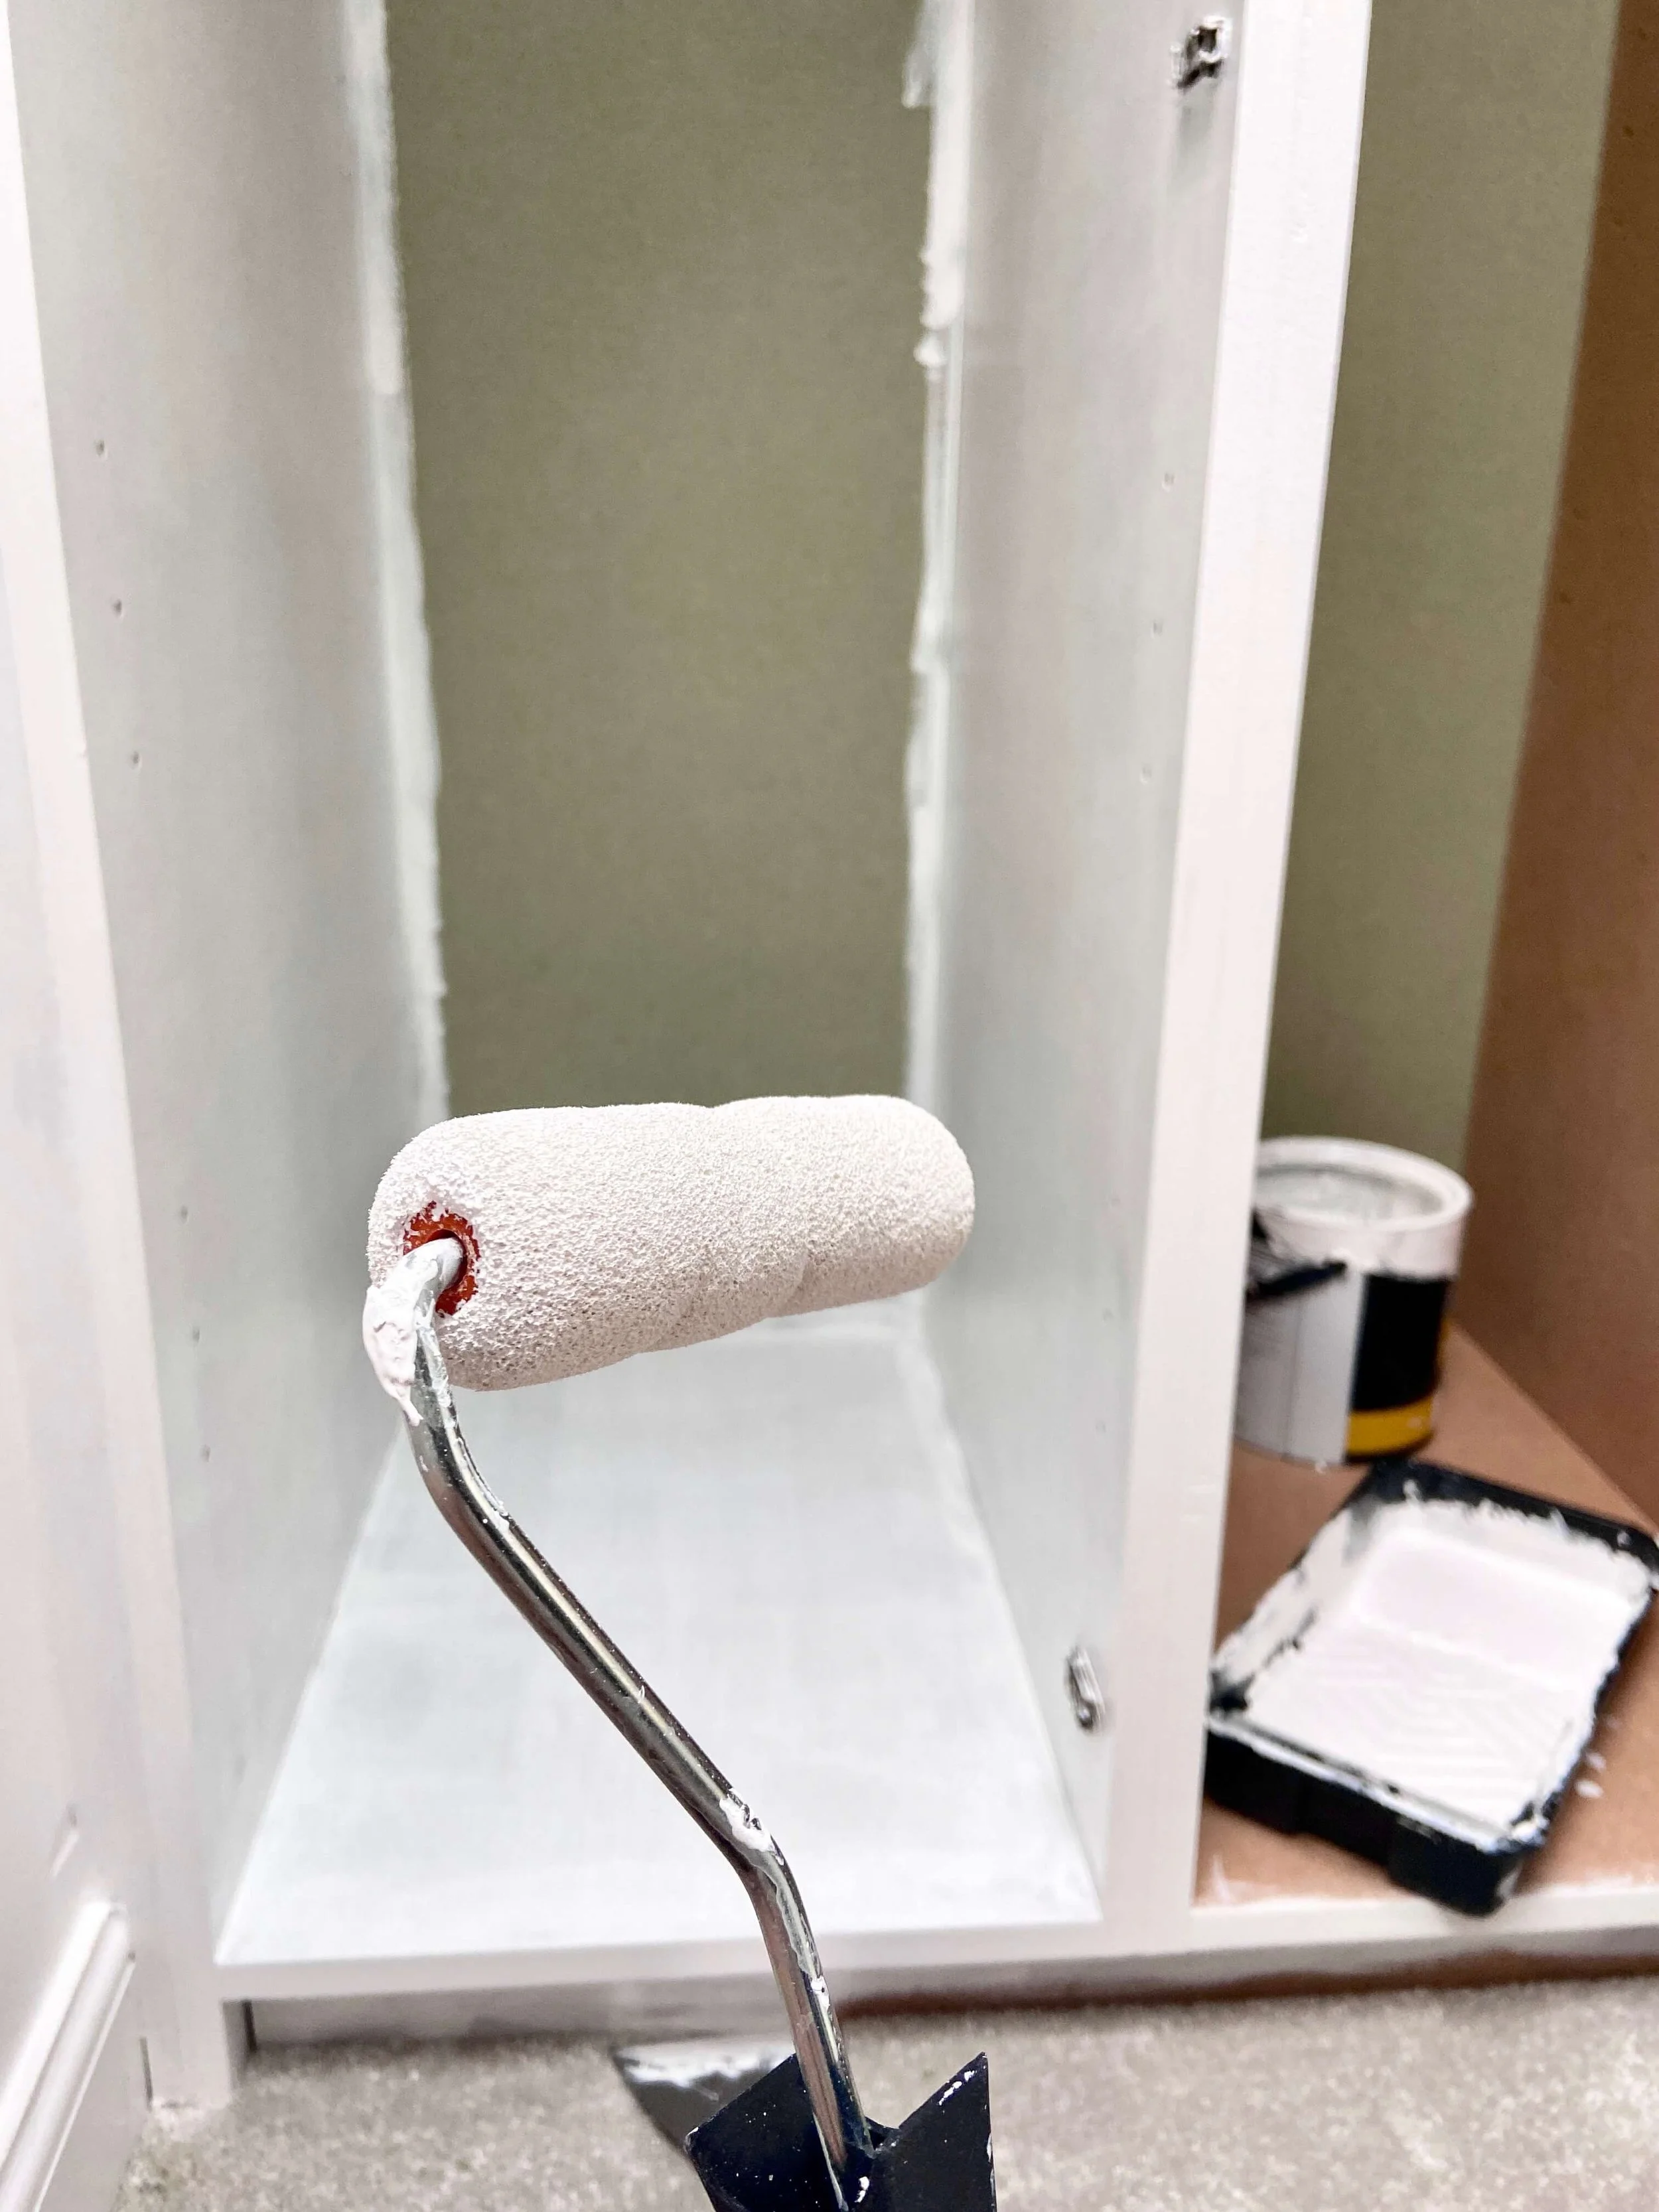
Next, I set up a painting station in my lounge downstairs, and I started a new television series with 7 seasons (this was an essential step for me!). I then started on the doors and shelves, and I applied a coat of primer all over using a small medium density foam roller. I painted the backs of the doors first, and then once dry turned them over to paint the front. I did this just incase the back wasn’t 100% dry and to avoid making any marks on the front. I then used a paintbrush to get into the panelled edges and corners on the front, and immediately went over the rest of the door with the roller.
Once the doors and shelves were dry, I took them outside and I gave them a light sand all over. You want to do this to ensure you remove any texture left from painting with the primer. Then, I painted a second coat of primer all over the doors, and shelves and left this to dry. You really want to be sure that you paint and sand the exposed edges of the MDF as otherwise these will be rough and the paint won’t go on as smoothly. Whilst these were drying, I then moved on to priming the inside and front of the wardrobe structure. I used a brush again to get into the corners and to go around any hardware I wasn’t able to remove, and then used the foam roller over the rest. I did two coats of primer on the front, sanding in between, but just did one on the inside as it wouldn’t be viisble.

PAINTING MDF
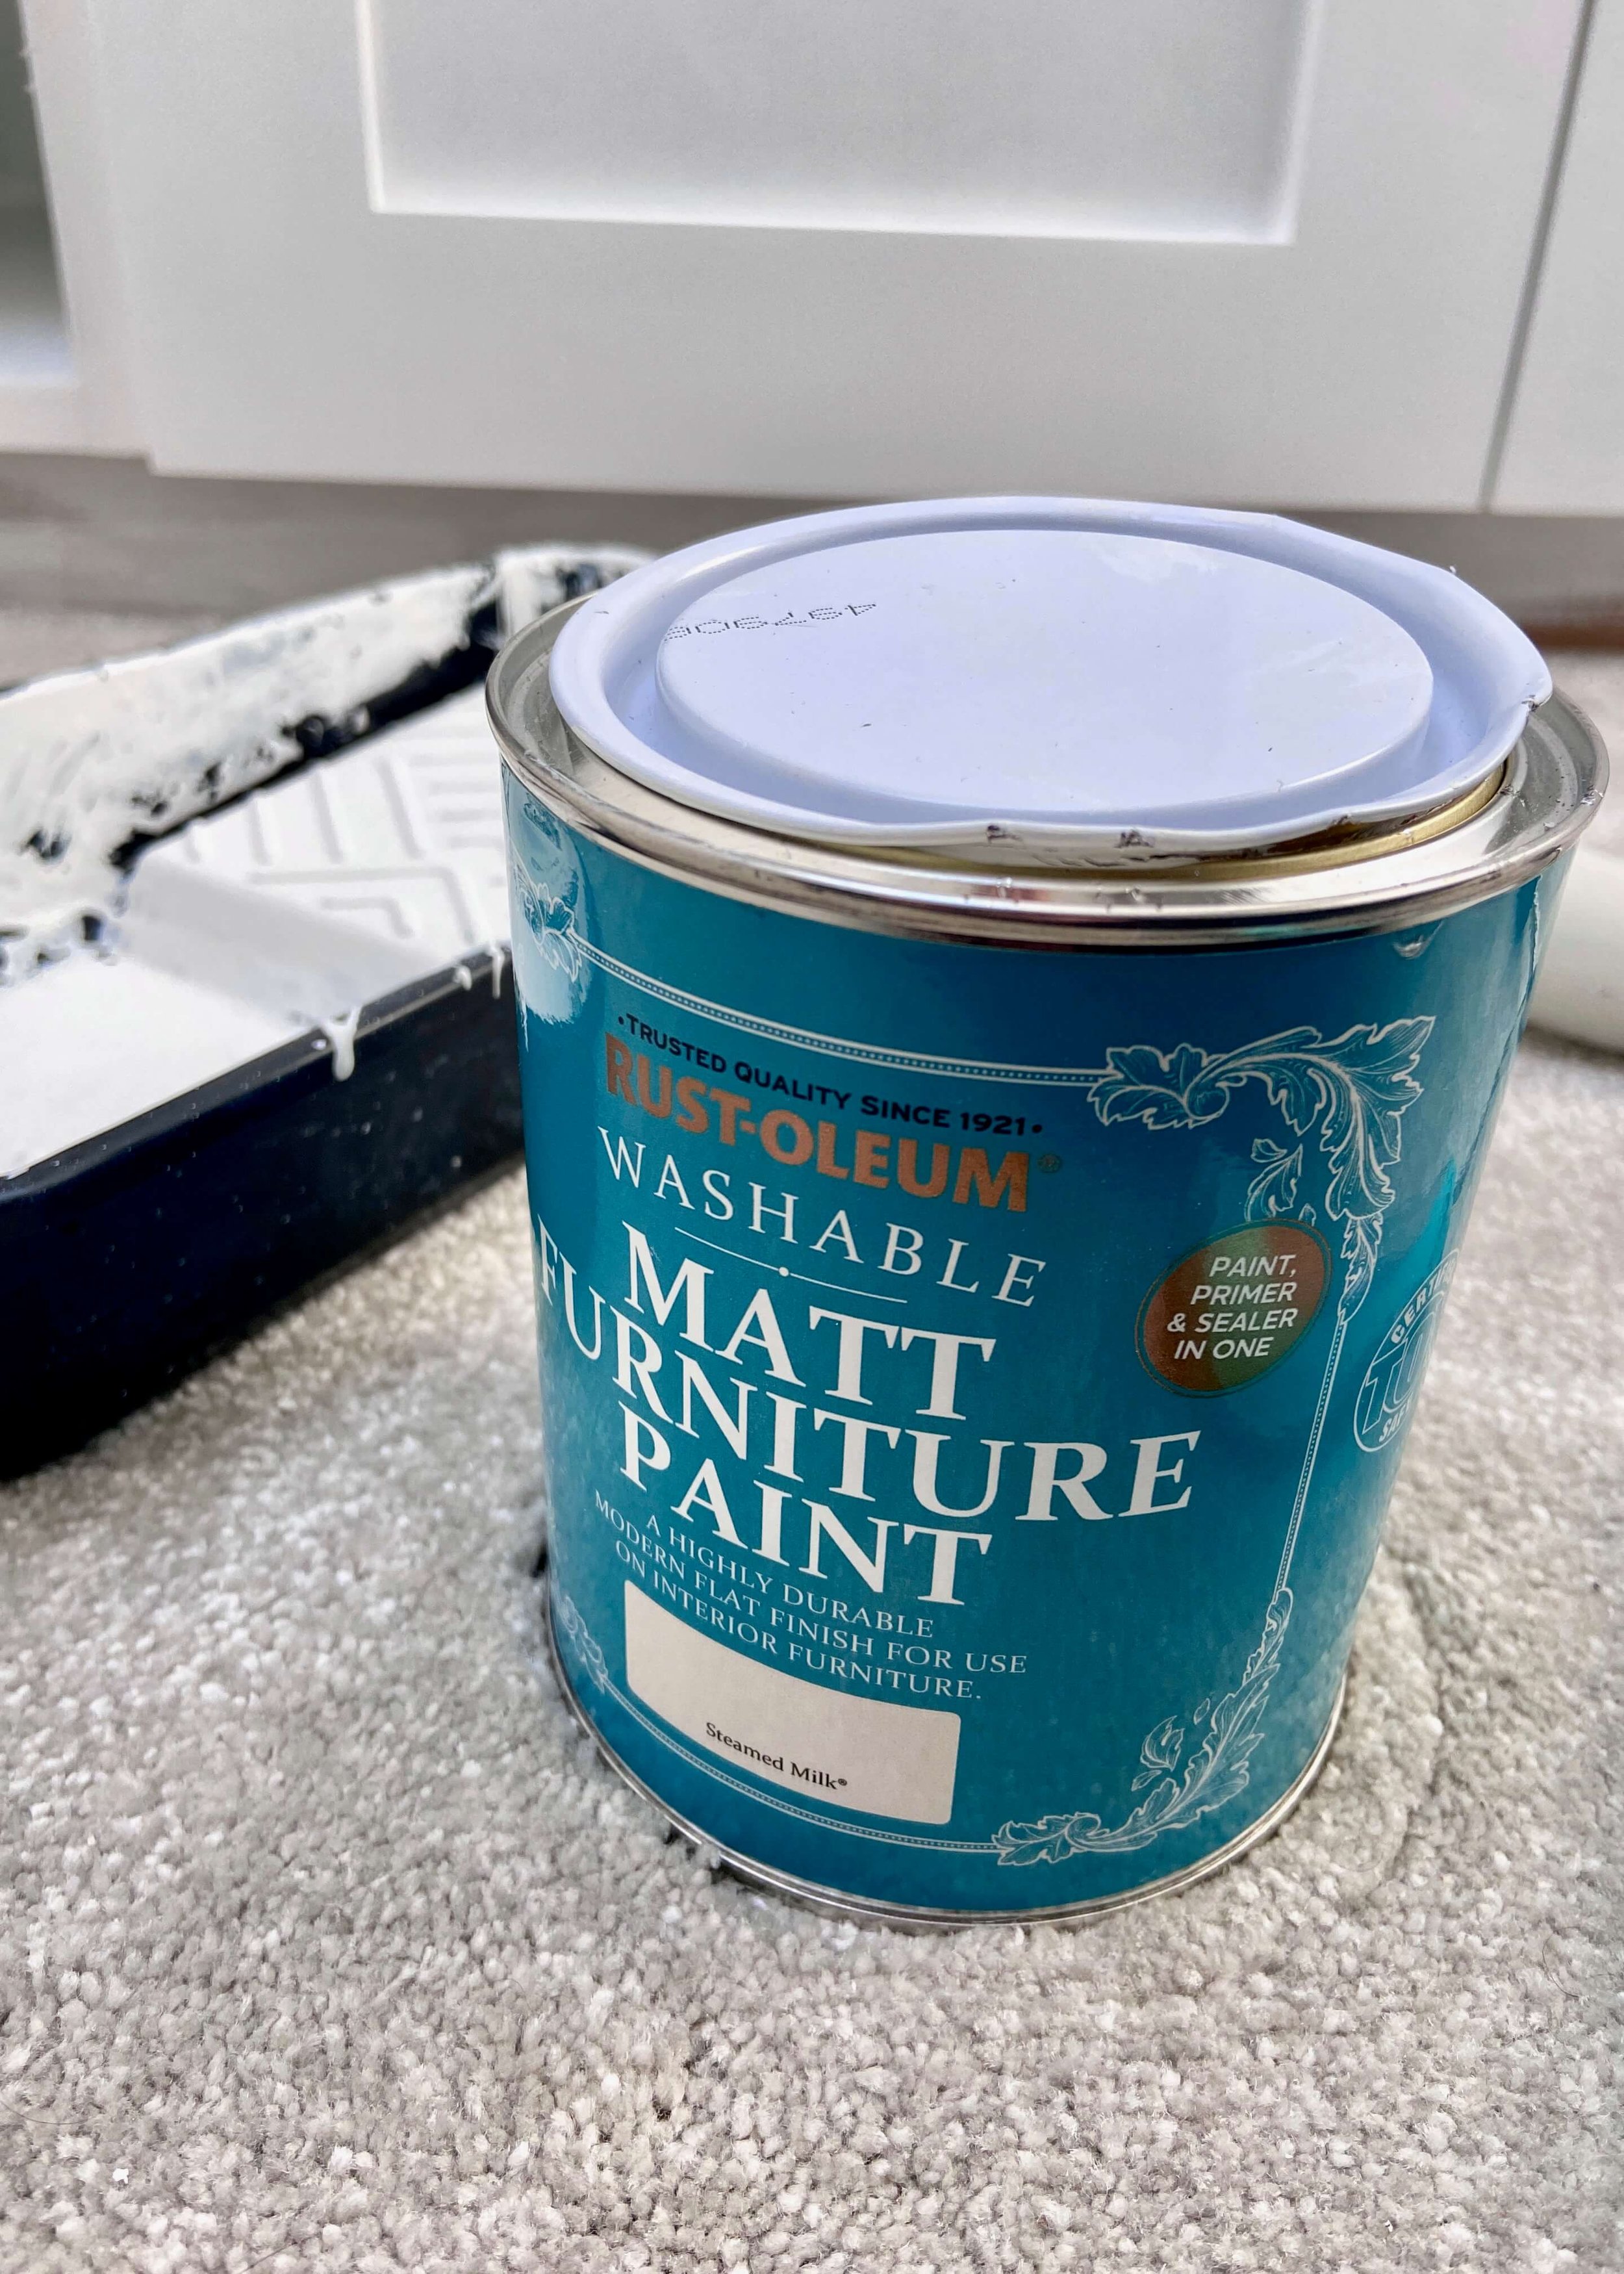
Next, we grabbed the paint we wanted, and after much deliberation, we ended up going for a lovely off-white or light grey beige colour called ‘Steamed Milk’ by Rustoleum. We had a few issues getting enough of it from our local B&Q as one of the batches of the paint was a completely different colour but after some searching we managed to get enough. This paint is lovely, it’s matt in texture but doesn’t feel too chalky, and as it’s a primer, paint and sealer in one, I felt pretty confident that it was going to be durable too.


I started as I did with the primer by painting all of the doors and shelves using my foam roller and brush. I used the brush to get into the sides of the panelling on the front of the doors and the foam roller for everything else. You want to be sure that when doing the edges, you check the other sides for any build up of paint and roll these flat before they dry. I then left these to dry, and once they were, I lightly sanded them all over again. I then painted a second and final coat of paint all over. I also then painted the front of the wardrobe structure, sanded this smooth lightly once it was dry, and painted it again, smoothly wherever I could with the roller. For the edges I had to use the brush. I then painted the inside of the wardrobe, and as it was less visible, didn’t bother sanding in between the primer or paint. I painted two coats and then left it to dry.
BEFORE BEFORE

BEFORE
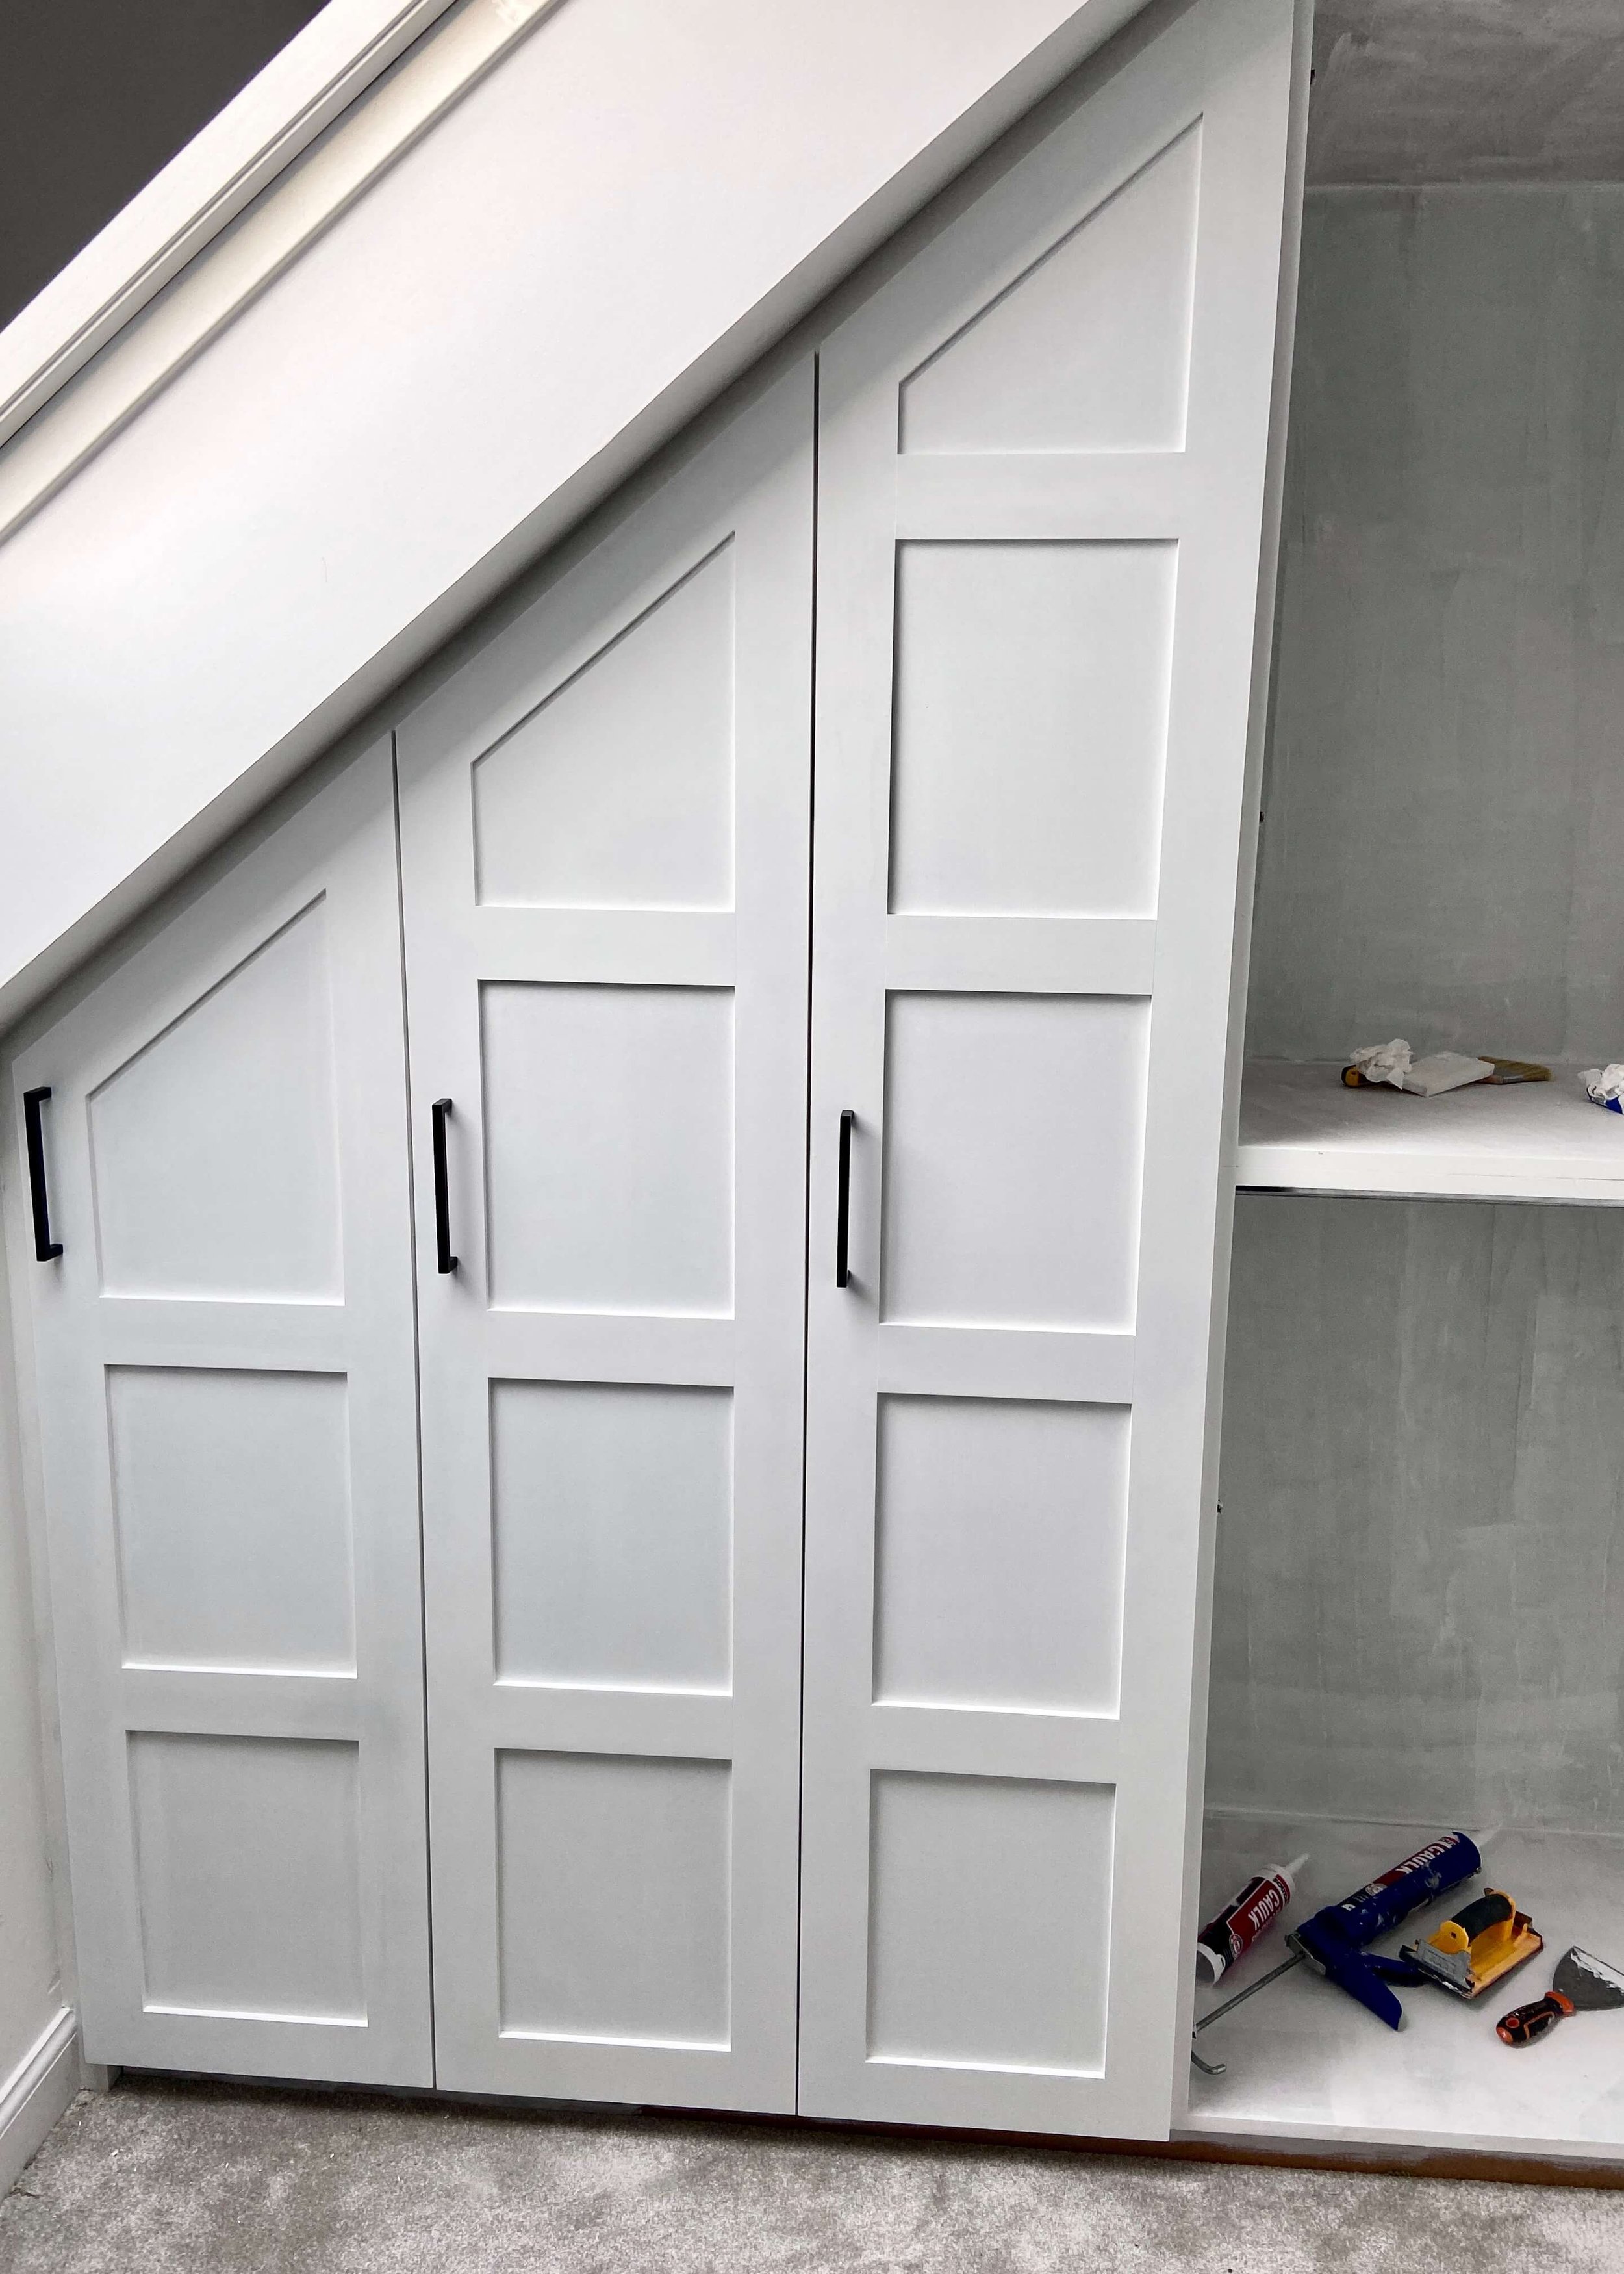
To finish off the edges of the wardrobe, I went back with the wall paint colour and touched up the wall around the wardrobe. Finally, we then screwed all of the handles back on, and screwed back on all of the door hinges. I put all of the internal hardware back in, including the hanging rails, and then reattached the doors.