DIY // POM POM CUSHION

DIY Pom Pom Cushion by Isoscella

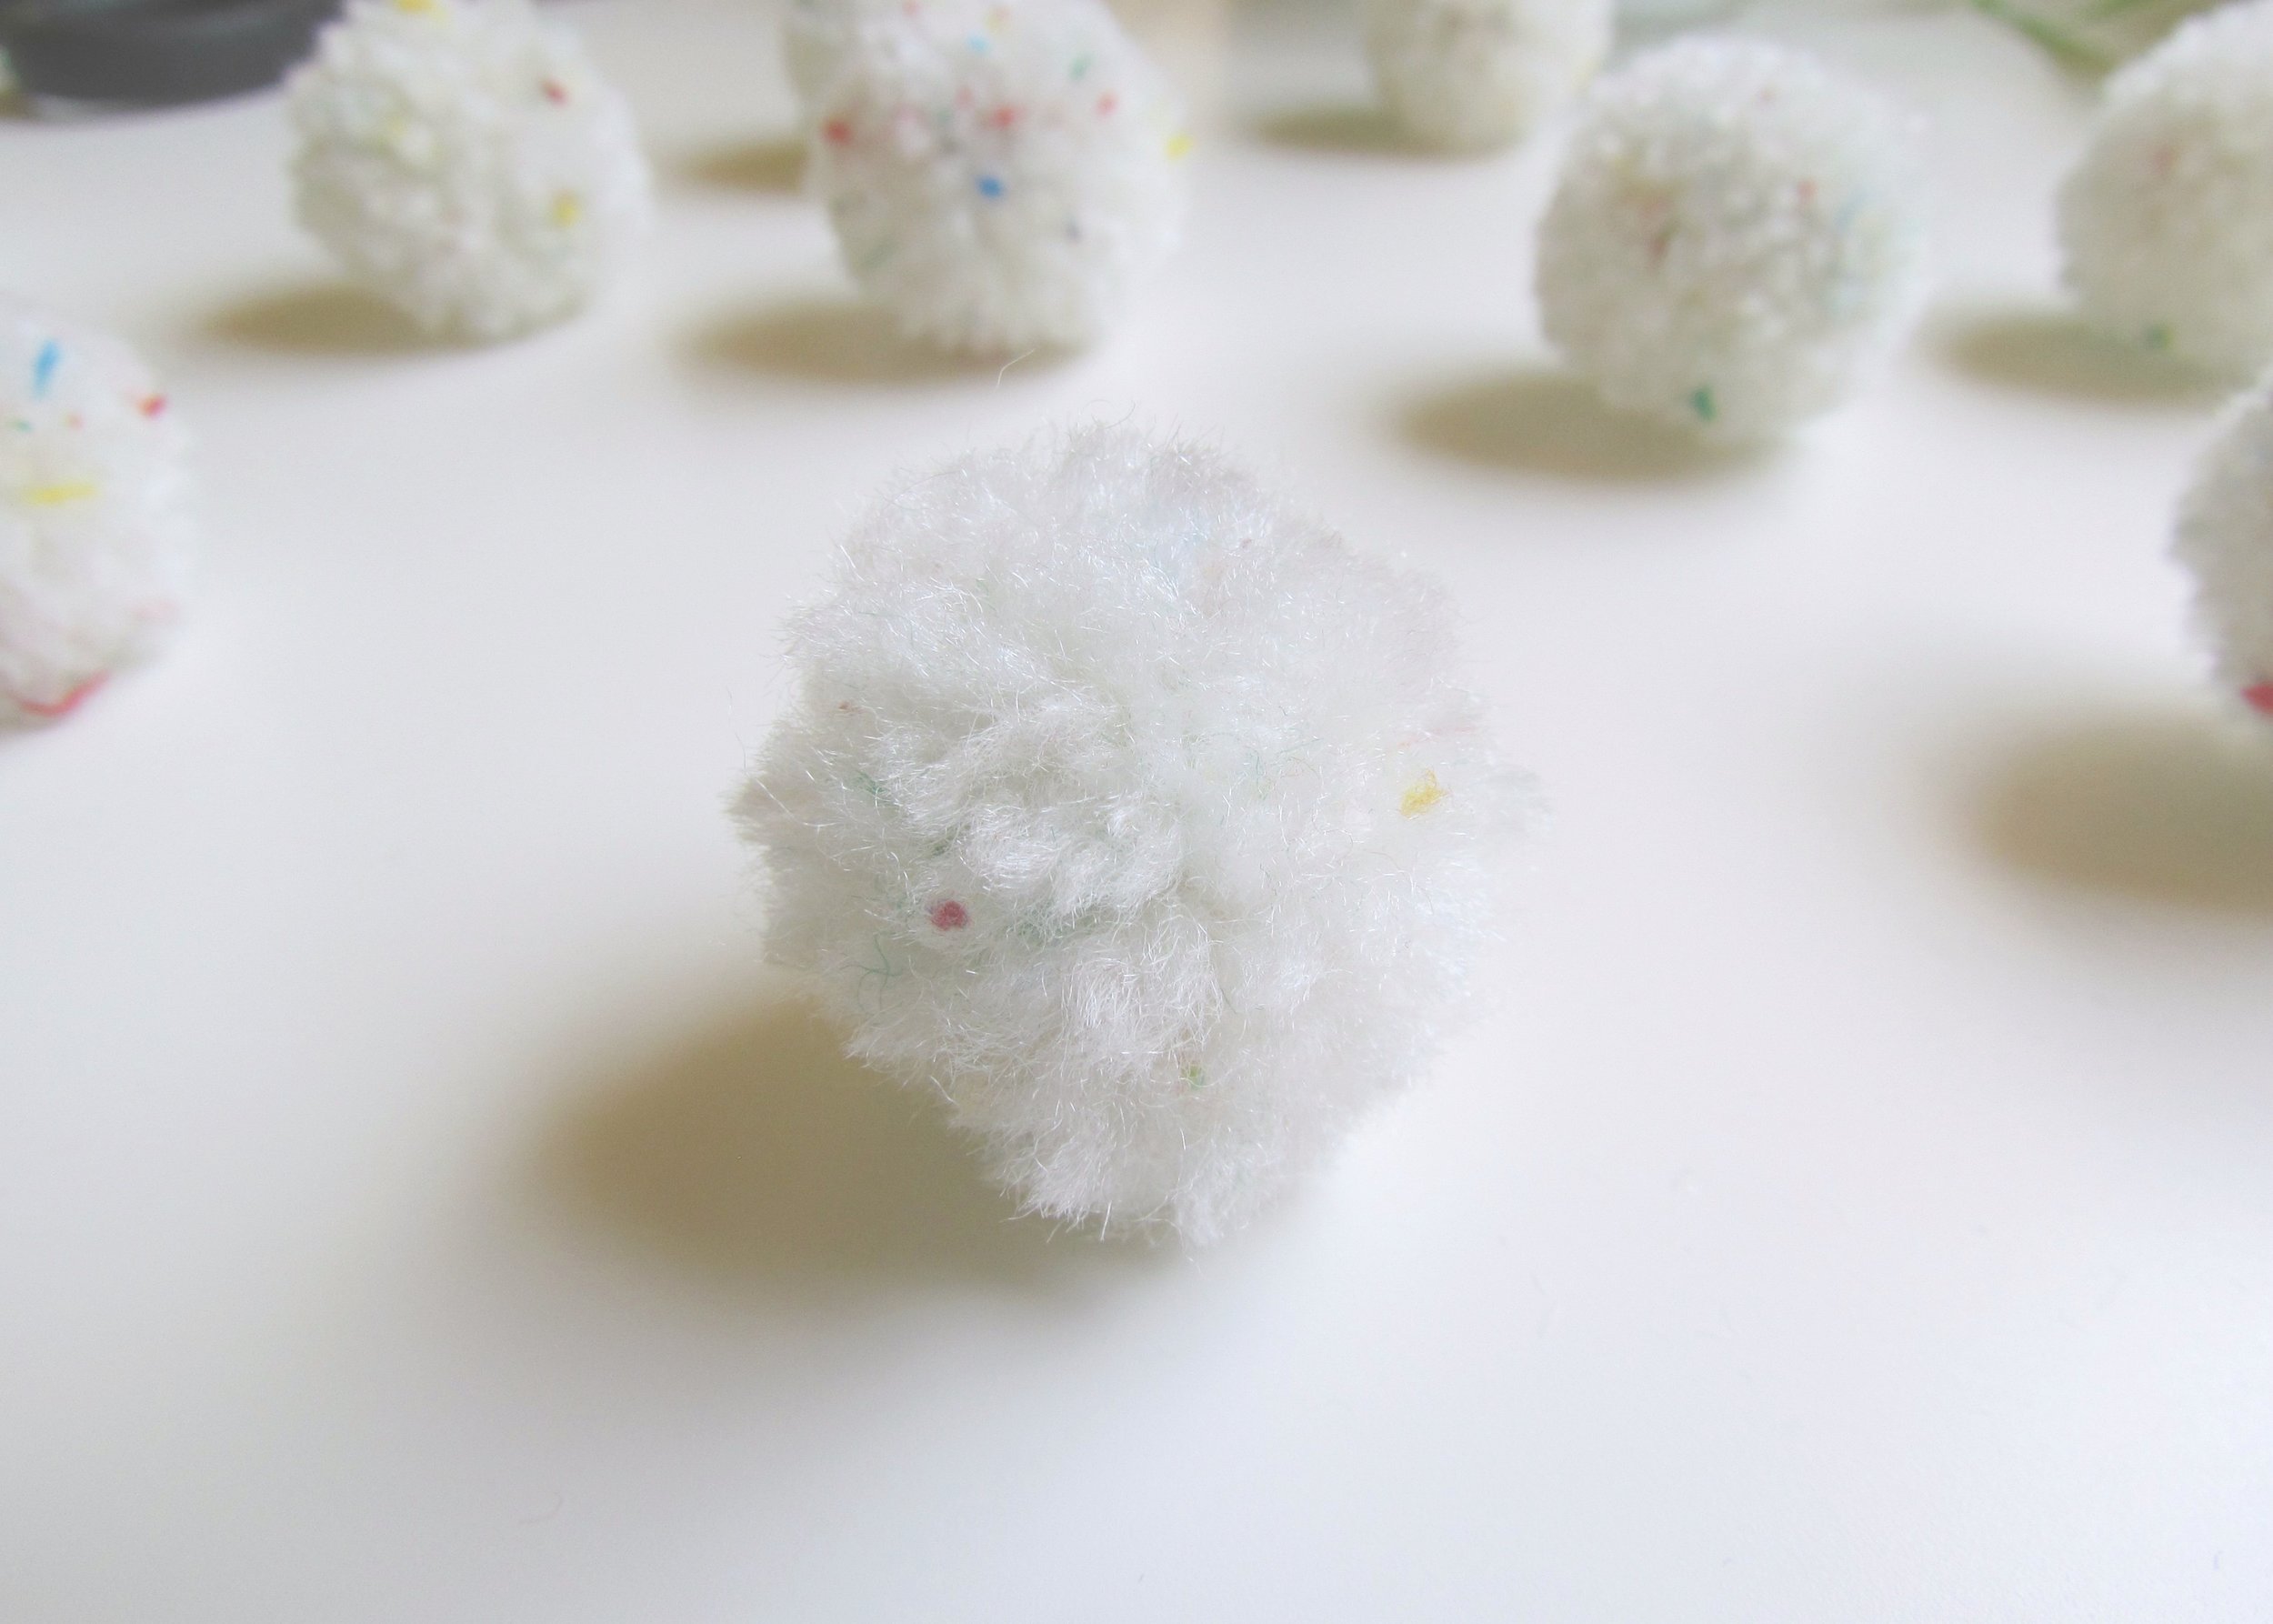
I know, I know, more pom poms. But following my post on how to make pom poms using a fork my brain has been full to the brim of crafty ways to use them. What with spring supposedly in full swing (it's actually been intermittently sunny, snowing, raining and thundering here in the UK the past week...) I thought it was time to inject some colour into my otherwise completely neutral bedroom and what better way to achieve this than by adding some fun and colourful pom pom cushions!

DIY Pom Pom Cushion by Isoscella

Primark cushion | 16 x Pom poms | White cotton thread | Scissors

DIY Pom Pom Cushion by Isoscella

1. Buy or make 16 pom poms in a variety of bright spring colours. For help with making your pom poms, head over to this super easy tutorial. I chose to make mine in three different colours so that I could alternate colours. But why not make multi-coloured pom poms? Or pom poms all in the same colour? The options really are endless!

DIY Pom Pom Cushion by Isoscella

2. Thread your white cotton through a needle and tie a knot in the end of the cotton. I used a really thin cotton thread and so I needed to tie several knots in exactly the same place to get a knot that was big enough to hold the pom pom.

DIY Pom Pom Cushion by Isoscella

3. Thread the pom pom on using the needle before pulling it down to the knot(s) and removing any excess cotton below it. When pulling the pom pom down to the knot, be sure to give it a gentle tug to make it will hold. Once you're happy it will, grab your scissors and cut off any visible cotton beneath the pom pom and knot.

DIY Pom Pom Cushion by Isoscella

4. Secure the pom pom to the cushion using the needle and thread. I chose not to open up the cushion and remove the stuffing for this step as it was just so difficult to get it back in when I decided to wash the cover. So instead, I sewed the pom poms on with the stuffing still inside and just made sure to hide any knots under the pom pom and it actually wasn't too tricky!

DIY Pom Pom Cushion by Isoscella

5. Repeat these steps so that you have pom poms attached at regular intervals around the cushion. I chose to have 5 pom poms on each side and so spread them out accordingly however it is entirely up to you however many you have - sew on pom poms until your heart is content!

DIY Pom Pom Cushion by Isoscella

...and that's it!

This has to be one of my favourite DIYs so far. I love how quick and easy it was to get quite a professional result (if I don't say so myself). The cushions I used here are these lovely textured white cushions that I found in Primark and I chose the colours as I really like how turquoise, mint and lemon yellow clash in that 'deliberate and co-ordinated' kind of way.

What do you think?

Let me know in the comments below!

MINIMAL MAP WEDDING INVITATIONS

Minimal Map Wedding Invitations Header

If you follow this blog, you might remember that back in April 2015, I was asked by a good friend of mine to paint an illustrated map for her wedding invites. After receiving the finished thing, and posting about it on here, another good friend of mine asked me to design and paint her entire wedding invite. I was so privileged to be asked, but it was one of those things that felt so important that I was completely terrified of messing it up. I was so terrified in fact, that it took me quite some time to actually sit down and start it. After some time though, when it really hit home that it wasn't going to paint itself, I did sit down and start painting, and just a few days ago, I received the final invite in the post.

Minimal Map Wedding Invitations

To start, I created some quick sketches based on my friend's brief and started to play with some colours. Once I was happy with the layout (several attempts later!) and I had a good idea of what I wanted to do and where, I measured and marked where the fold of the invite would be and sketched out my design onto two pieces of A4 sized cartridge paper (i.e. one piece for the inside of the invite and one piece for the front and back). On the first draft I used a pencil for this, however after painting I found it really hard to remove the pencil marks and so several experiments later, I swapped over to very lightly sketching everything out with watercolour pencils. This meant that when I started painting, the watercolour pencil marks just dissolved into the watercolour paint.

Minimal Map Wedding Invitations

In some areas I used both watercolour paints and acrylic paint and at times even mixed the two together. This gave some parts of the illustration, such as the roads, trees and buildings, a vibrancy and dimension of depth that I didn't feel I could achieve with watercolours. Inspired by the Norffo Watercolour Font, I then hand lettered all of the details onto the invitation using a variety of black fine liners. 

When I was finally finished, I scanned both pieces into the computer and emailed them to my friend. Thankfully all my initial worry was all over nothing as my friend assured me that her and her fiance were thrilled with them. It was so great to see all my hard work come together and I really loved the colours and quality of the printed invites. 

My partner keeps telling me (if I ever have the time...) I should aim to sell hand painted wedding invites in the future but my inner perfectionist keeps making me question if my paintings and illustrations are actually any good - it's so hard to judge your own work!

What do you think?

Let me know in the comments below!