• ABOUT ME
    • PRIVACY POLICY
  • COLLABORATE
  • BLOG
    • ART
    • WEDDING
    • LIBRARY
    • DECOR
    • JEWELLERY
    • STATIONARY
    • NAIL ART
    • BAKING
    • CHRISTMAS
    • EASTER
    • ART PRINTS
    • WEDDING STATIONARY
  • CONTACT
Menu

ISOSCELLA

Street Address
City, State, Zip
Phone Number

Your Custom Text Here

ISOSCELLA

  • ABOUT
    • ABOUT ME
    • PRIVACY POLICY
  • COLLABORATE
  • BLOG
  • ART
    • ART
    • WEDDING
    • LIBRARY
  • DIY
    • DECOR
    • JEWELLERY
    • STATIONARY
    • NAIL ART
    • BAKING
    • CHRISTMAS
    • EASTER
  • SHOP
    • ART PRINTS
    • WEDDING STATIONARY
  • CONTACT

MDF Floating Shelves

October 28, 2023 Isoscella M
MDF floating shelves by isoscella

How to create professional looking MDF floating shelves!

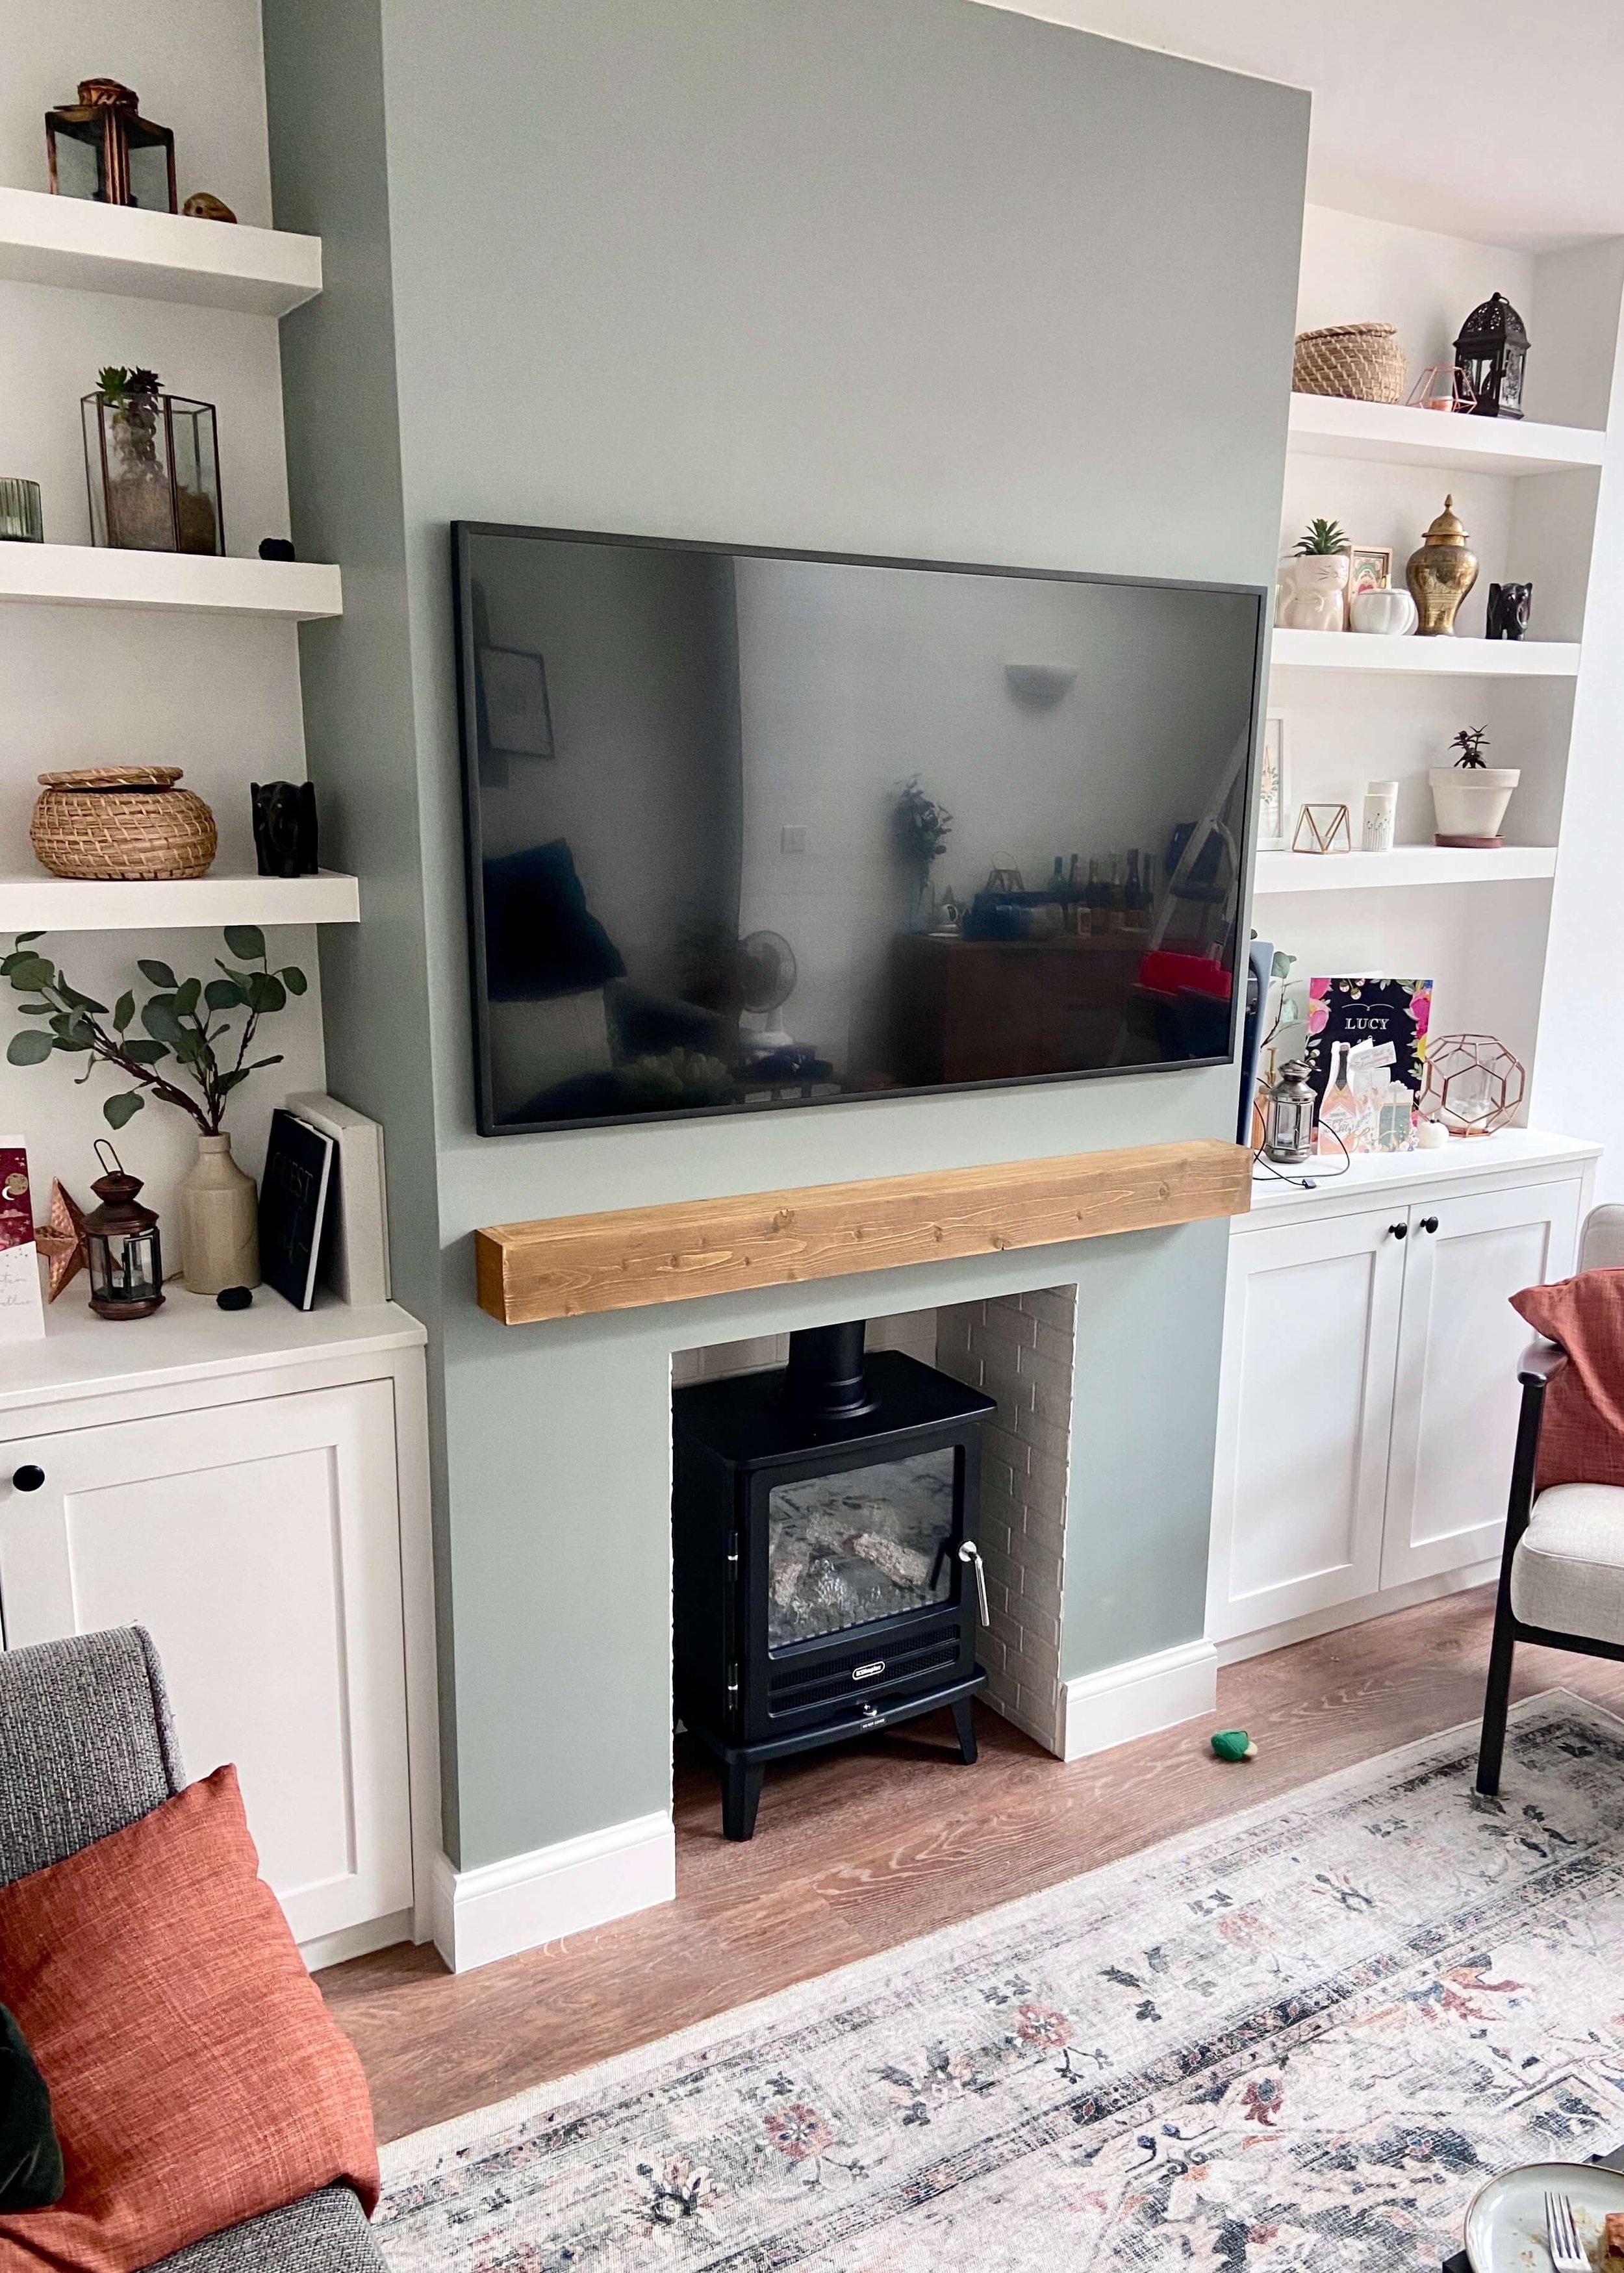
A few weeks ago we got a carpenter in and finally had a faux chimney and fireplace built. I’ve wanted a fireplace for years, and so to finally have one, as well as custom cabinets either side, is a dream come true. I always imagined I might give it a go myself, but with how poorly I have been during pregnancy, it just wasn’t an option, and with baby on the way we wanted it done sooner rather than later, so we got the professionals in. It gives our new build living room so much character and focus, but due to the cost, we opted to try and make some floating shelves ourselves.

FLOATING SHELVES

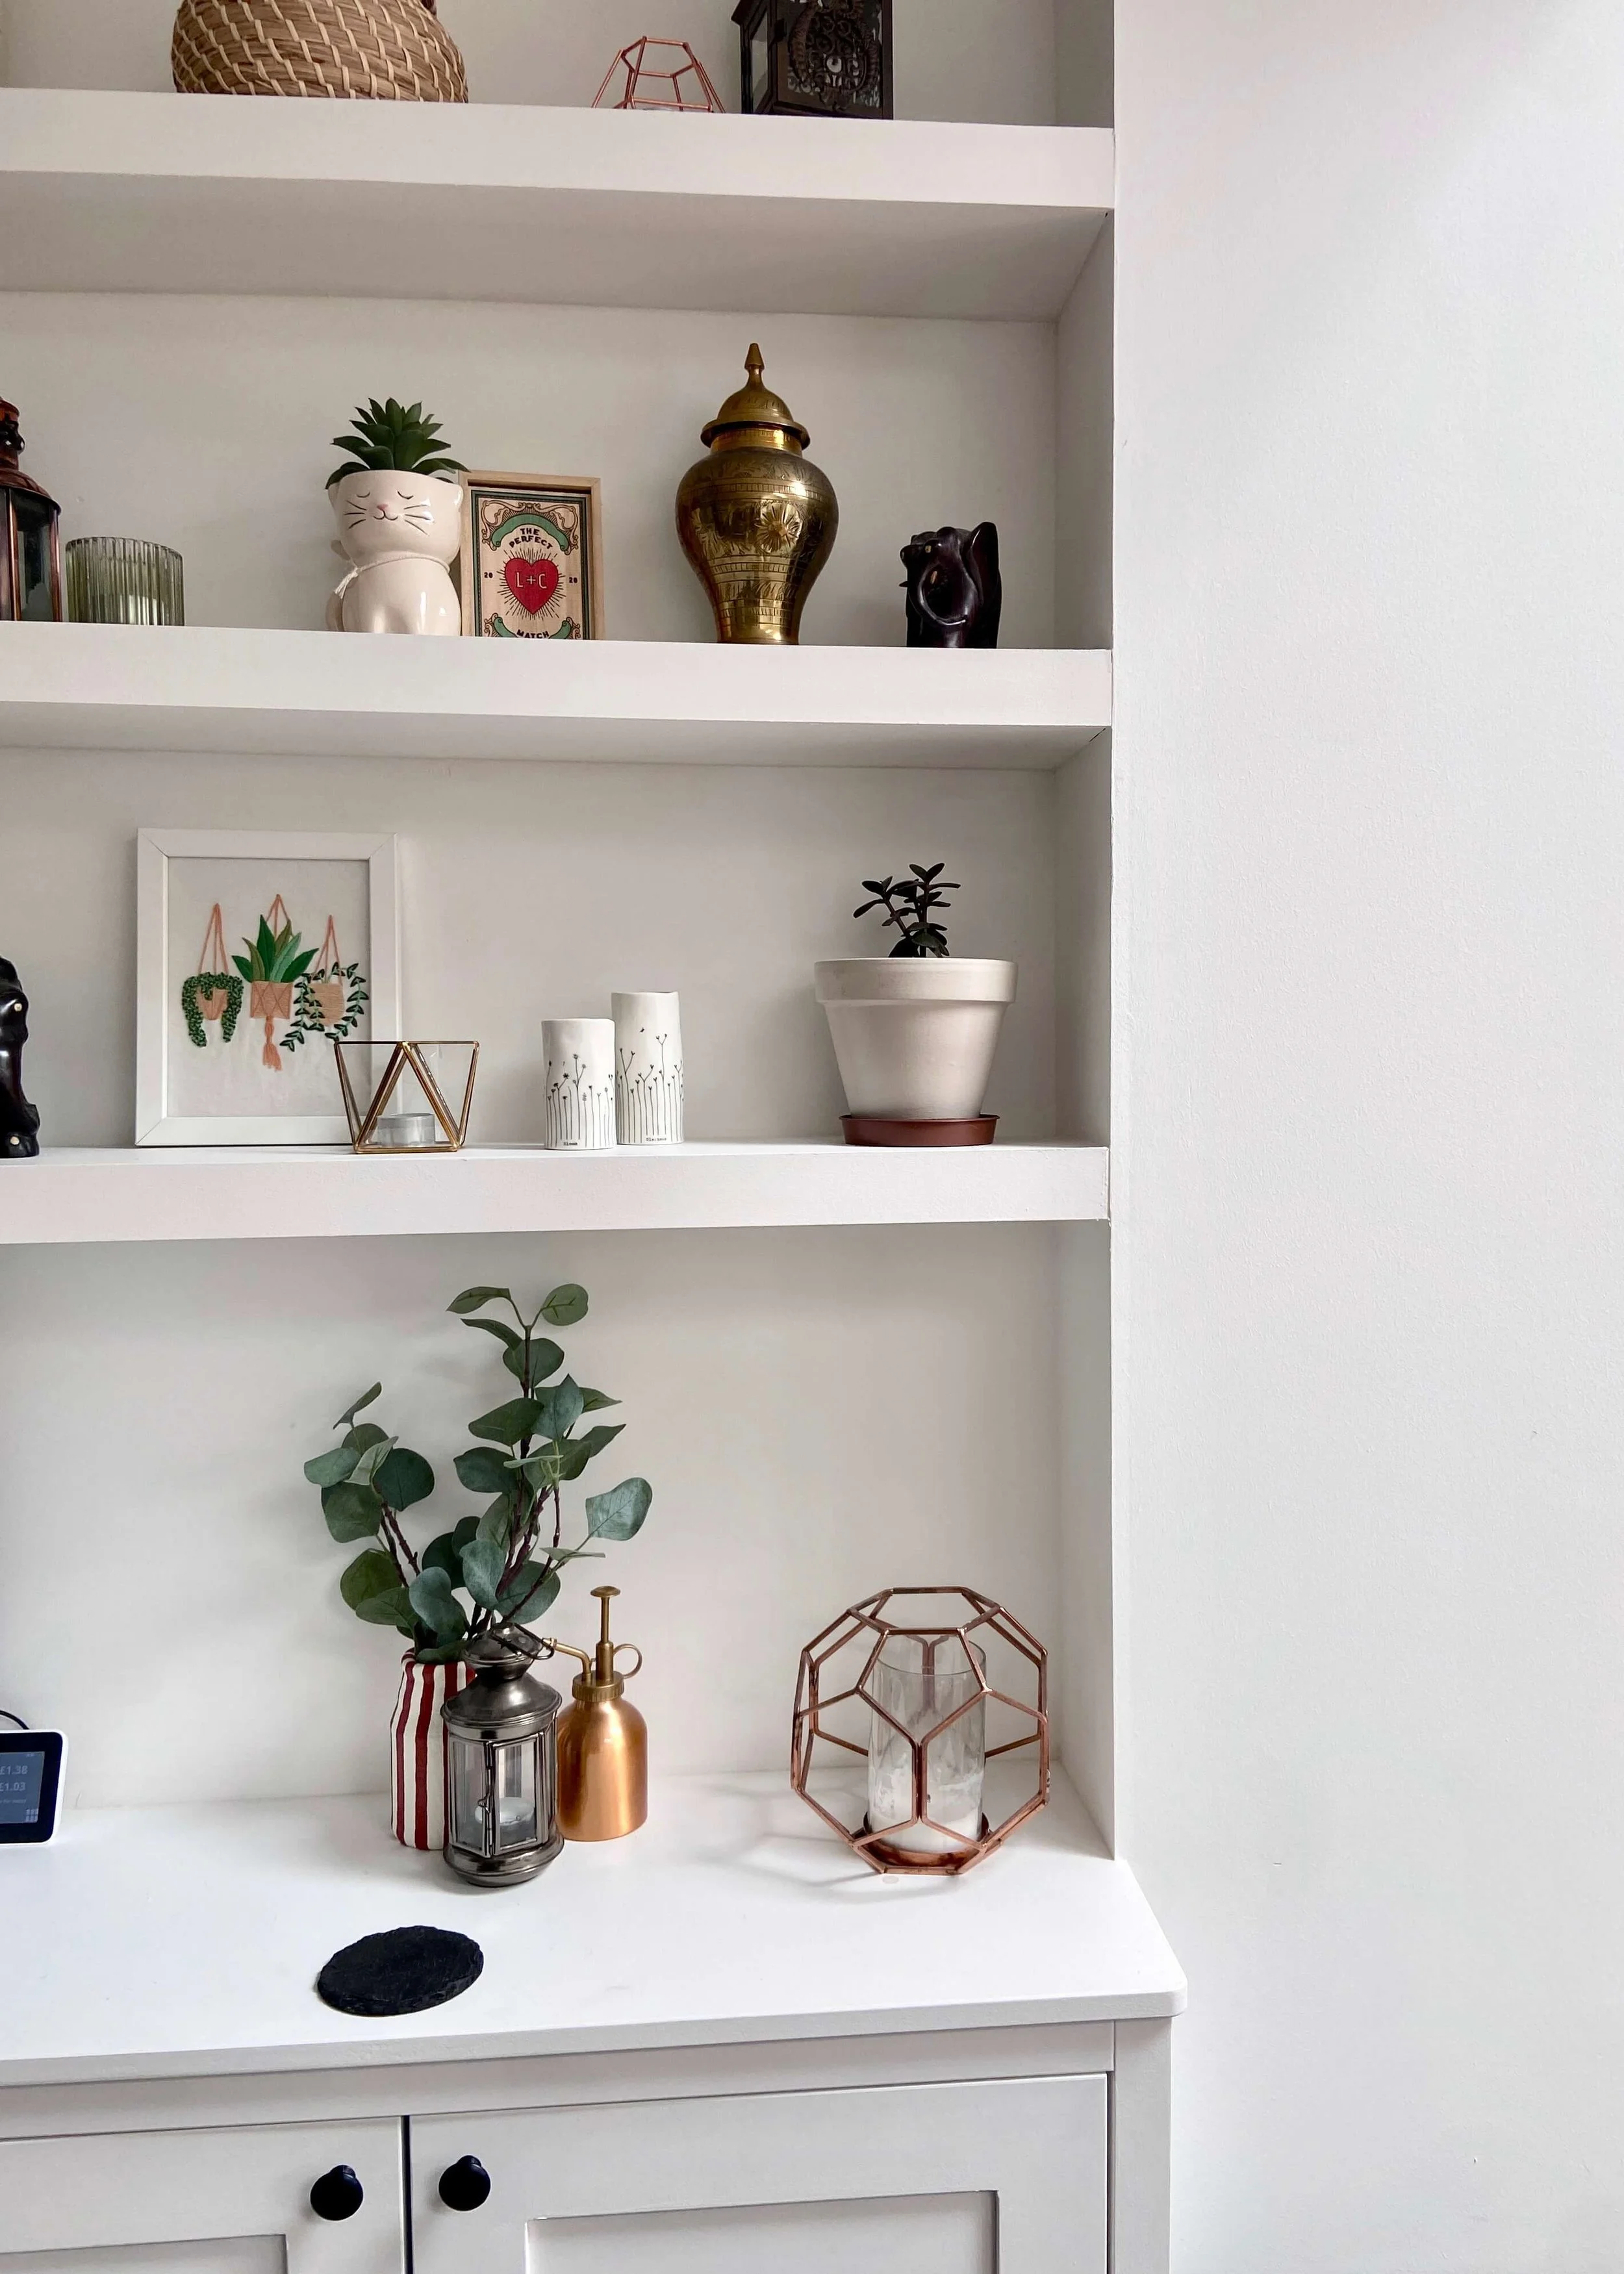
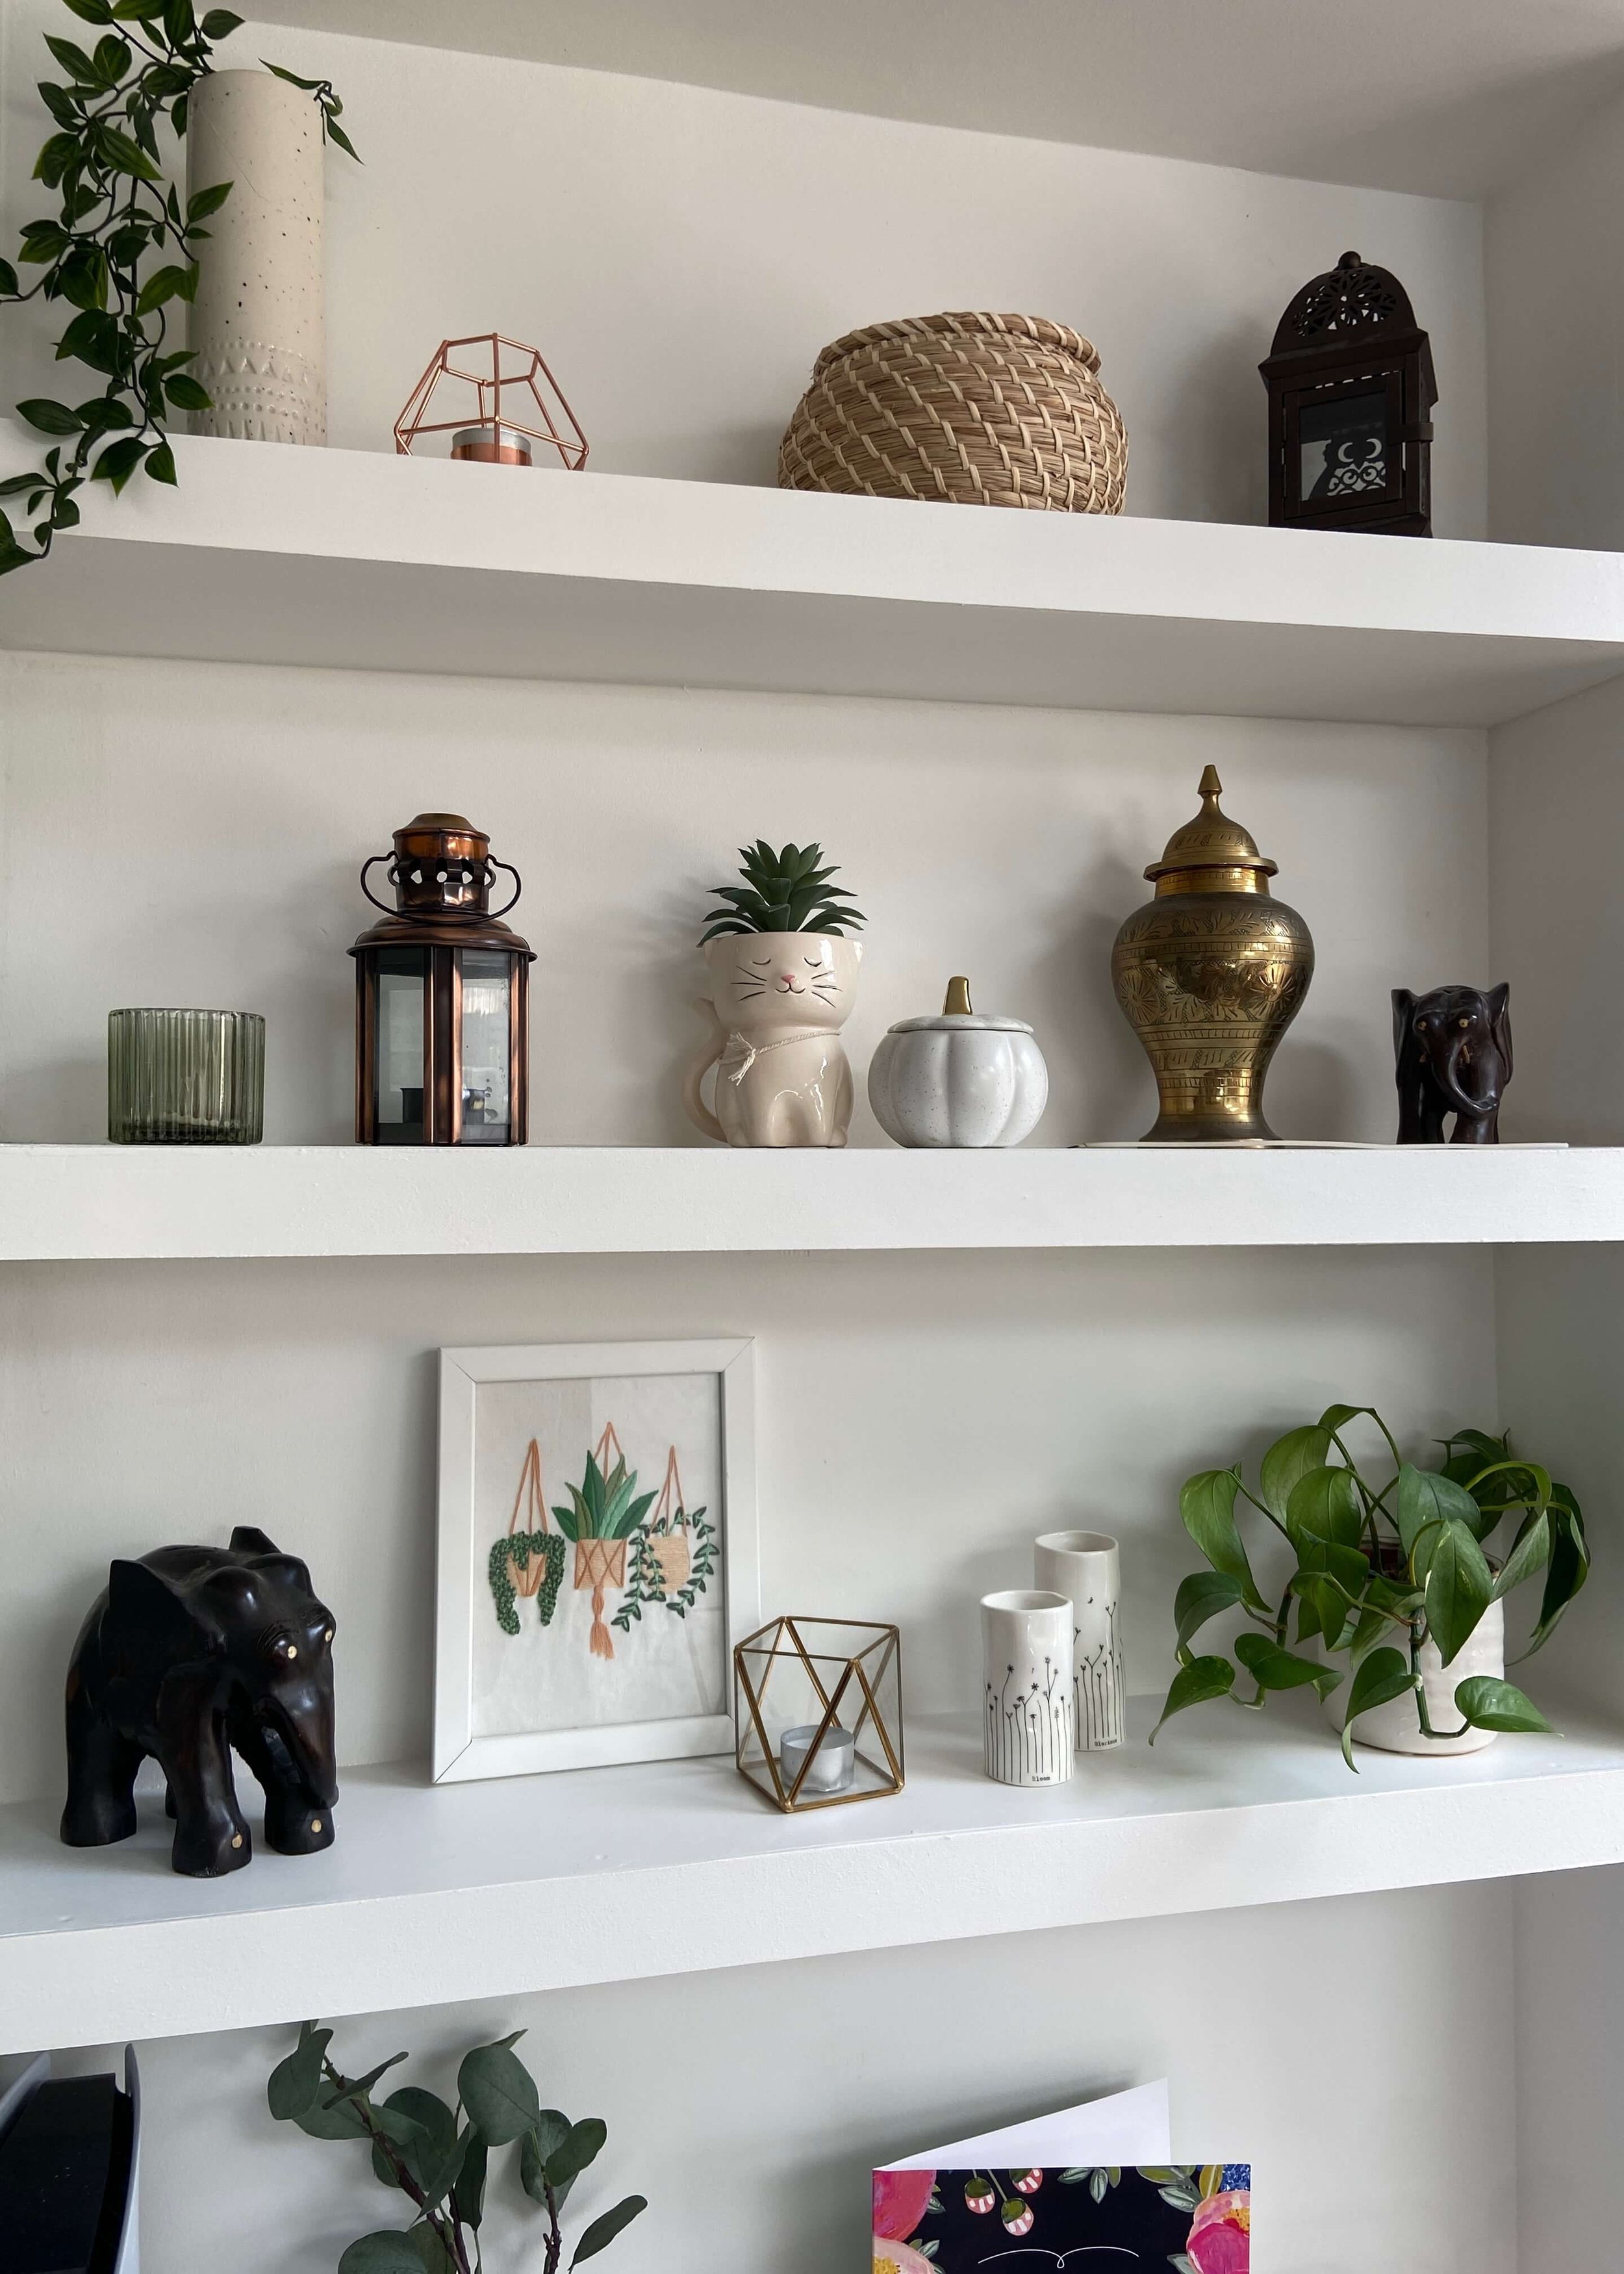
I’ve had a go at making floating shelves before, we have these wooden ones in what is now our nursery, however I knew we wanted the shelves in the living room to be deeper and sturdier to hold all of our various trinkets. I also wanted them to be white, to match the cabinets below, and decided to make them using a timber frame and MDF. I wasn’t well enough to be able to do them myself, so the other half took it on, and he did such an amazing job.

We managed to make these for a third of the price quoted to us by a carpenter, however we could probably have made them even more cheaply, had we been able to cut the MDF sheets down to size ourselves or at our local hardware store. I’d love to hear what you think of them, so do let me know in the comments below. Don’t forget to subscribe and share, and keep reading for the step by step tutorial!

Timber (2.4m x 38mm x 38mm)

MDF (9mm thick)

MDF (3mm thick)

Drill

Screws

Wood filler

Caulk

MDF Primer

Paint

measure and design shelves

1.

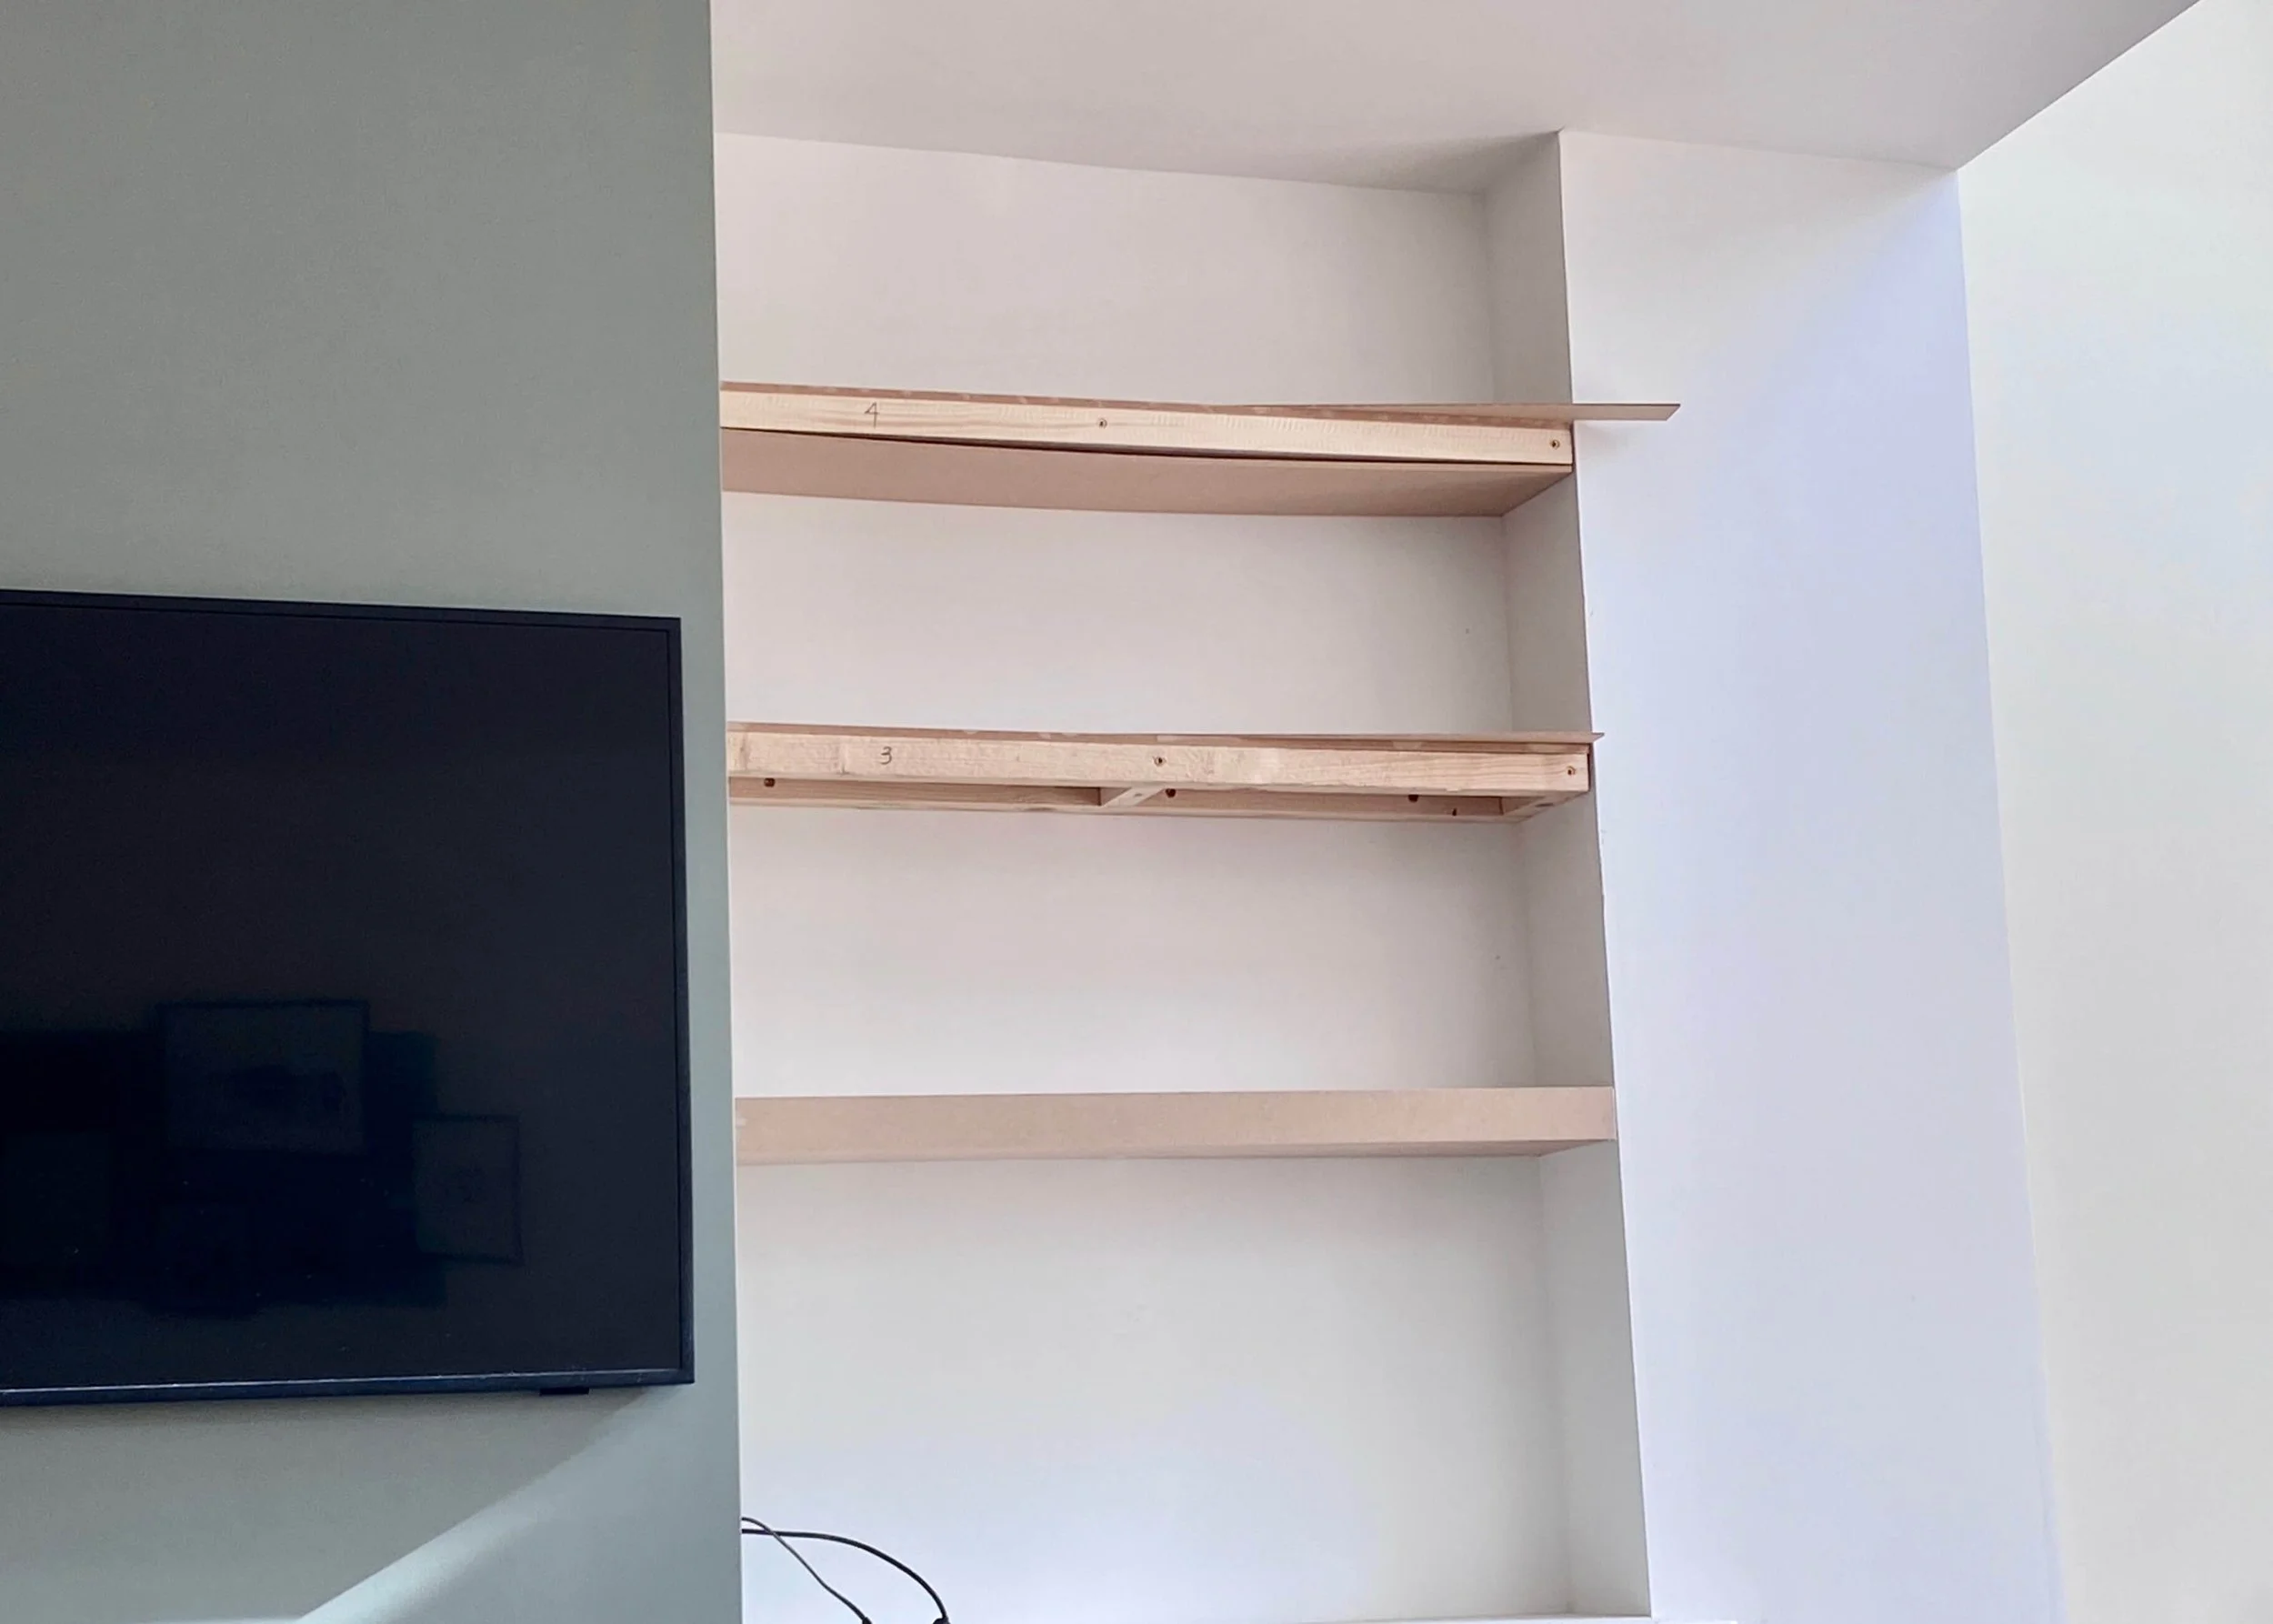
First of all, measure the width of the space that you want to add your shelves, decide how many you want and thick you want them to be. Our walls were a bit wonky, so each shelf was a different length, but we decided on 3 shelves each size that were 50mm thick.

cut wood to size

2.

Next, we got timber that was 2.4m in length and 38mm in thickness. For one shelf, we cut the length down into 2 x the width we wanted the shelf to be (A & B), and then 3 x approximately 9cm in length (C, D & E). The smaller lengths need to be the depth of the shelf minus the depth of the 2 longer lengths.

create an E shape using wood

3.

Using a corner clamp, we screwed the shorter lengths (C, D & E) to one of the longer lengths (A). We spaced these so that there was one at each end and one in the middle. Do not attach the other longer length yet (B).

attach wood frame to wall

4.

At this point you want to grab what should look like a skinny E shape, and screw it to the wall where you want your shelf to be. If like ours it has walls either side, screw both the back and sides into the walls. Be sure to use a level to make sure your shelf is straight.

attach front of wood frame

5.

Next, take the other length of wood (B) and use three screws to screw this into the 3 smaller wood pieces (C, D & E). You now have your the internal frame for your shelf. I didn’t get a photo of my husband doing this, but essentially your frame should look like this but on the wall and with a wooden length in the middle.

6.

Repeat this process for all the shelves that you want to make. Be sure to measure for each shelf as walls are often wonky!

measure and cut mdf to length

7.

Next, you want to measure the length and depth that you need your MDF to be and get this cut. We used 9mm MDF for on top of the shelves and 3mm for the bottom, so that along with the 38mm wood, each shelf would be 50mm thick. We also used 3mm MDF for the front of the shelf. As each of our shelves was a different length, we used Cut My Plastic to cut all of our MDF.
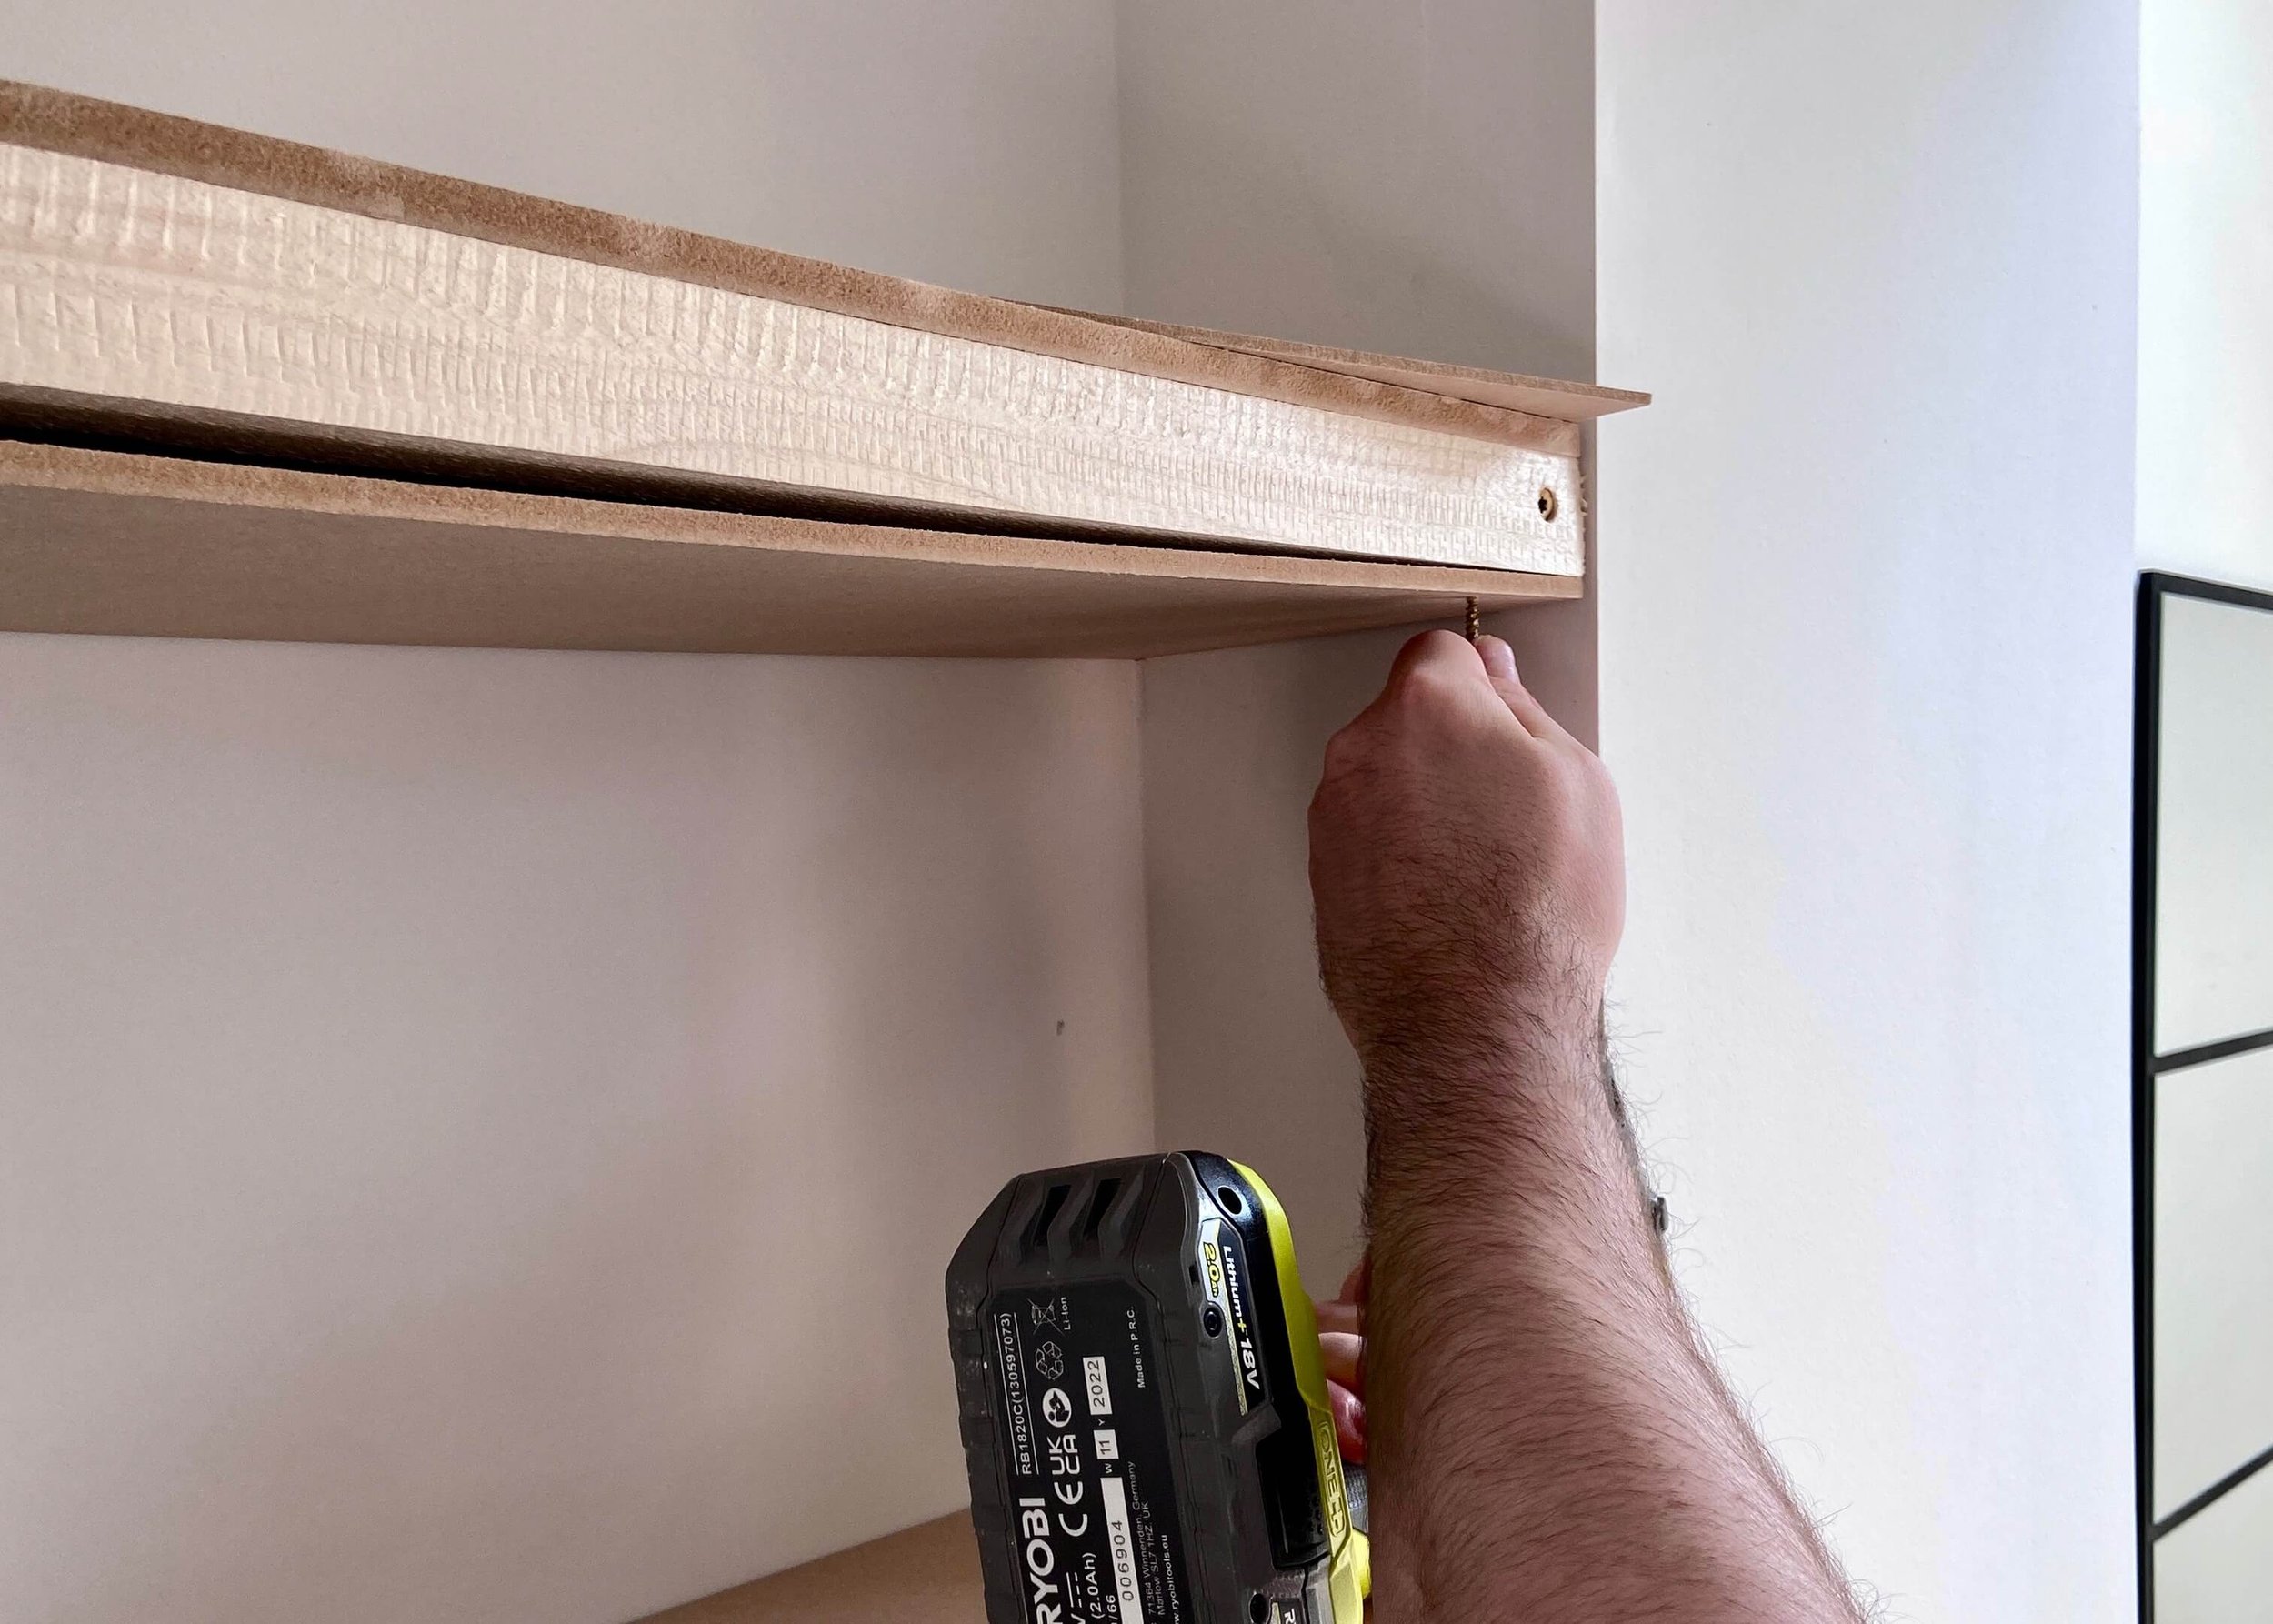
screw and glue mdf to frame

8.

Once we had our MDF, we used screws and No More Nails to attach the 3mm MDF under the frame, then the 9mm MDF on top of the frame, and finally a 3mm length to the front. Countersink your screws or nails and then fill these with wood filler before sanding for a smooth professional finish.

prime mdf

9.

Next, tape up your walls and give your shelves a couple of coats of MDF primer. You need to prime MDF to ensure it doesn’t warp and also to reduce the amount of paint you need to paint it.

10

Once the primer is dry, paint your shelves in your desired colour and do as many coats of this as you need. Finally, use some decorators caulk to go around the edges of the shelf that are in contact with the walls to create a seamless finish.

…and that’s it!

MDF floating shelves by isoscella
MDF Floating Shelves by Isoscella
this is the alt text
YOU MIGHT ALSO LIKE...
Wooden Mushroom Decor
Apr 26, 2025
Wooden Mushroom Decor
Apr 26, 2025
Apr 26, 2025
Hand-Painted Floral Mural Arch
Mar 29, 2025
Hand-Painted Floral Mural Arch
Mar 29, 2025
Mar 29, 2025
Easy IKEA Antilop Makeover
Mar 1, 2025
Easy IKEA Antilop Makeover
Mar 1, 2025
Mar 1, 2025
Clay Leaf Shelf
Jun 29, 2024
Clay Leaf Shelf
Jun 29, 2024
Jun 29, 2024
Nursery Feature Wall
Jun 15, 2024
Nursery Feature Wall
Jun 15, 2024
Jun 15, 2024
Hallway Wall Niche
Jun 8, 2024
Hallway Wall Niche
Jun 8, 2024
Jun 8, 2024
Ikea Hemnes Drawer Hack
May 4, 2024
Ikea Hemnes Drawer Hack
May 4, 2024
May 4, 2024
Pressed Flower Taper Candle
Apr 20, 2024
Pressed Flower Taper Candle
Apr 20, 2024
Apr 20, 2024
Floral Rabbit Nursery Print
Apr 13, 2024
Floral Rabbit Nursery Print
Apr 13, 2024
Apr 13, 2024
Pressed Flower Egg Ornaments
Apr 10, 2024
Pressed Flower Egg Ornaments
Apr 10, 2024
Apr 10, 2024
In DIY, INTERIORS Tags home
← 23 Christmas DIY IdeasPumpkin Patch Art →
 

Decorating, DIY-ing and doodling my way through life. Have a look around and let’s get creative!

>> FIND OUT MORE <<

Follow
The office is still one of my favourite transformations in the house! 😍

I started by panelling the wall with MDF strips and then painted the wall with a mix of colours. I used three IKEA drawer units for the base of the desk and then secured the de

ART

DIY

LIFE


THE LATEST

Featured
Wooden Mushroom Decor
Apr 26, 2025
Wooden Mushroom Decor
Apr 26, 2025
Apr 26, 2025
Hand-Painted Floral Mural Arch
Mar 29, 2025
Hand-Painted Floral Mural Arch
Mar 29, 2025
Mar 29, 2025
Easy IKEA Antilop Makeover
Mar 1, 2025
Easy IKEA Antilop Makeover
Mar 1, 2025
Mar 1, 2025
Clay Leaf Shelf
Jun 29, 2024
Clay Leaf Shelf
Jun 29, 2024
Jun 29, 2024
Nursery Feature Wall
Jun 15, 2024
Nursery Feature Wall
Jun 15, 2024
Jun 15, 2024


THE GREATEST

Featured
DIY // IKEA LACK TABLE INDUSTRIAL HACK
Sep 22, 2020
DIY
DIY // IKEA LACK TABLE INDUSTRIAL HACK
Sep 22, 2020
DIY
Sep 22, 2020
DIY
DIY // CLAY ALL-SEEING EYE MIRROR
Aug 14, 2020
DIY
DIY // CLAY ALL-SEEING EYE MIRROR
Aug 14, 2020
DIY
Aug 14, 2020
DIY
DIY // CLAY FACE DISH
Apr 29, 2020
DIY
DIY // CLAY FACE DISH
Apr 29, 2020
DIY
Apr 29, 2020
DIY
DIY // ABSTRACT ART FLORAL EGGS
Mar 25, 2020
DIY
DIY // ABSTRACT ART FLORAL EGGS
Mar 25, 2020
DIY
Mar 25, 2020
DIY
DIY // WIRE FACE EARRINGS
Feb 16, 2020
DIY
DIY // WIRE FACE EARRINGS
Feb 16, 2020
DIY
Feb 16, 2020
DIY

Follow
^^ BACK TO TOP
How does Monday come round so quick?!Wishing I could cosy up here today ✨

#mondaymood #storyofmyhome #mydailyhomesquare #interiordesign #budgetdiy #realstylishhomes #ourdiyhomes #femalediycollective #discoverunder5k #myhousethismonth #myhousedownsou
I&rsquo;ve got the day off today (woop!) and although it&rsquo;s not quite warm enough to sit out here yet, the sun is shining and I think a little walk to blow out the cobwebs is exactly what I need. Hope Monday is treating you well! ☀️

#summerdrea
Had such a lovely day seeing one of my besties and her adorable new baby that I completely forgot to share today&rsquo;s new blog post!

Head over to the blog for all the details of this easy DIY ring dish 🔝✨

#diy #diyhomedecor #diyhome #diyvalenti
That sunshine 👌🏻☀️

#mycosyhome #livingroomdecor #livingroominspo #mydiymydecor #homeobsessed #lovemydecor #homeinterioruk #discoverunder5k #diyhome #diyhomedecor #myhousethismonth #myhousedownsouth #realstylishhomes #ourdiyhomes #happythursday #in
A little corner our home on this chilly Tuesday morning ✨
.
.
#interior #homeobsessed #mycosyhome #homeinterioruk #instadecorating #homesofinstagram #happymonday #mondaymotivation #instainteriors #cornersofmyhome #myhousethismonth #myhousedownsouth #

Copyright 2021 isoscella. All rights reserved.

Powered by Squarespace