• ABOUT ME
    • PRIVACY POLICY
  • COLLABORATE
  • BLOG
    • ART
    • WEDDING
    • LIBRARY
    • DECOR
    • JEWELLERY
    • STATIONARY
    • NAIL ART
    • BAKING
    • CHRISTMAS
    • EASTER
    • ART PRINTS
    • WEDDING STATIONARY
  • CONTACT
Menu

ISOSCELLA

Street Address
City, State, Zip
Phone Number

Your Custom Text Here

ISOSCELLA

  • ABOUT
    • ABOUT ME
    • PRIVACY POLICY
  • COLLABORATE
  • BLOG
  • ART
    • ART
    • WEDDING
    • LIBRARY
  • DIY
    • DECOR
    • JEWELLERY
    • STATIONARY
    • NAIL ART
    • BAKING
    • CHRISTMAS
    • EASTER
  • SHOP
    • ART PRINTS
    • WEDDING STATIONARY
  • CONTACT

NAIL ART // MINK WITH A HINT OF PINK

September 28, 2015 isoscella

It's all go again here, officially back to work and studying. I can't believe how quickly my three and half week annual leave went, however I did have a lovely time (I guess time does fly when you're having fun!) and did a few little crafty projects which I had so much fun doing. Whilst doing them, I took lots of photos and blogged about them afterwards which I have scheduled to post on here in the coming months. I even have a spreadsheet (thank you for the idea Dorkface!) so for the next few months I will be beautifully organised (or at least, that's the plan...) and even if I'm chocker at work, things should be a bit more consistent on here (hurrah!). 

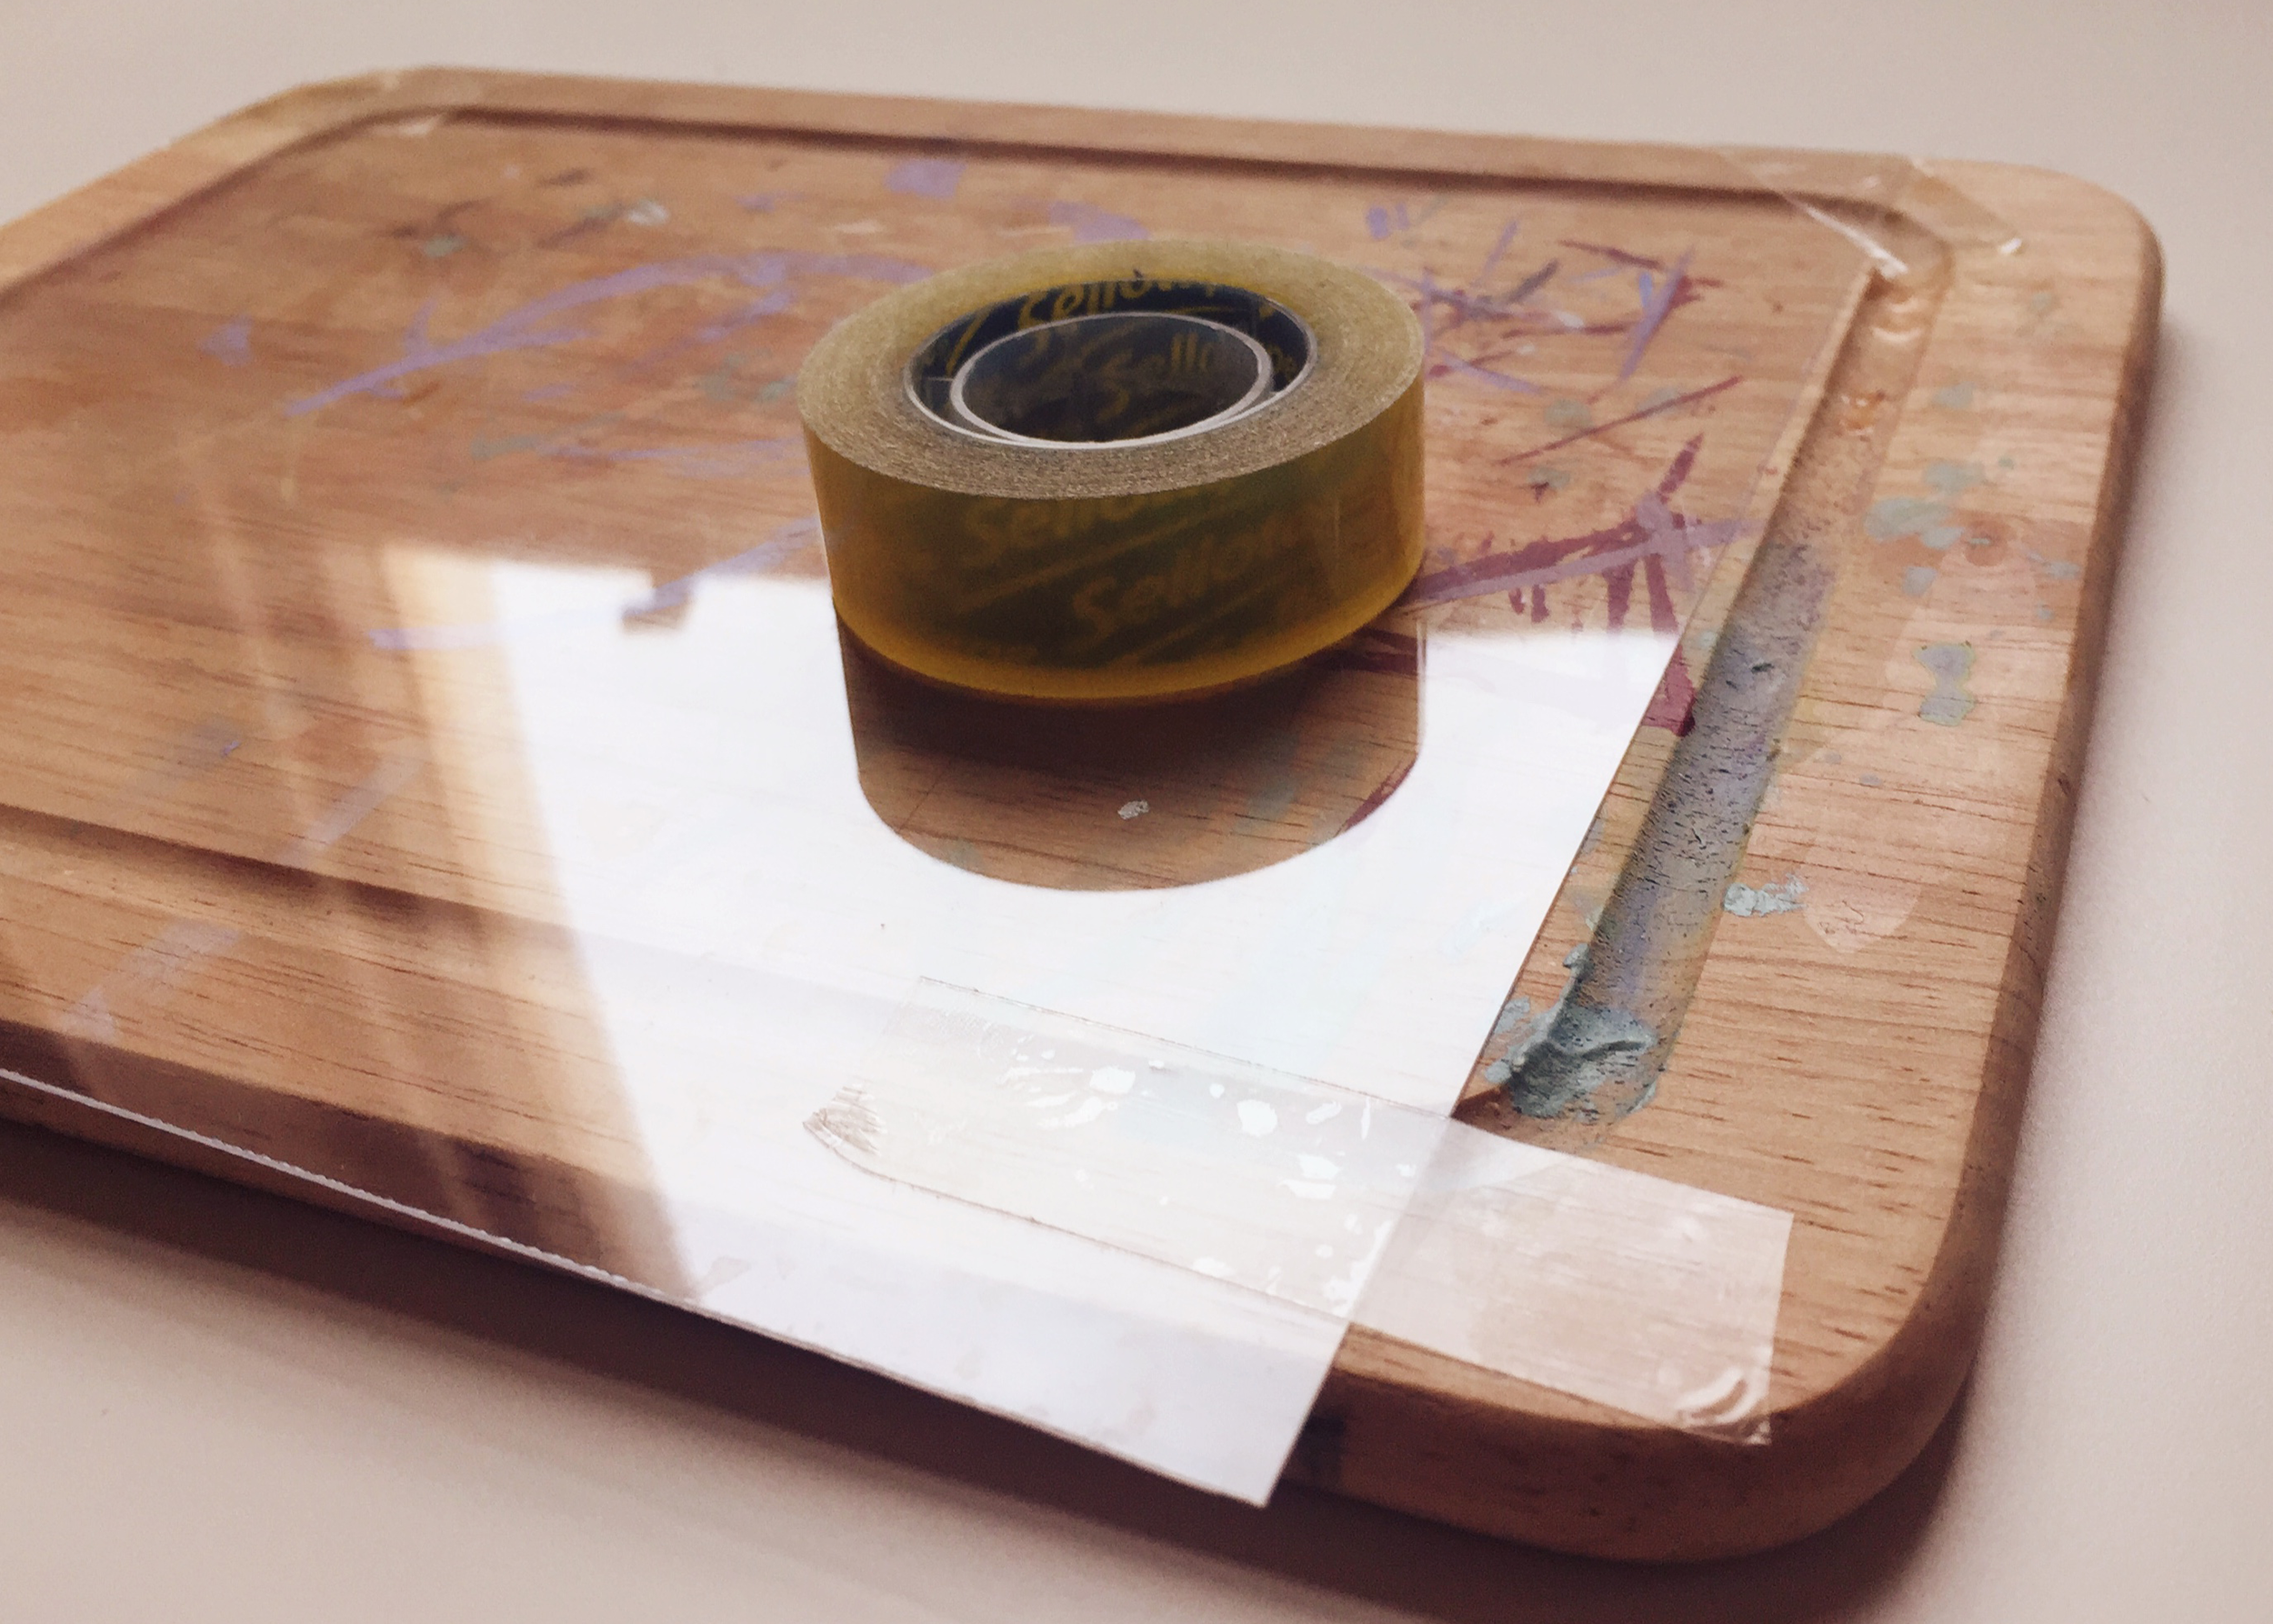
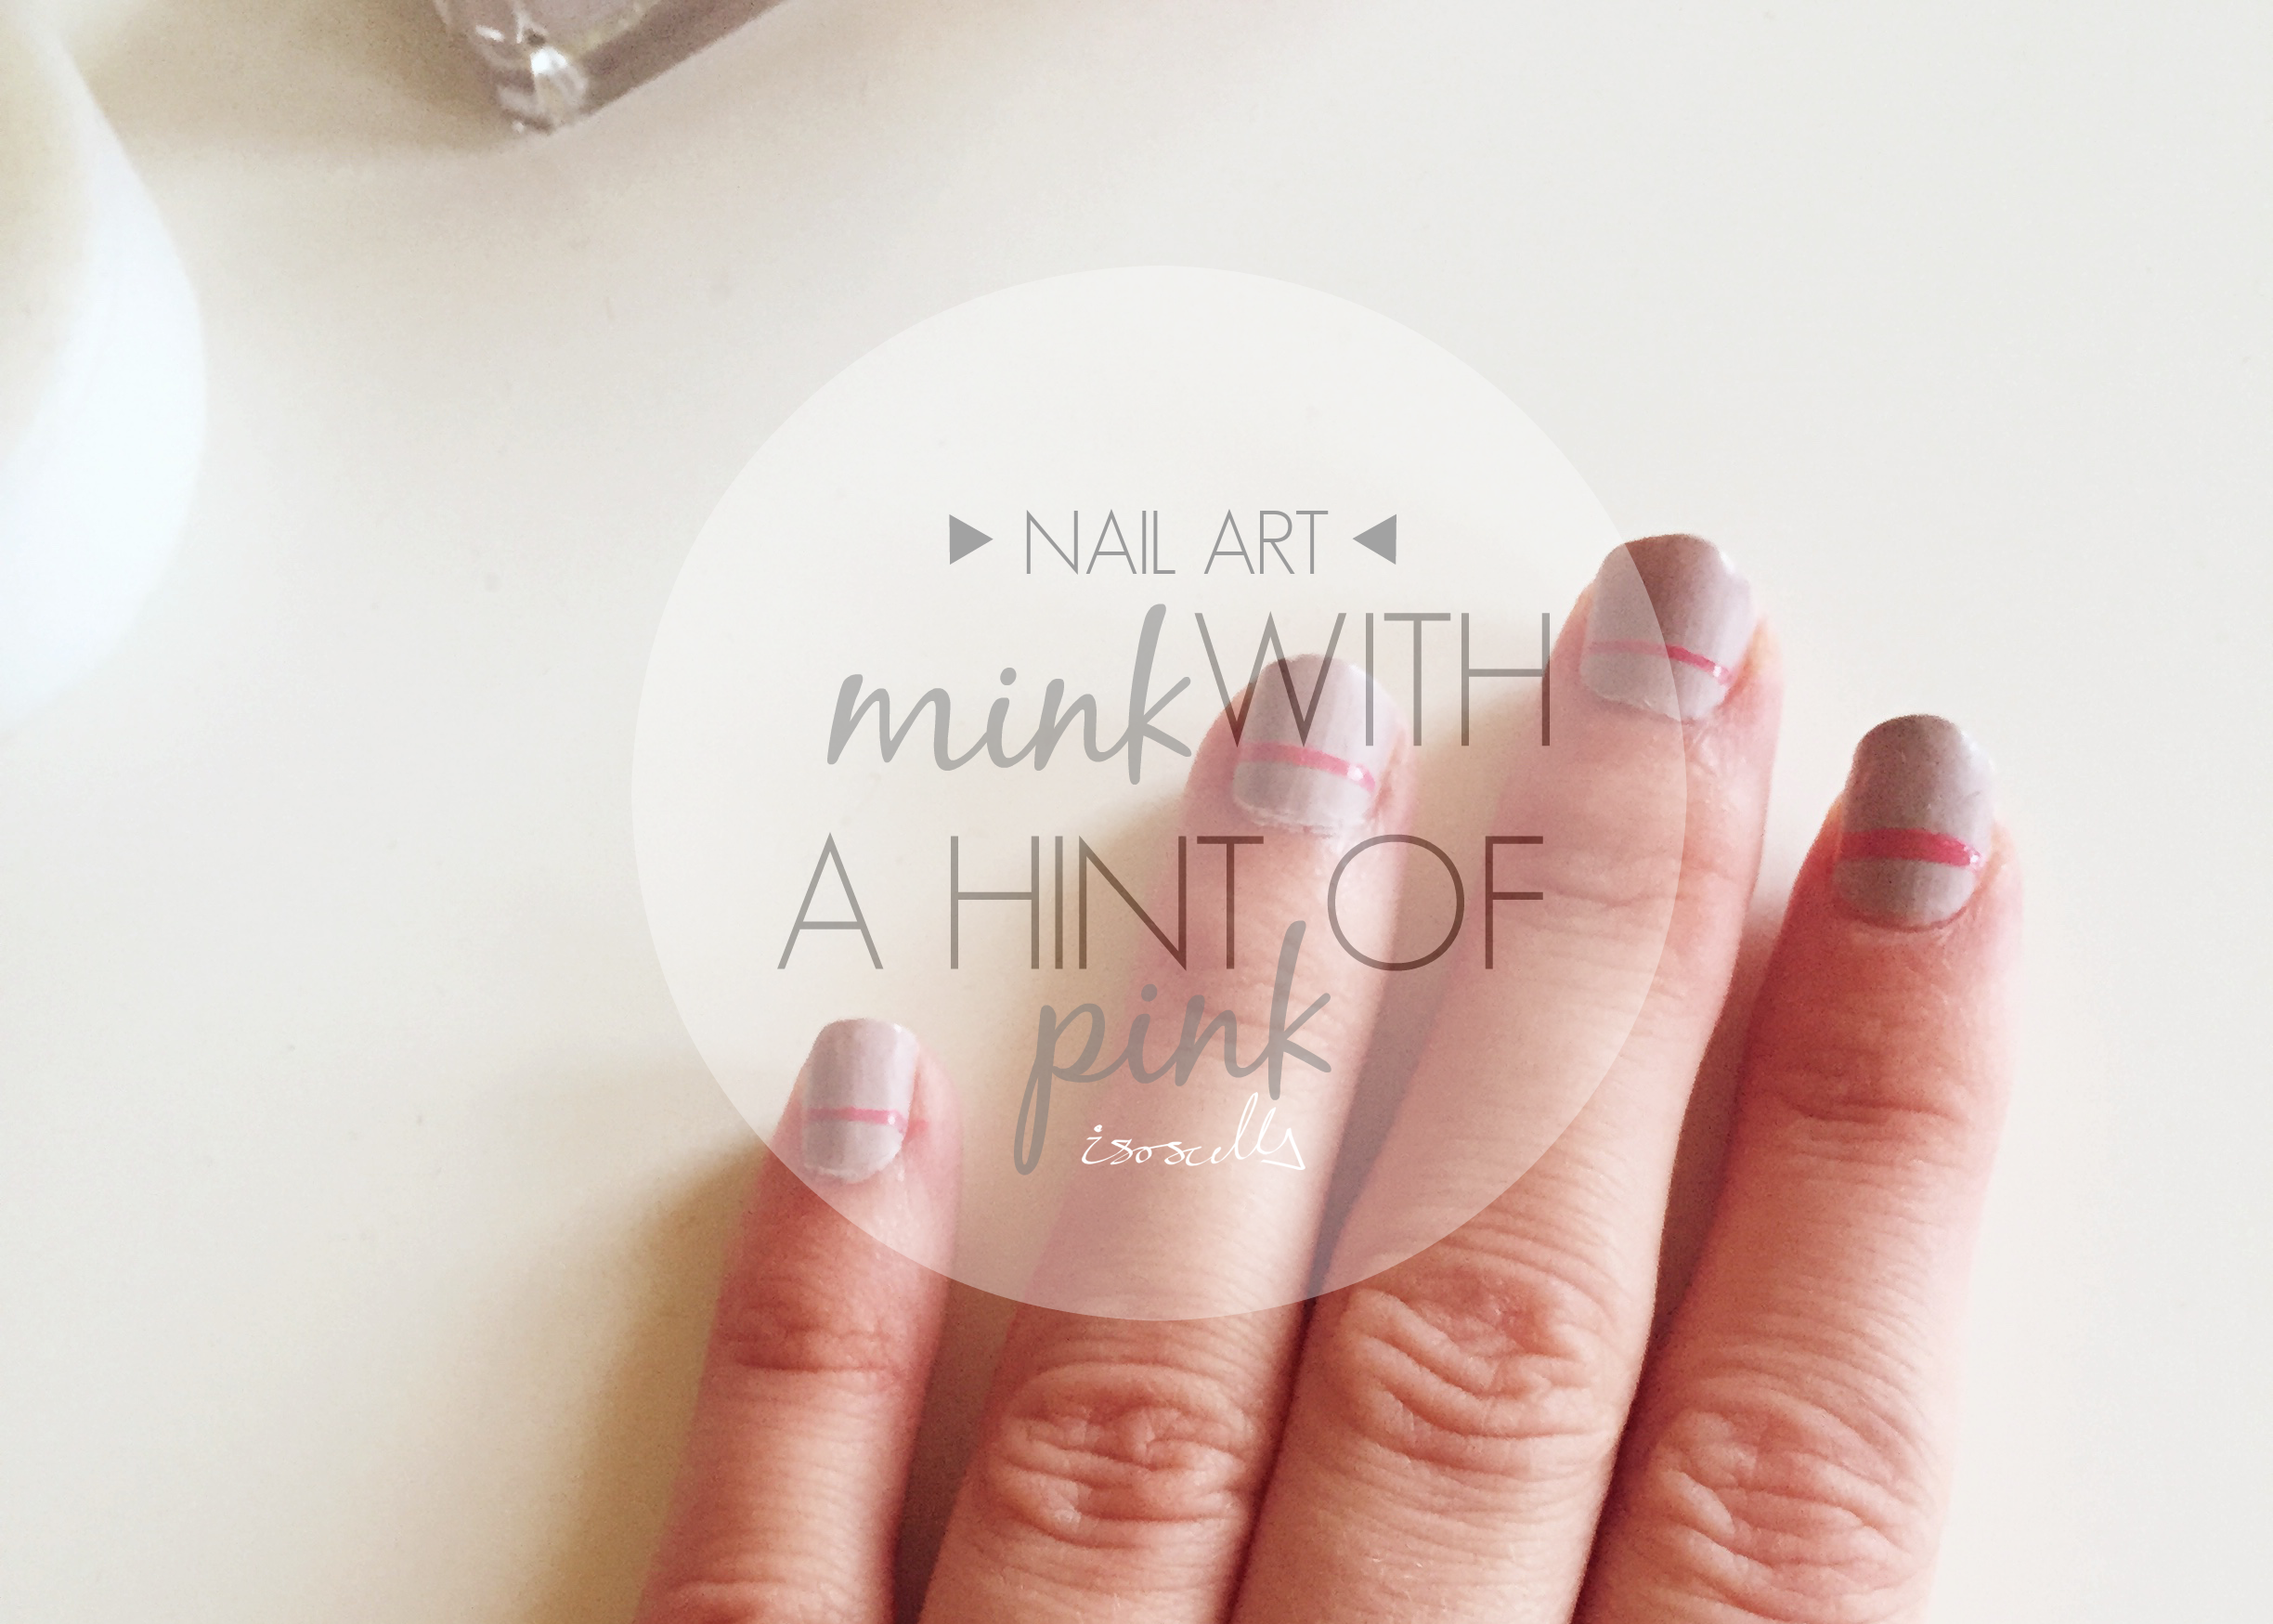
In the spirit of feigning organisation, I thought I would get my nails looking a bit tidier (you'll see the state that they were in in my upcoming blog posts) and share with how I decided to neaten them up. If you follow my on Twitter, you may have seen that recently I popped to Hobbycraft (this is the UK's biggest craft store chain) and had a bit of a craft haul. One of the things I bought was Scotch Magic Tape, which I've seen lots of other nail artists use in their tutorials. I wanted to give this a go alongside a pink nail varnish by Barry M called Pink Flamingo (what a great name!) that I got as a freebie with another purchase from Superdrug a little while ago. I'm not a big fan of bright pink nails and so wanted to find a way to subtly incorporate it.

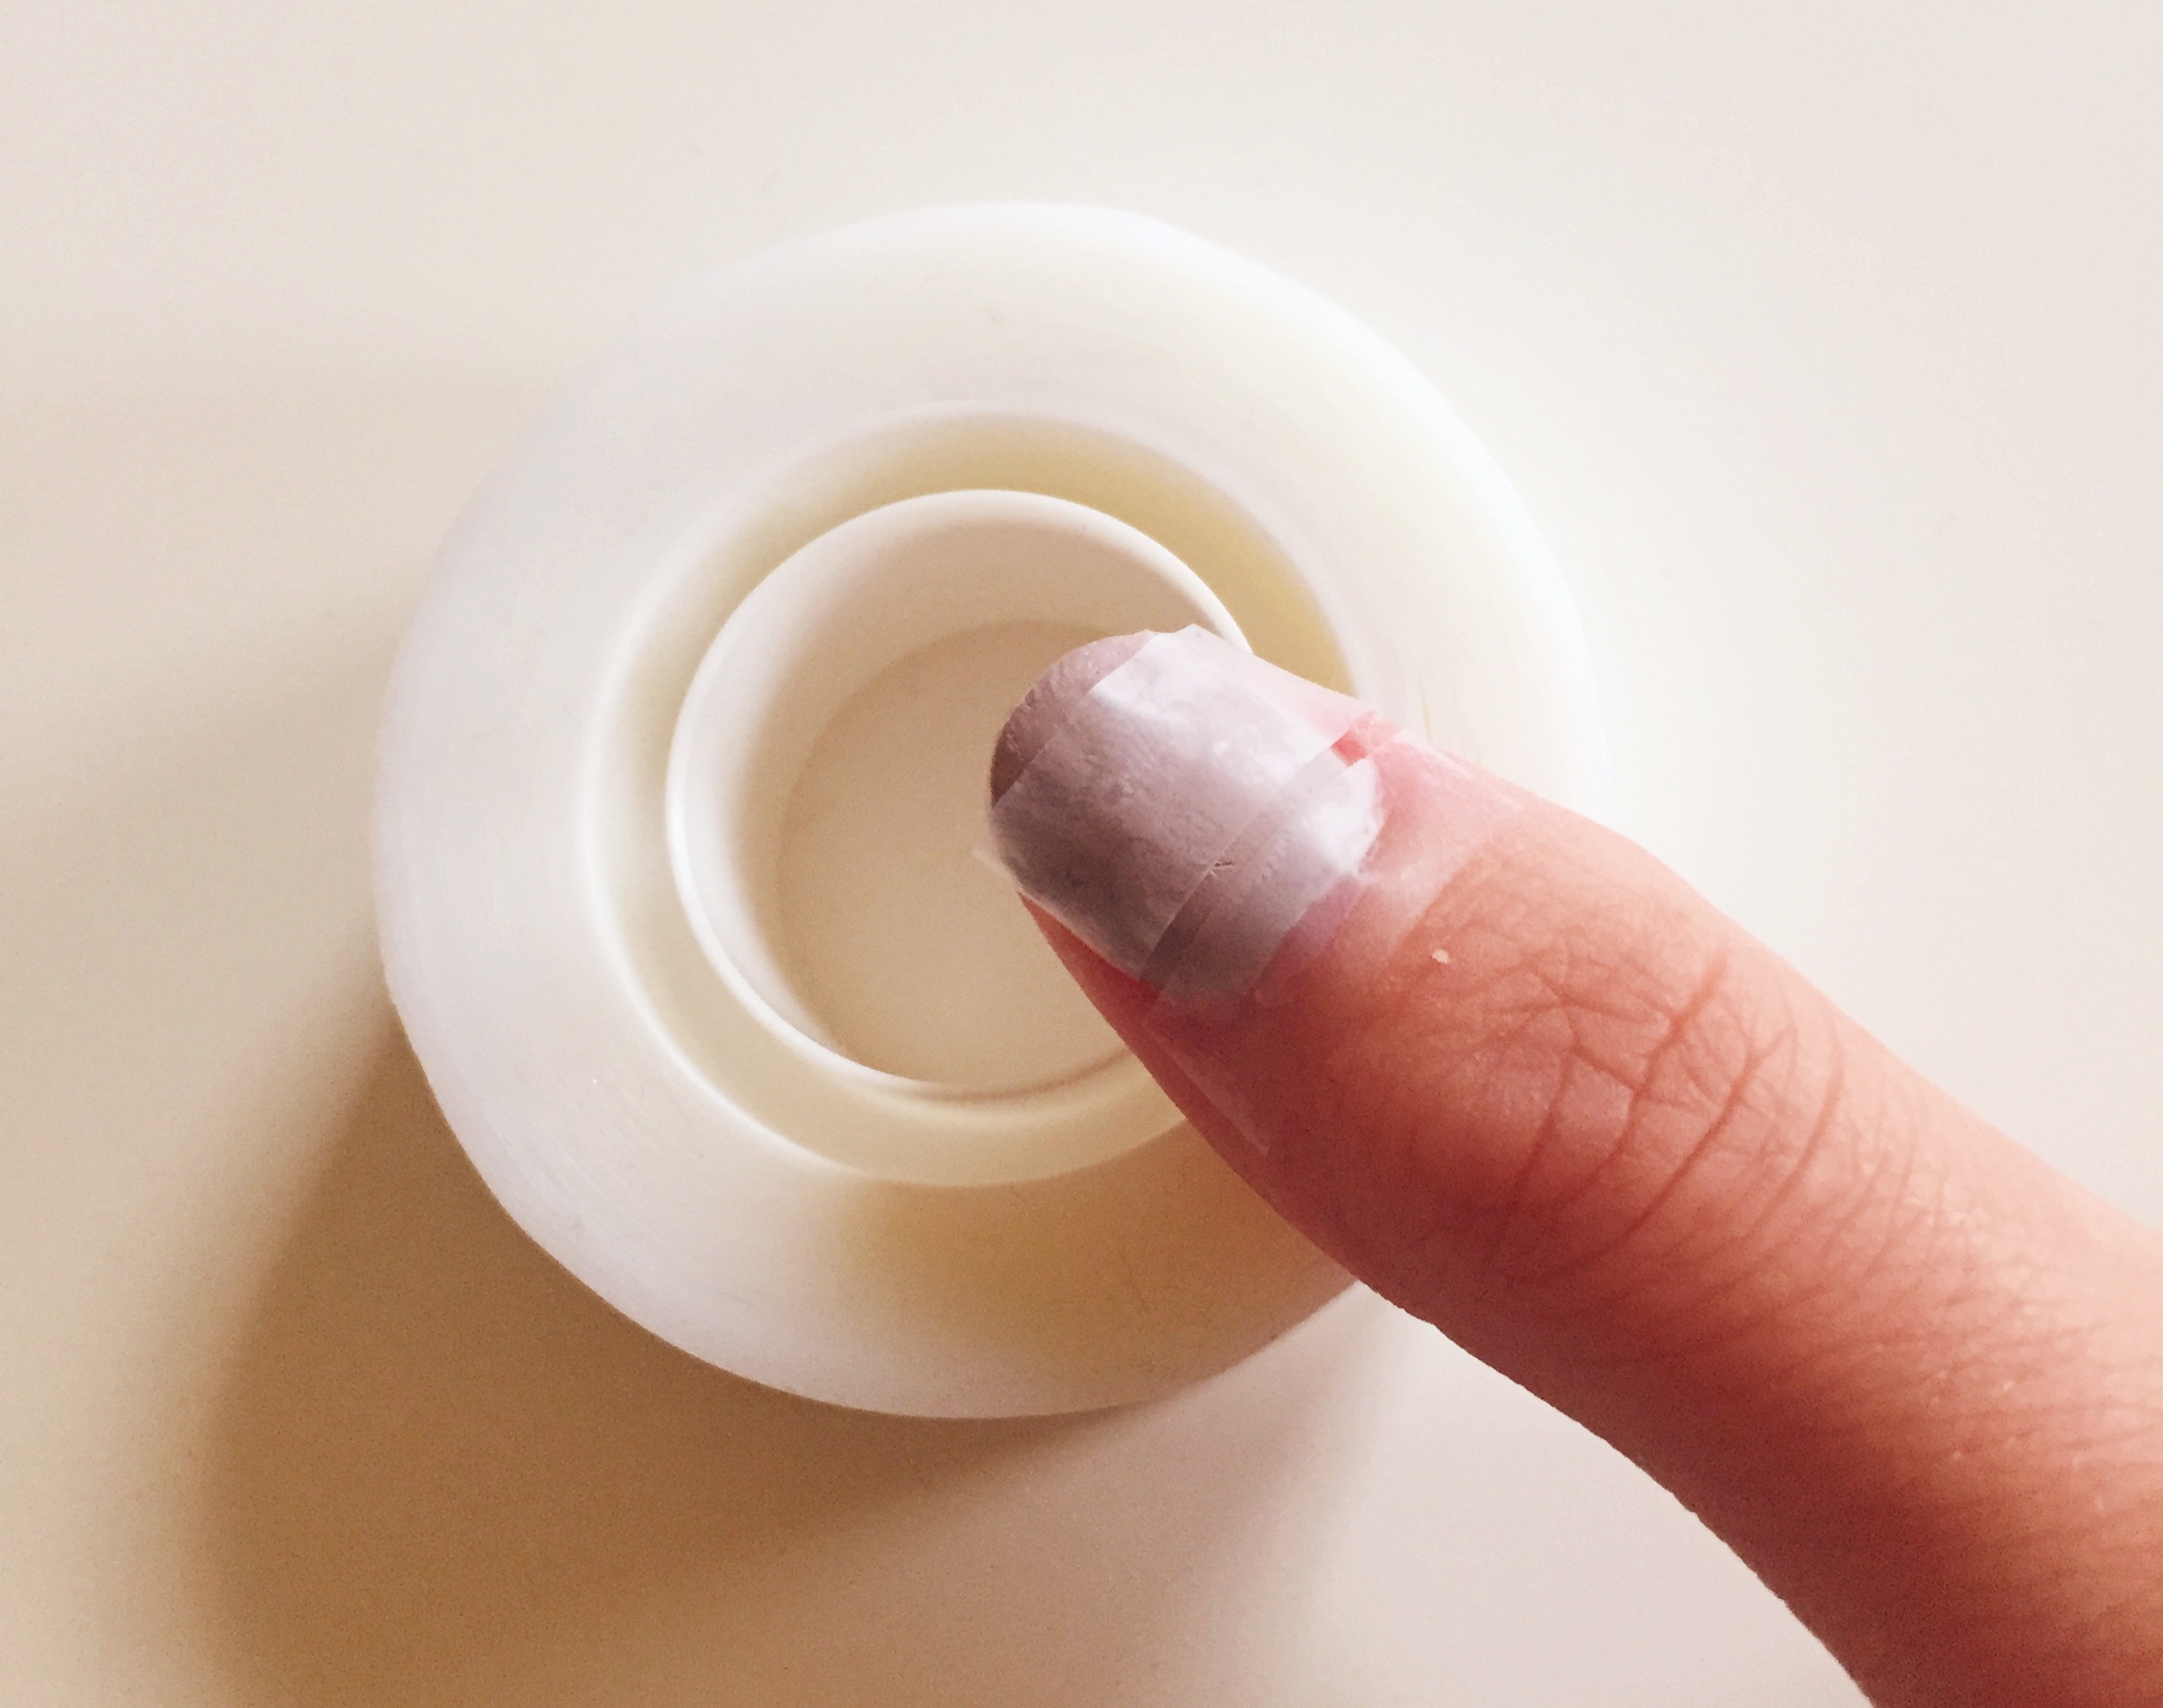
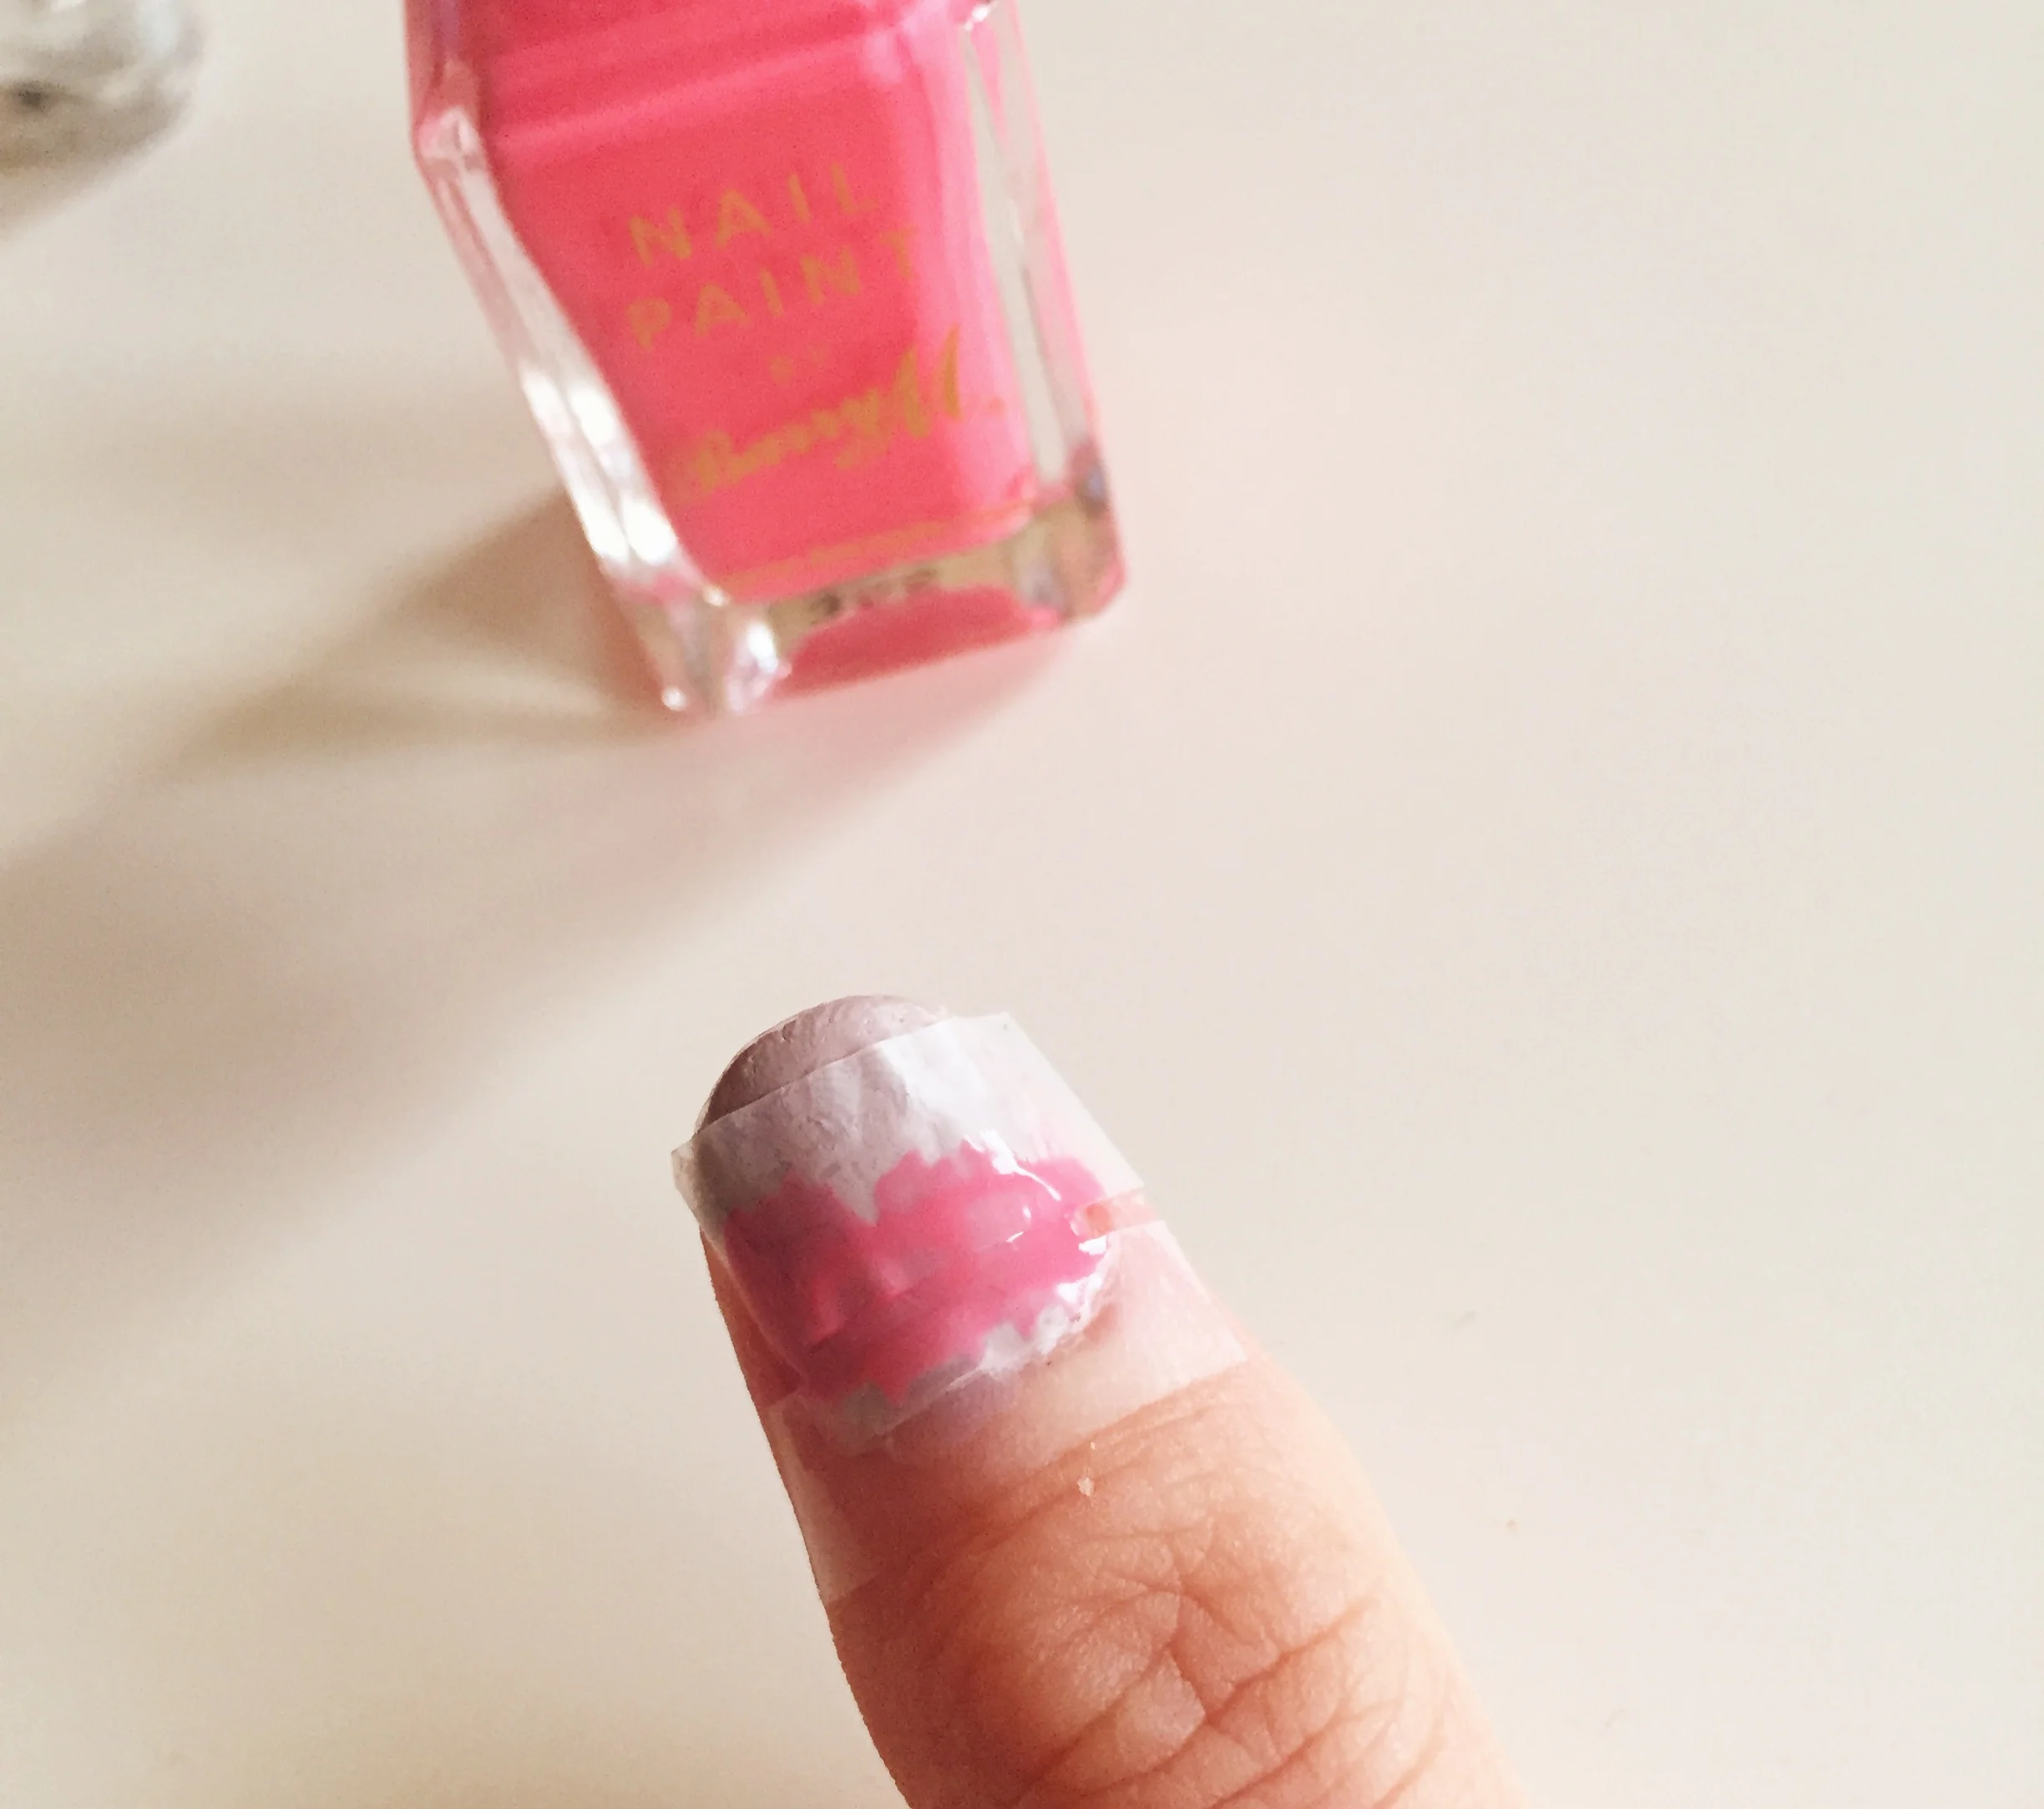
1. Paint all over with base coat and leave to dry  |  2. Paint all over with one colour and leave to dry  |  3. Cut strips of scotch tape and place on nails with a strip of exposed nail between  |  4. Paint over the nail with the second colour and peel off the tape when slightly drier (but not completely)  |  5. Once dry, paint all over the whole nail with a clear top coat.

Sally Hansen Base & Top Coat  |  Barry M Matte 'Vanilla' Nail Varnish  |  Magic Scotch Tape

ave you ever used Scotch Magic Tape on your nails? 

How would you wear a bright pink nail varnish?

Let me know in the comments below! :)

♥

In DIY Tags nail art
Comment

DIY // EASY TRIANGLE EARRINGS

September 14, 2015 isoscella

I hope that you have been happy and well since my previous post. I'm trying really hard to post more regularly, so be sure to let me know what you think of this blog post and what kind of posts you would like to see more of in the future! I do have some nail art posts up my sleeve... But today, I thought I would share with you an easy little jewellery DIY.

Back when I first started blogging, I was working part-time (oh those were the days...!) and spent quite a bit of my spare time making clay jewellery. Although I tend to do clay projects less now, it's something I still really enjoy and so on my annual leave over the summer, I made quite a few pieces of air-dry clay jewellery. One of my favourite pieces was these little earrings; not just because they are so quick and easy, but because they are both triangular and mint green (could it get any better?!).

Air-dry clay  |  Headpins  |  Fishhook earwire  |  Round nose pliers  |  Wire cutter  |  Acrylic paint

air-dry clay triangle earrings how to DIY

1. Knead the clay until soft and roll out onto a smooth surface. Here, I rolled out the clay onto a chopping board covered in acetate (so that it didn't stick!) until it was about 4mm thick.

2. Using the scalpel, cut out two triangles of equal size. I freehand cut out a tall rhombus (like this) and cut it in half to create two equal isosceles triangles. Who knew all that geometry in Maths would actually come in handy?!

3. Push a headpin through the base of each triangle through the tip. It can be tricky to push the headpin all the way through the clay without distorting the shape, however once it is all the way through, you can always neaten up the edges with the side of your scalpel (that's what I did!).

4. Leave the clay to dry overnight. Once dry, the clay will be much harder and slightly lighter in colour. If there are still any dark areas, leave it for a bit longer.

5. Smooth the edges of the clay triangles with sandpaper. For this, I first (very gently!) used a coarse sandpaper and then used a fine sandpaper.

6. Paint all over the clay triangles with acrylic paint. I chose to paint my earrings in a shade of mint (of course!). I'm still as obsessed with this colour as I was back when I started this blog it would seem. Once I had built up enough coverage, I mixed in tiny bit of water into my left over paint and went over the paint work to smooth out any imperfections.

7. Once dry, paint silver paint over the bottom half of each triangle. For this, I just 'eyeballed' half way and painted freehand. However, if you want to make sure this line is crisp, straight and not wonky (like mine), then you might want to use a bit of masking tape.

8. When this is dry, cut off some of the excess headpin. Using the wire cutters, you want to remove most of the wire sticking out from the top of the triangle, leaving about 9-10mm above the triangle to create a loop.

9. Using round nose pliers, create a loop (but don't close it yet). This is probably the trickiest part, I'm definitely always least happy with my loops! The Crafty Owl Cafe have a really helpful youtube video here, which I've found very helpful.

10. Attach the earring hooks to the loop you created on the headpin. To do this, you want to hook the loop (on the bottom of the earring hook) to the headpin loop and using the pliers, close the headpin loop up.

... and that's it!

Pretty simple right?! And although they are so simple, they don't look it! A stylish and quirky handmade gift for anyone.

What do you think?

Let me know in the comments below and d

on't forget to share and subscribe :)

♥

In DIY Tags jewellery
Comment

DIY // GEOMETRIC HOLDER

August 12, 2015 isoscella

I hope that you have been having a lovely week and enjoying the weather. I, for one, have had such a great time recently fulfilling bridesmaid duties (assuming 'duties' include stuffing your face with food at fancy restaurants & afternoon tea!), celebrating several weddings and simply enjoying the warm weather. Part of my enjoyment of these various occasions has been how lovely it has been to catch up with my lovely friends. It's so easy to forget what and who really matter sometimes but this little reminder, at this time, was exactly what I needed. 

Speaking of reminders, my recent spring (well, summer) clean led me to find a paint brush holder that has sat, unused and unloved, in the bottom of my arts and crafts draw (yes, I have an arts and crafts draw). Made of metal, it originally came with a set of Daler Rowney Simply Acrylic Brushes and although a great size, it was banished to the depths of my drawers for not co-ordinating with my living room (I'm pretty fussy when it comes to ornaments and decor!). Given the abundance and unruly (dis)organisation of my paint brushes, it seemed a shame to get rid of it and so instead I decided to find the time to decorate it so that it would co-ordinate with my living room and show you exactly how I did it.

Holder  |  Nail varnish  |  Paint brush  |  Acrylic paint


1. Rinse the surface with warm water and dry completely before painting with nail varnish. After a bit of googling, I discovered that nail varnish adheres rather nicely to metal. Here I used a clear nail varnish however it may be easier to use a coloured nail varnish (e.g. white) so that you can see where you have already painted.

2. Mix up your acrylic paints to create the colour you want your holder to be, paint all over the holder and leave to dry overnight. Here, I found it best to paint a rough first coat in smooth vertical strokes which I left to completely dry before painting the next coat. I repeated this process, slowly building up the layers by alternating between vertically and horizontally. Once I was happy with the coverage, I then mixed some water into the remaining paint and went over the entire holder to smooth out any lumps and bumps.

3. Draw a pattern onto the painted holder using a pencil. Here, I used a measuring tape and ruler to create a rather precise overlapping triangle pattern. 

4. Mix up your acrylic paints and paint the pattern as you would like. Here, I painted (freehand) every other diamond shape white and the diamonds in between light grey.

5. Leave this to dry and paint any final details. Here, I painted a silver triangle in the gap between each diamond. To make sure the edges were nice and neat, I used post-it notes which I removed once the paint was dry.

... and voila!

I'm really happy with how this little project turned out and am pleased to report that my brushes are now stored neatly in the holder, which now sits proudly on my desk.

Have you ever used nail varnish to adhere paint to metal?

Let me know what you think of this post in the comments below! 

♥

In DIY Tags home
Comment

NAIL ART // FESTIVAL-READY NAILS

July 15, 2015 isoscella

Can you believe it's July already?! For me, the fact we are now a couple of weeks into July means the end of placement is in sight (only 4 weeks to go!) and my three and a bit weeks of annual leave are almost within reach. So since my last post, I've been working hard whilst enjoying the odd bit of sunshine (it's been so hot here in the UK!) whilst really trying to take the whole 'I'm a priority' thing seriously. And to this end, a couple of weeks ago I spent an afternoon doing things all for me. It had been a while since my nails had received some (much needed) TLC and given we had just entered festival season, I thought I would treat them to something bright and patterned. As my nail art pens are running low, I had to improvise a bit and instead used a Staedtler metallic marker I found lurking in the bottom of a draw.

1. Paint all over with base coat.  |  2. Leave base coat to dry.  |  3. Paint all over with blue nail varnish.  |  4. Leave this coat to dry.  |  5. Draw a pattern over your painted nails using a marker.  |  6. Leave the marker to dry COMPLETELY.  |  7. Paint over the whole nail with a clear top coat.  |  8. Leave this to fully dry.

Sally Hansen Double Duty Base & Top Coat  |  Barry M Gelly Hi Shine 'Blue Grape' Polish  |  Staedtler Gold Metallic Marker

Rather surprisingly I really liked using a marker as it was not only really pigmented but a gave a flatter finish than nail art pens which lasted for pretty much the same amount of time. They key I think was that I left it to dry fully before using a good quality top coat. 

What are your thoughts on using markers on your nails?

Let me know in the comments below! :)

♥

In DIY Tags nail art
Comment

NAIL ART // TRIANGLE BASE

May 31, 2015 isoscella

Happy Sunday! I hope everyone has been having a restful and enjoyable weekend. I for one have been doing absolutely nothing and it has been amazing. After handing in my dissertation proposal on friday, I decided to give myself the weekend off before starting my next piece of work (it really is never ending!) and what better way to relax than a bit of a nail art.

I had an image in my head as to how I wanted my nails to look and decided that potentially the easiest way to create them, based on what I had to hand, would be to use a post-it note. Yep you read that right, a post-it note! It surprisingly worked really well and so I thought I would share with you exactly how I did it.

1. Paint all over with a base coat. | 2. Leave base coat to dry. | 3. Paint all over with a beige/cream nail varnish. | 4. Leave this to fully dry - be patient! | 5. Cut off a nail-sized square from the sticky part of a post-it. | 6. Cut out a triangle from one side of this square. | 7. Place this onto the nail, with the cut out triangle at the base of the nail. | 8. Paint over the exposed nail with a mint nail varnish. | 9. Whilst this is still tacky, gently peel the post-it off. | 10. Leave this to fully dry & paint over with a top coat.

...and that's it! 

Who knew post-it's could be so multipurpose?! 

Sally Hansen Double Duty Base & Top Coat  |  Barry M Gelly Hi-Shine 'Greenberry' Nail Paint  |  Topshop 'Offbeat' Nail Varnish

Please do let me know what you think in the comments below and share any of your nail tutorial recommendations! 

Don't forget to share and subscribe :)

♥

In DIY Tags nail art
Comment
← Newer Posts Older Posts →
 

Decorating, DIY-ing and doodling my way through life. Have a look around and let’s get creative!

>> FIND OUT MORE <<

Follow
The office is still one of my favourite transformations in the house! 😍

I started by panelling the wall with MDF strips and then painted the wall with a mix of colours. I used three IKEA drawer units for the base of the desk and then secured the de

ART

DIY

LIFE


THE LATEST

Featured
Wooden Mushroom Decor
Apr 26, 2025
Wooden Mushroom Decor
Apr 26, 2025
Apr 26, 2025
Hand-Painted Floral Mural Arch
Mar 29, 2025
Hand-Painted Floral Mural Arch
Mar 29, 2025
Mar 29, 2025
Easy IKEA Antilop Makeover
Mar 1, 2025
Easy IKEA Antilop Makeover
Mar 1, 2025
Mar 1, 2025
Clay Leaf Shelf
Jun 29, 2024
Clay Leaf Shelf
Jun 29, 2024
Jun 29, 2024
Nursery Feature Wall
Jun 15, 2024
Nursery Feature Wall
Jun 15, 2024
Jun 15, 2024


THE GREATEST

Featured
DIY // IKEA LACK TABLE INDUSTRIAL HACK
Sep 22, 2020
DIY
DIY // IKEA LACK TABLE INDUSTRIAL HACK
Sep 22, 2020
DIY
Sep 22, 2020
DIY
DIY // CLAY ALL-SEEING EYE MIRROR
Aug 14, 2020
DIY
DIY // CLAY ALL-SEEING EYE MIRROR
Aug 14, 2020
DIY
Aug 14, 2020
DIY
DIY // CLAY FACE DISH
Apr 29, 2020
DIY
DIY // CLAY FACE DISH
Apr 29, 2020
DIY
Apr 29, 2020
DIY
DIY // ABSTRACT ART FLORAL EGGS
Mar 25, 2020
DIY
DIY // ABSTRACT ART FLORAL EGGS
Mar 25, 2020
DIY
Mar 25, 2020
DIY
DIY // WIRE FACE EARRINGS
Feb 16, 2020
DIY
DIY // WIRE FACE EARRINGS
Feb 16, 2020
DIY
Feb 16, 2020
DIY

Follow
^^ BACK TO TOP
How does Monday come round so quick?!Wishing I could cosy up here today ✨

#mondaymood #storyofmyhome #mydailyhomesquare #interiordesign #budgetdiy #realstylishhomes #ourdiyhomes #femalediycollective #discoverunder5k #myhousethismonth #myhousedownsou
I&rsquo;ve got the day off today (woop!) and although it&rsquo;s not quite warm enough to sit out here yet, the sun is shining and I think a little walk to blow out the cobwebs is exactly what I need. Hope Monday is treating you well! ☀️

#summerdrea
Had such a lovely day seeing one of my besties and her adorable new baby that I completely forgot to share today&rsquo;s new blog post!

Head over to the blog for all the details of this easy DIY ring dish 🔝✨

#diy #diyhomedecor #diyhome #diyvalenti
That sunshine 👌🏻☀️

#mycosyhome #livingroomdecor #livingroominspo #mydiymydecor #homeobsessed #lovemydecor #homeinterioruk #discoverunder5k #diyhome #diyhomedecor #myhousethismonth #myhousedownsouth #realstylishhomes #ourdiyhomes #happythursday #in
A little corner our home on this chilly Tuesday morning ✨
.
.
#interior #homeobsessed #mycosyhome #homeinterioruk #instadecorating #homesofinstagram #happymonday #mondaymotivation #instainteriors #cornersofmyhome #myhousethismonth #myhousedownsouth #

Copyright 2021 isoscella. All rights reserved.

Powered by Squarespace