• ABOUT ME
    • PRIVACY POLICY
  • COLLABORATE
  • BLOG
    • ART
    • WEDDING
    • LIBRARY
    • DECOR
    • JEWELLERY
    • STATIONARY
    • NAIL ART
    • BAKING
    • CHRISTMAS
    • EASTER
    • ART PRINTS
    • WEDDING STATIONARY
  • CONTACT
Menu

ISOSCELLA

Street Address
City, State, Zip
Phone Number

Your Custom Text Here

ISOSCELLA

  • ABOUT
    • ABOUT ME
    • PRIVACY POLICY
  • COLLABORATE
  • BLOG
  • ART
    • ART
    • WEDDING
    • LIBRARY
  • DIY
    • DECOR
    • JEWELLERY
    • STATIONARY
    • NAIL ART
    • BAKING
    • CHRISTMAS
    • EASTER
  • SHOP
    • ART PRINTS
    • WEDDING STATIONARY
  • CONTACT

Mini Clay Donut Vase

January 21, 2023 Isoscella M
Clay Donut Stem Vase

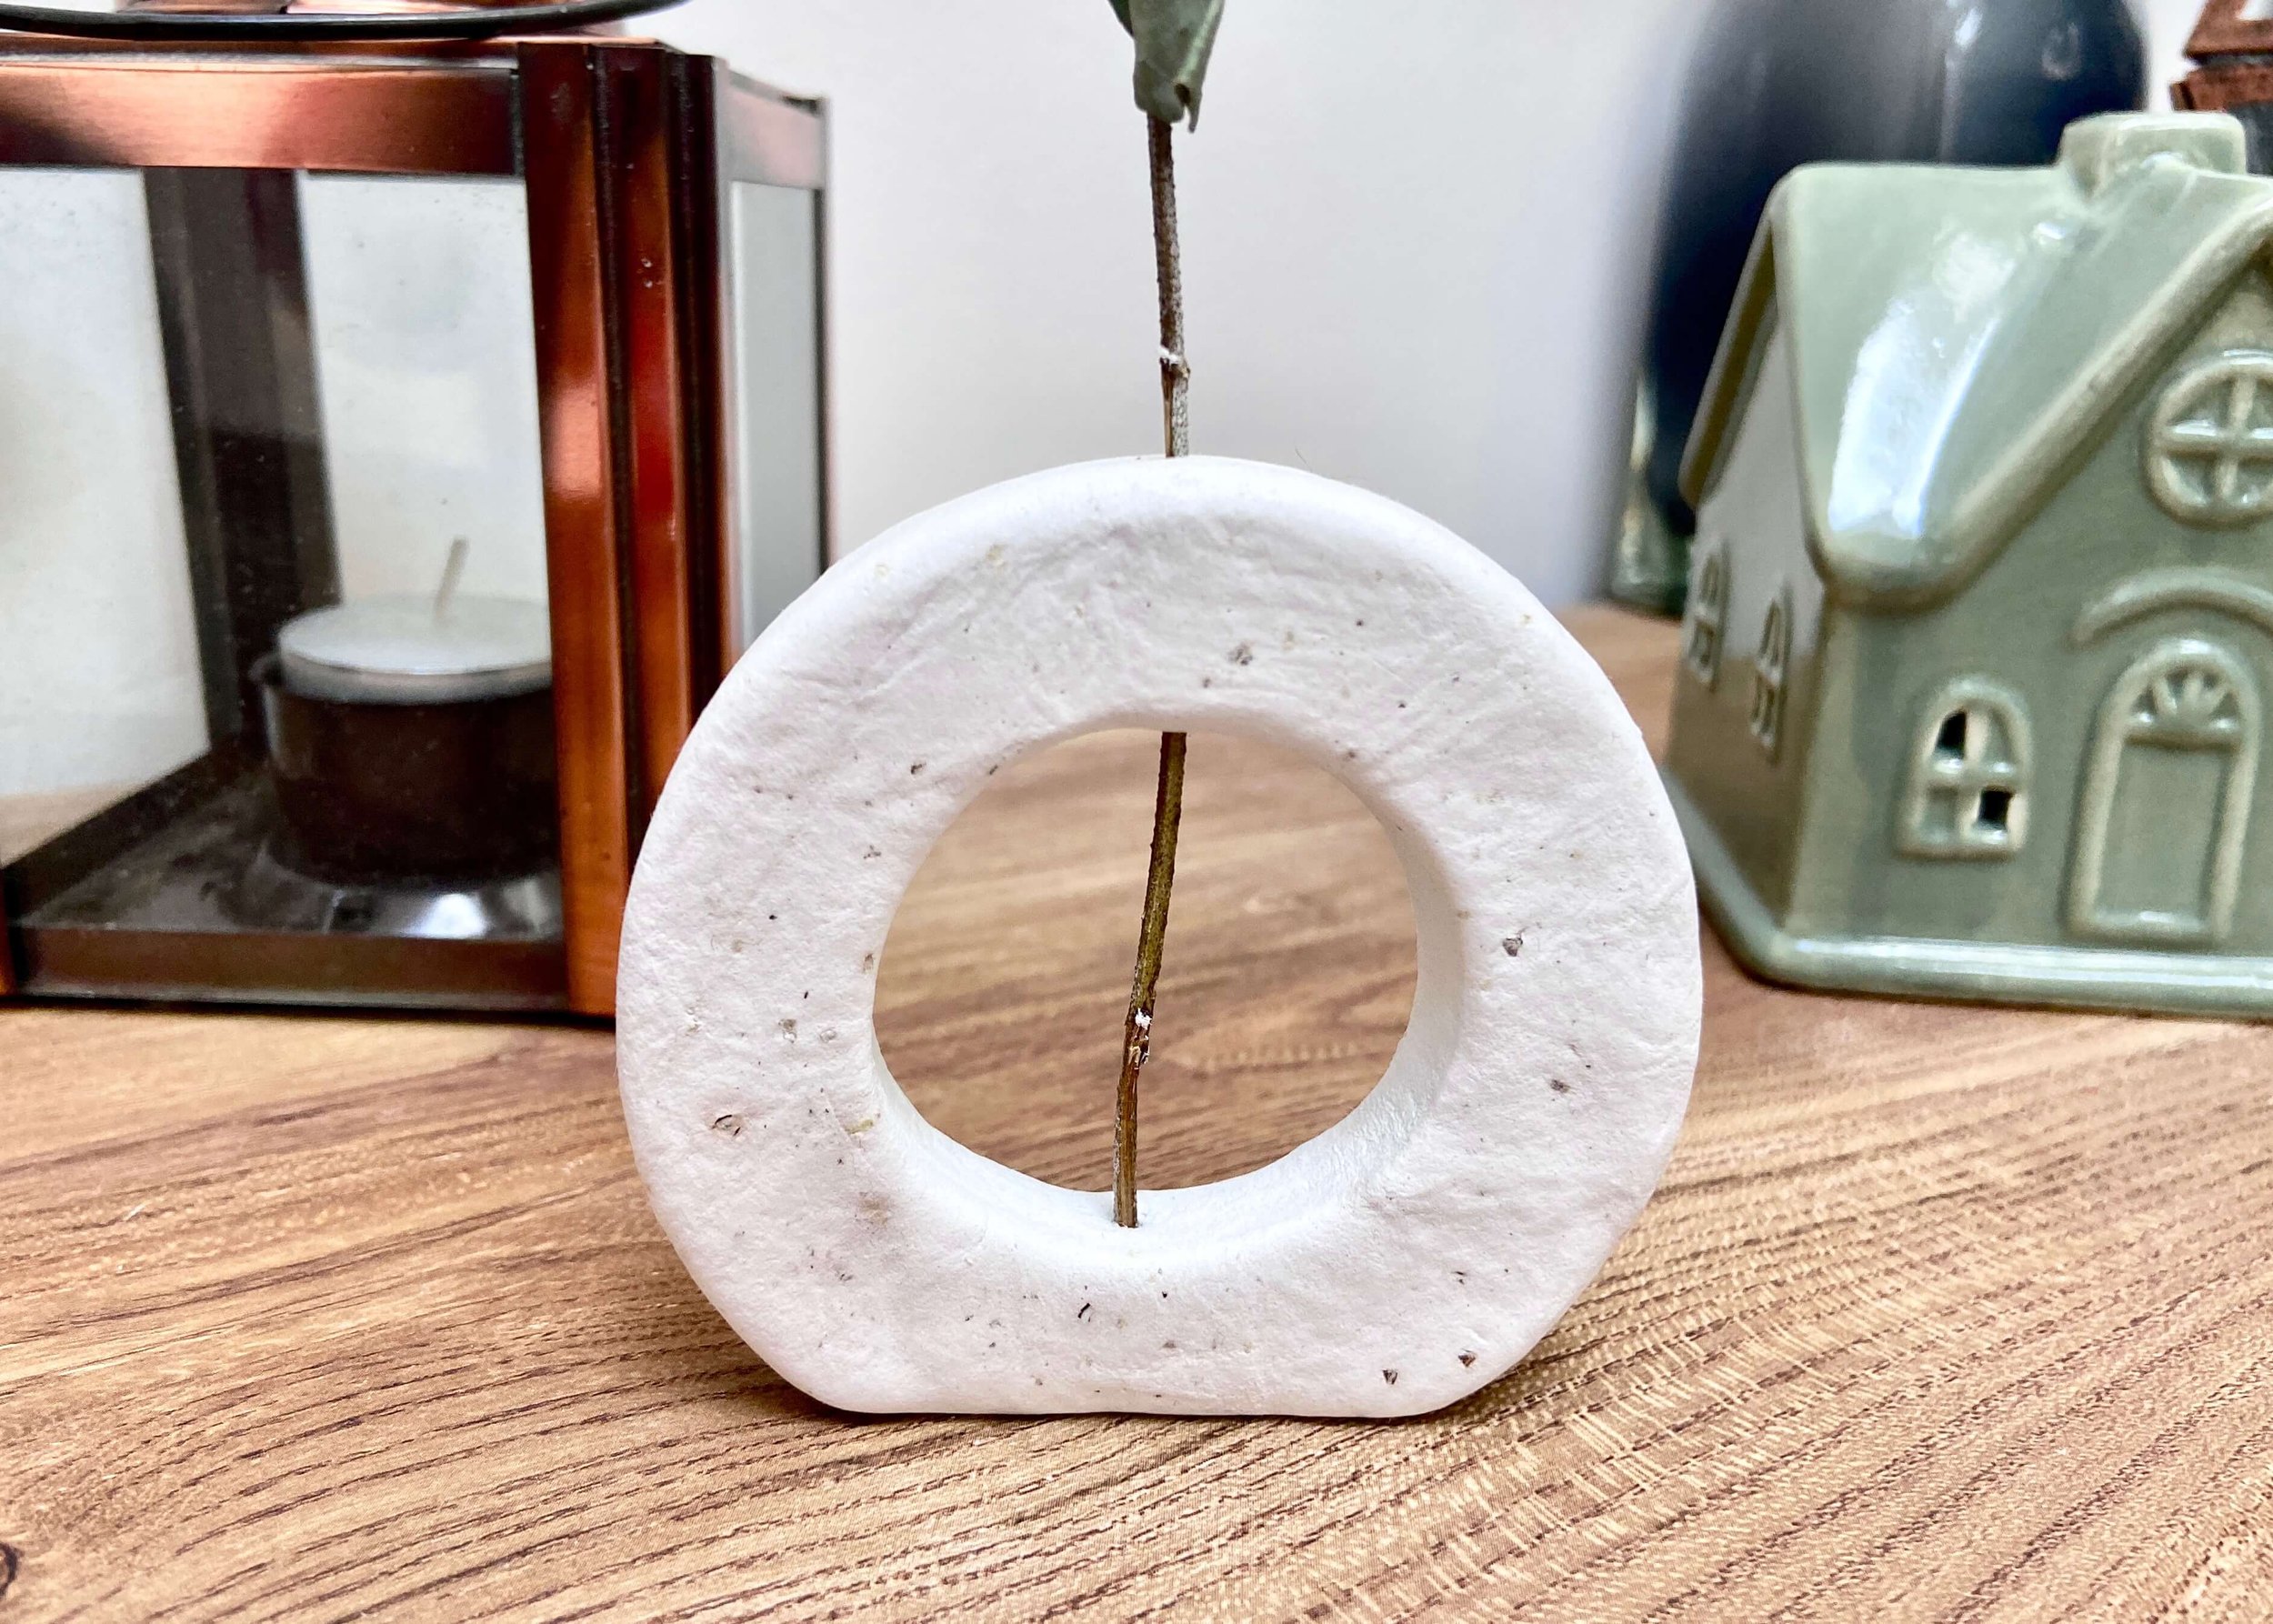
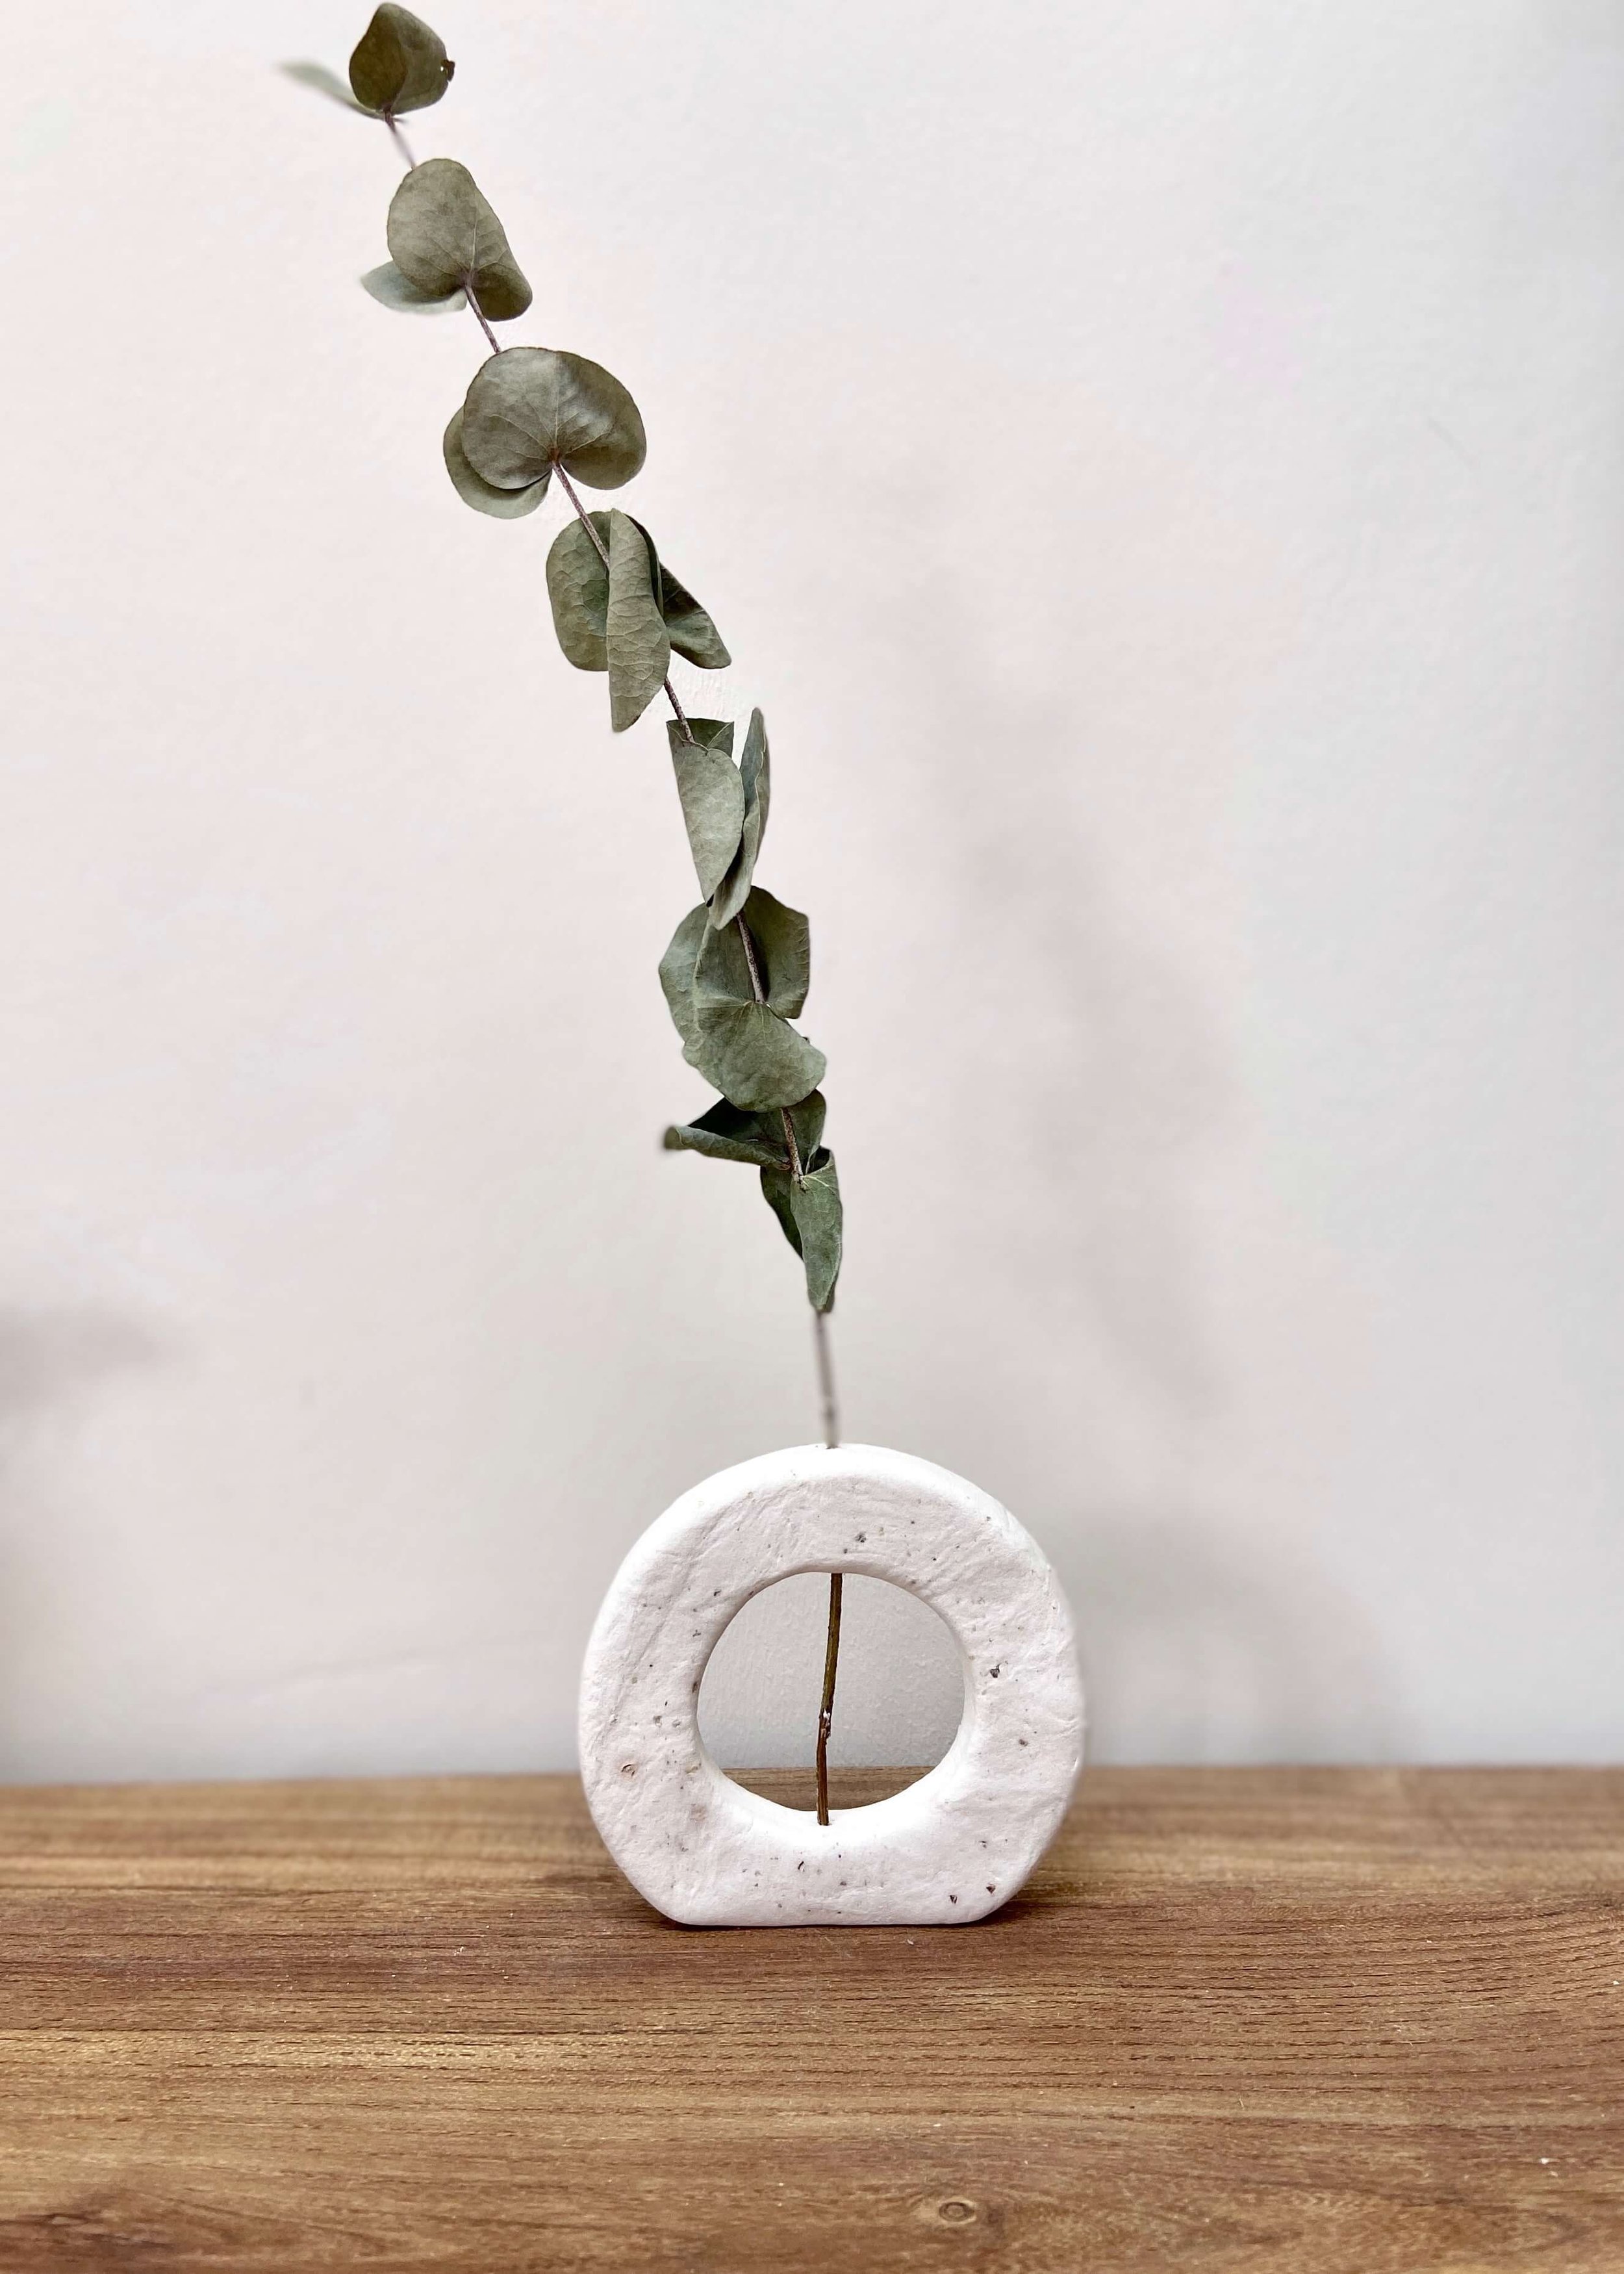
Create this beautiful clay donut stem vase with clay and peppercorns!

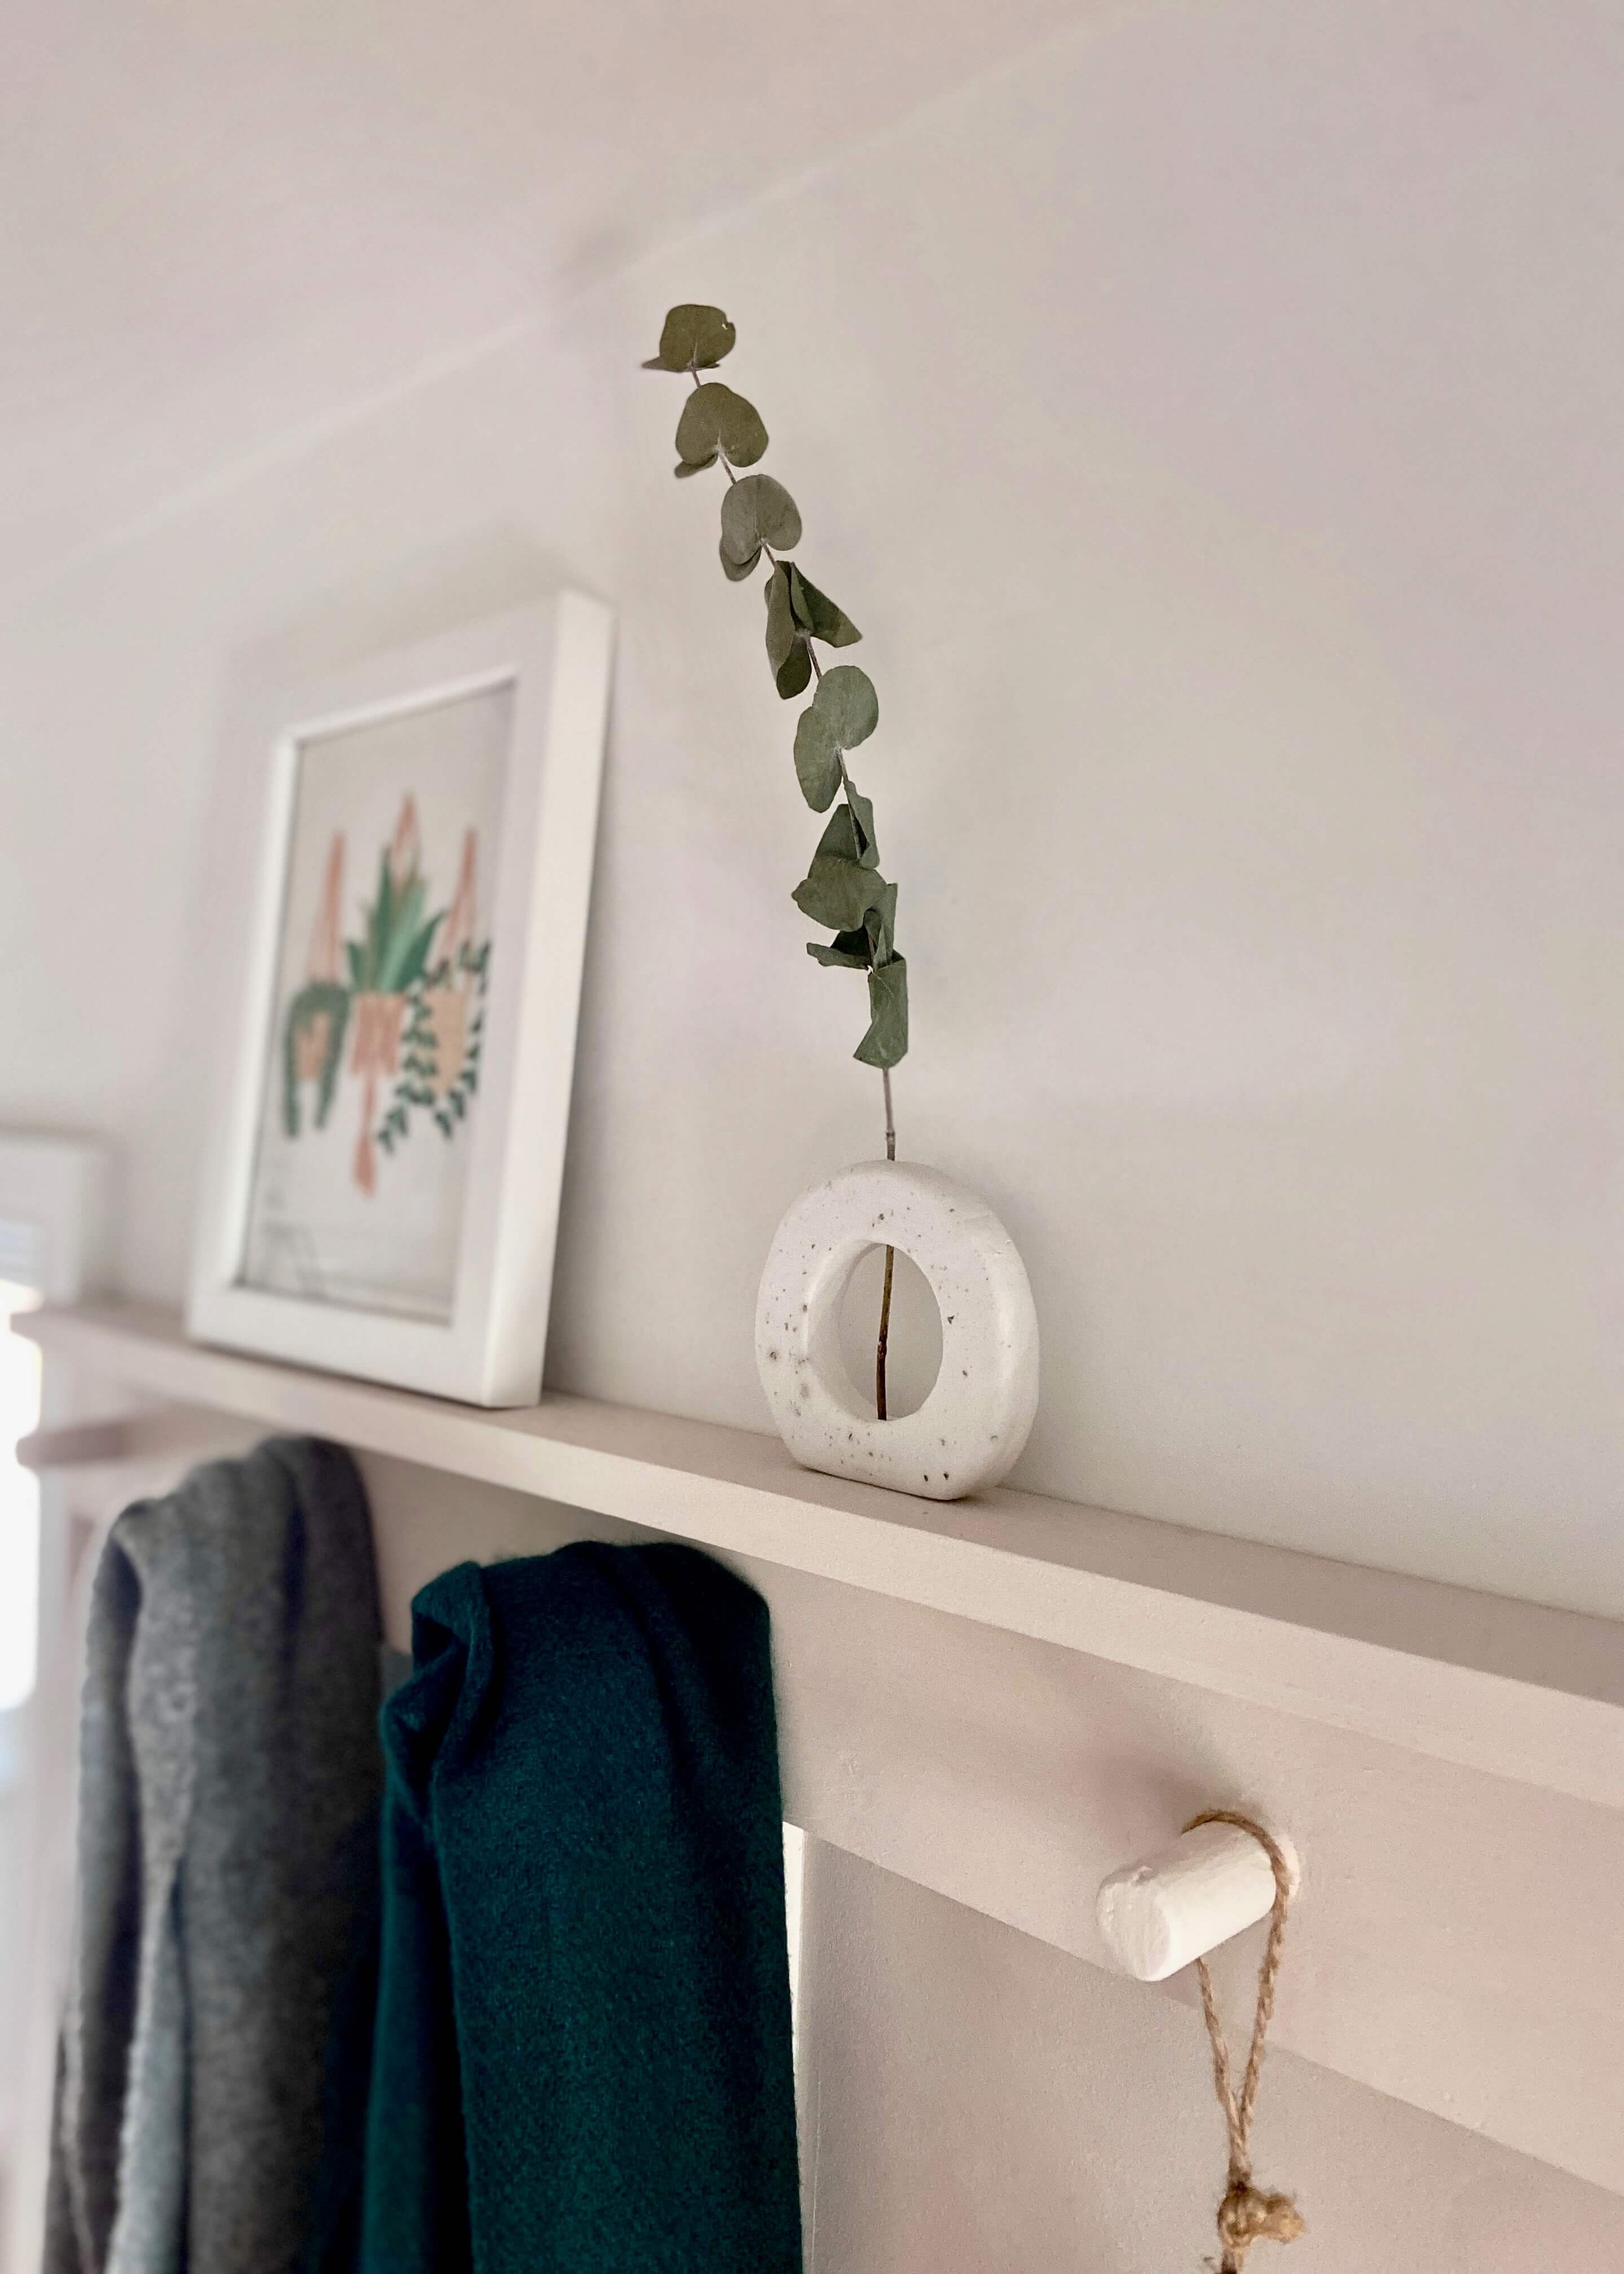
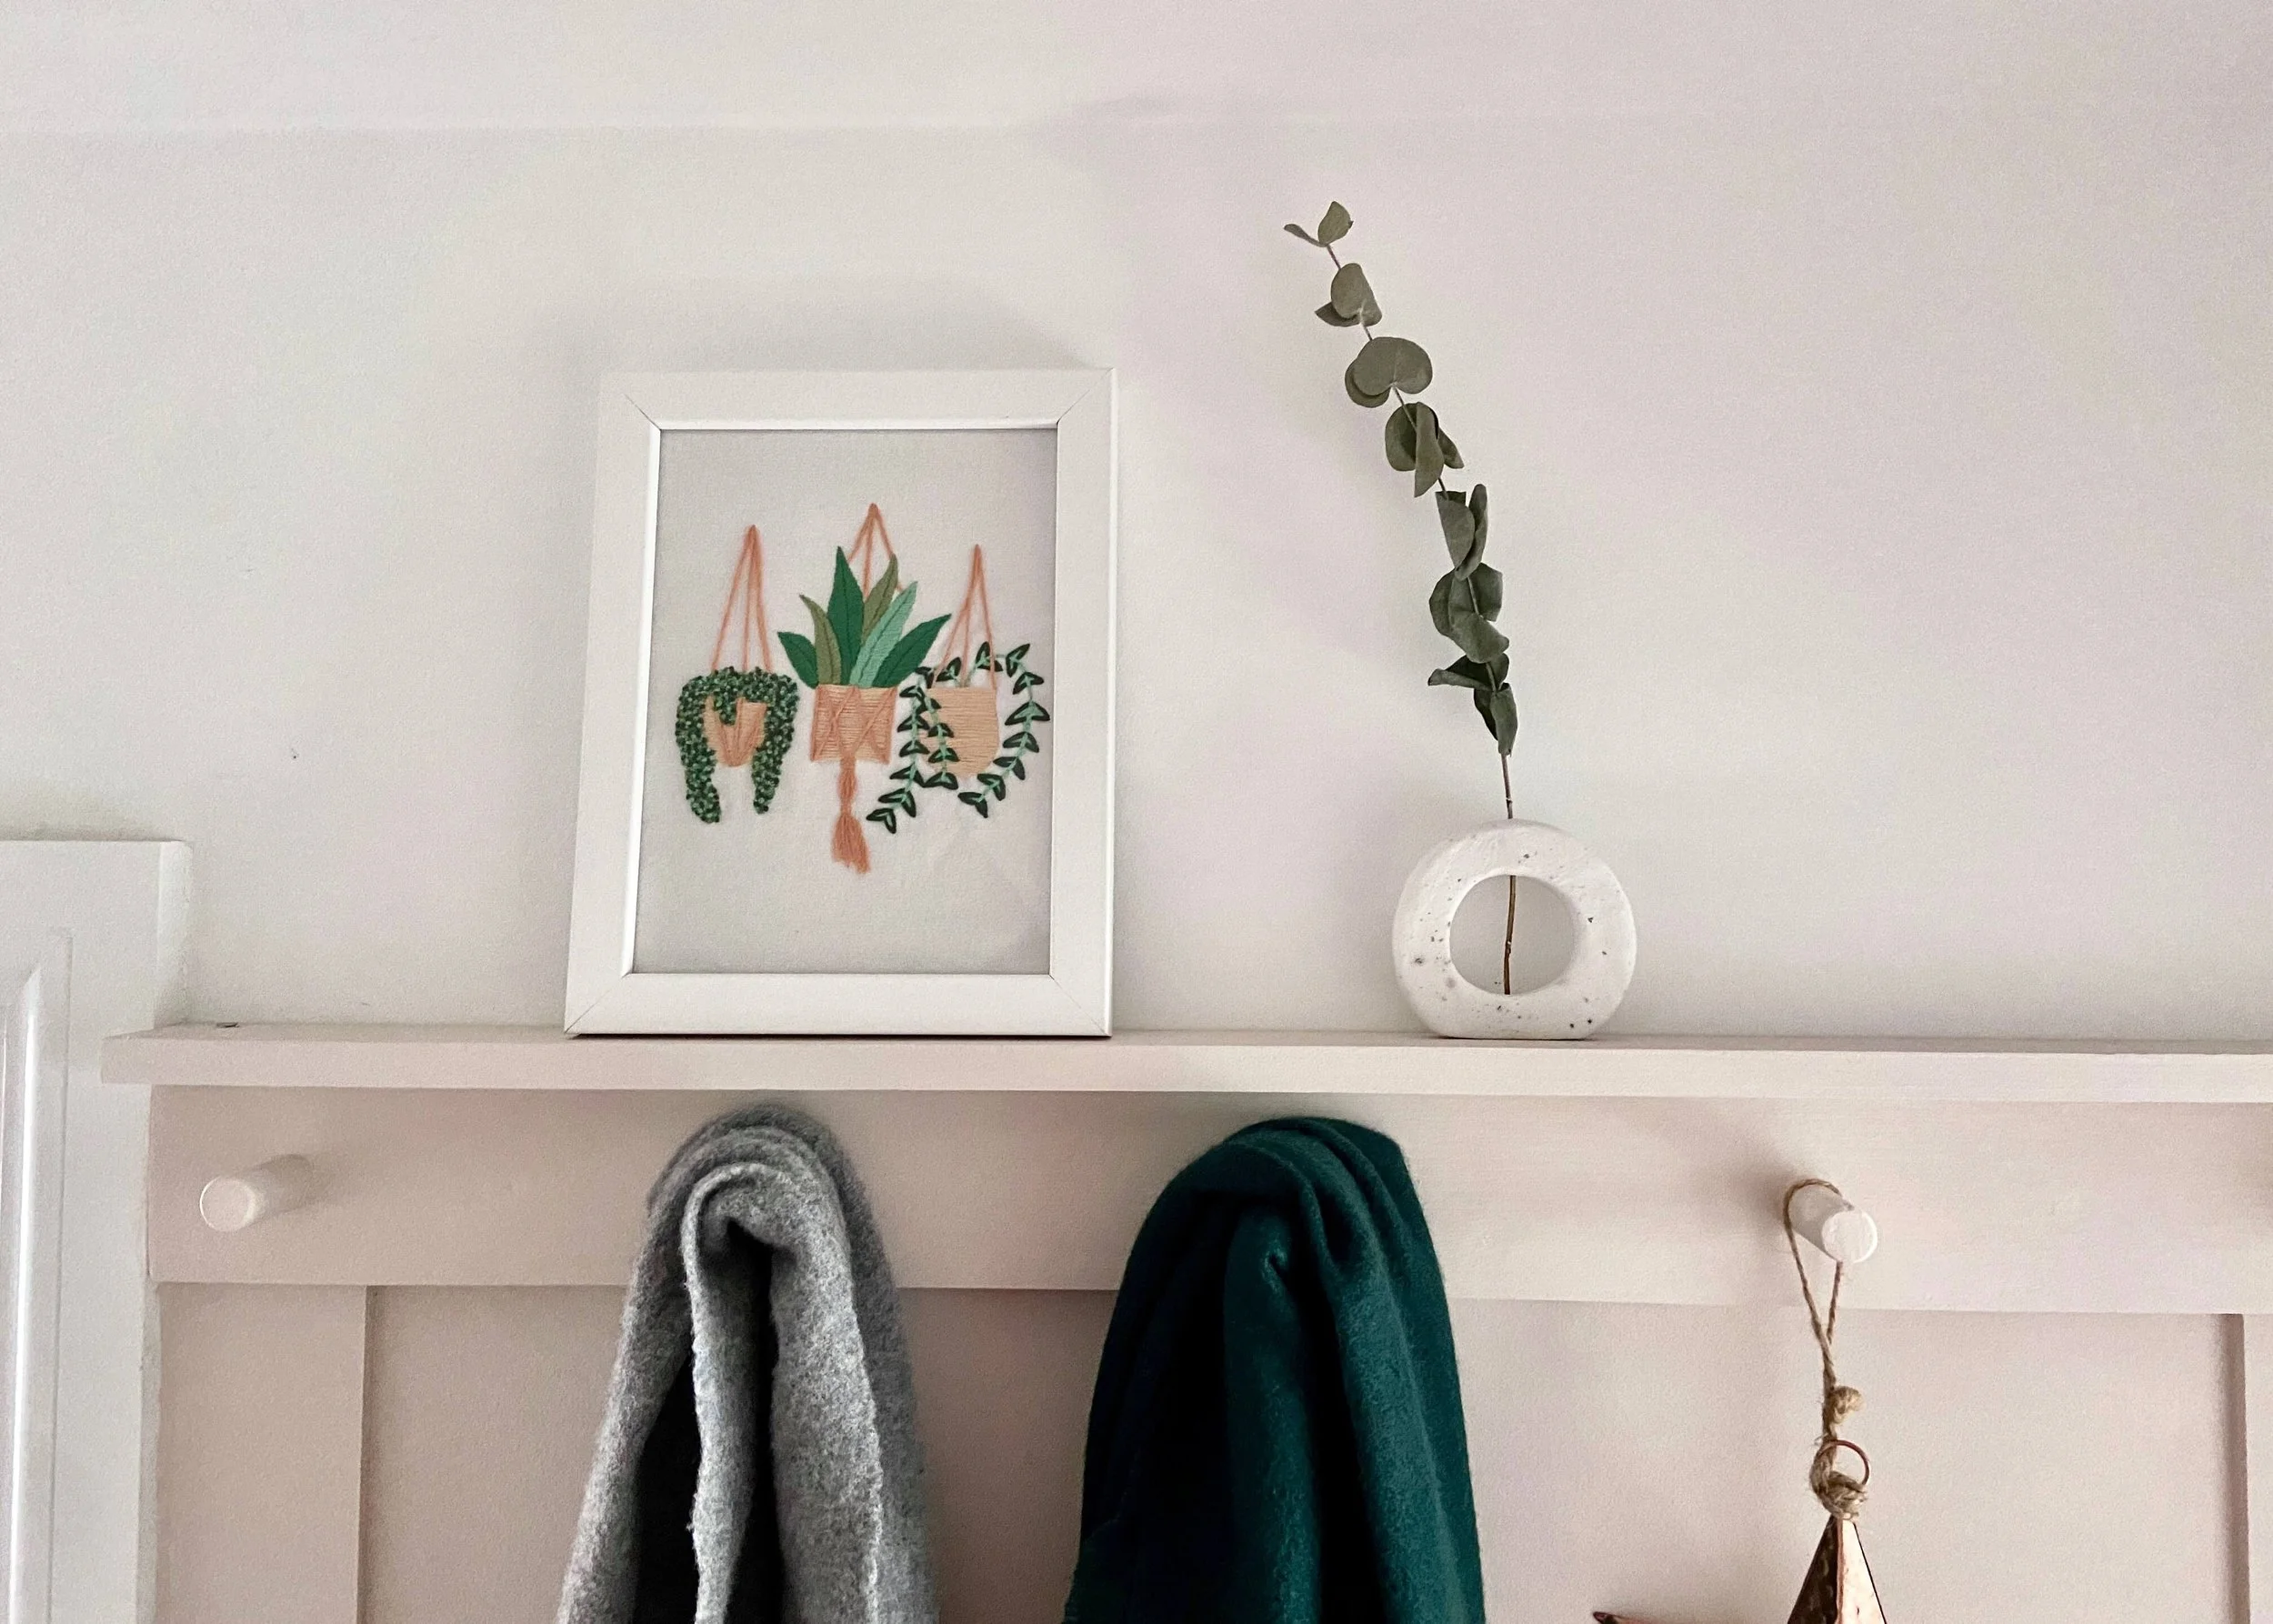
If you saw last week’s post, you’ll know that I had recently upgraded the hallway and added a dinky little shelf above the wall panelling and peg rack. I wanted the shelf to be quite subtle, and not stick out too much, however practically that means that I don’t have an awful lot of decor yet that I can put on it. To rectify that, I decided to make something myself from air-dry clay. I knew I need to make something that had a relatively slim profile, but also wanted it to have some impact, and hold a dried eucalyptus stem from our wedding. After some thought, I landed on the infamous donut vase. I’ve not seen anyone else try to make a donut stem vase entirely from air-dry clay, so I wasn’t 100% sure this was going to work. To my surprise, this project was pretty simple, and the longest part of the entire process was waiting for the clay to dry. I was quite conscious of the clay cracking, and so I kept an eye on it, and made sure to regularly turn it over so that it dried as evenly as possible. I think this looks lovely on my shelf in the hallway, what do you think? Let me know below, and don’t forget to subscribe and share this post on social media! Keep reading for the step by step instructions….

Clay Donut Stem Vase

Air-dry clay

Circle cutters (1 large, 1 smaller)

Pepper

Skewer or straw

Clay Donut Stem Vase

1.

First of all, grab everything you need and have it ready to hand. Place some non-stick parchment paper on a flat surface to work on. To stop this moving around, place a damp piece of kitchen towel underneath.

air dry clay cut off

2.

Open your air-dry clay, and cut off the amount of clay you think you will need for this project. I used a new block of clay, so once I had cut off my clay, I cellotaped the packet back up and placed it in an airtight container. Work the clay you’ve cut off in your hands. Add water to your hands if needed.

roll out clay add pepper

3.

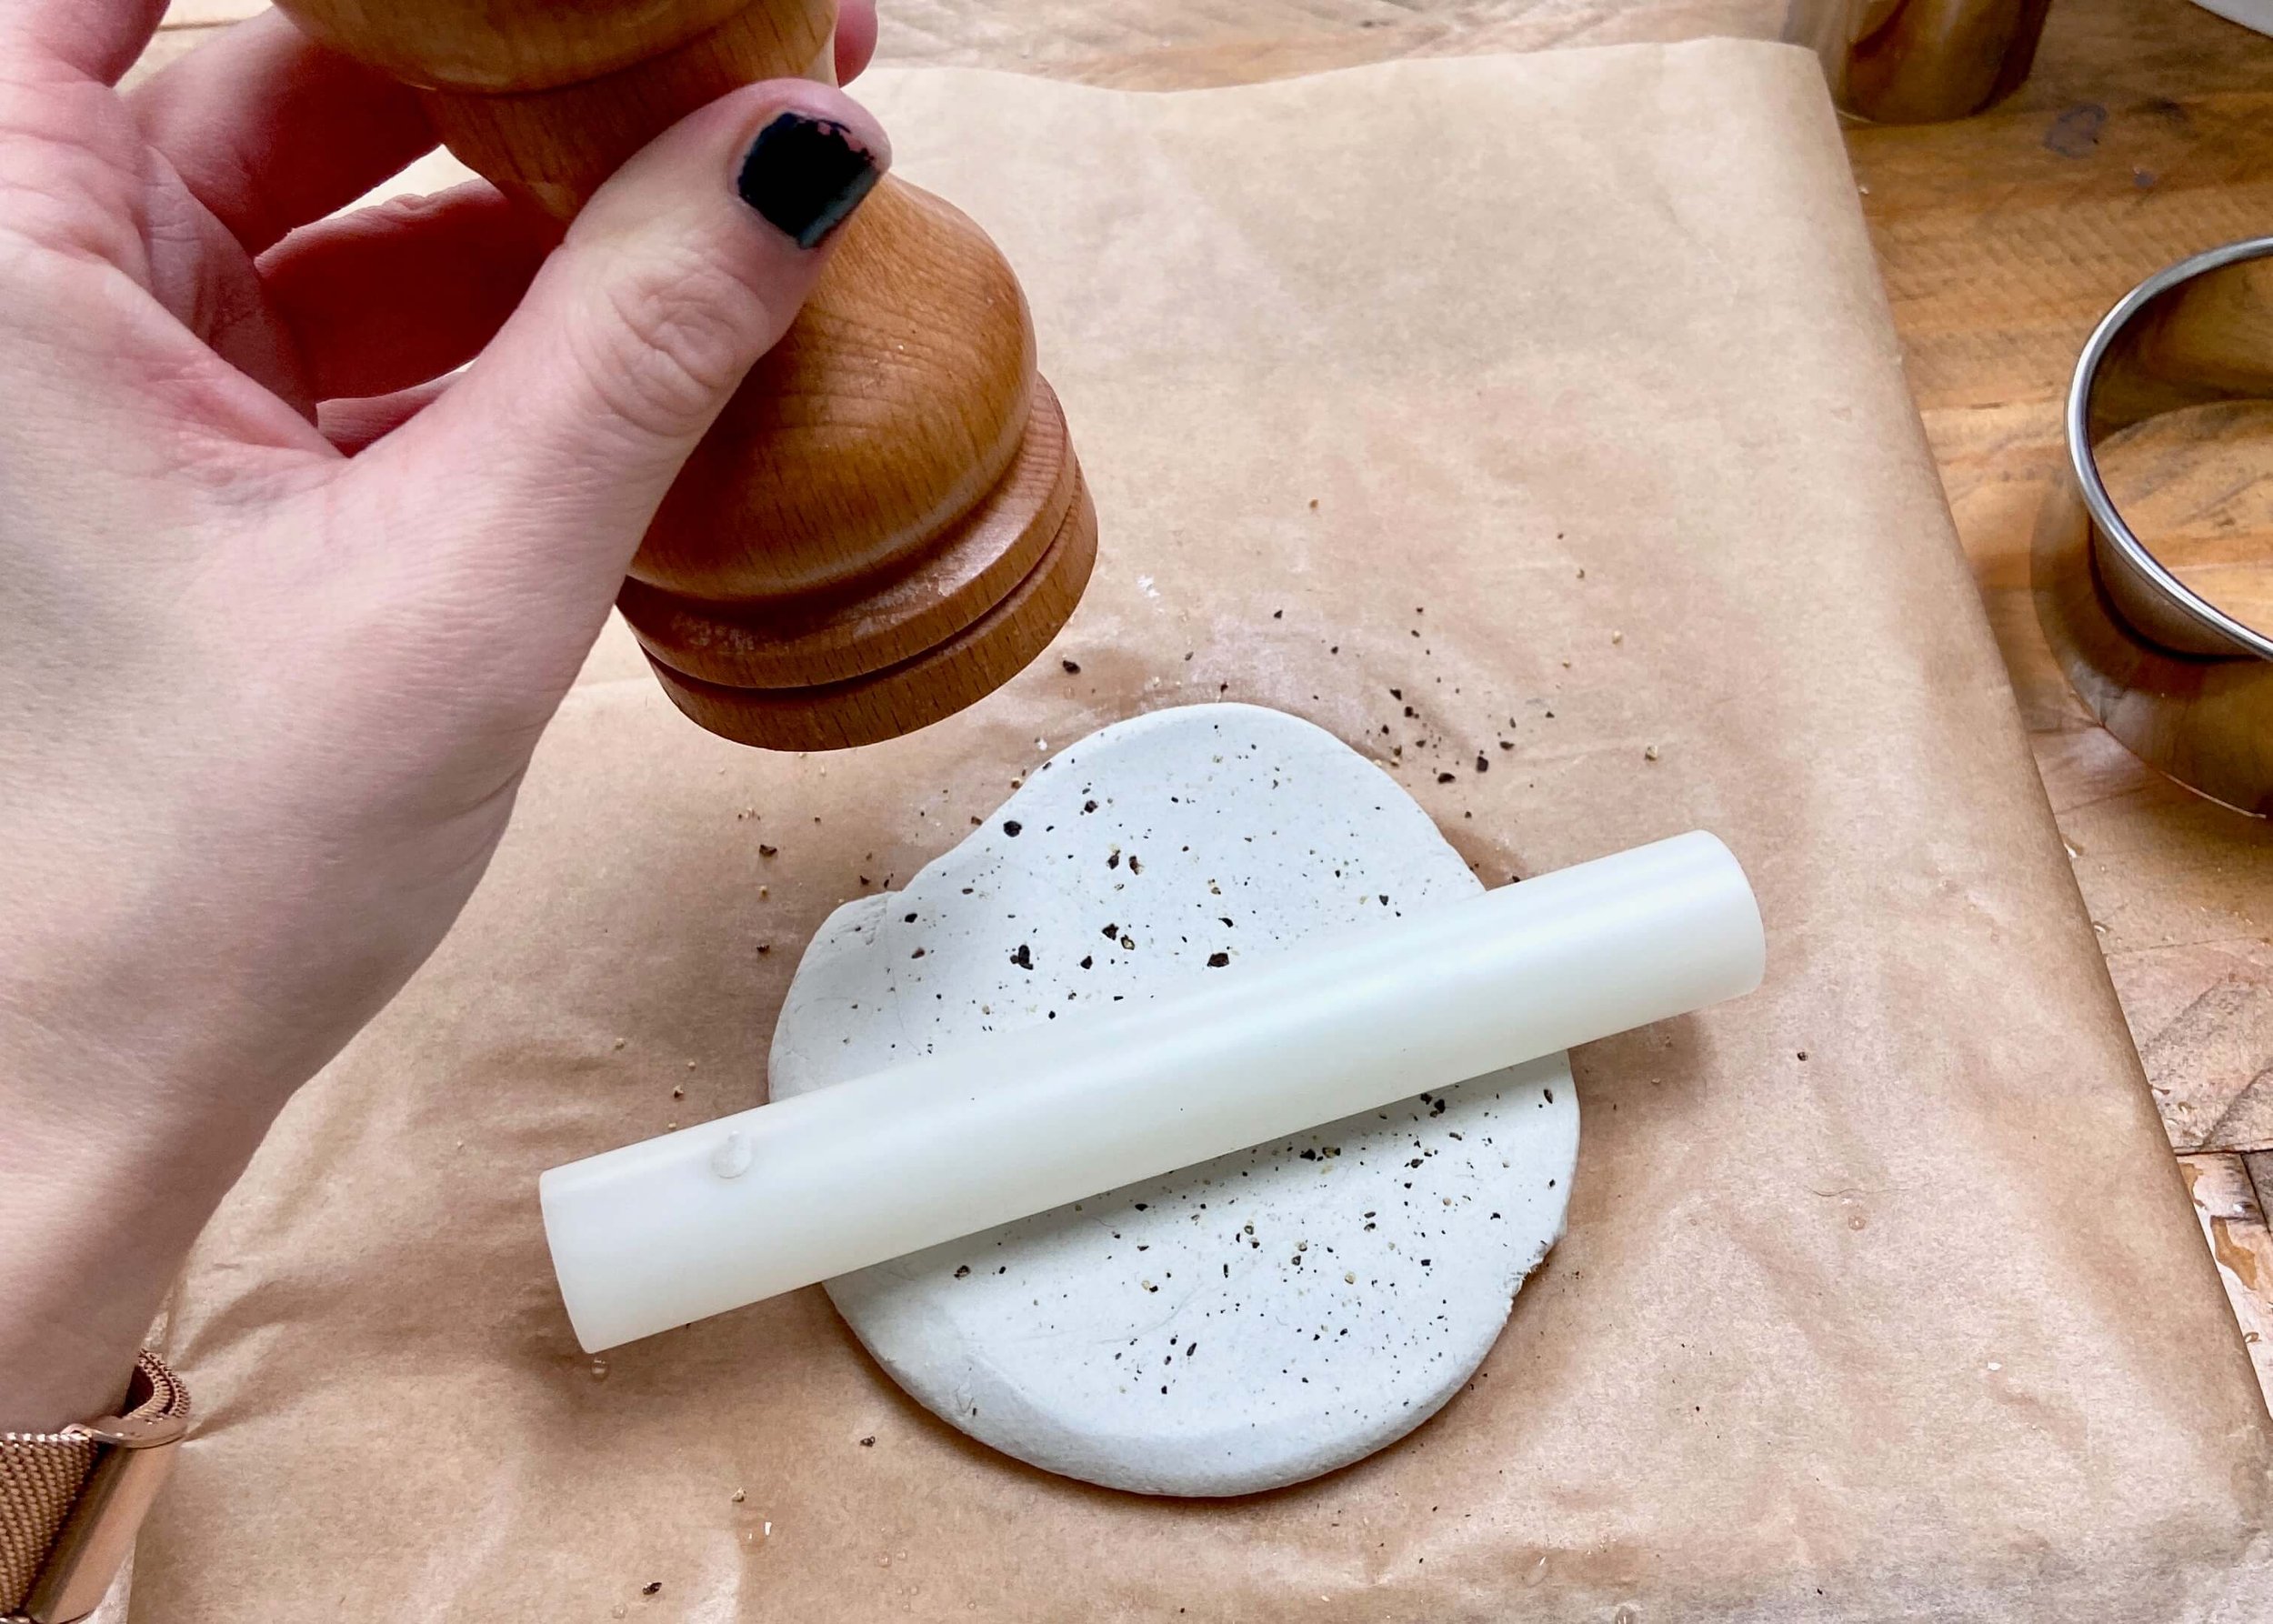
Next, roll out the clay onto your parchment paper and add pepper all over the clay. Knead this in to spread it evenly. Roll the clay out again and add more pepper. Roll this in with your rolling pin.

roll pepper into clay

4.

Turn your clay over and add pepper to the other side. Roll the pepper in on this side.

smooth out clay water

5.

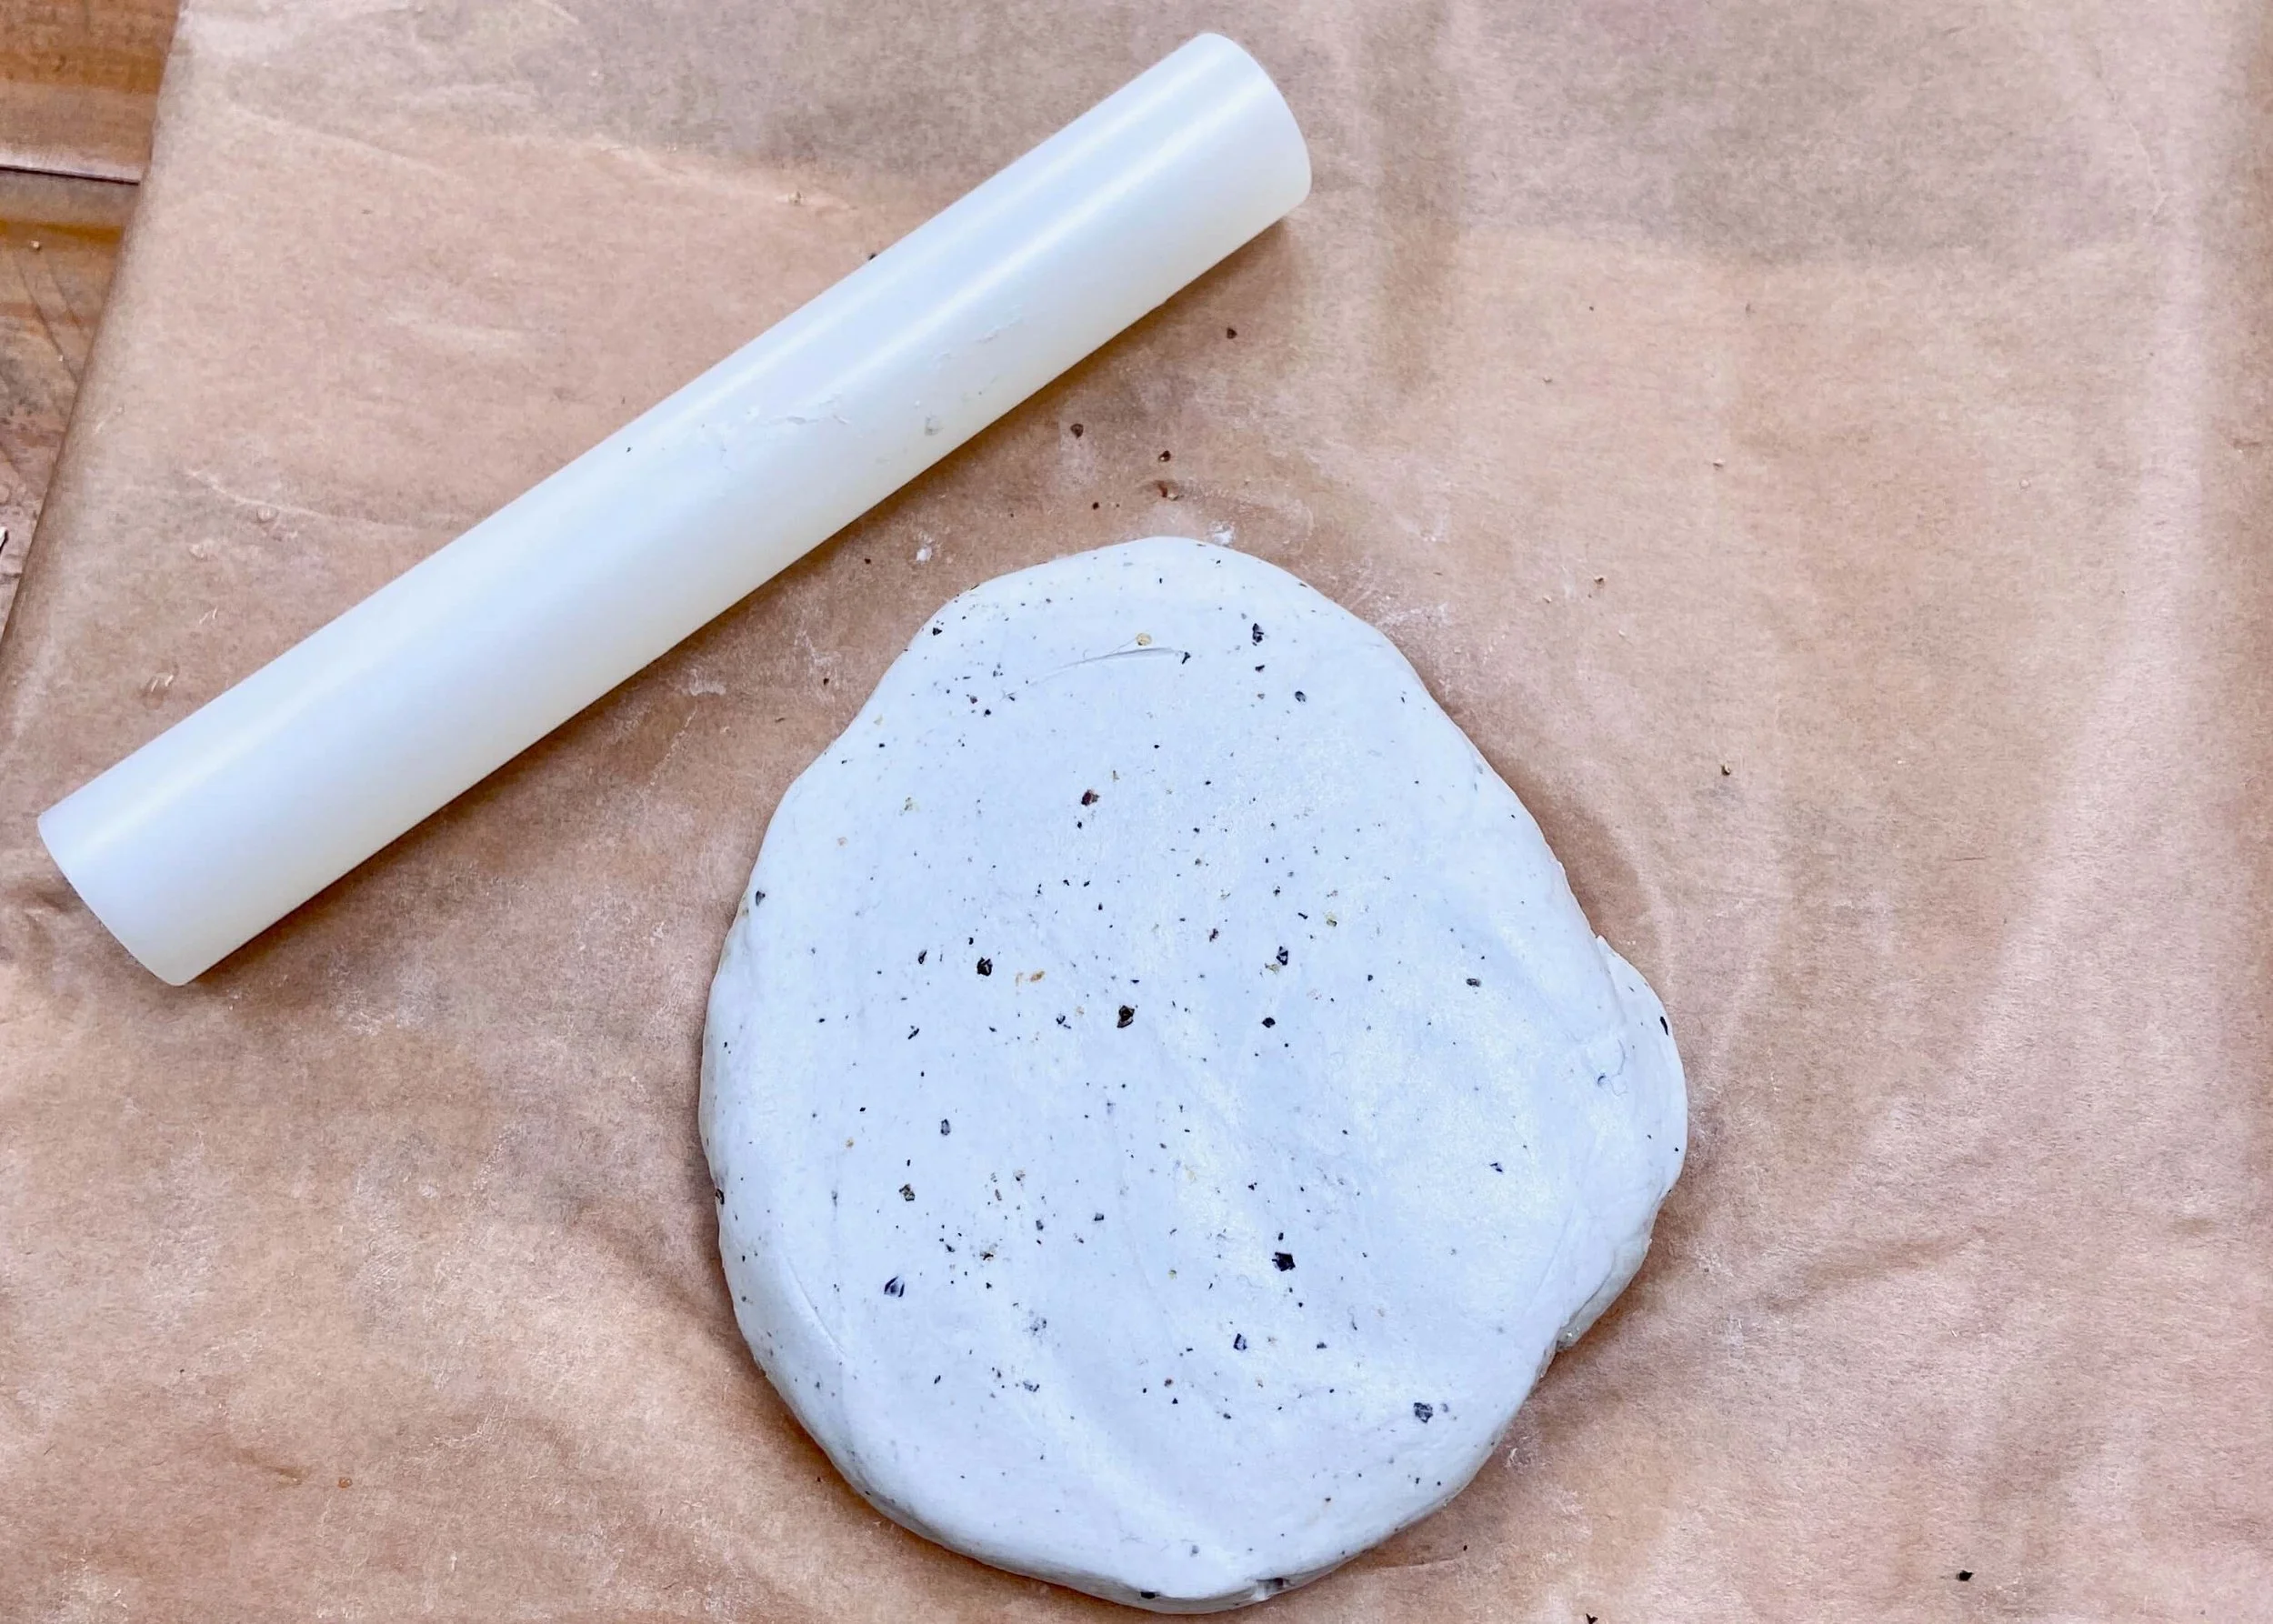
Next use some water to smooth out both sides, embedding the pepper and removing any cracks or wrinkles in the rolled out clay.

large circle cutter

6.

Using your larger round cutter, press this into the clay and remove the excess clay around the cutter. Be sure to gather this up and place it inside clingfilm to use again another time.

smooth clay

8.

Using your finger and some water, smooth out all of the edges. I wanted my edges to be slightly rounded and so I did this at this stage.

small circle cutter clay

9.

Use the smaller round cutter to cut out a hole in the middle of this. I positioned this slightly towards one side so that the base of the clay ring would be slightly thicker.

cut straight edge clay

10.

Use a blade or straight edge to cut off a small part of the bottom to create a flat edge for the clay donut vase to be able to stand on.

smooth

11.

Once again, use some water on your finger to smooth out the edges and any indents. I don’t know about anyone else but I always seem to accidentally nick clay with my nail!

skewer hole clay

12.

Then use a skewer or straw to create a hole through the top and slight indent in the bottom. This is where your stem will go through and stand. Leave this to dry thoroughly. As this is a thick piece of clay, you should leave it somewhere that is a normal temperature, and I find it helpful to turn them over semi-regularly so that it dries evenly.

…AND THAT’S IT!

Mini Clay Donut Stem Vase by Isoscella
YOU MIGHT ALSO LIKE...
Faux Stone Moon Ornaments
Nov 25, 2023
Faux Stone Moon Ornaments
Nov 25, 2023
Nov 25, 2023
Minimal Clay Candle Holder
Apr 22, 2023
Minimal Clay Candle Holder
Apr 22, 2023
Apr 22, 2023
Faux Stone Jewellery Dish
Feb 18, 2023
Faux Stone Jewellery Dish
Feb 18, 2023
Feb 18, 2023
Mini Clay Donut Vase
Jan 21, 2023
Mini Clay Donut Vase
Jan 21, 2023
Jan 21, 2023
Cloud Clay Nursery Mobile
Mar 5, 2022
Cloud Clay Nursery Mobile
Mar 5, 2022
Mar 5, 2022
DIY Gold Arch Earrings
Aug 14, 2021
DIY Gold Arch Earrings
Aug 14, 2021
Aug 14, 2021
DIY Crescent Moon Ring Dish
Jan 11, 2021
DIY Crescent Moon Ring Dish
Jan 11, 2021
Jan 11, 2021
DIY // CLAY ALL-SEEING EYE MIRROR
Aug 14, 2020
DIY // CLAY ALL-SEEING EYE MIRROR
Aug 14, 2020
Aug 14, 2020
In DIY Tags home, clay
← DIY Floating ShelvesHallway Wall Panelling + Shelf →
 

Decorating, DIY-ing and doodling my way through life. Have a look around and let’s get creative!

>> FIND OUT MORE <<

Follow
The office is still one of my favourite transformations in the house! 😍

I started by panelling the wall with MDF strips and then painted the wall with a mix of colours. I used three IKEA drawer units for the base of the desk and then secured the de

ART

DIY

LIFE


THE LATEST

Featured
Wooden Mushroom Decor
Apr 26, 2025
Wooden Mushroom Decor
Apr 26, 2025
Apr 26, 2025
Hand-Painted Floral Mural Arch
Mar 29, 2025
Hand-Painted Floral Mural Arch
Mar 29, 2025
Mar 29, 2025
Easy IKEA Antilop Makeover
Mar 1, 2025
Easy IKEA Antilop Makeover
Mar 1, 2025
Mar 1, 2025
Clay Leaf Shelf
Jun 29, 2024
Clay Leaf Shelf
Jun 29, 2024
Jun 29, 2024
Nursery Feature Wall
Jun 15, 2024
Nursery Feature Wall
Jun 15, 2024
Jun 15, 2024


THE GREATEST

Featured
DIY // IKEA LACK TABLE INDUSTRIAL HACK
Sep 22, 2020
DIY
DIY // IKEA LACK TABLE INDUSTRIAL HACK
Sep 22, 2020
DIY
Sep 22, 2020
DIY
DIY // CLAY ALL-SEEING EYE MIRROR
Aug 14, 2020
DIY
DIY // CLAY ALL-SEEING EYE MIRROR
Aug 14, 2020
DIY
Aug 14, 2020
DIY
DIY // CLAY FACE DISH
Apr 29, 2020
DIY
DIY // CLAY FACE DISH
Apr 29, 2020
DIY
Apr 29, 2020
DIY
DIY // ABSTRACT ART FLORAL EGGS
Mar 25, 2020
DIY
DIY // ABSTRACT ART FLORAL EGGS
Mar 25, 2020
DIY
Mar 25, 2020
DIY
DIY // WIRE FACE EARRINGS
Feb 16, 2020
DIY
DIY // WIRE FACE EARRINGS
Feb 16, 2020
DIY
Feb 16, 2020
DIY

Follow
^^ BACK TO TOP
How does Monday come round so quick?!Wishing I could cosy up here today ✨

#mondaymood #storyofmyhome #mydailyhomesquare #interiordesign #budgetdiy #realstylishhomes #ourdiyhomes #femalediycollective #discoverunder5k #myhousethismonth #myhousedownsou
I&rsquo;ve got the day off today (woop!) and although it&rsquo;s not quite warm enough to sit out here yet, the sun is shining and I think a little walk to blow out the cobwebs is exactly what I need. Hope Monday is treating you well! ☀️

#summerdrea
Had such a lovely day seeing one of my besties and her adorable new baby that I completely forgot to share today&rsquo;s new blog post!

Head over to the blog for all the details of this easy DIY ring dish 🔝✨

#diy #diyhomedecor #diyhome #diyvalenti
That sunshine 👌🏻☀️

#mycosyhome #livingroomdecor #livingroominspo #mydiymydecor #homeobsessed #lovemydecor #homeinterioruk #discoverunder5k #diyhome #diyhomedecor #myhousethismonth #myhousedownsouth #realstylishhomes #ourdiyhomes #happythursday #in
A little corner our home on this chilly Tuesday morning ✨
.
.
#interior #homeobsessed #mycosyhome #homeinterioruk #instadecorating #homesofinstagram #happymonday #mondaymotivation #instainteriors #cornersofmyhome #myhousethismonth #myhousedownsouth #

Copyright 2021 isoscella. All rights reserved.

Powered by Squarespace