
Today, I'm sharing with you a quick and festive DIY of an old coffee jar that I did to give one of my many (many!) Yankee Candle Advent Calendar tea lights a home this Christmas.
Read more7 DAYS OF BLOGMAS // DAY 6: CHRISTMAS WRAPPING
It's Day 6 of my 7 Days of Blogmas and today I’m sharing with you a quick and easy way to wrap your presents for Christmas!
Read more7 DAYS OF BLOGMAS // DAY 5: SNOWBALL CHOKER


Every year, I see other bloggers and vloggers doing some sort of Christmas countdown and every year I think to myself that I wish I had been organised enough to do one. So this year, although I still haven't been organised enough to do a countdown for the whole of December (I am also supposed to be writing my thesis!), I thought I would attempt a smaller countdown; my very own 7 Days of Blogmas. Make sure you don't miss a single post by following Isoscella on Bloglovin.
It's Day 5 of my 7 Days of Blogmas and today I am sharing with you an easy DIY necklace, which to keep things festive I've dubbed my snowball necklace. The idea for this came from a good friend during a little Christmas crafternoon I held at mine recently. After helping her make it and see how pleased she was with it (as well as how adorable it was!) I knew I just had to share it on here. This would make a great and inexpensive last minute gift for family or friends, or if you haven't yet treated yourself, an accessory for you to wear to those upcoming Christmas or New Year parties. Keep reading to find out what I used and how I did it...


1. Make a pom pom. Use this easy tutorial to create a pom pom using a fork. For a splash of festive sparkle, why not make it with glittery wool.
2. Push an eyepin through the centre of the pom pom. Push the eyepin through the pom pom until the loop at the top of it is just touching the pom pom.
3. Trim the bottom of the eyepin. Use wire cutters here to trim the end of the eyepin so that there is approximately 1cm of wire exposed.
4. Bend the wire to a 90 degree angle. Grab your flat nose pliers and bend the exposed wire at the pom pom to approximately 90 degrees.
5. Using round nose pliers, create a loop. To do this, you want to hold the end of the wire with the pliers and turn the wire away from the pom pom towards the bend in the wire until you create a loop.
6. Measure and trim the chain. For this, I'd recommend putting the chain around your neck to get a rough idea of how much you might need before cutting it with wire cutters.
7. Attach one half of the chain to each side of the pom pom. Using two sets of pliers, open up a jump ring. Loop the end of one half of the chain as well as the loop of the eyepin through the pom pom onto the jump ring before closing it. Repeat on the other side.
8. Attach a jump ring to the end of one of the chains. As above, open up a jump ring with two sets of pliers and loop on the end of one of the chains before closing it up.
9. Attach a lobster clasp to the end of the other chain. Again, open up a jump ring. Loop on the end of the other chain and a lopster clasp before closing the jump ring.


See you tomorrow for more festive arts and crafts!
Only 3 days until Christmas!!
♥


7 DAYS OF BLOGMAS // DAY 4: COPPER CHRISTMAS TREE CUSHIONS


Every year, I see other bloggers and vloggers doing some sort of Christmas countdown and every year I think to myself that I wish I had been organised enough to do one. So this year, although I still haven't been organised enough to do a countdown for the whole of December (I am also supposed to be writing my thesis!), I thought I would attempt a smaller countdown; my very own 7 Days of Blogmas. Make sure you don't miss a single post by following Isoscella on Bloglovin.
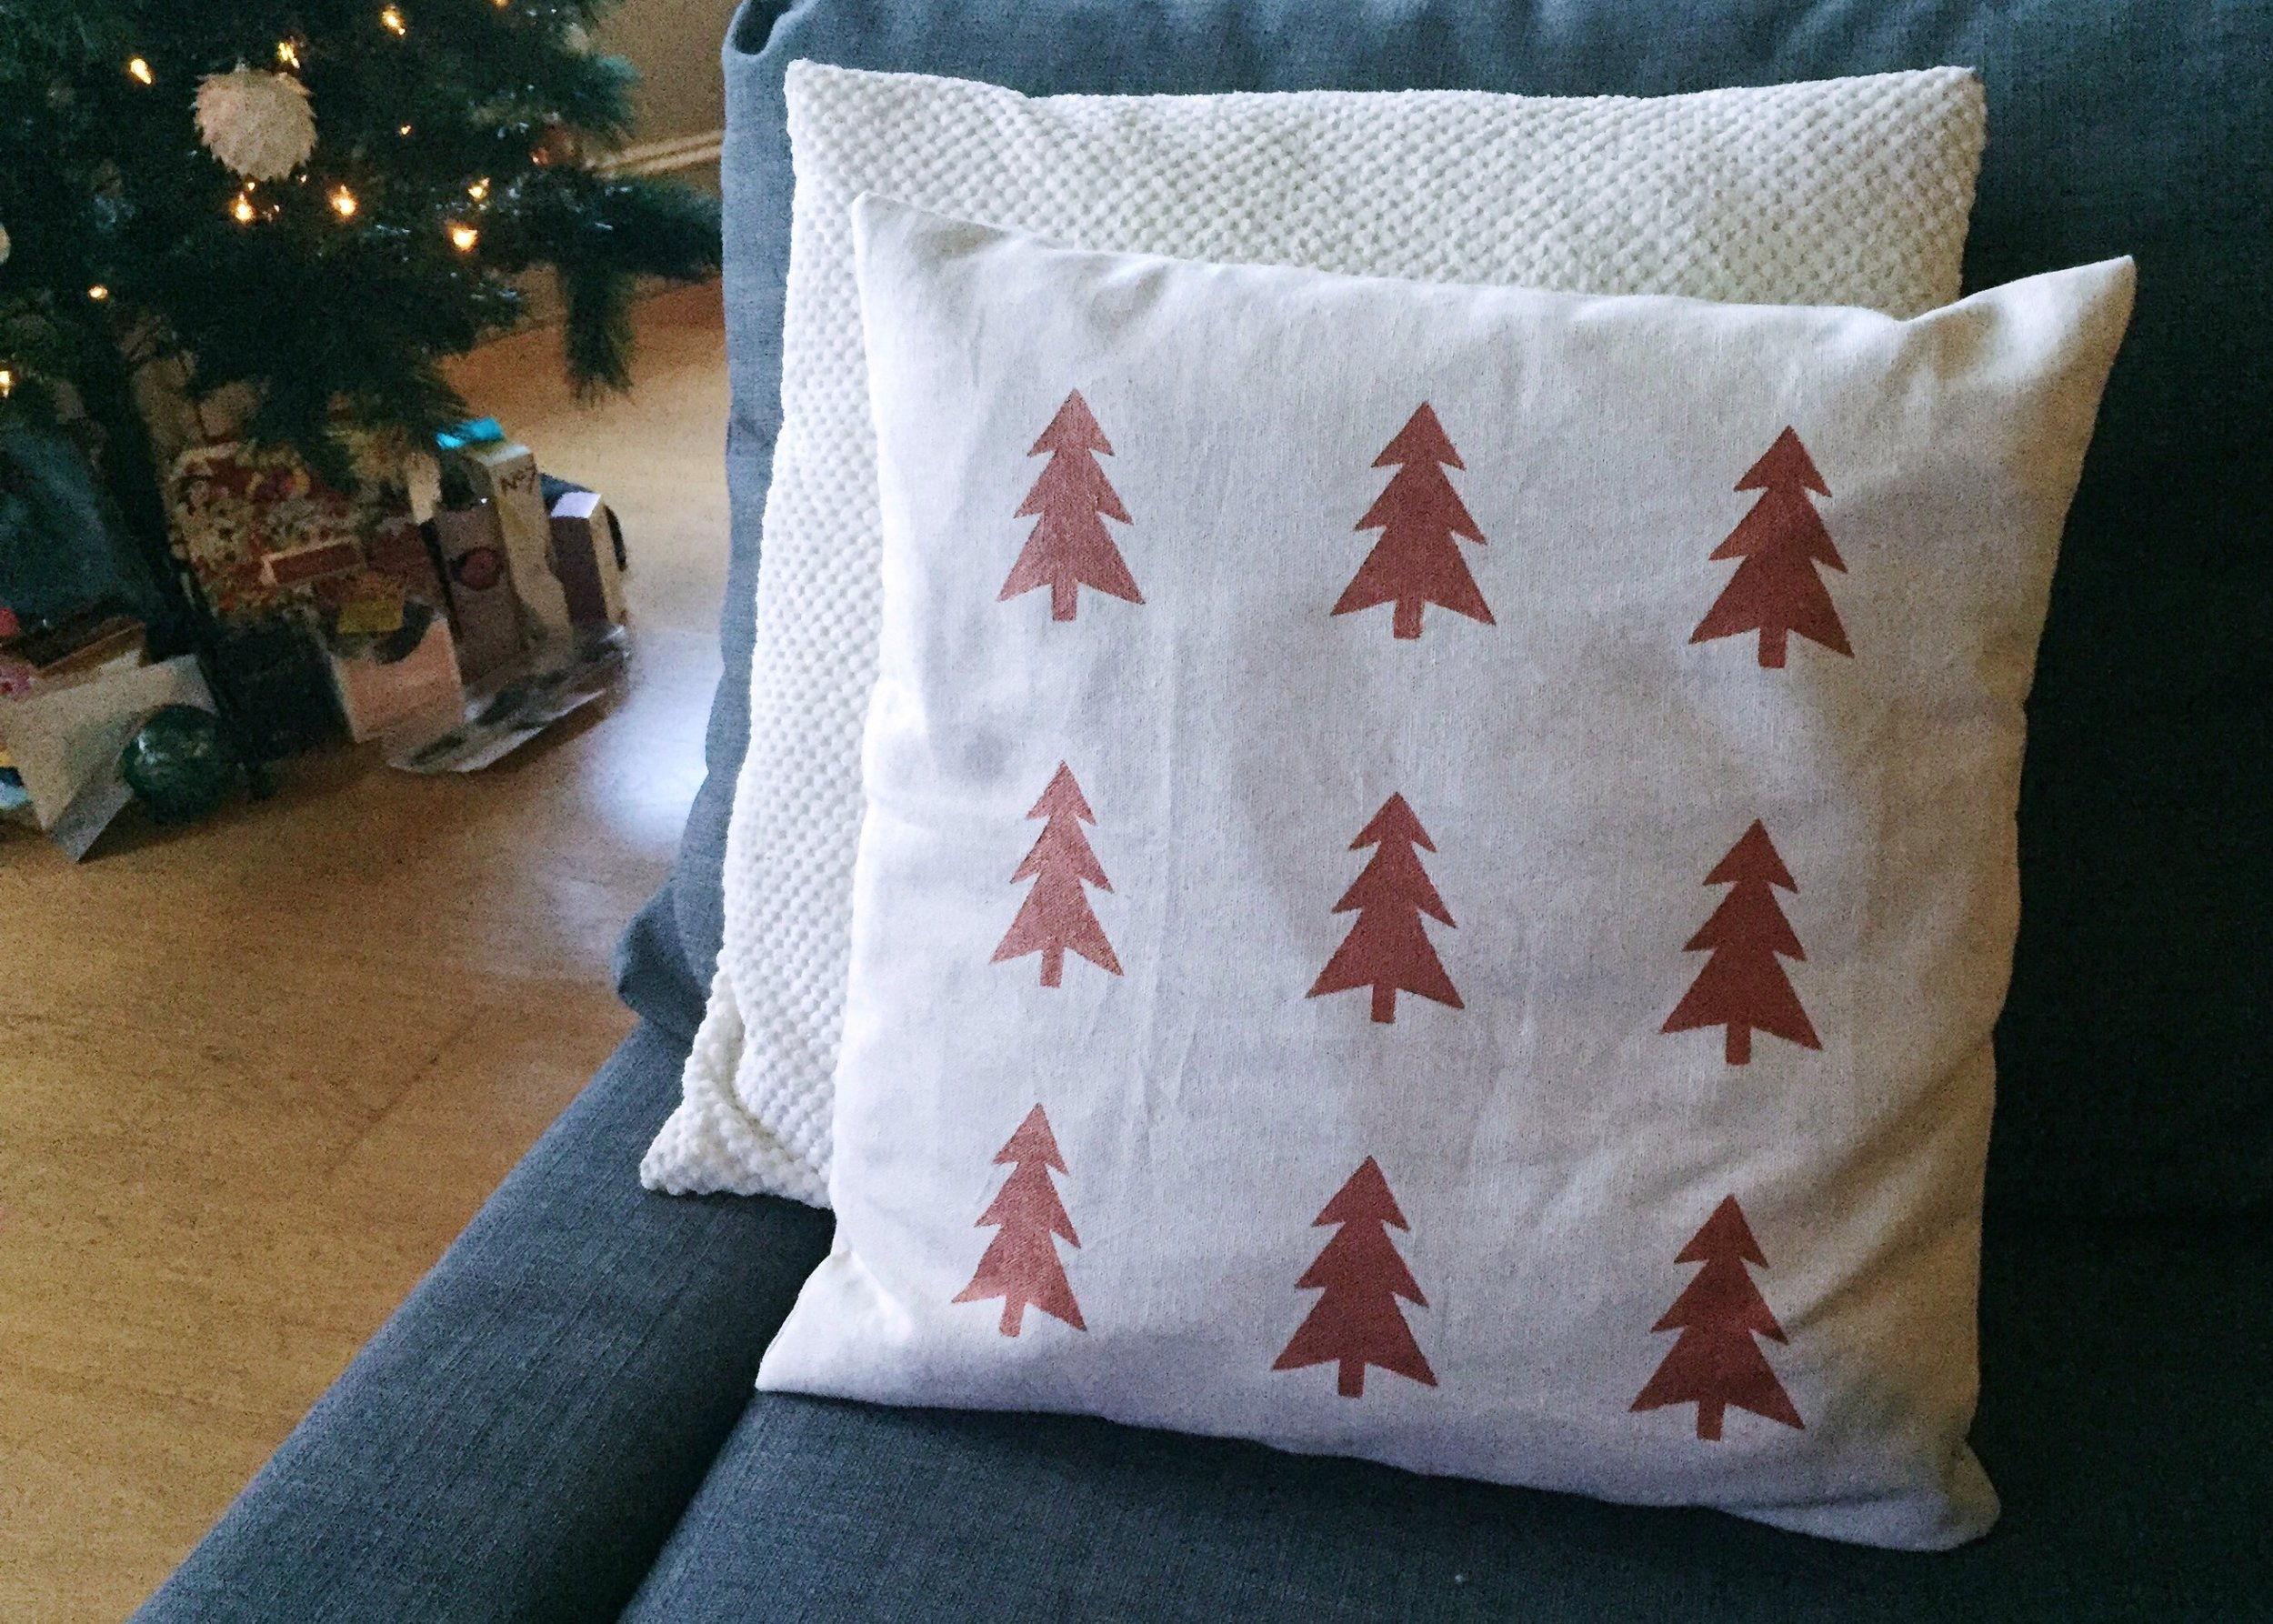
It's Day 4 of 7 Days of Blogmas which not only means that it's just 4 days until Christmas (yipee!) but means that I have a brand new blog post to share with you this morning! This project came about after eyeing up some gorgeous cushions on notonthehighstreet.com and wondering if I could make something similar myself. It turns out that yes, yes I can. Not quite as lovely as these copper tree cushions by Oakdene Designs, but considering these cost me a fraction of the price to make and I'll only have them out once a year, I'm super happy with them. Keep reading to find out what I used and how I made them...


1. Sketch out a christmas tree onto lino. I chose a really simple christmas tree outline with only 3 levels to make it nice and easy to cut out.
2. Carefully carve away the lino around the tree. For this you're going to want to use a lino cutting tool that can cut away the lino right up to the edge of your lines.
3. Iron the cushion cover until flat. To make stamping easier, iron your cushion covers. This is particularly useful if you've ordered your covers and they have those nasty creases in where they've been folded!
4. Mark on the cushion cover where the trees will go. Using a ruler, measure your cover and make light marks evenly distributed across it. This will be our guide for where we stamp our trees.
5. Spread fabric paint over a glass or plastic surface. Squeeze out some fabric paint onto either type of surface and spread it evenly so that it is larger than the stamp.
6. Press the stamp into the fabric paint. Carefully press your stamp into the evenly spread fabric paint. Before using, be sure to check that none of the paint has gone where it shouldn't.
7. Stamp over one of the marks on the cushion cover. Place your cushion cover onto a flat surface (or put a chopping board inside it) and press your stamp carefully onto the cushion cover over one of your marks. Once you've committed to a position just go with it, any adjusting at this point will just make a mess.
8. Repeat steps 5-7 until all marks are covered. Peel the stamp off the cover carefully and press it into the paint to pick more up. Stamp over a mark on the cushion as above. Repeat as necessary.
9. Use a paintbrush to fill in any gaps. Squeeze out some more fabric paint and use a brush to sharpen up those edges and fill in any gaps.
10. Once completely dry, add a cushion pad.
... and that's it!

See you tomorrow for more festive arts and crafts!
♥


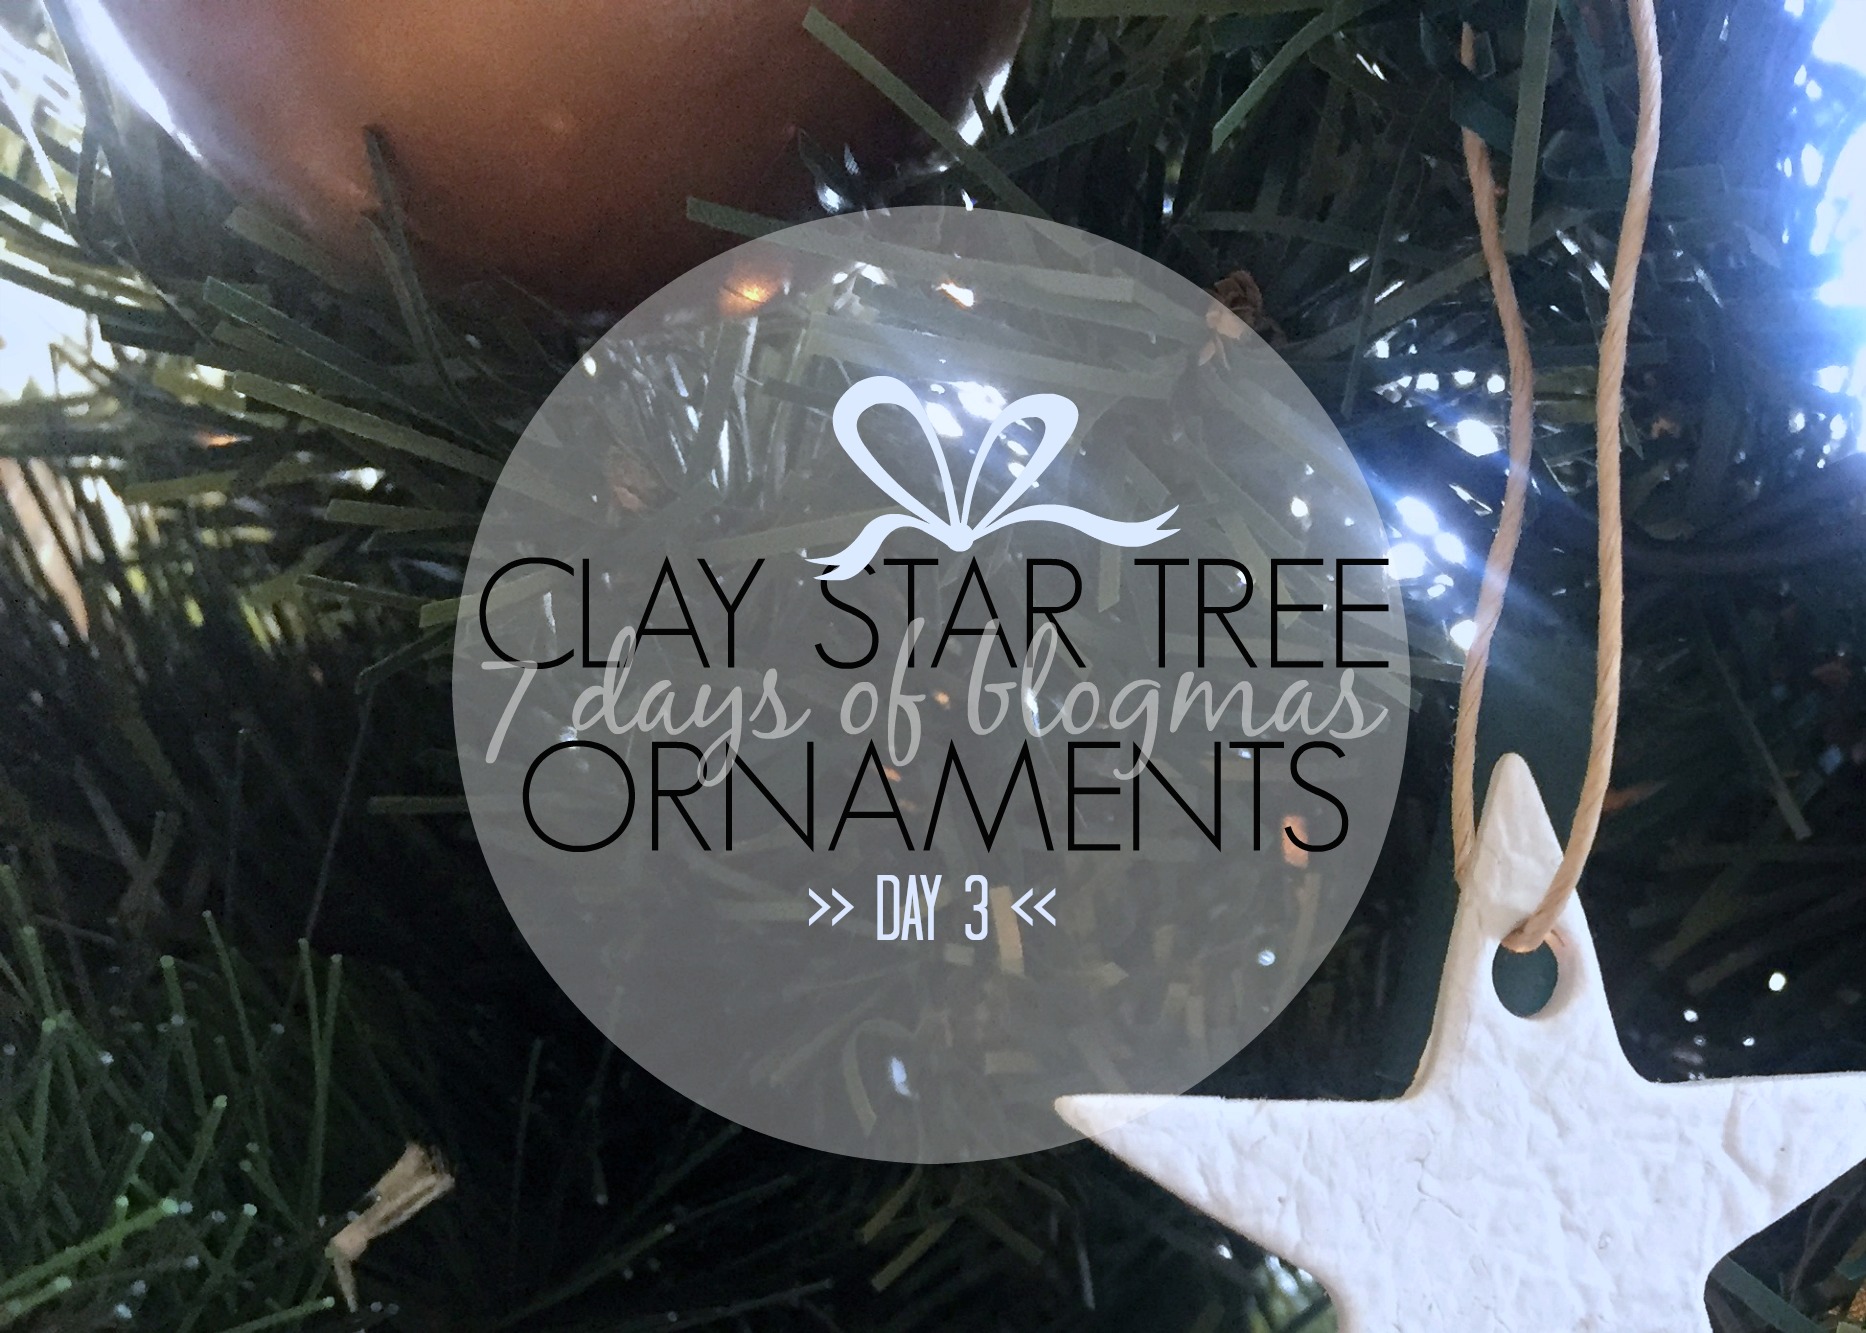
7 DAYS OF BLOGMAS // DAY 3: CLAY STAR TREE ORNAMENTS
Every year, I see other bloggers and vloggers doing some sort of Christmas countdown and every year I think to myself that I wish I had been organised enough to do one. So this year, although I still haven't been organised enough to do a countdown for the whole of December (I am also supposed to be writing my thesis!), I thought I would attempt a smaller countdown; my very own 7 Days of Blogmas. Make sure you don't miss a single post by following Isoscella on Bloglovin.
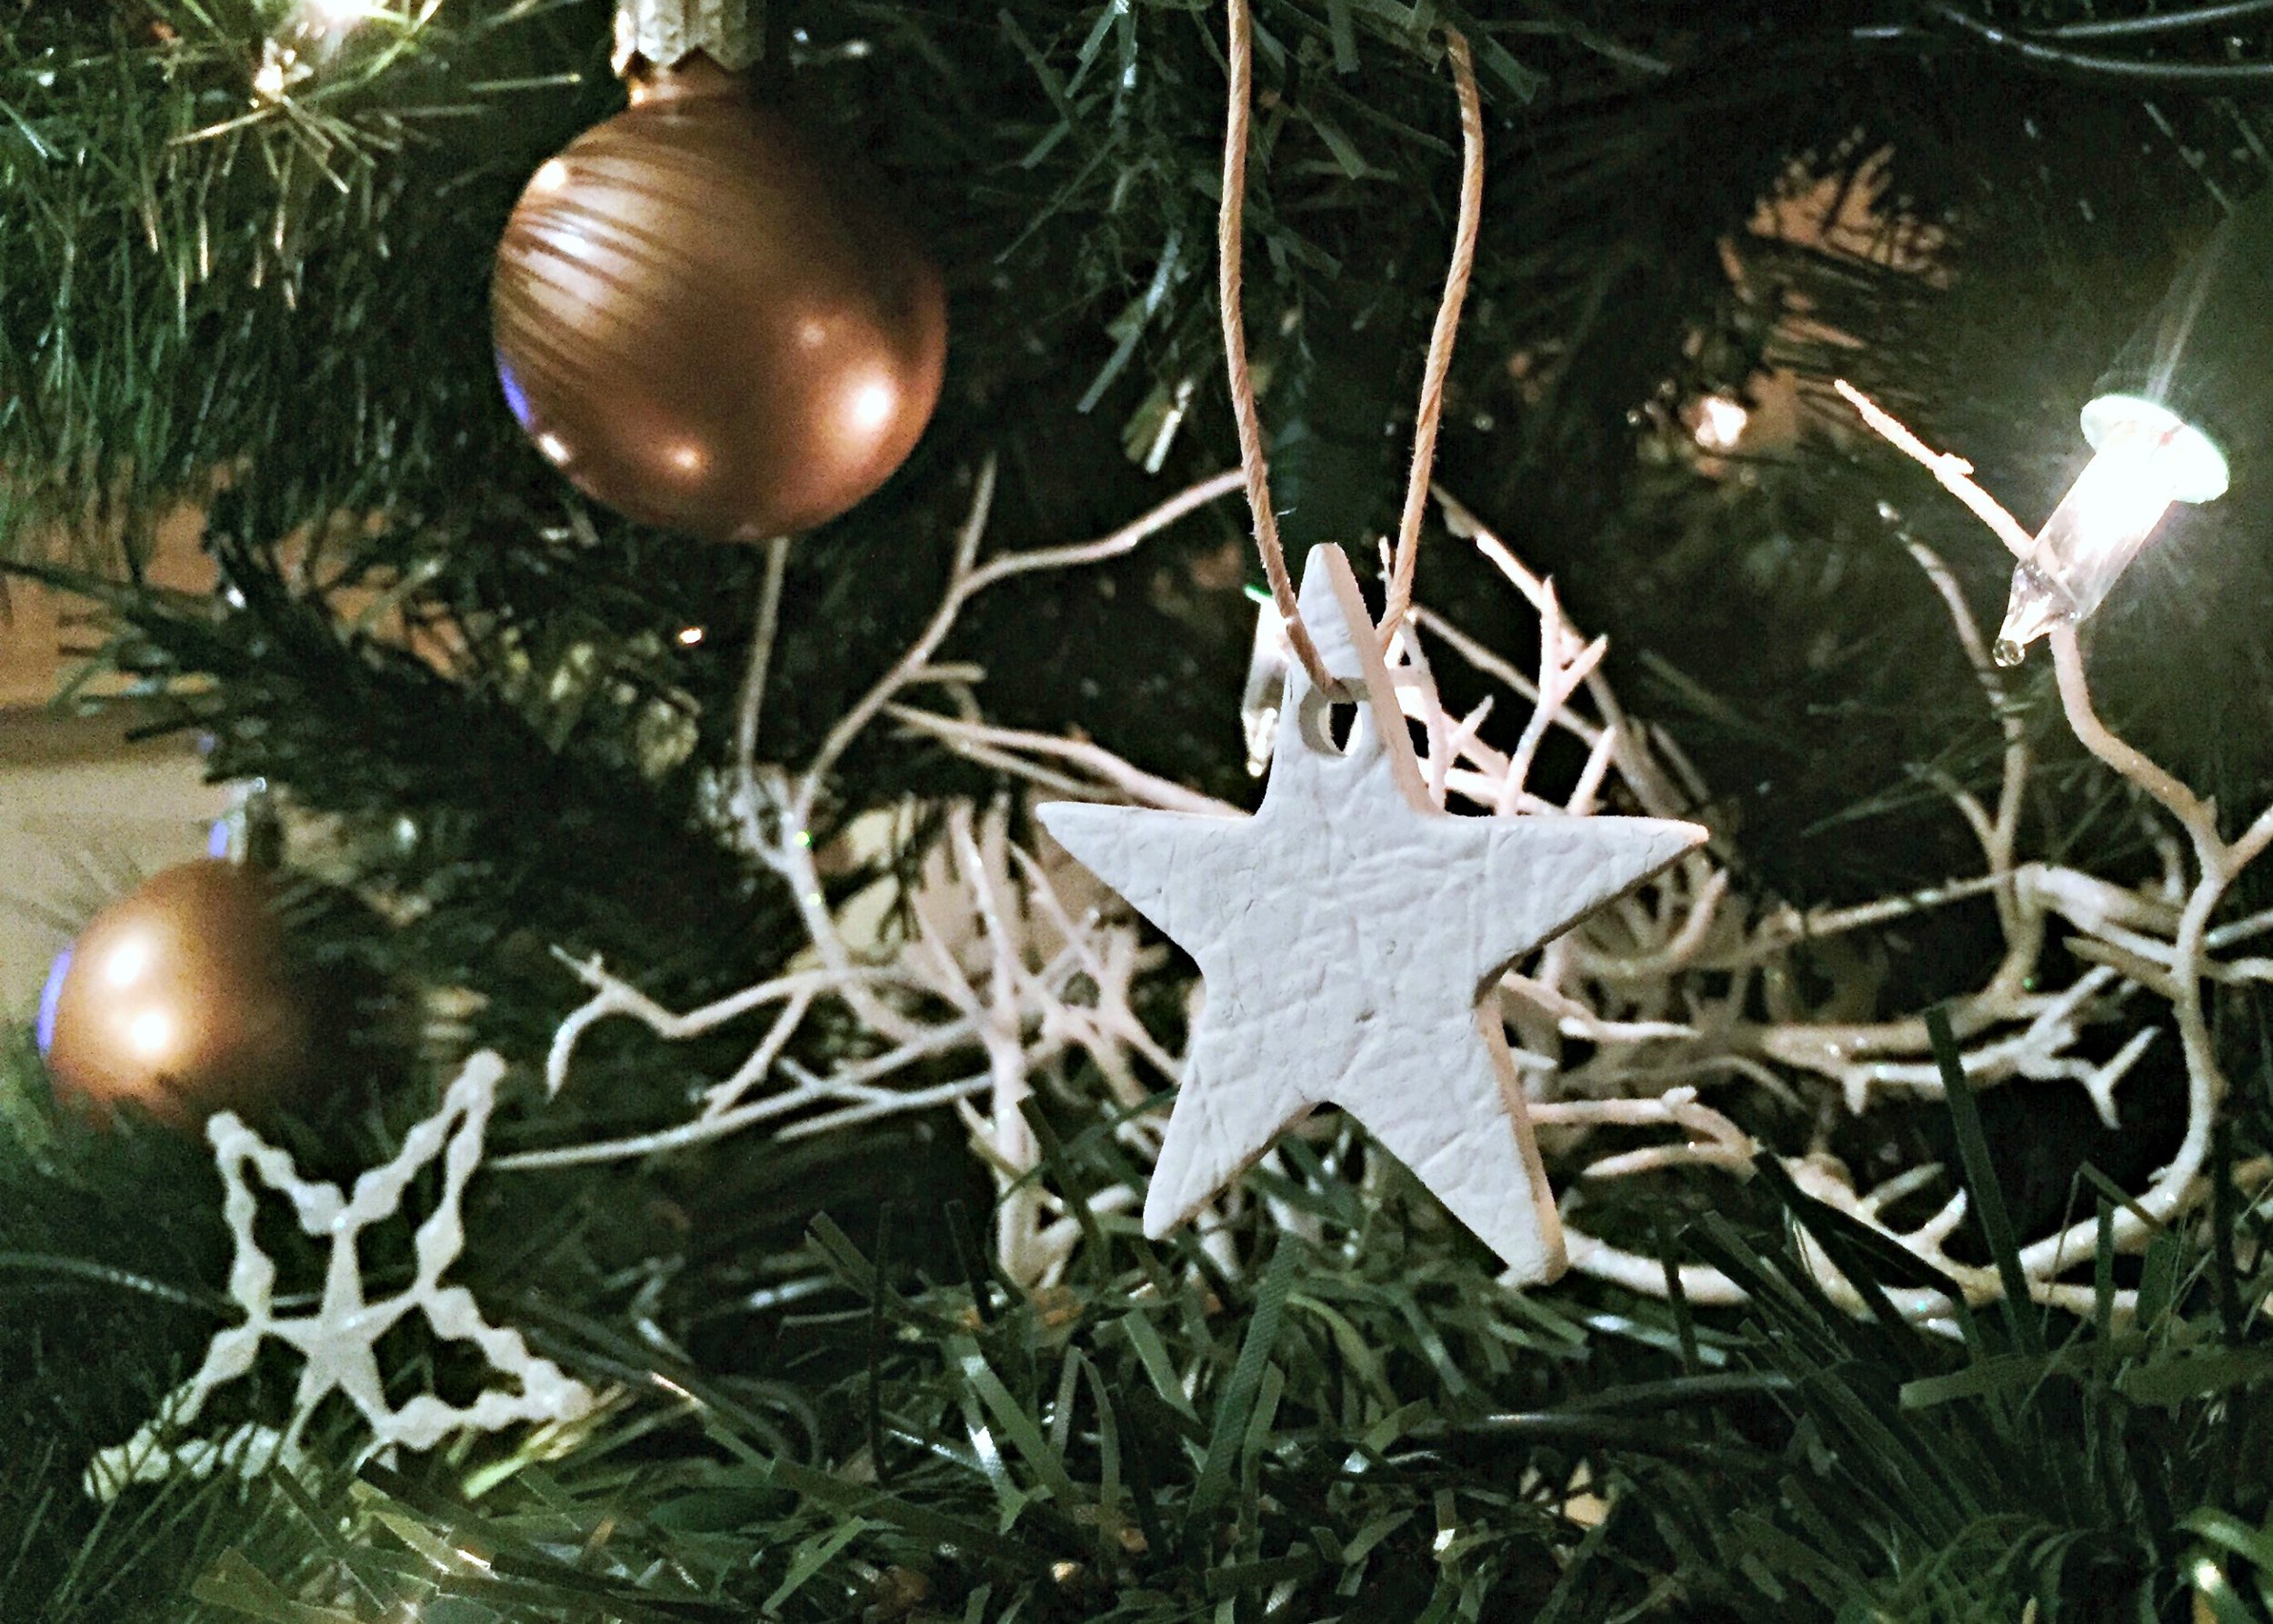
It's Day 3 of my mini countdown and the DIY I'm sharing with you today is one that I did last year but never got around to posting it on here. Although I haven't used it much recently for my DIY's (this must change!), I love using air-dry clay. Partly because of how versatile it is and partly (ok, mostly) because of how quick, simple and easy it can be to get a great result. I recently shared some of my favourite DIY tree ornaments and included these in the mix. From plain to spray painted, these easy clay stars make great tree ornaments, gifts and gift tags! Here's how I made them and what I used...


1. Roll out a portion of air-dry clay.
2. Place the doily on top of the clay and carefully roll over it.
3. Use the cookie cutter to cut out star shapes from the clay.
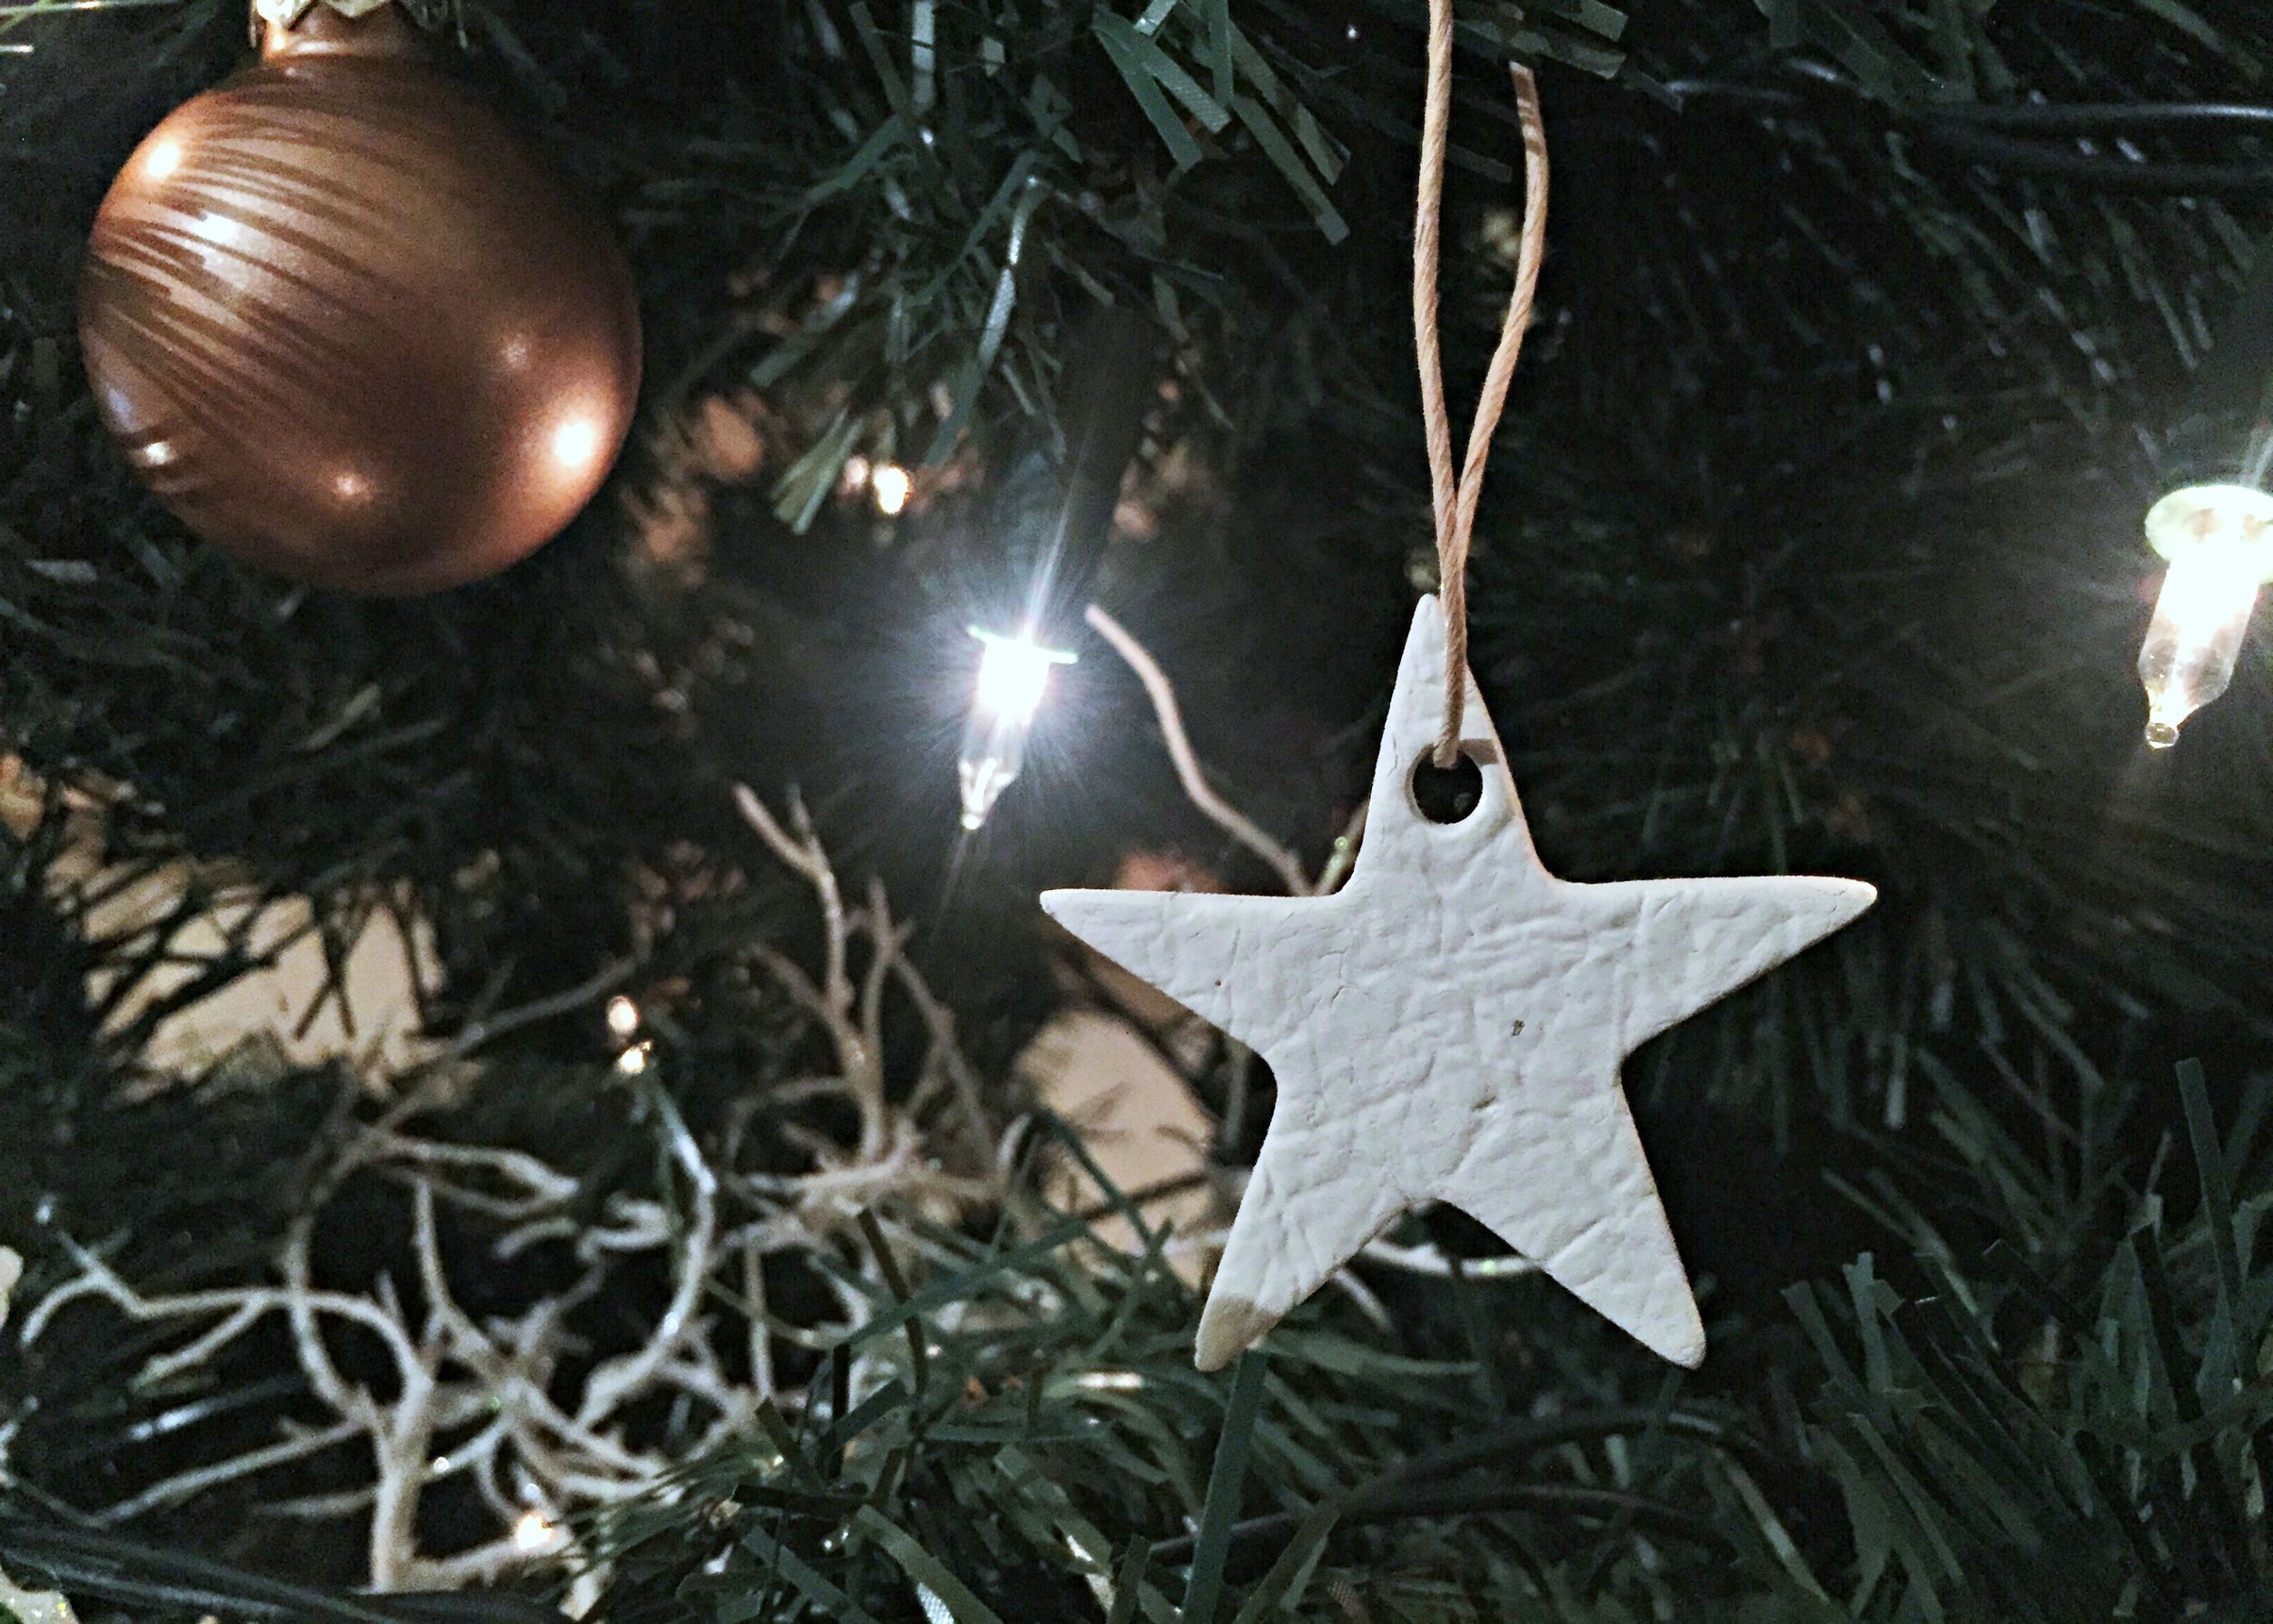
4. Use a straw to poke out a hole in the top of each star.
5. Leave the clay stars to harden.
6. Cut off a length of twine for each star.
7. Paint or spray each star with varnish.
8. Once dry, poke the twine through each star and knot.
... and that's it!


Don't forget to join me for more festive fun tomorrow!
Let me know what you think of this DIY in the comments below.
♥


