

Create the perfect welcome sign for your wedding with an old frame and Cricut machine
As you might already be aware, I’m getting married later in the year and as a crafter, attempting to make and create as much as I feasibly can. I’m making all of the wedding stationary and signage, and with my Cricut these have been made a breeze, You could definitely do this without a Cricut though, which was my original plan, where I planned to print out the text I wanted and place it behind the glass and then use a paint marker or sharpie on top of it. I’m loving using vinyl though, there’s so many possibilities, and as a perfectionist, it’s enabling me to not stand over each project too much, which I know I would be if I was doing it all by hand. With my wedding fast approaching now, time is of the essence and so my Cricut is proving to be a worth every penny. I learnt how to cut something on my Cricut larger than the cutting mat, which I’ve only briefly touched on here, but if you’d like a more detailed tutorial for that, let me know in the comments. Otherwise, keep reading to find out what I used and how I made my wedding welcome sign…


Old Picture Frame
Sandpaper
Copper paint



1.
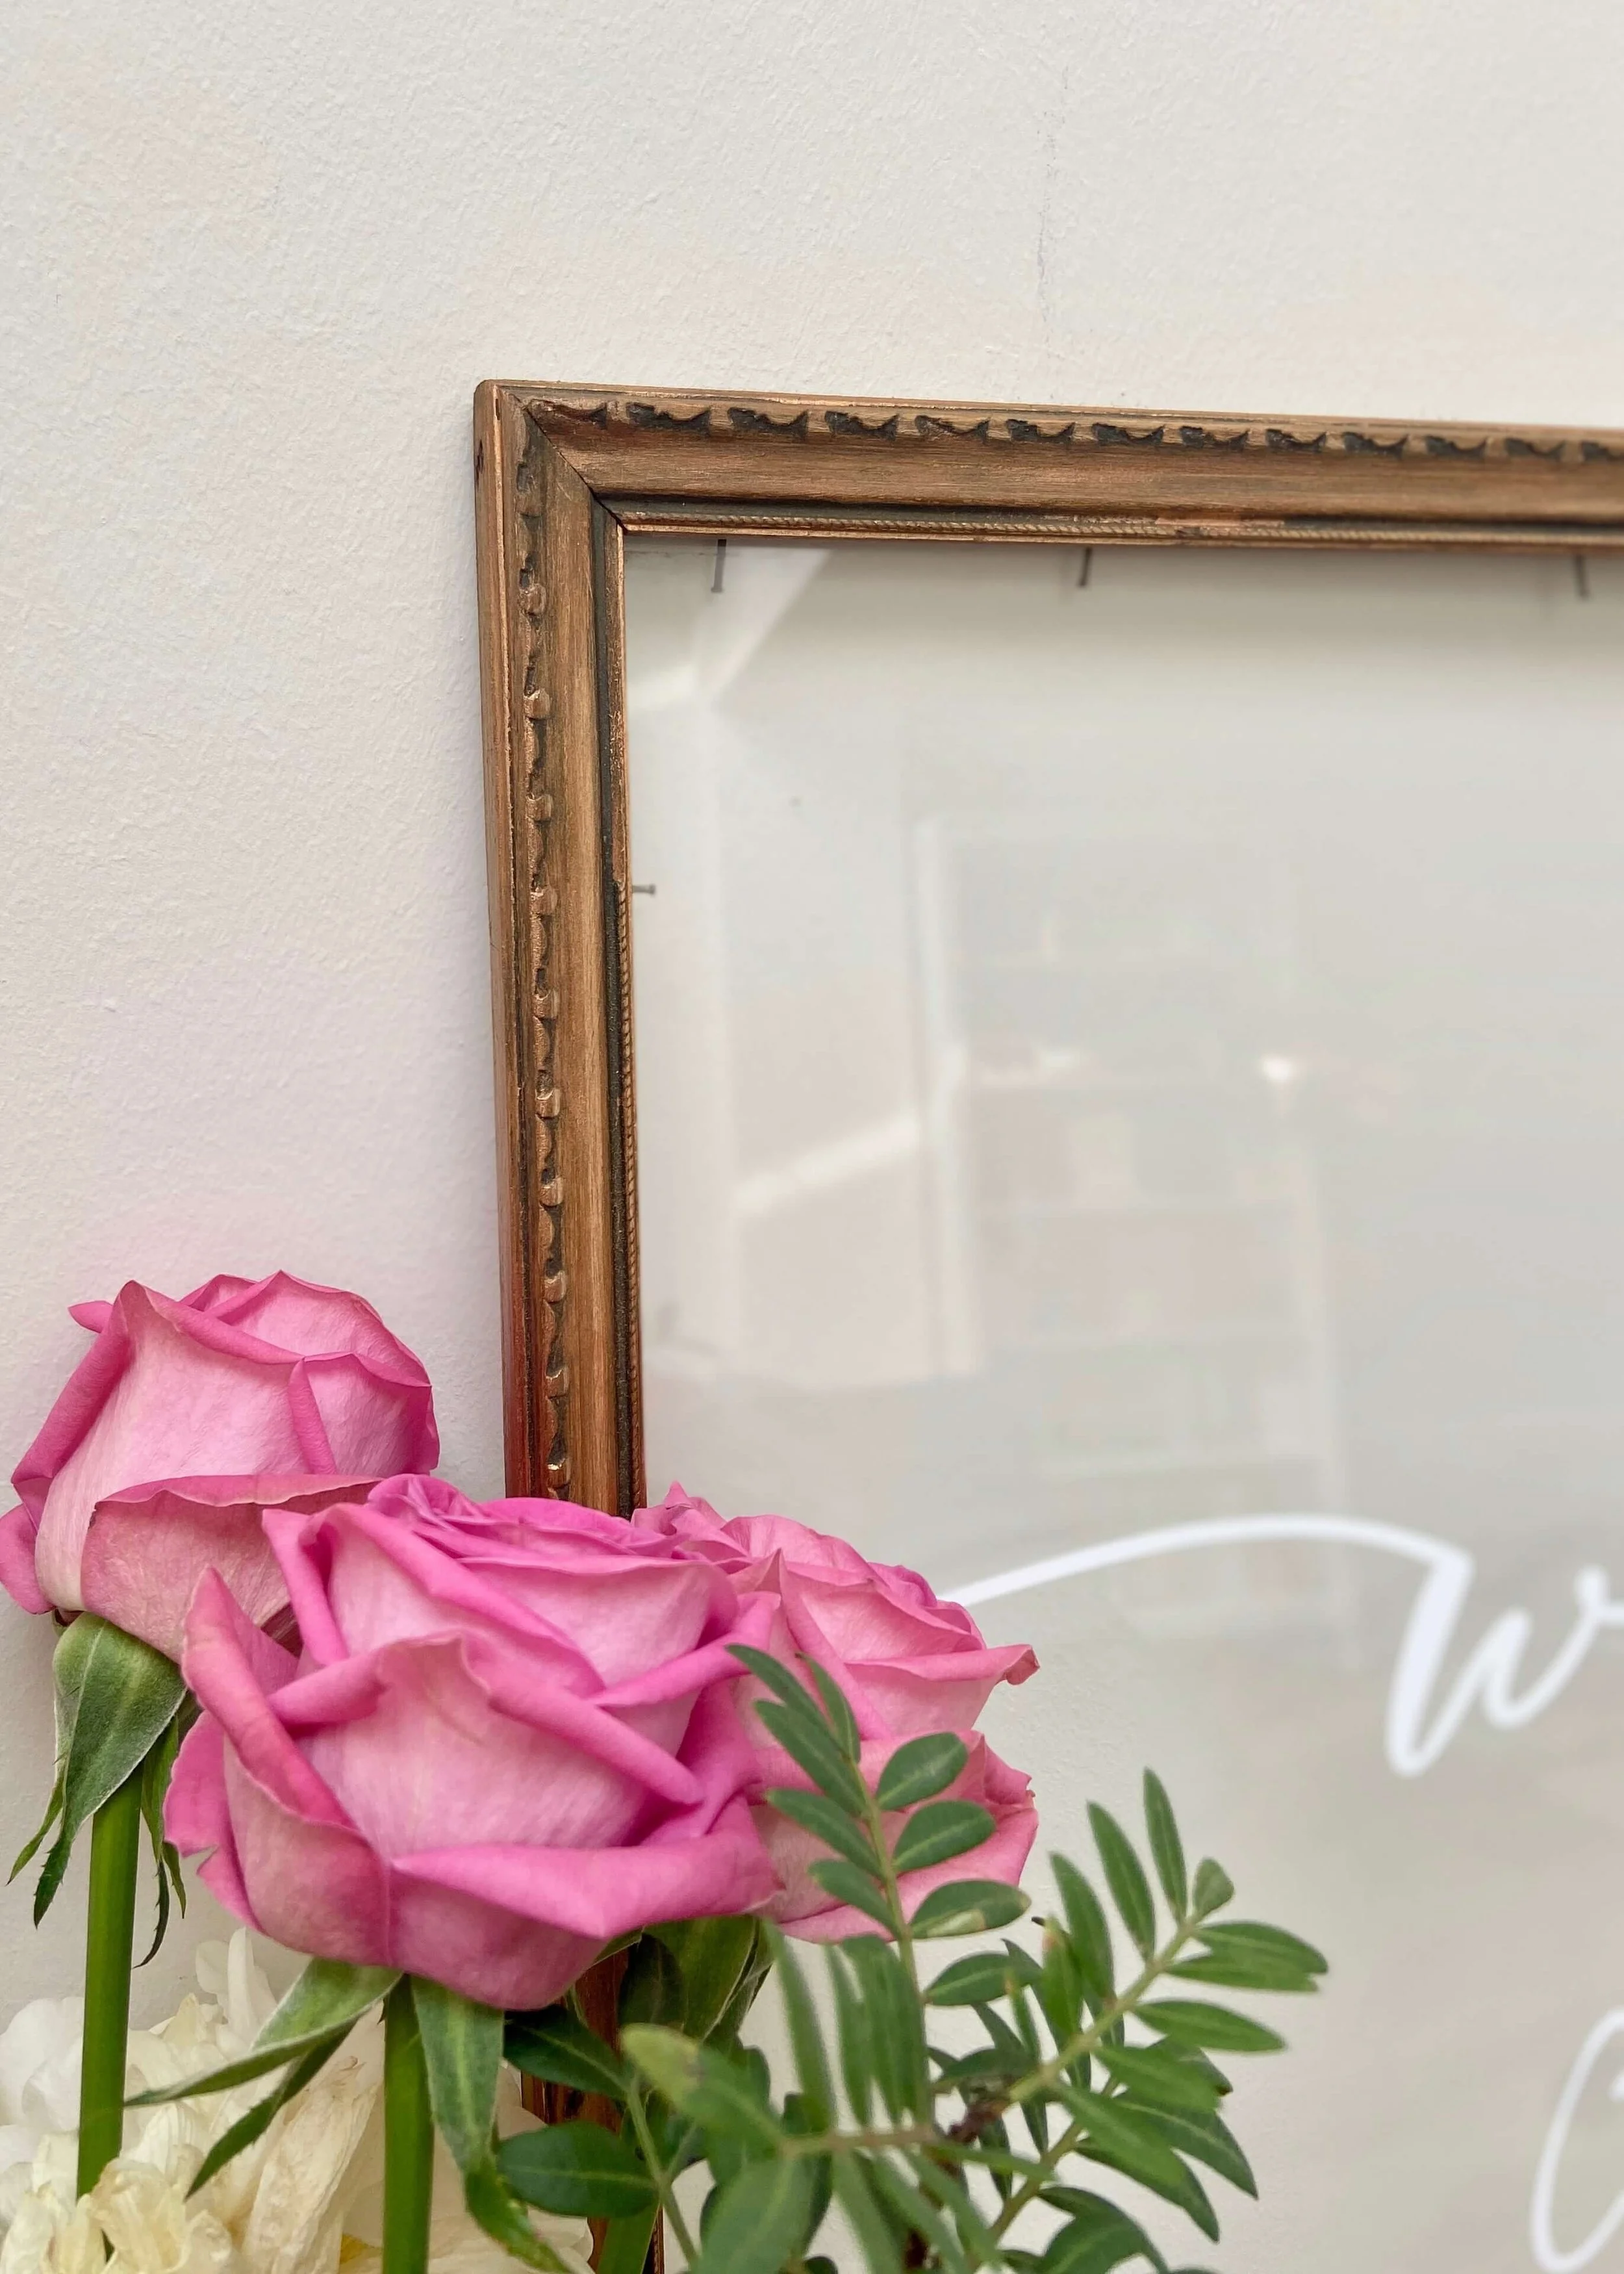
First of all, find yourself a suitable frame. I found mine in a local charity shop and was sure to pick one that I could see was wooden underneath the paint.

2.
Remove the picture and backing from your frame. My backing was nailed in and so I needed a screwdriver to bend the nails back.
3.
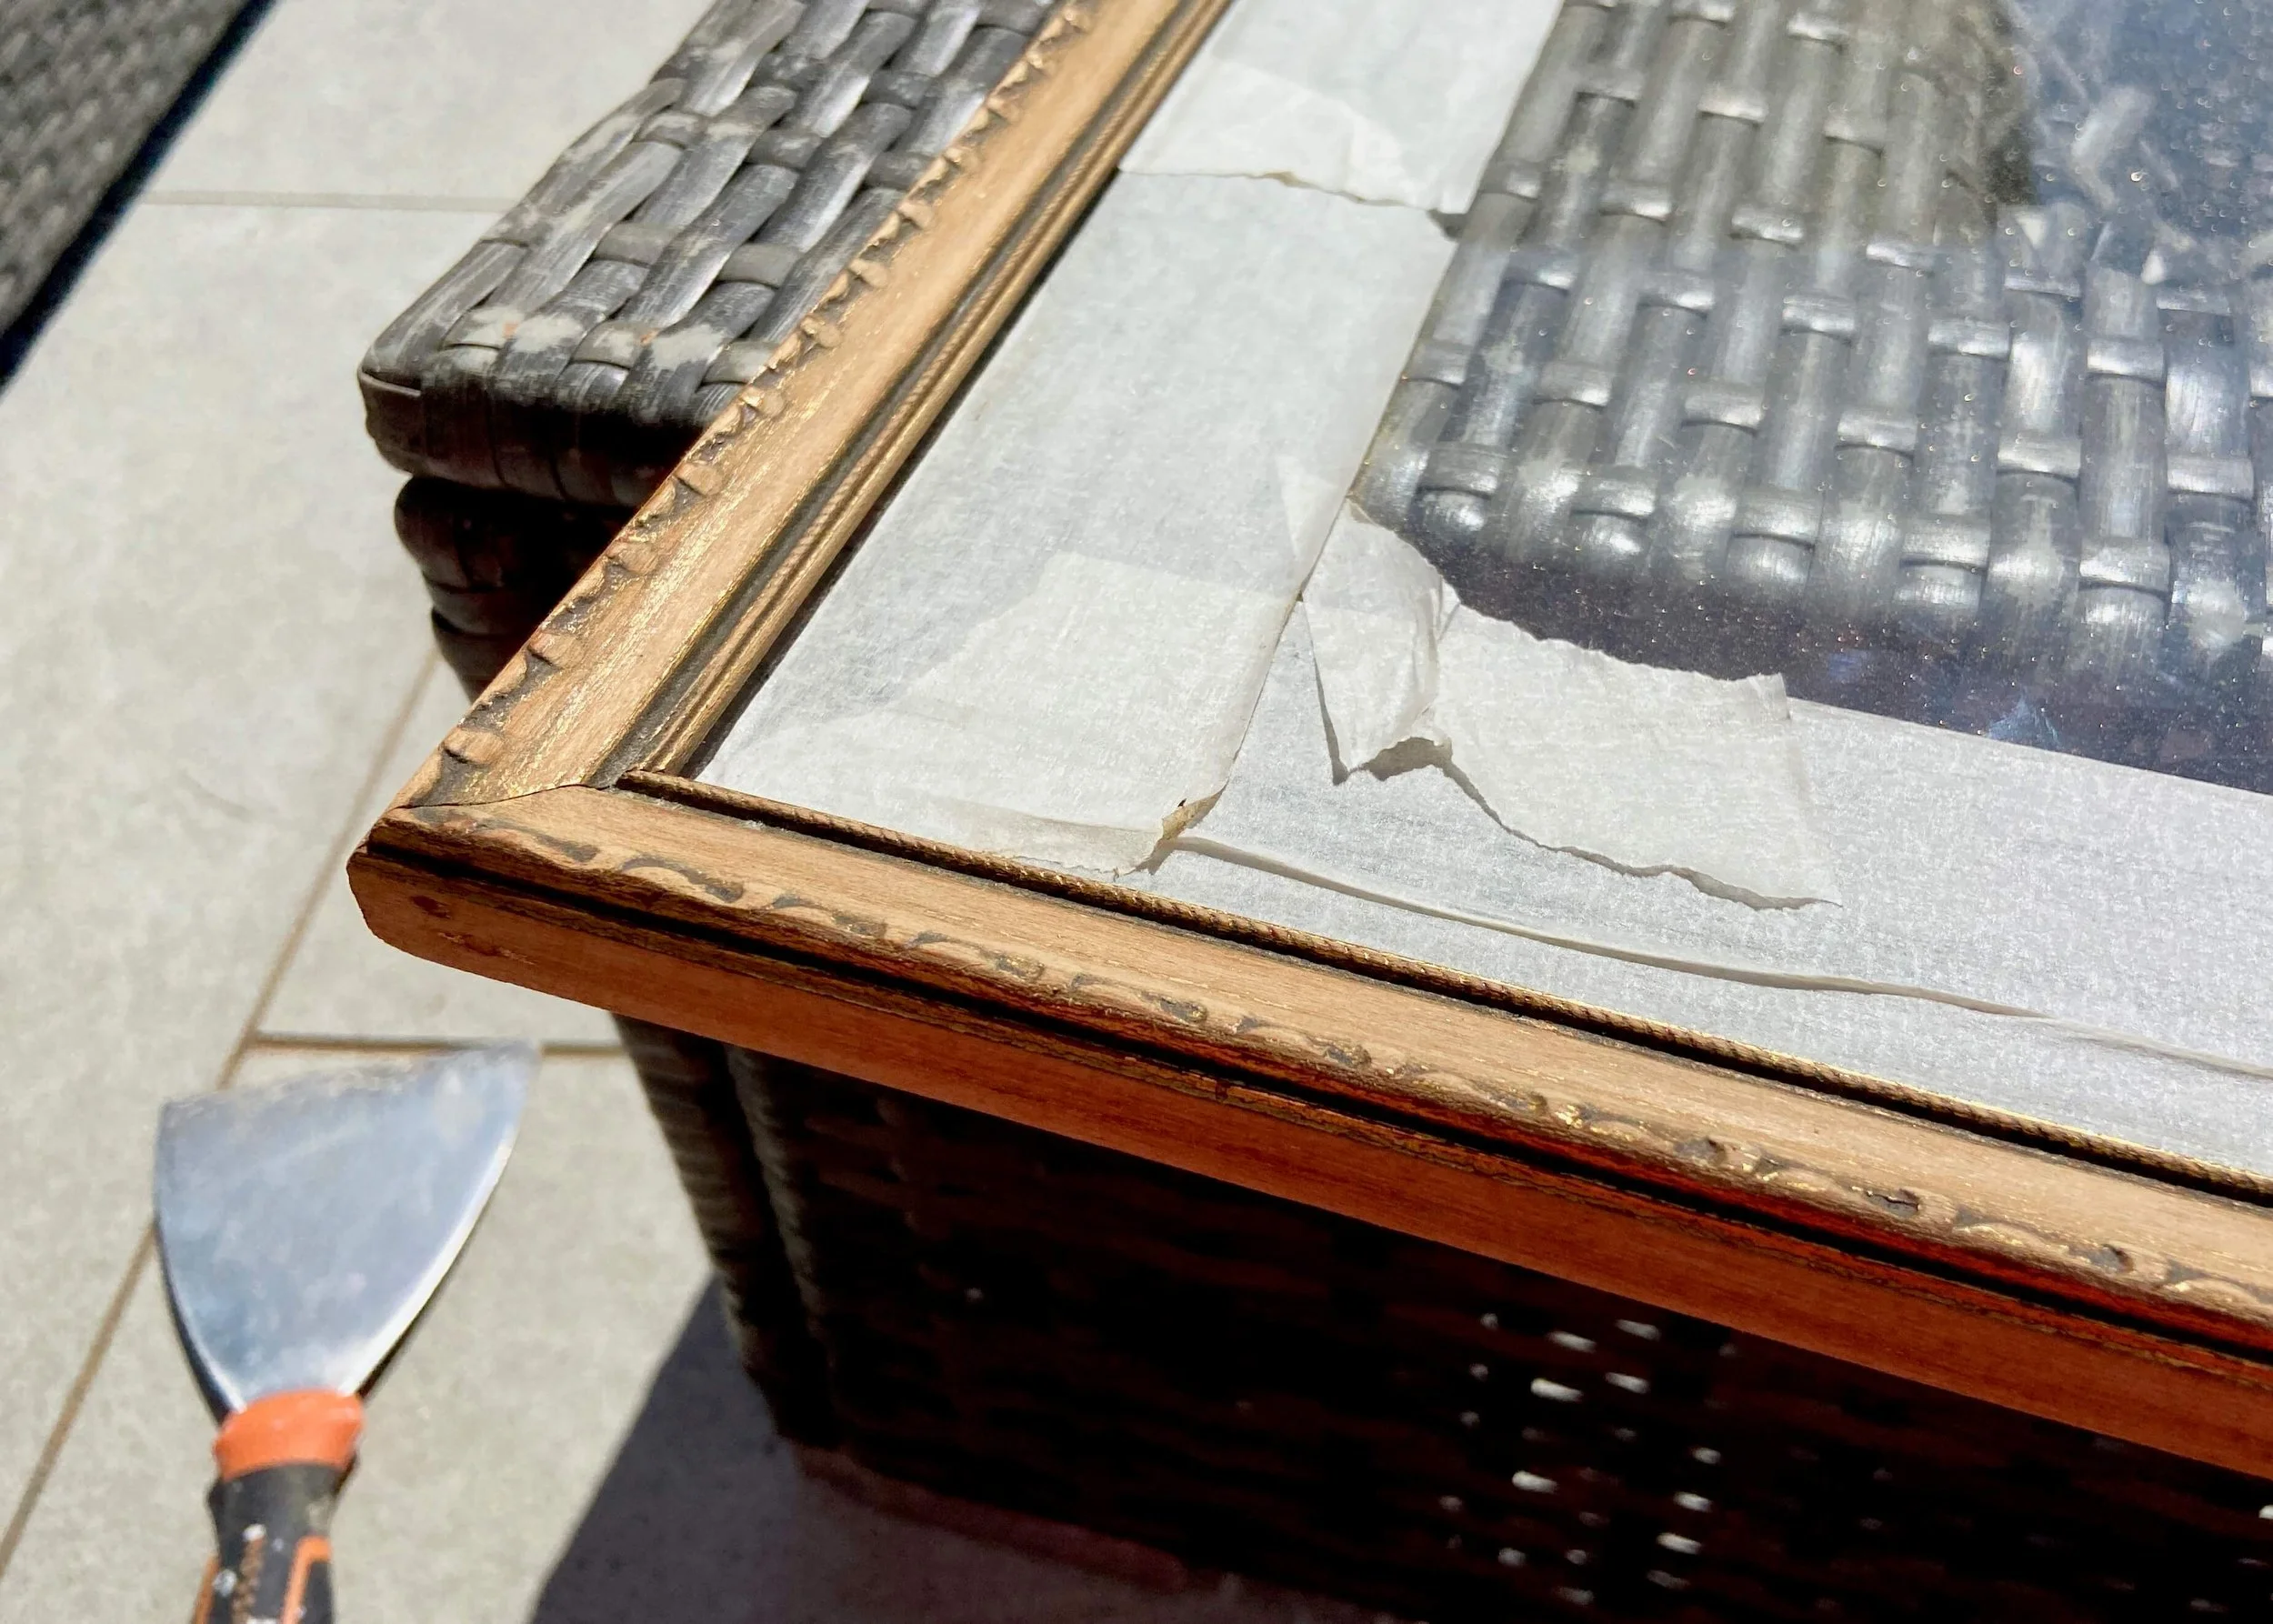
My frame felt a little fragile and didn’t want to push my luck so I kept the glass in. Next, I put masking tape around the edge of the glass to protect it and used sandpaper to remove the finish on the frame.

4.
Once the finish was removed, I used a medium oak stain all over the frame to give it a bit more colour.

5.
Where the gold paint didn’t come off, i went over with a copper acrylic paint and once dry sanded all over again to make it look more rustic.

6.
Once fully dry, I used Photoshop and Cricut Design Studio to design my sign text and separate it into two halves so that it would fit on my 30cm x 30cm cutting mat.

7.
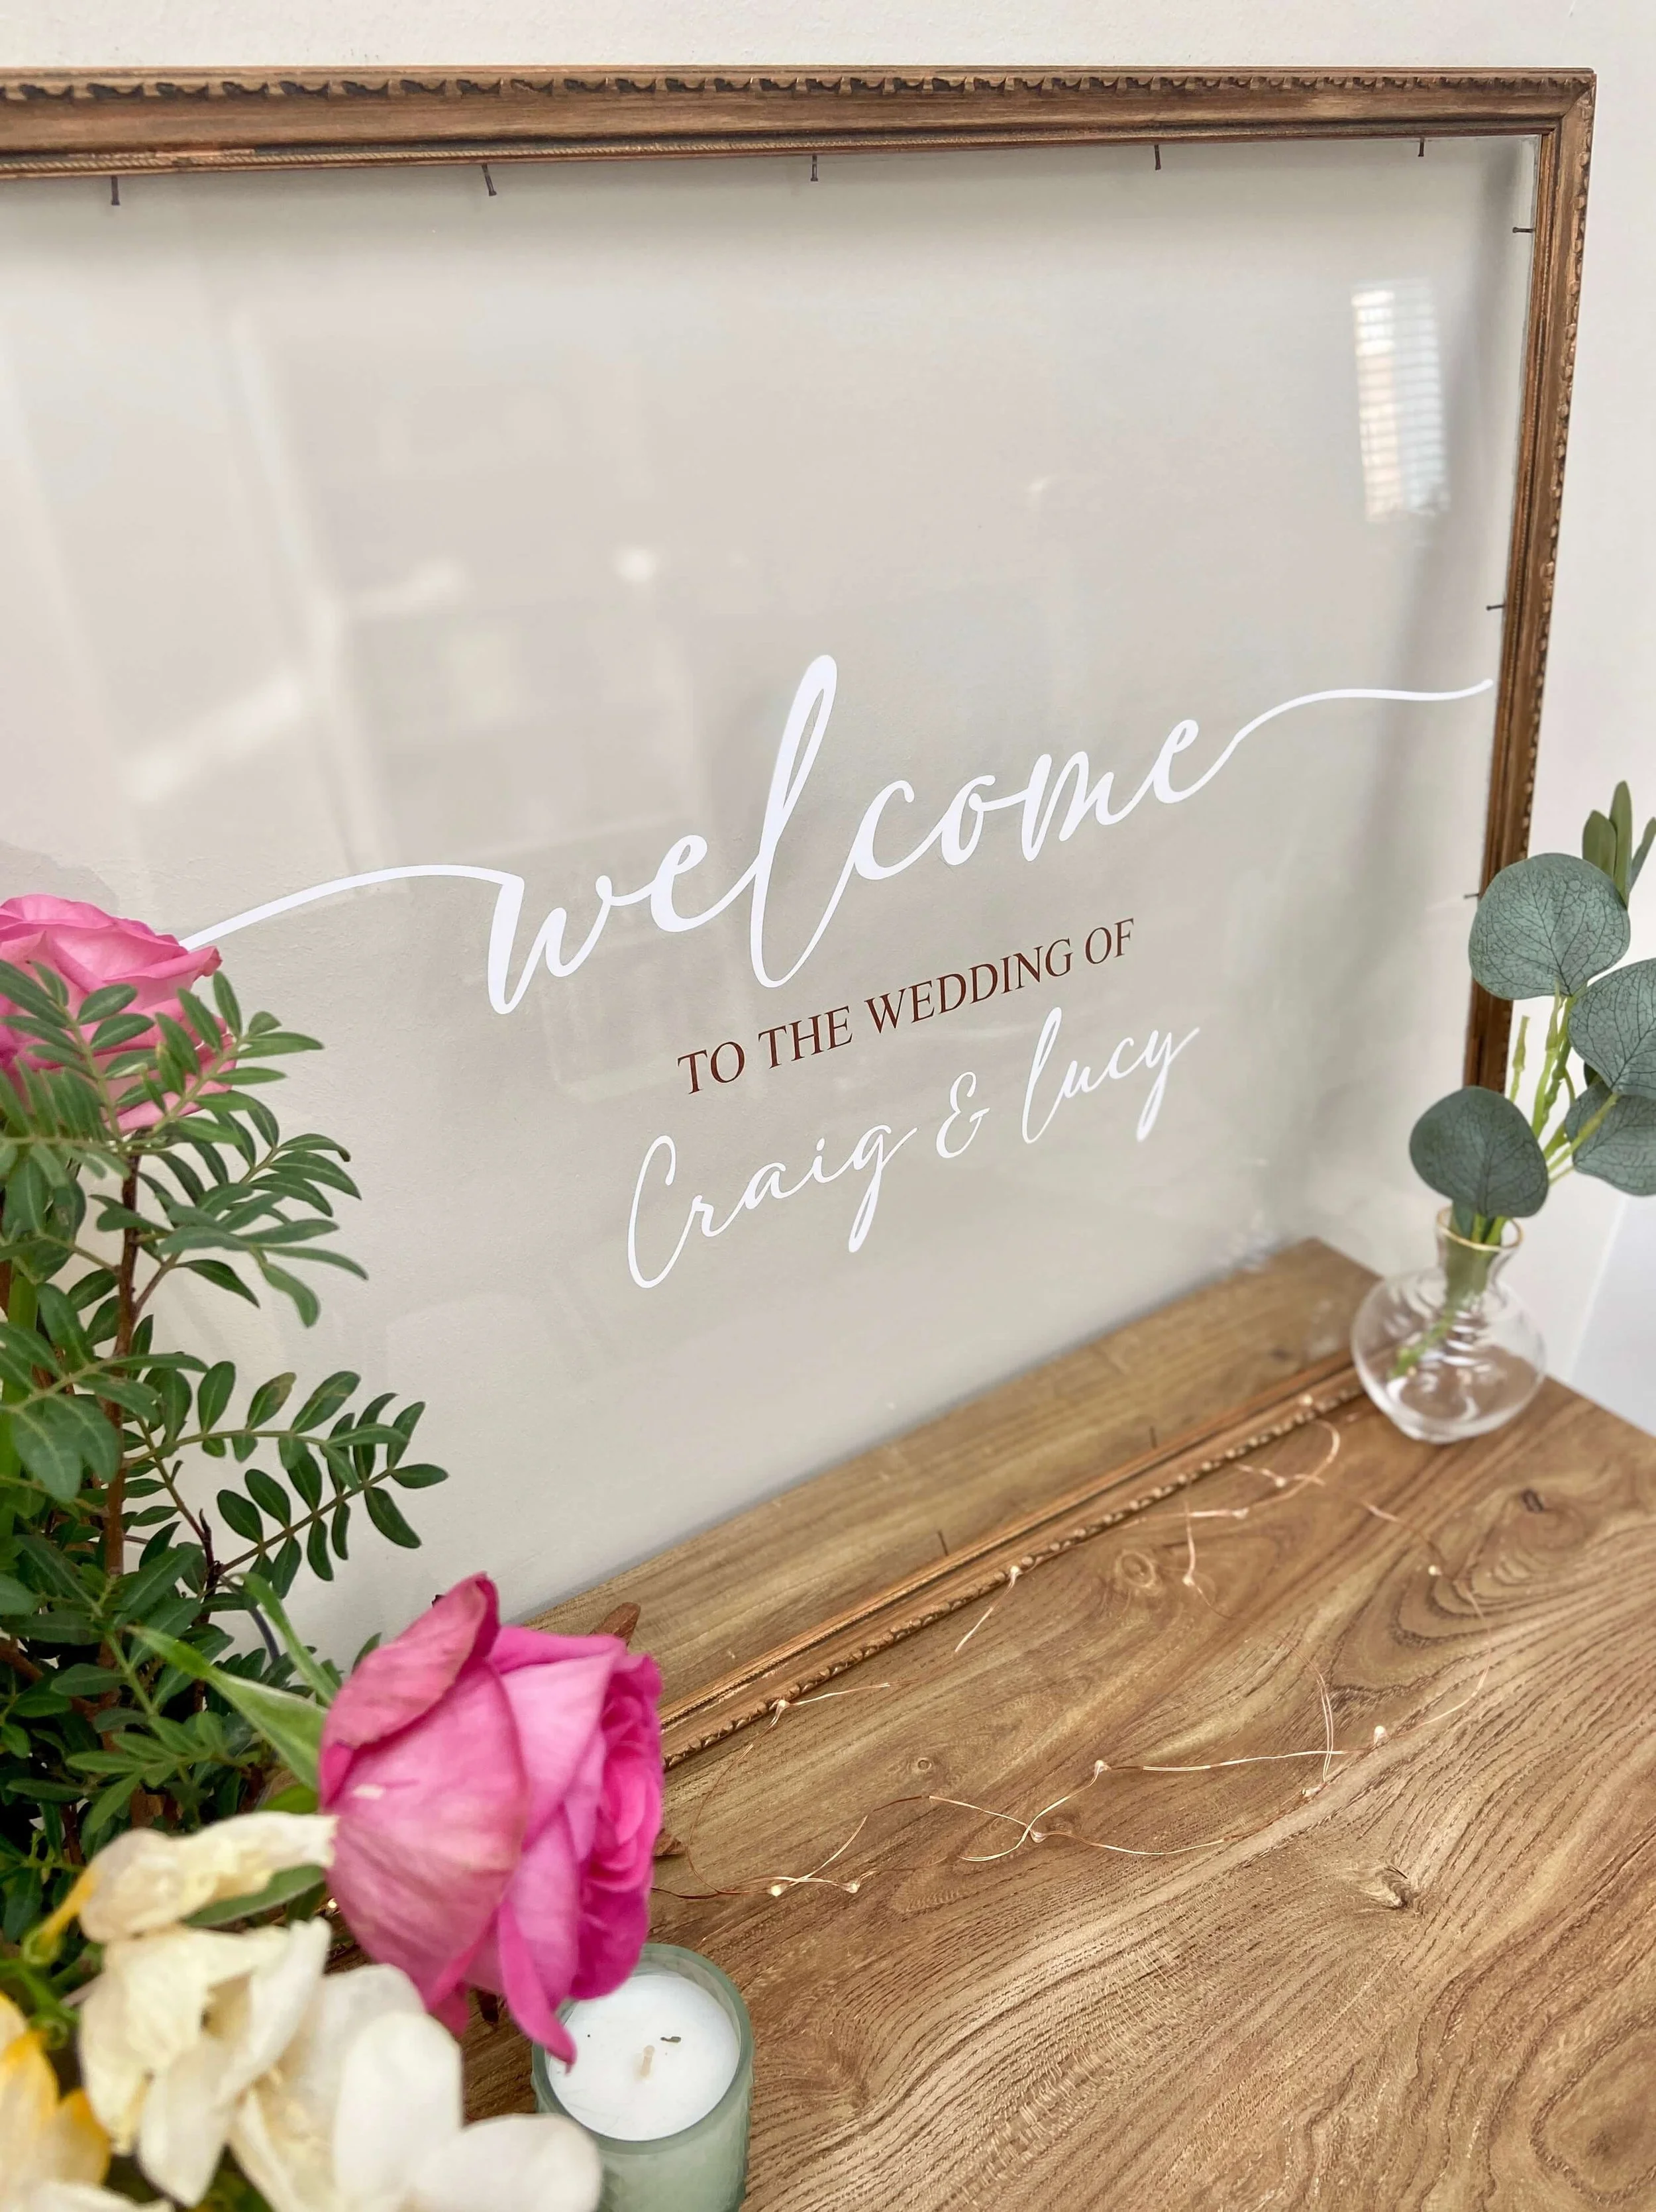
I then used the fine blade to cut out the text onto white permanent vinyl. I then weeded out the text, transferred it onto masking tape and removed the vinyl backing before transferring onto the glass.

8.
I then did the same with the other half of the text being sure to line it up carefully with the first half. Next I used copper vinyl to add “to the wedding of'“ and white vinyl for my and my partners names underneath.




Keep your wedding memories alive by preserving your wedding flowers in minimal floral resin tree ornaments!