• ABOUT ME
    • PRIVACY POLICY
  • COLLABORATE
  • BLOG
    • ART
    • WEDDING
    • LIBRARY
    • DECOR
    • JEWELLERY
    • STATIONARY
    • NAIL ART
    • BAKING
    • CHRISTMAS
    • EASTER
    • ART PRINTS
    • WEDDING STATIONARY
  • CONTACT
Menu

ISOSCELLA

Street Address
City, State, Zip
Phone Number

Your Custom Text Here

ISOSCELLA

  • ABOUT
    • ABOUT ME
    • PRIVACY POLICY
  • COLLABORATE
  • BLOG
  • ART
    • ART
    • WEDDING
    • LIBRARY
  • DIY
    • DECOR
    • JEWELLERY
    • STATIONARY
    • NAIL ART
    • BAKING
    • CHRISTMAS
    • EASTER
  • SHOP
    • ART PRINTS
    • WEDDING STATIONARY
  • CONTACT

Minimal Floral Resin Tree Ornaments

November 26, 2022 Isoscella M

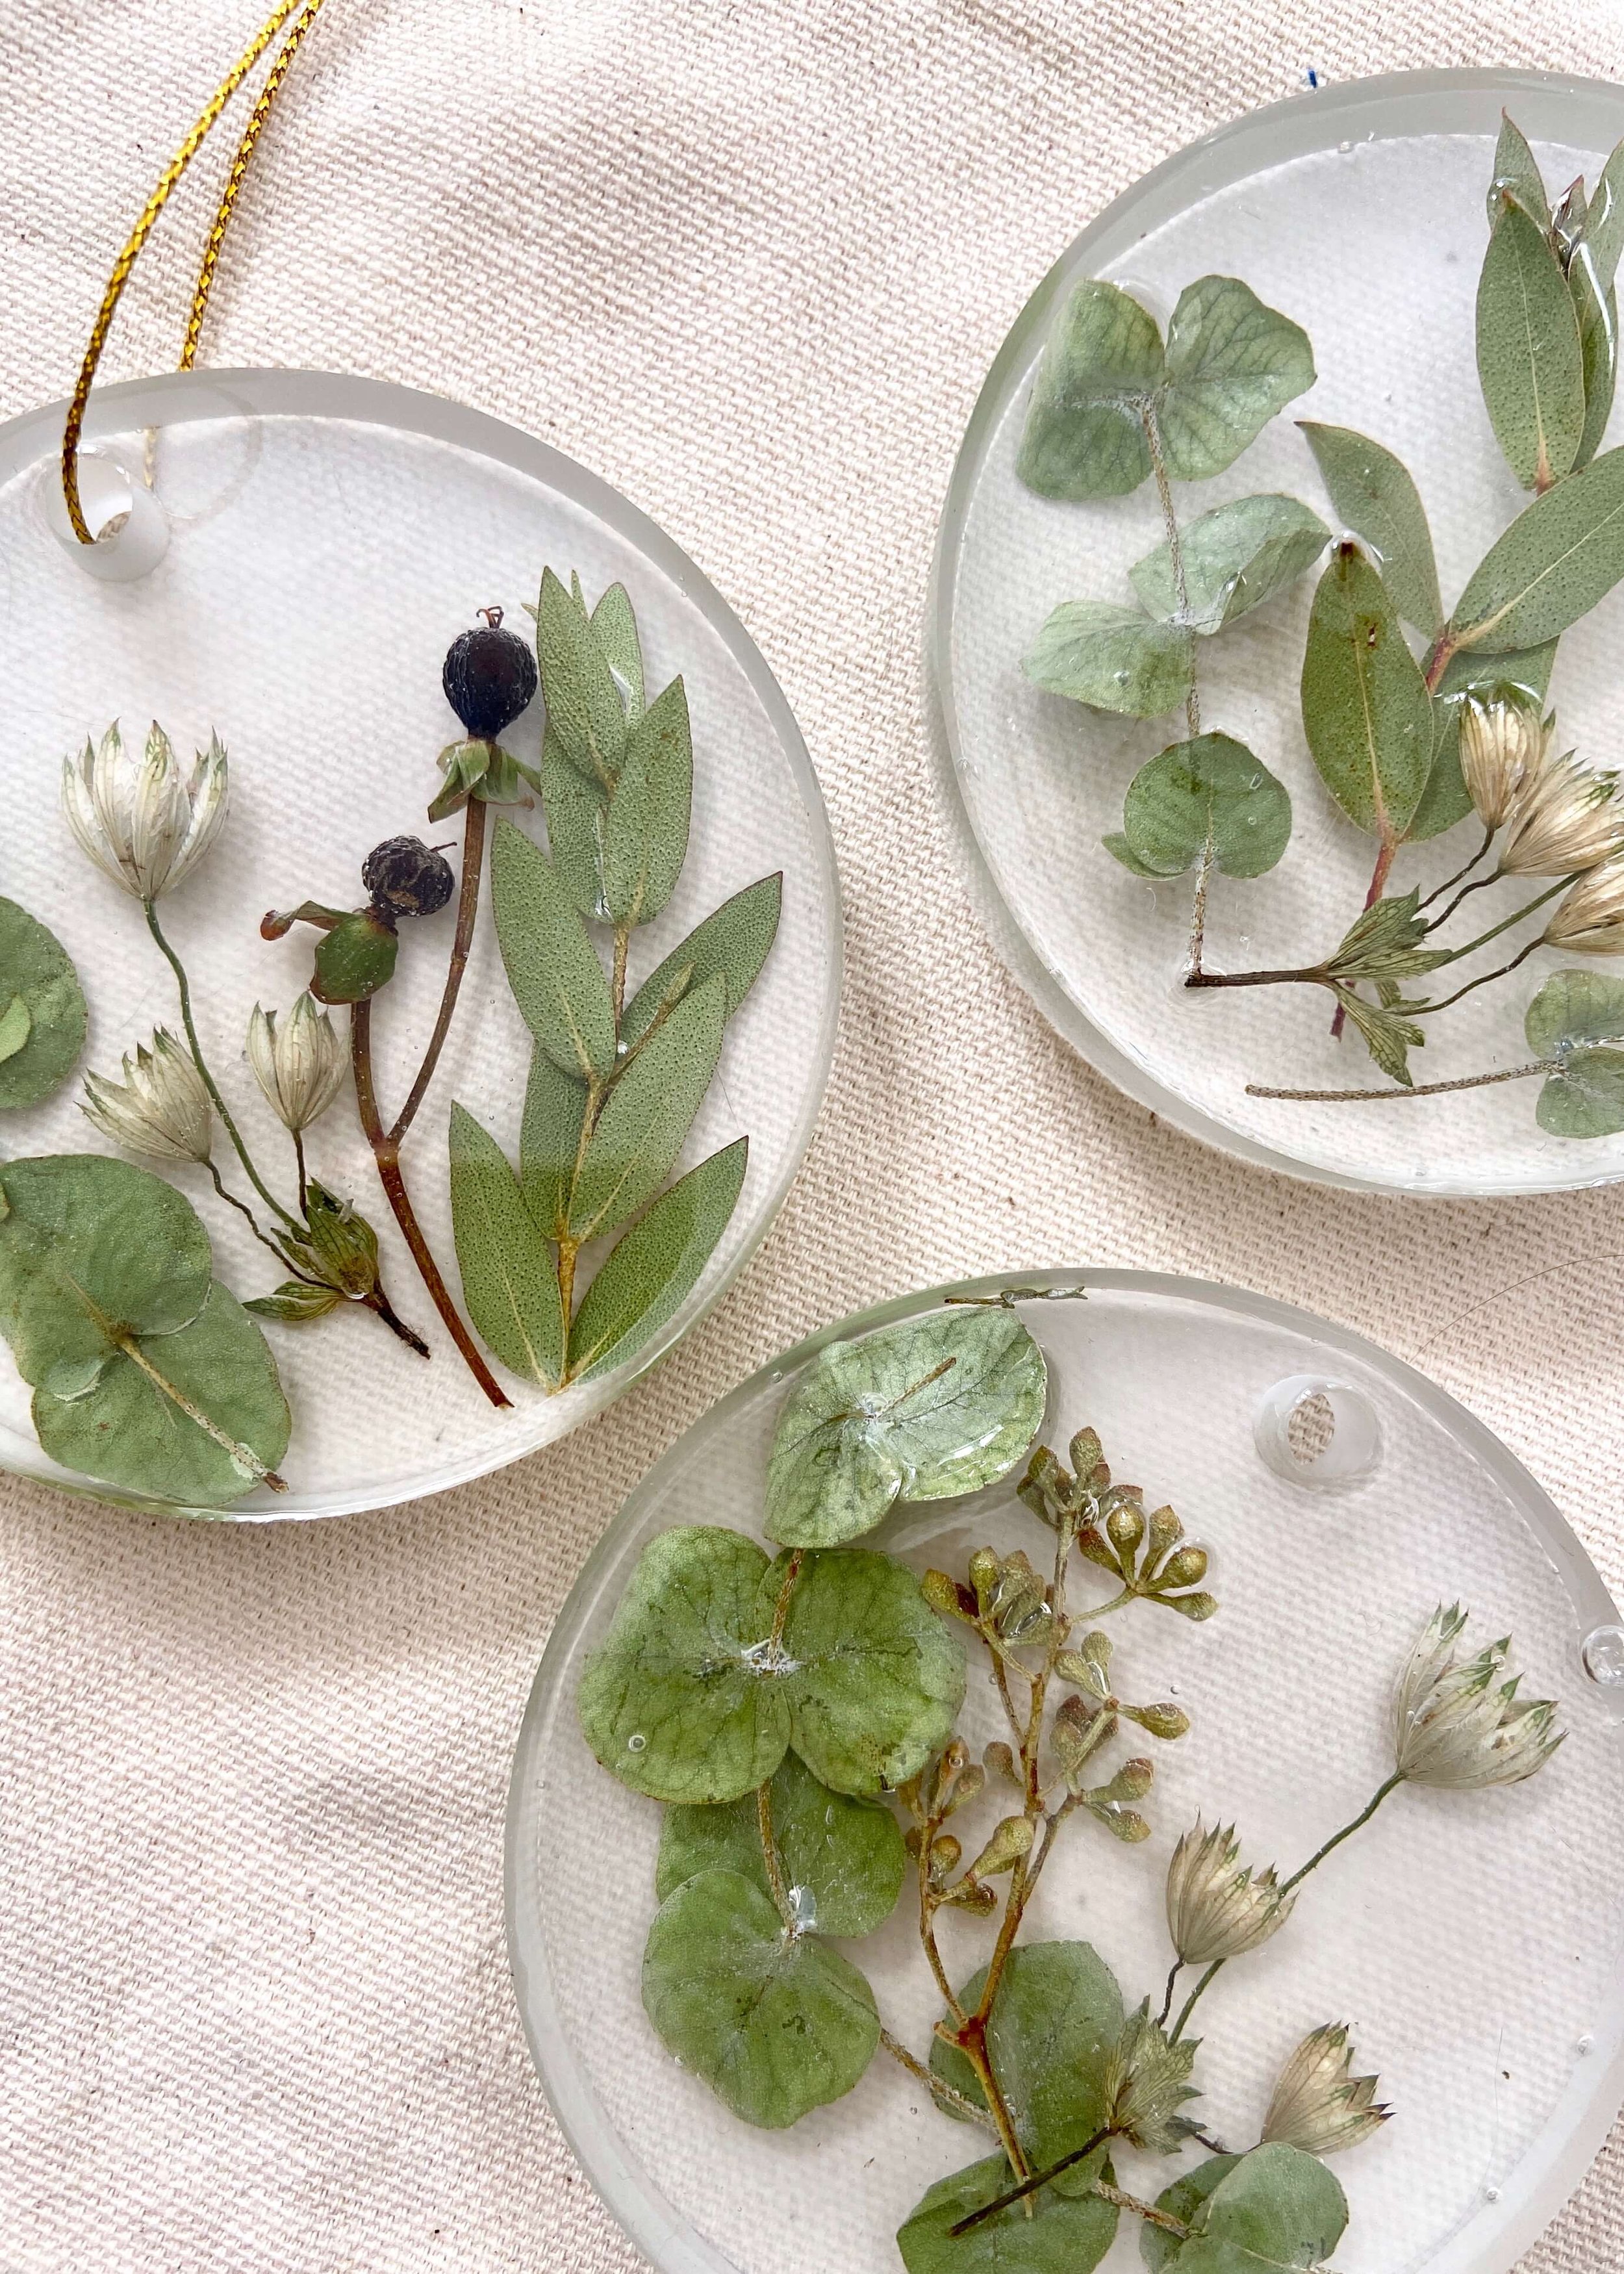
Keep your wedding memories alive by preserving your wedding flowers in minimal floral resin tree ornaments!

For those of you have organised a wedding and had foliage or florals, you’ll know that you are left with an abundance of it afterwards. My bridesmaids took their bouquets, and I preserved my bouquet in a box frame (you can find the tutorial here) but we still had so much from the general venue decor left. I am so reluctant to throw it all away, even dried up they’re so beautiful, and so I’ve been racking my brain thinking of ways to keep it, preserve it and gift it.

With Christmas only 5 weeks away, I got thinking about how lovely it would be to have wedding mementos on our tree and to be able to bring them out every year for many years to come, and I landed on having a go at using resin. I’ve never used it before, I was pretty intimidated by it, however I got myself a respirator, used it outside and hoped for the best. My first attempt was a bit too thick for my liking, the flowers floated upwards as the resin dried making the top uneven, and the resin wasn’t as clear as I wanted it to be. My second attempt involved bringing it all inside, pouring two lots of resin, the second after the first had had some to set with the flowers in, and heating the mould and two parts of the resin before I used them.

I was much happier with the results, though the back and sides of the ornament are matte and not shiny like I expected them be, which after some research I’ve discovered is probably because the mould I used had a matte finish. I actually quite like the look it gives, and it sounds as though it can be easily resolved by applying a thin coat of resin on it or by getting a shiny mould. So, learn from my mistakes, if you want this to be completely clear and shiny on all sides, heat your resin, allow it to dry somewhere where the temperature won’t vary too much, and use a shiny silicone mould. I’m planning on gifting these to my family members, and am so excited to see what they think. Let me know in the comments below if you like this idea and don’t forget to like and share it too.

Dried bouquet

Acrylic sealer

Silicone Mould

Respirator

Epoxy Resin starter kit

Ribbon or string

1.

First of all dry your flowers out. For this project it can be helpful to press them slightly before using them and before they’re completely dry.

2.

Seal your flowers with hairspray or an acrylic spray to help preserve them. Once your flowers are ready, cut off the florals you want and get everything out ready and prepared before you start.

3.

Next I heated my mould with a warm water bath. I then placed the part A and B of the resin into a warm water bath for 5 minutes.

4.

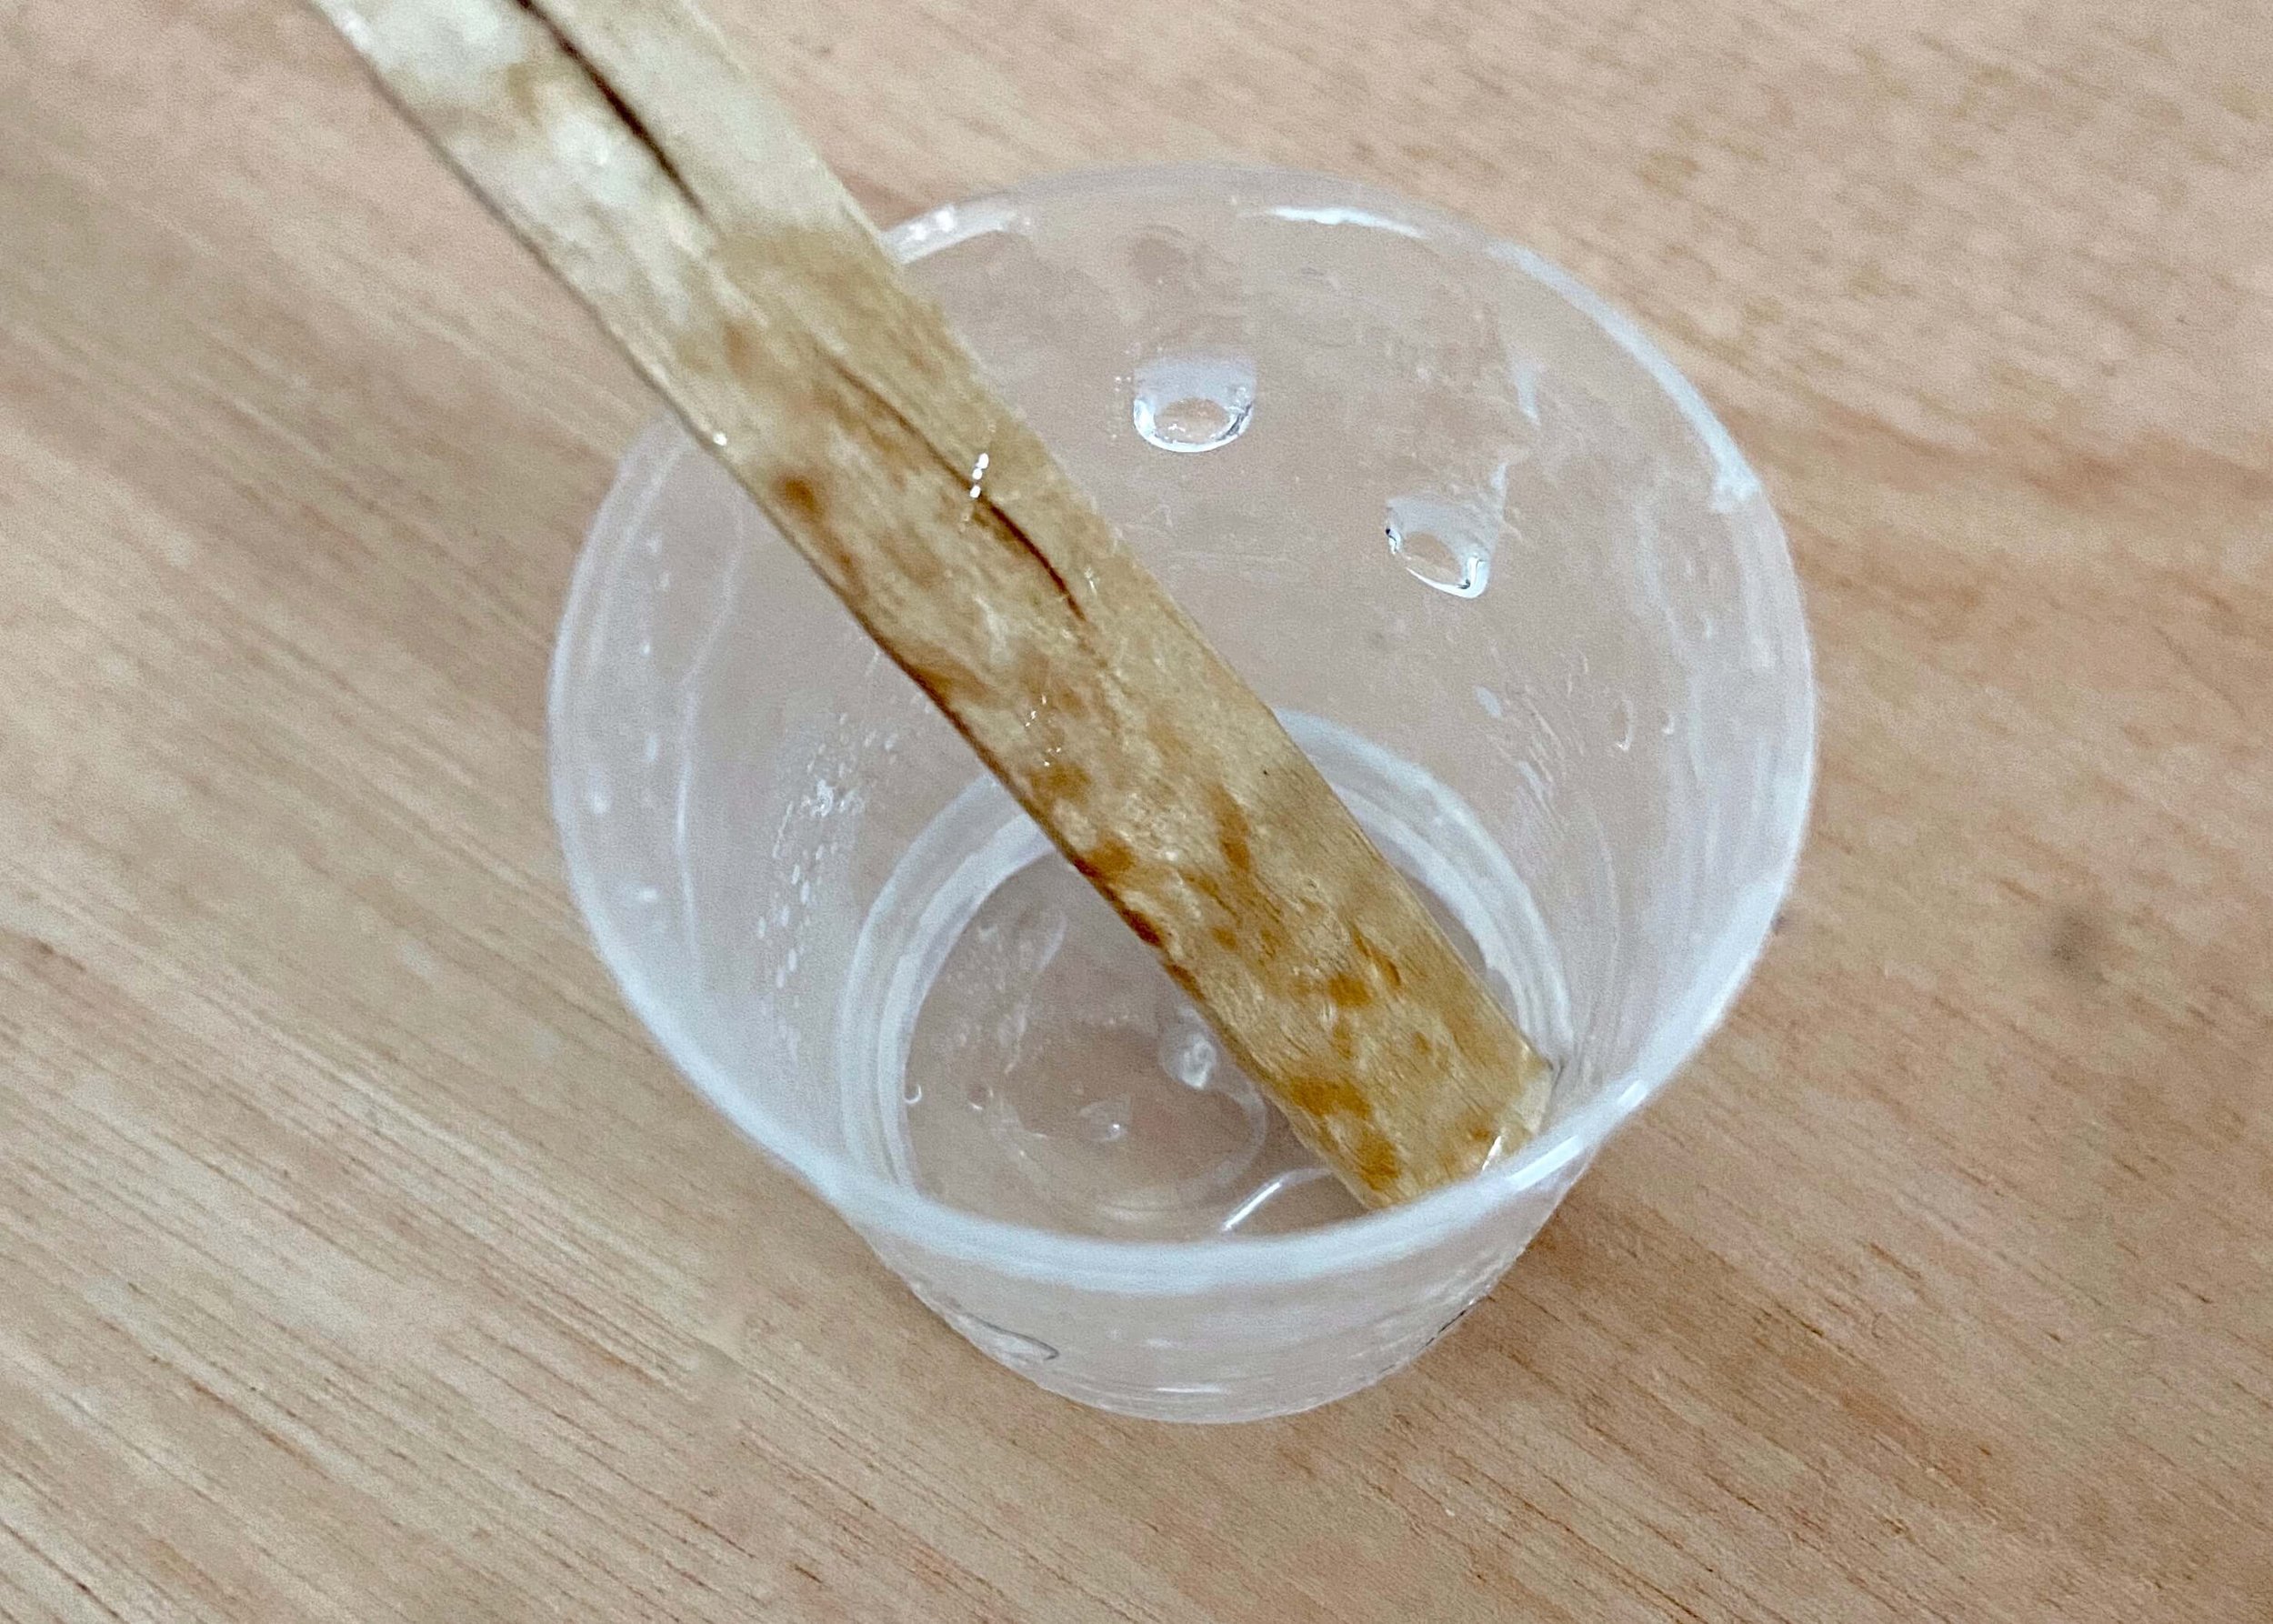
I then put on my respirator, gloves and protective eyewear and measured out 10ml of part A and 10ml of part B. I mixed these slowly with a lollipop stick for 5 minutes. I then allowed this to sit for a few minutes before using a blow torch to remove any bubbles. Be sure to follow your resins instructions.

5.

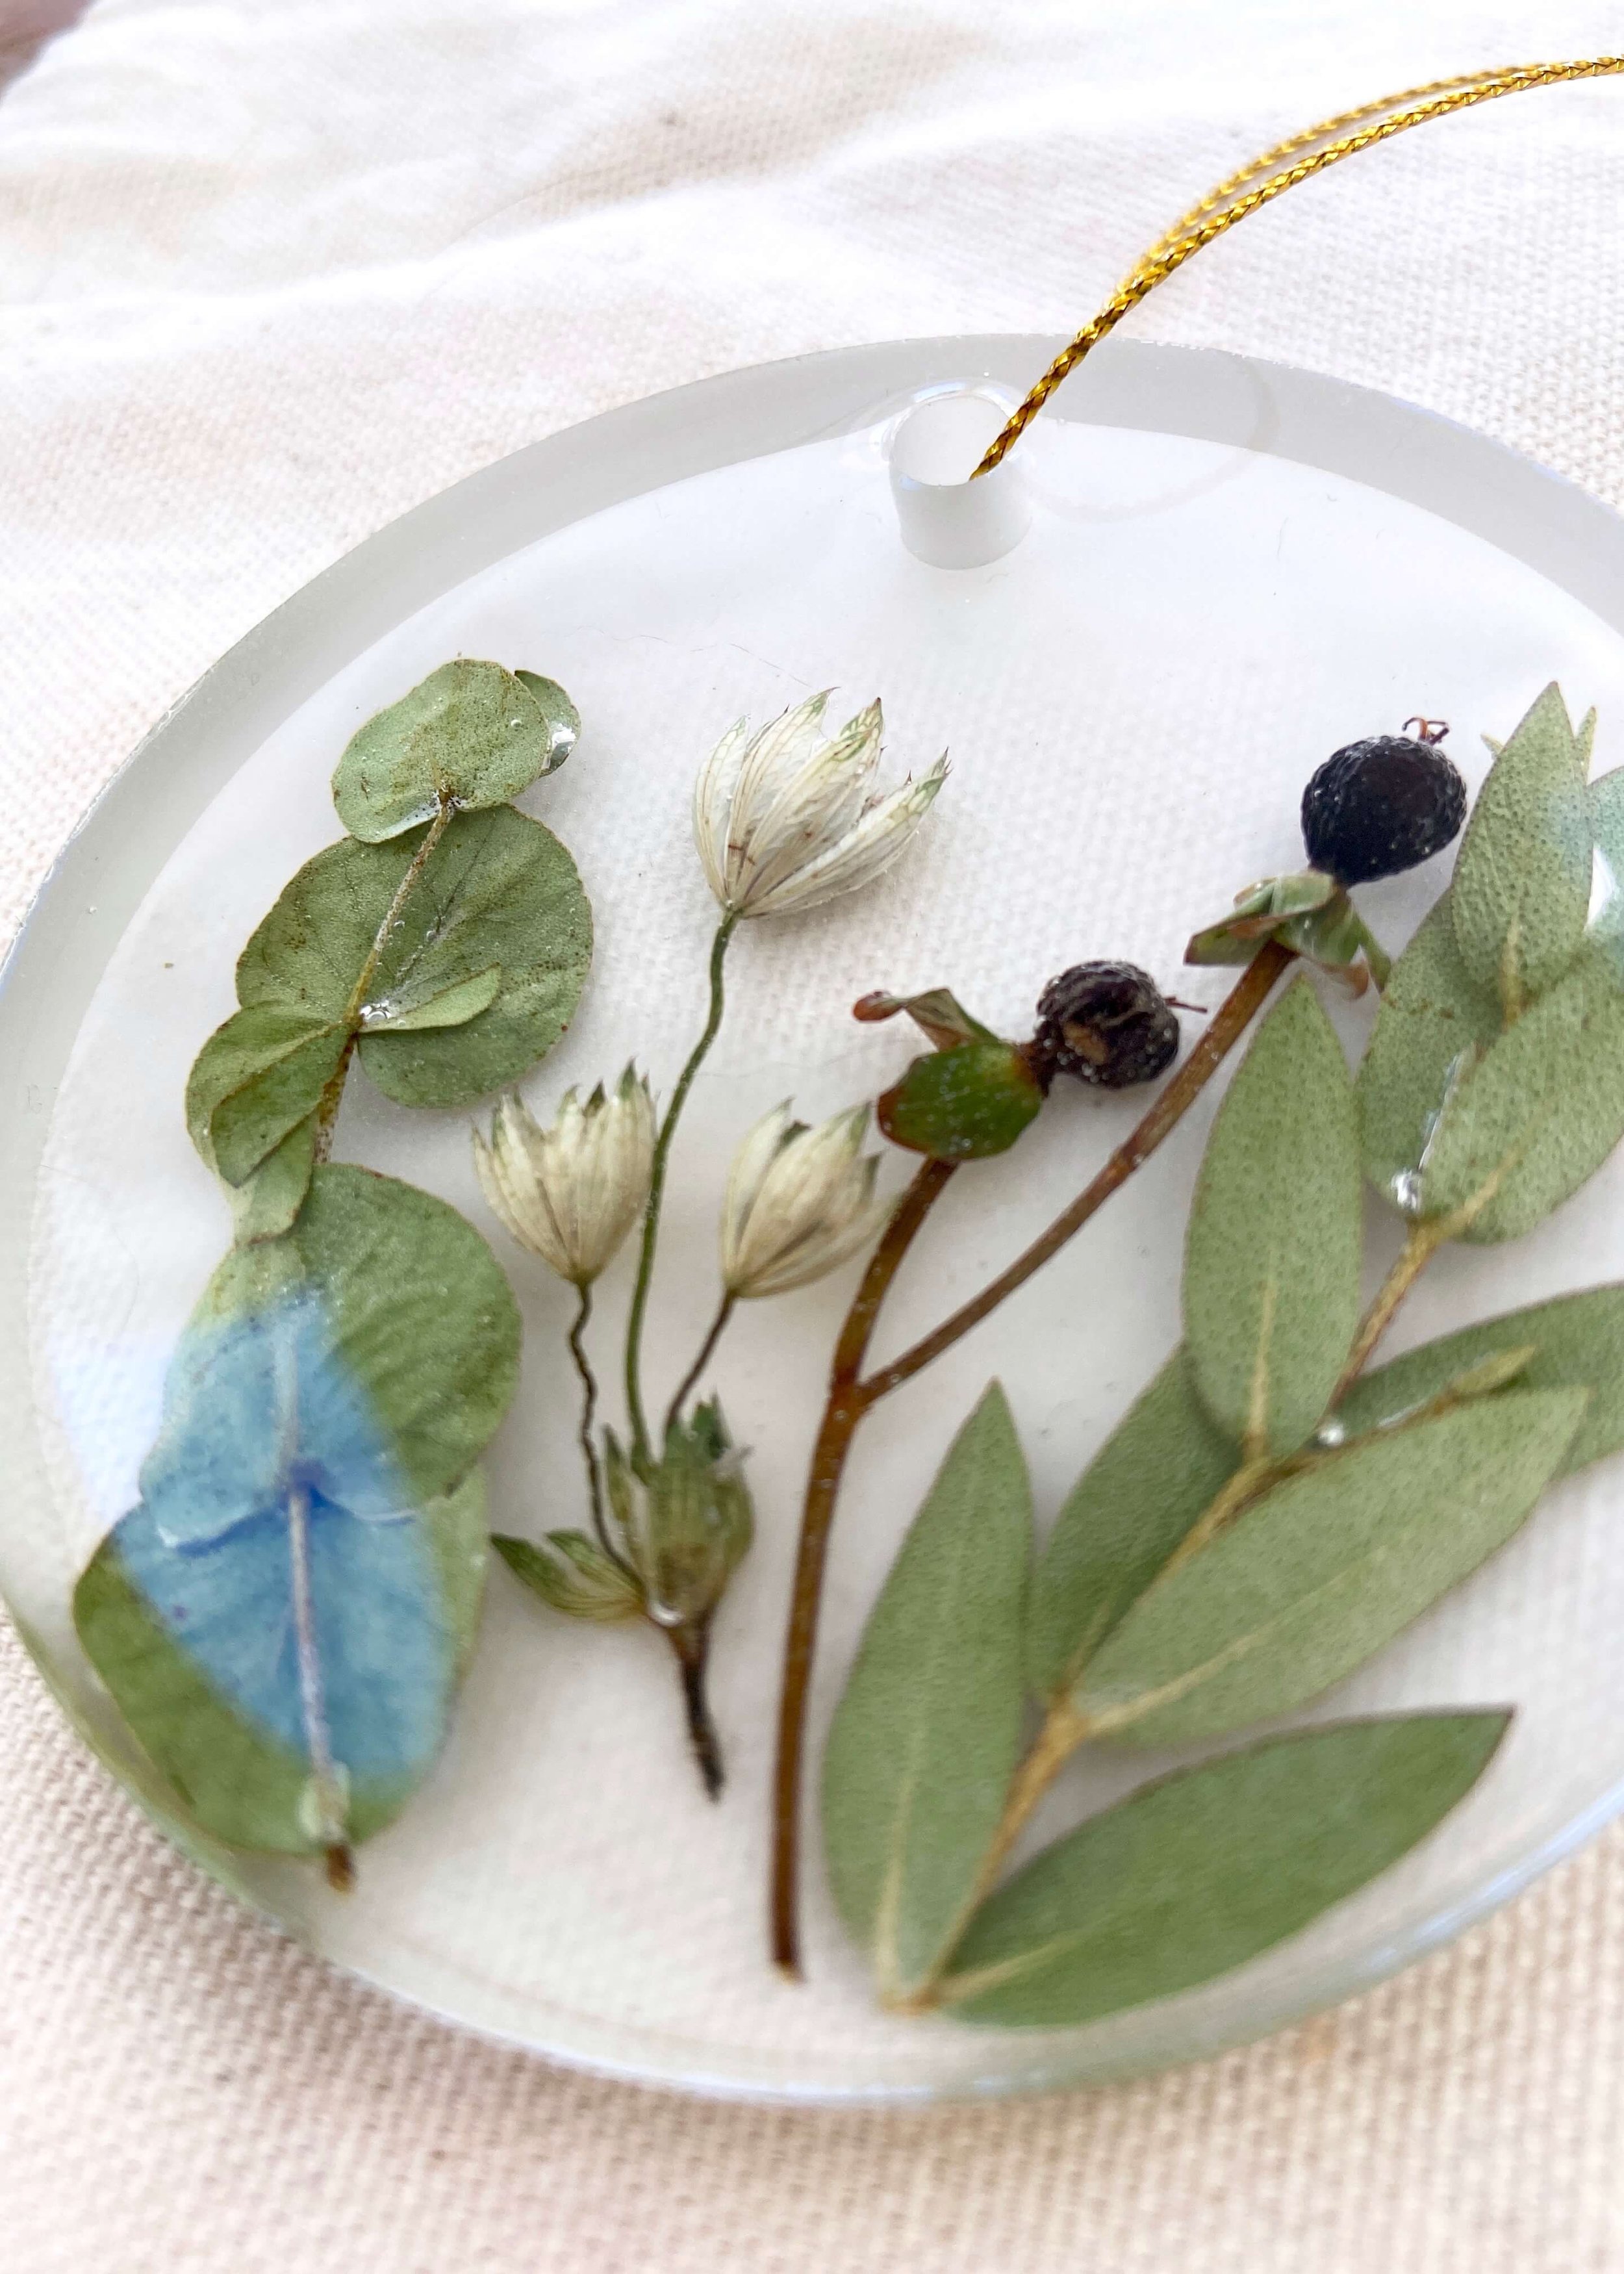
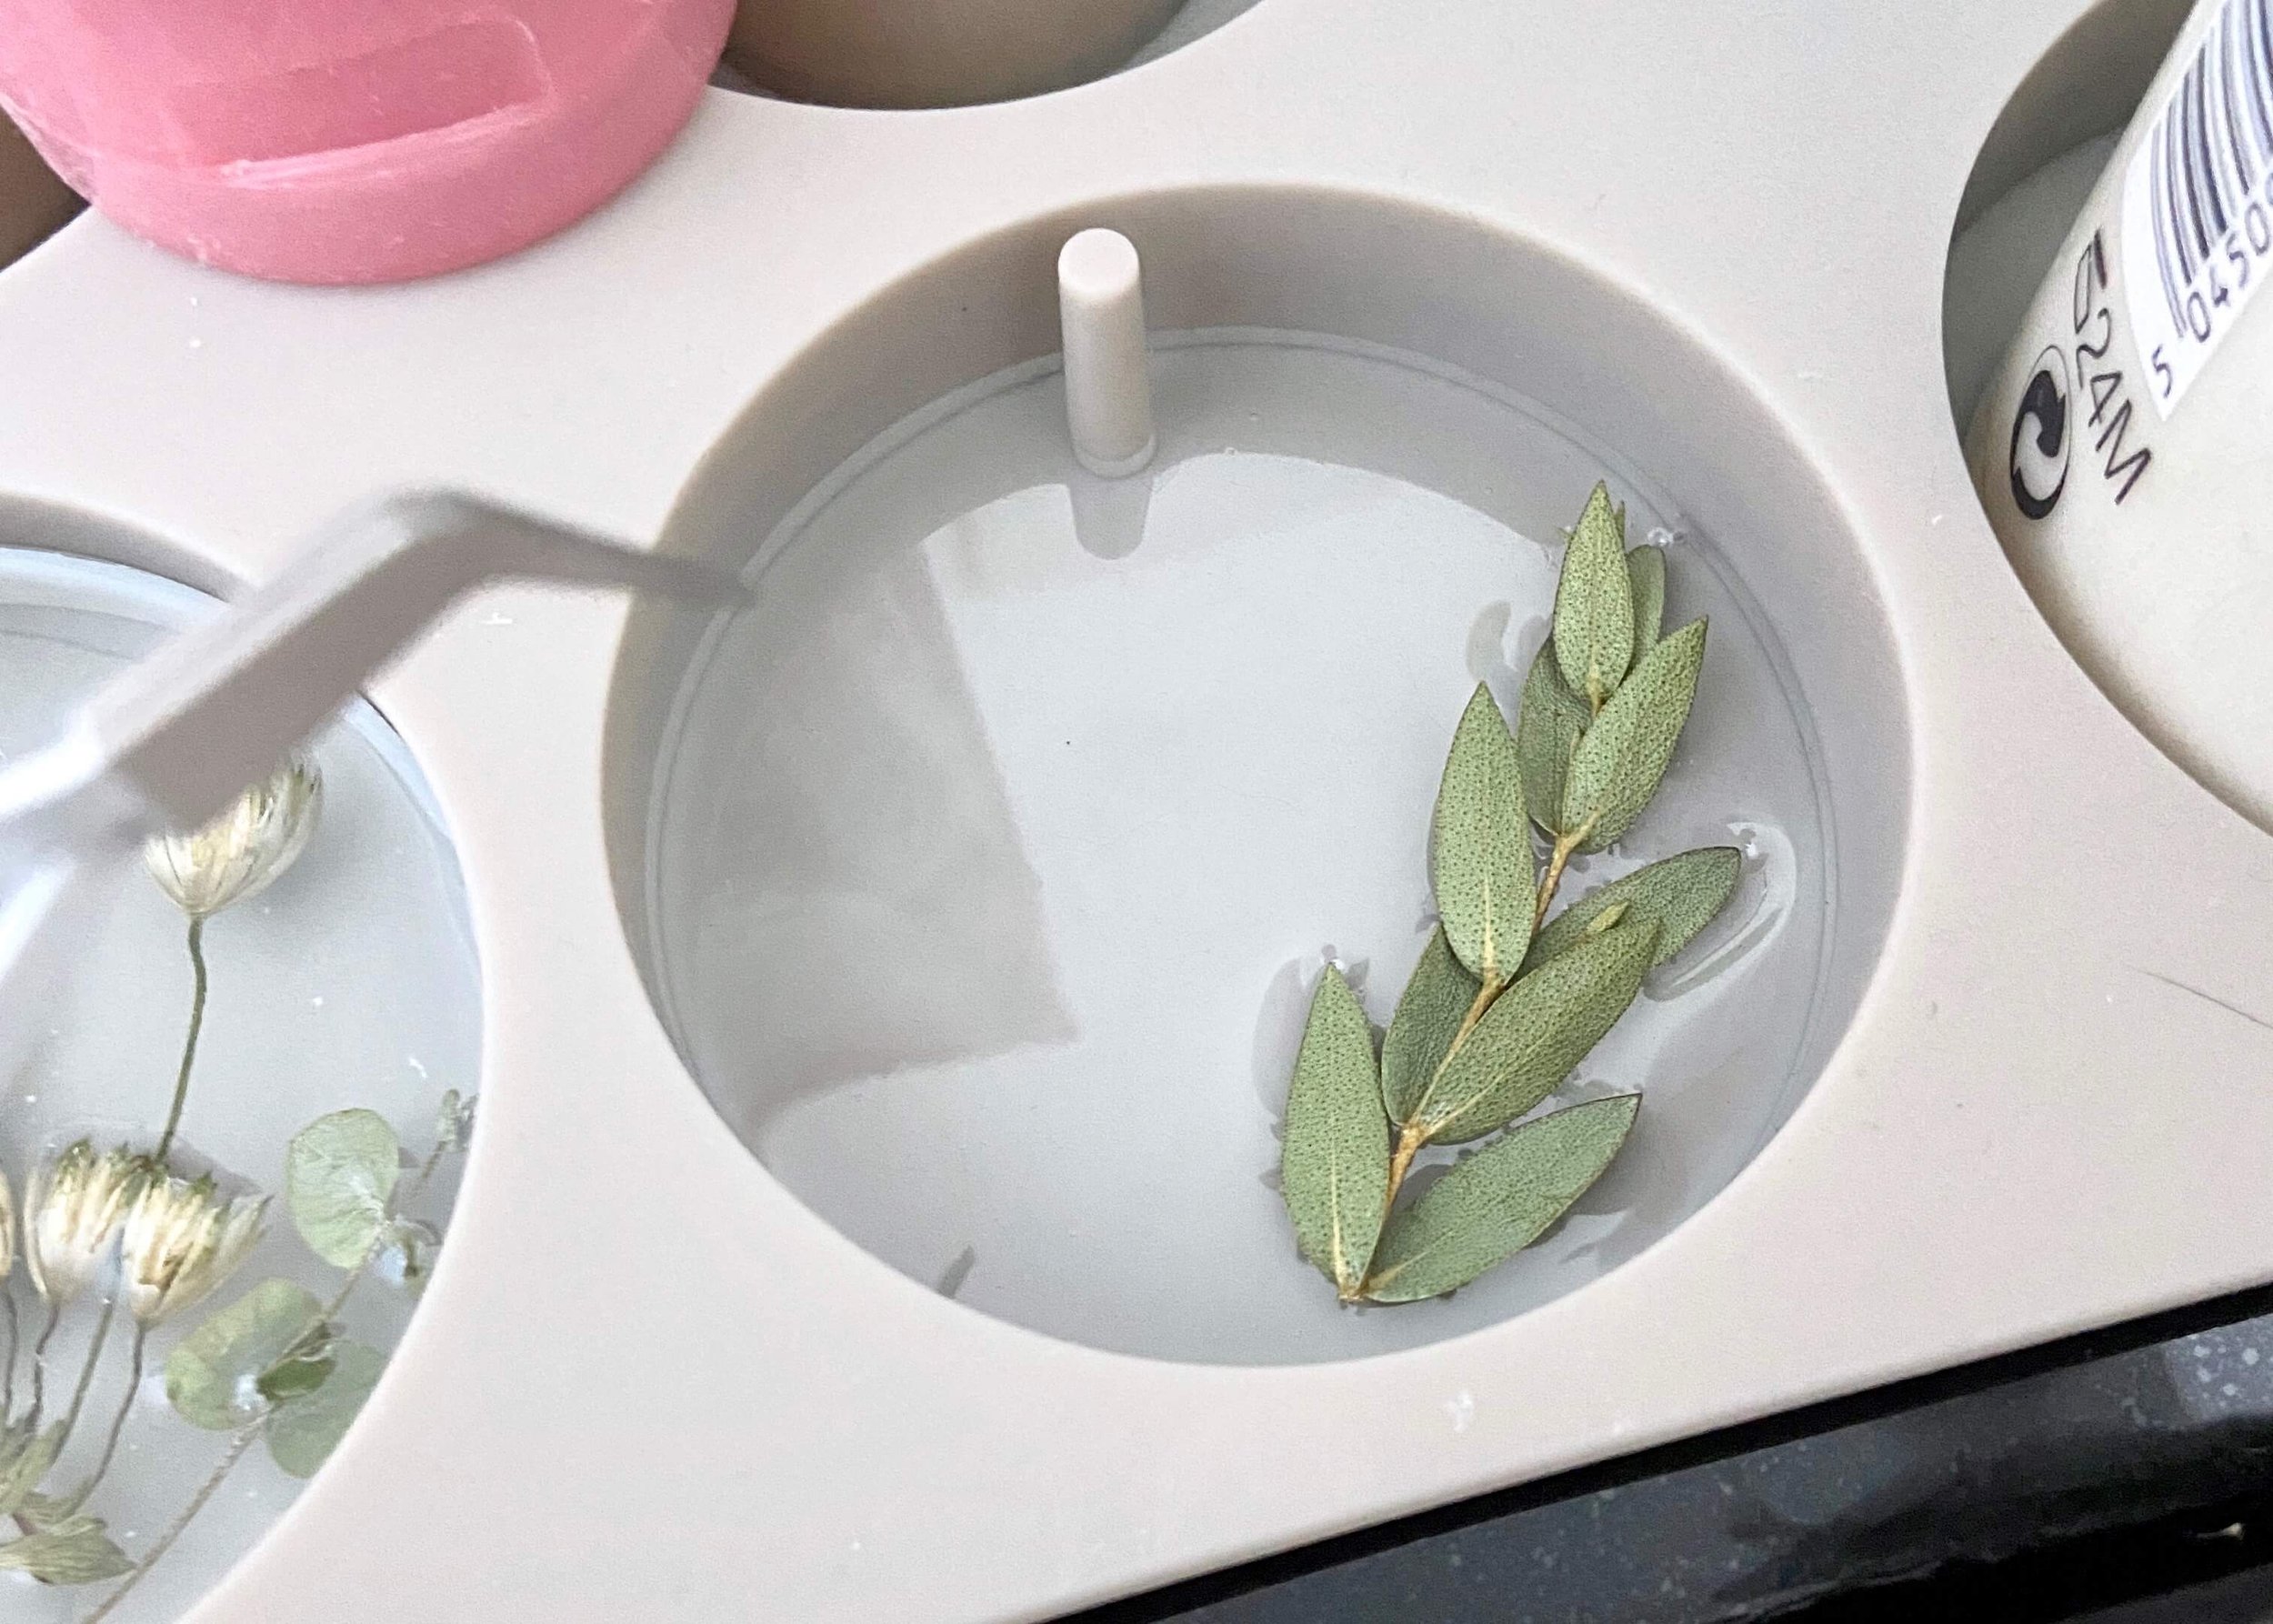
I then poured the resin into my Christmas tree ornament mould and used tweezers to place my dried florals into it.

6.

I left this to dry for 4 hours, and then mixed up another lot of resin (20ml again) as above, and poured this over the partially set resin. If your flowers are chunky, you may need to use more resin to cover them.

7.

Leave this to dry. My instructions said to leave for 24 hours, though it can take up to 7 days for resin to fully cure. After the 24 hours, I removed the resin from the mould and added a metallic gold string to hang it from the Christmas tree with.

…AND THAT’S IT!

this is the alt text
YOU MIGHT ALSO LIKE...
Mushroom Fairy Lights
Dec 16, 2023
Mushroom Fairy Lights
Dec 16, 2023
Dec 16, 2023
3D Plaster Star Ornaments
Dec 9, 2023
3D Plaster Star Ornaments
Dec 9, 2023
Dec 9, 2023
How to Make Christmas Decor with Toilet Rolls
Dec 2, 2023
How to Make Christmas Decor with Toilet Rolls
Dec 2, 2023
Dec 2, 2023
Faux Stone Moon Ornaments
Nov 25, 2023
Faux Stone Moon Ornaments
Nov 25, 2023
Nov 25, 2023
Minimal Christmas Tablescape
Nov 18, 2023
Minimal Christmas Tablescape
Nov 18, 2023
Nov 18, 2023
Snowy Forest Boho Baubles
Nov 11, 2023
Snowy Forest Boho Baubles
Nov 11, 2023
Nov 11, 2023
23 Christmas DIY Ideas
Nov 4, 2023
23 Christmas DIY Ideas
Nov 4, 2023
Nov 4, 2023
Handmade Gift Box
Dec 24, 2022
Handmade Gift Box
Dec 24, 2022
Dec 24, 2022
Slatted Wood Christmas Tree Skirt
Dec 17, 2022
Slatted Wood Christmas Tree Skirt
Dec 17, 2022
Dec 17, 2022
Nordic House Gift Wrapping
Dec 14, 2022
Nordic House Gift Wrapping
Dec 14, 2022
Dec 14, 2022
In DIY Tags home, christmas, wedding
← Minimal Christmas Wreath CushionPatinated Copper Christmas Tree Ornaments →
 

Decorating, DIY-ing and doodling my way through life. Have a look around and let’s get creative!

>> FIND OUT MORE <<

Follow
The office is still one of my favourite transformations in the house! 😍

I started by panelling the wall with MDF strips and then painted the wall with a mix of colours. I used three IKEA drawer units for the base of the desk and then secured the de

ART

DIY

LIFE


THE LATEST

Featured
Wooden Mushroom Decor
Apr 26, 2025
Wooden Mushroom Decor
Apr 26, 2025
Apr 26, 2025
Hand-Painted Floral Mural Arch
Mar 29, 2025
Hand-Painted Floral Mural Arch
Mar 29, 2025
Mar 29, 2025
Easy IKEA Antilop Makeover
Mar 1, 2025
Easy IKEA Antilop Makeover
Mar 1, 2025
Mar 1, 2025
Clay Leaf Shelf
Jun 29, 2024
Clay Leaf Shelf
Jun 29, 2024
Jun 29, 2024
Nursery Feature Wall
Jun 15, 2024
Nursery Feature Wall
Jun 15, 2024
Jun 15, 2024


THE GREATEST

Featured
DIY // IKEA LACK TABLE INDUSTRIAL HACK
Sep 22, 2020
DIY
DIY // IKEA LACK TABLE INDUSTRIAL HACK
Sep 22, 2020
DIY
Sep 22, 2020
DIY
DIY // CLAY ALL-SEEING EYE MIRROR
Aug 14, 2020
DIY
DIY // CLAY ALL-SEEING EYE MIRROR
Aug 14, 2020
DIY
Aug 14, 2020
DIY
DIY // CLAY FACE DISH
Apr 29, 2020
DIY
DIY // CLAY FACE DISH
Apr 29, 2020
DIY
Apr 29, 2020
DIY
DIY // ABSTRACT ART FLORAL EGGS
Mar 25, 2020
DIY
DIY // ABSTRACT ART FLORAL EGGS
Mar 25, 2020
DIY
Mar 25, 2020
DIY
DIY // WIRE FACE EARRINGS
Feb 16, 2020
DIY
DIY // WIRE FACE EARRINGS
Feb 16, 2020
DIY
Feb 16, 2020
DIY

Follow
^^ BACK TO TOP
How does Monday come round so quick?!Wishing I could cosy up here today ✨

#mondaymood #storyofmyhome #mydailyhomesquare #interiordesign #budgetdiy #realstylishhomes #ourdiyhomes #femalediycollective #discoverunder5k #myhousethismonth #myhousedownsou
I&rsquo;ve got the day off today (woop!) and although it&rsquo;s not quite warm enough to sit out here yet, the sun is shining and I think a little walk to blow out the cobwebs is exactly what I need. Hope Monday is treating you well! ☀️

#summerdrea
Had such a lovely day seeing one of my besties and her adorable new baby that I completely forgot to share today&rsquo;s new blog post!

Head over to the blog for all the details of this easy DIY ring dish 🔝✨

#diy #diyhomedecor #diyhome #diyvalenti
That sunshine 👌🏻☀️

#mycosyhome #livingroomdecor #livingroominspo #mydiymydecor #homeobsessed #lovemydecor #homeinterioruk #discoverunder5k #diyhome #diyhomedecor #myhousethismonth #myhousedownsouth #realstylishhomes #ourdiyhomes #happythursday #in
A little corner our home on this chilly Tuesday morning ✨
.
.
#interior #homeobsessed #mycosyhome #homeinterioruk #instadecorating #homesofinstagram #happymonday #mondaymotivation #instainteriors #cornersofmyhome #myhousethismonth #myhousedownsouth #

Copyright 2021 isoscella. All rights reserved.

Powered by Squarespace