• ABOUT ME
    • PRIVACY POLICY
  • COLLABORATE
  • BLOG
    • ART
    • WEDDING
    • LIBRARY
    • DECOR
    • JEWELLERY
    • STATIONARY
    • NAIL ART
    • BAKING
    • CHRISTMAS
    • EASTER
    • ART PRINTS
    • WEDDING STATIONARY
  • CONTACT
Menu

ISOSCELLA

Street Address
City, State, Zip
Phone Number

Your Custom Text Here

ISOSCELLA

  • ABOUT
    • ABOUT ME
    • PRIVACY POLICY
  • COLLABORATE
  • BLOG
  • ART
    • ART
    • WEDDING
    • LIBRARY
  • DIY
    • DECOR
    • JEWELLERY
    • STATIONARY
    • NAIL ART
    • BAKING
    • CHRISTMAS
    • EASTER
  • SHOP
    • ART PRINTS
    • WEDDING STATIONARY
  • CONTACT

H&M-Inspired Standing Christmas Tree

November 27, 2021 Isoscella M

Recycle those cardboard boxes into a textured standing Christmas tree decoration!

Everything seems to come in cardboard boxes at Christmas, so why not make good use of them and turn what would otherwise be rubbish into chic Christmas decor. H&M have some really lovely scandi inspired decorations this year, and one of the pieces that caught my eye immediately, was this metal tree table decoration. Unfortunately it was sold out when I spotted it, but with all the cardboard I have in my house at the moment, I grabbed my craft knife and made my own textured version. I like to keep my decor pretty neutral however you could paint this any colour you wanted or even spray it with a metallic spray paint to achieve a look a bit closer to the original. If you fancy making one yourself, keep reading for the step by step instructions!

Cardboard

Craft knife

Air-dry clay

Baking Powder

Paint

1.

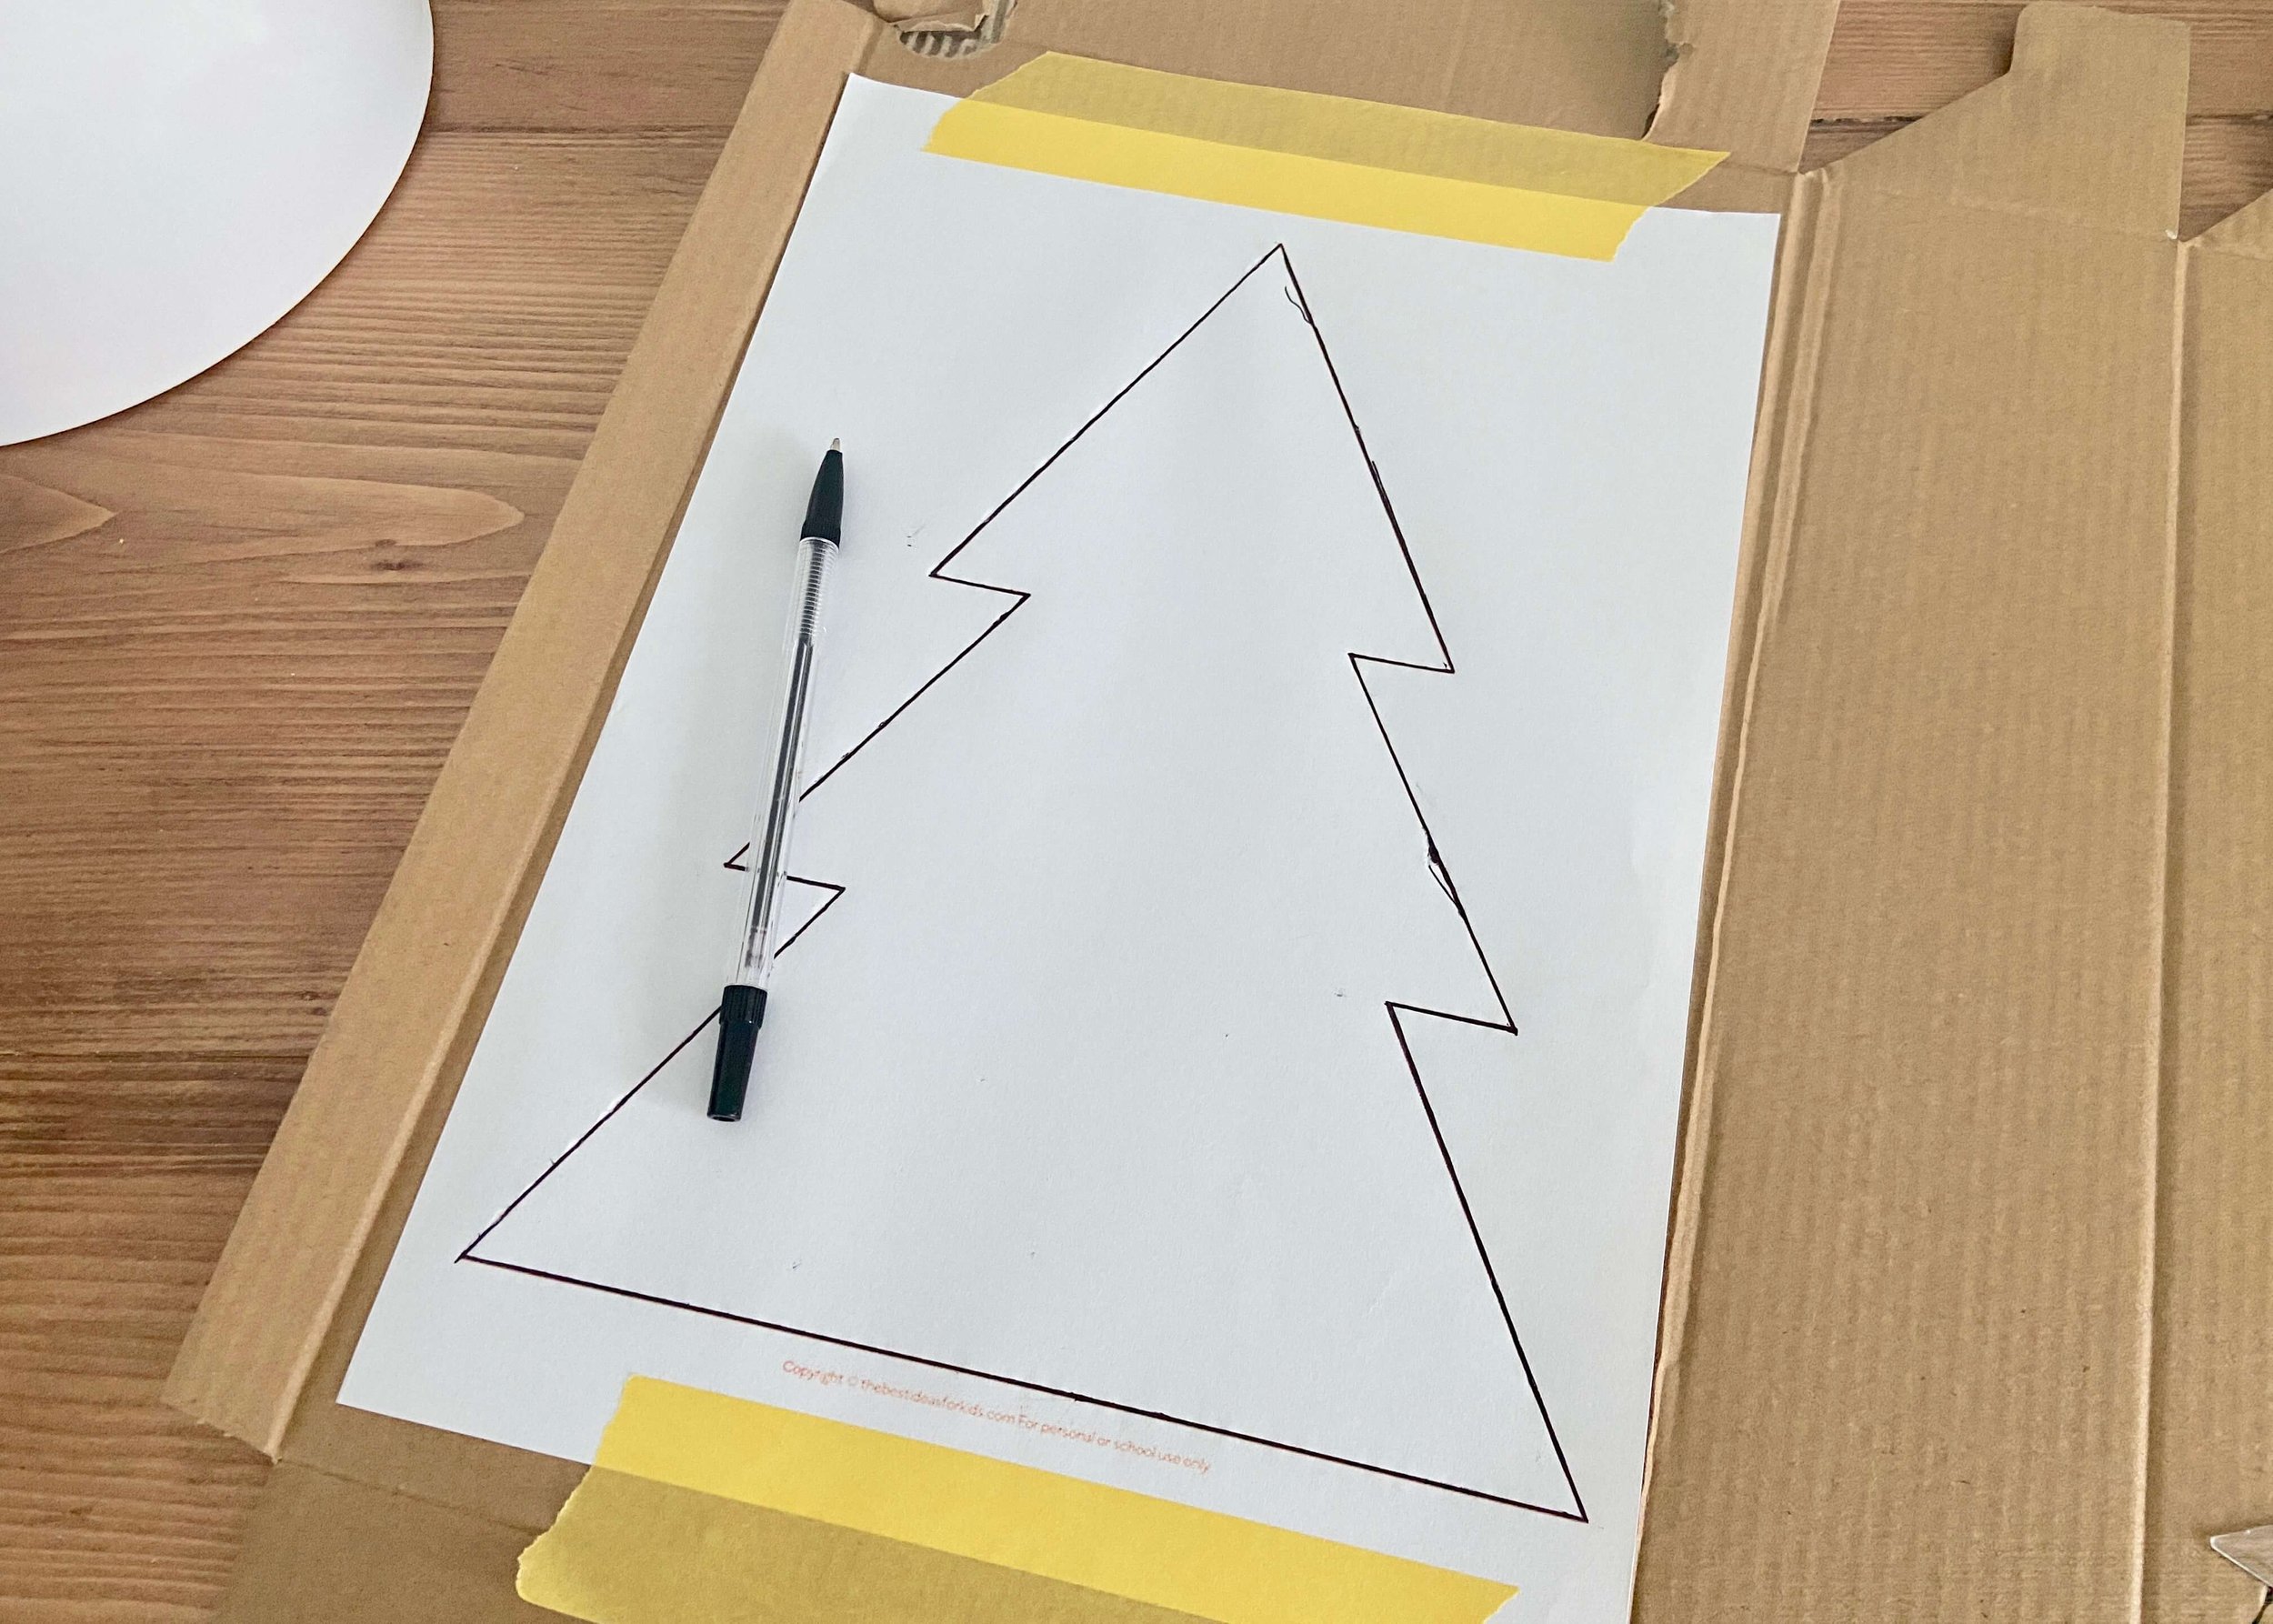
First of all, find a tree shape that you like in Google images and print this out full size on a sheet of A4 paper.

2.

Lay this over the top of your cardboard, and secure it in place with tape. Using a ruler and pen, draw over all the lines, pressing hard enough that it leaves an imprint on the cardboard underneath.

3.

Go over this imprint with the pen and ruler so that it is nice and clear to see.

4.

Cut out this tree shape using a ruler and a craft or stanley knife. Be sure to place your cardboard on top of a mat or chopping board so that you don’t damage your table underneath. Repeat steps 1-4 to make another identical tree shape.

5.

On both shapes, find the middle point, both height and width wise. Mark this, and on one shape draw a line from this down to the bottom, and on the other draw a line from this up to the top. Measure the depth of your cardboard, and widen these lines so that they are the same width as the depth of the cardboard.

6.

Cut these centre lines out, ensuring that they are the same width as the depth of your cardboard shapes.

8.

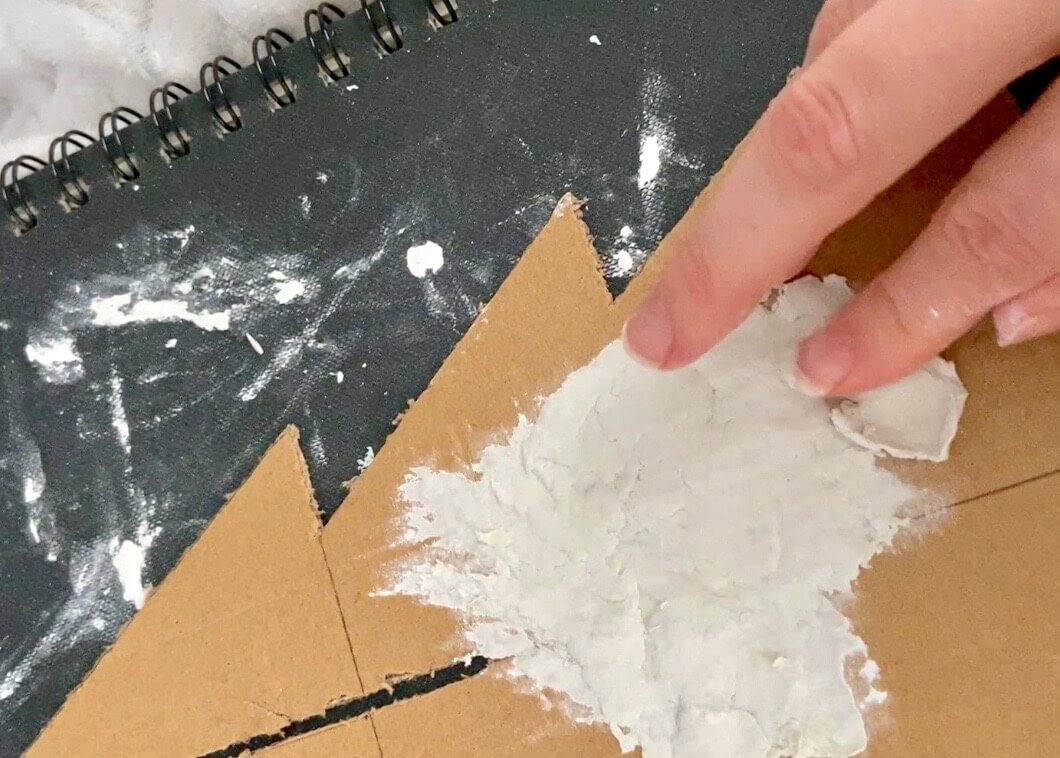
Use air-dry clay to add texture and to reinforce the edges of the cardboard. I found the easiest way to get the clay to stick was to take small pinches of clay and press, then spread these on top of the cardboard. Leave these to dry with some weights on the edges so that the cardboard doesn’t curl.

9.

I have to admit that in the end I didn’t cover the whole thing in clay, only really where it needed reinforcing or where the edges needed ‘blocking off’ as such. I then assembled it by sliding the piece with the cut at the bottom down into the piece with the cut in the top, and painted it in a mixture of baking powder and paint. Leave it to thoroughly dry, and if you find your cardboard bending, stand it up and place bottles in between.

…AND THAT’S IT!

YOU MIGHT ALSO LIKE...
Mushroom Fairy Lights
Dec 16, 2023
Mushroom Fairy Lights
Dec 16, 2023
Dec 16, 2023
3D Plaster Star Ornaments
Dec 9, 2023
3D Plaster Star Ornaments
Dec 9, 2023
Dec 9, 2023
How to Make Christmas Decor with Toilet Rolls
Dec 2, 2023
How to Make Christmas Decor with Toilet Rolls
Dec 2, 2023
Dec 2, 2023
Faux Stone Moon Ornaments
Nov 25, 2023
Faux Stone Moon Ornaments
Nov 25, 2023
Nov 25, 2023
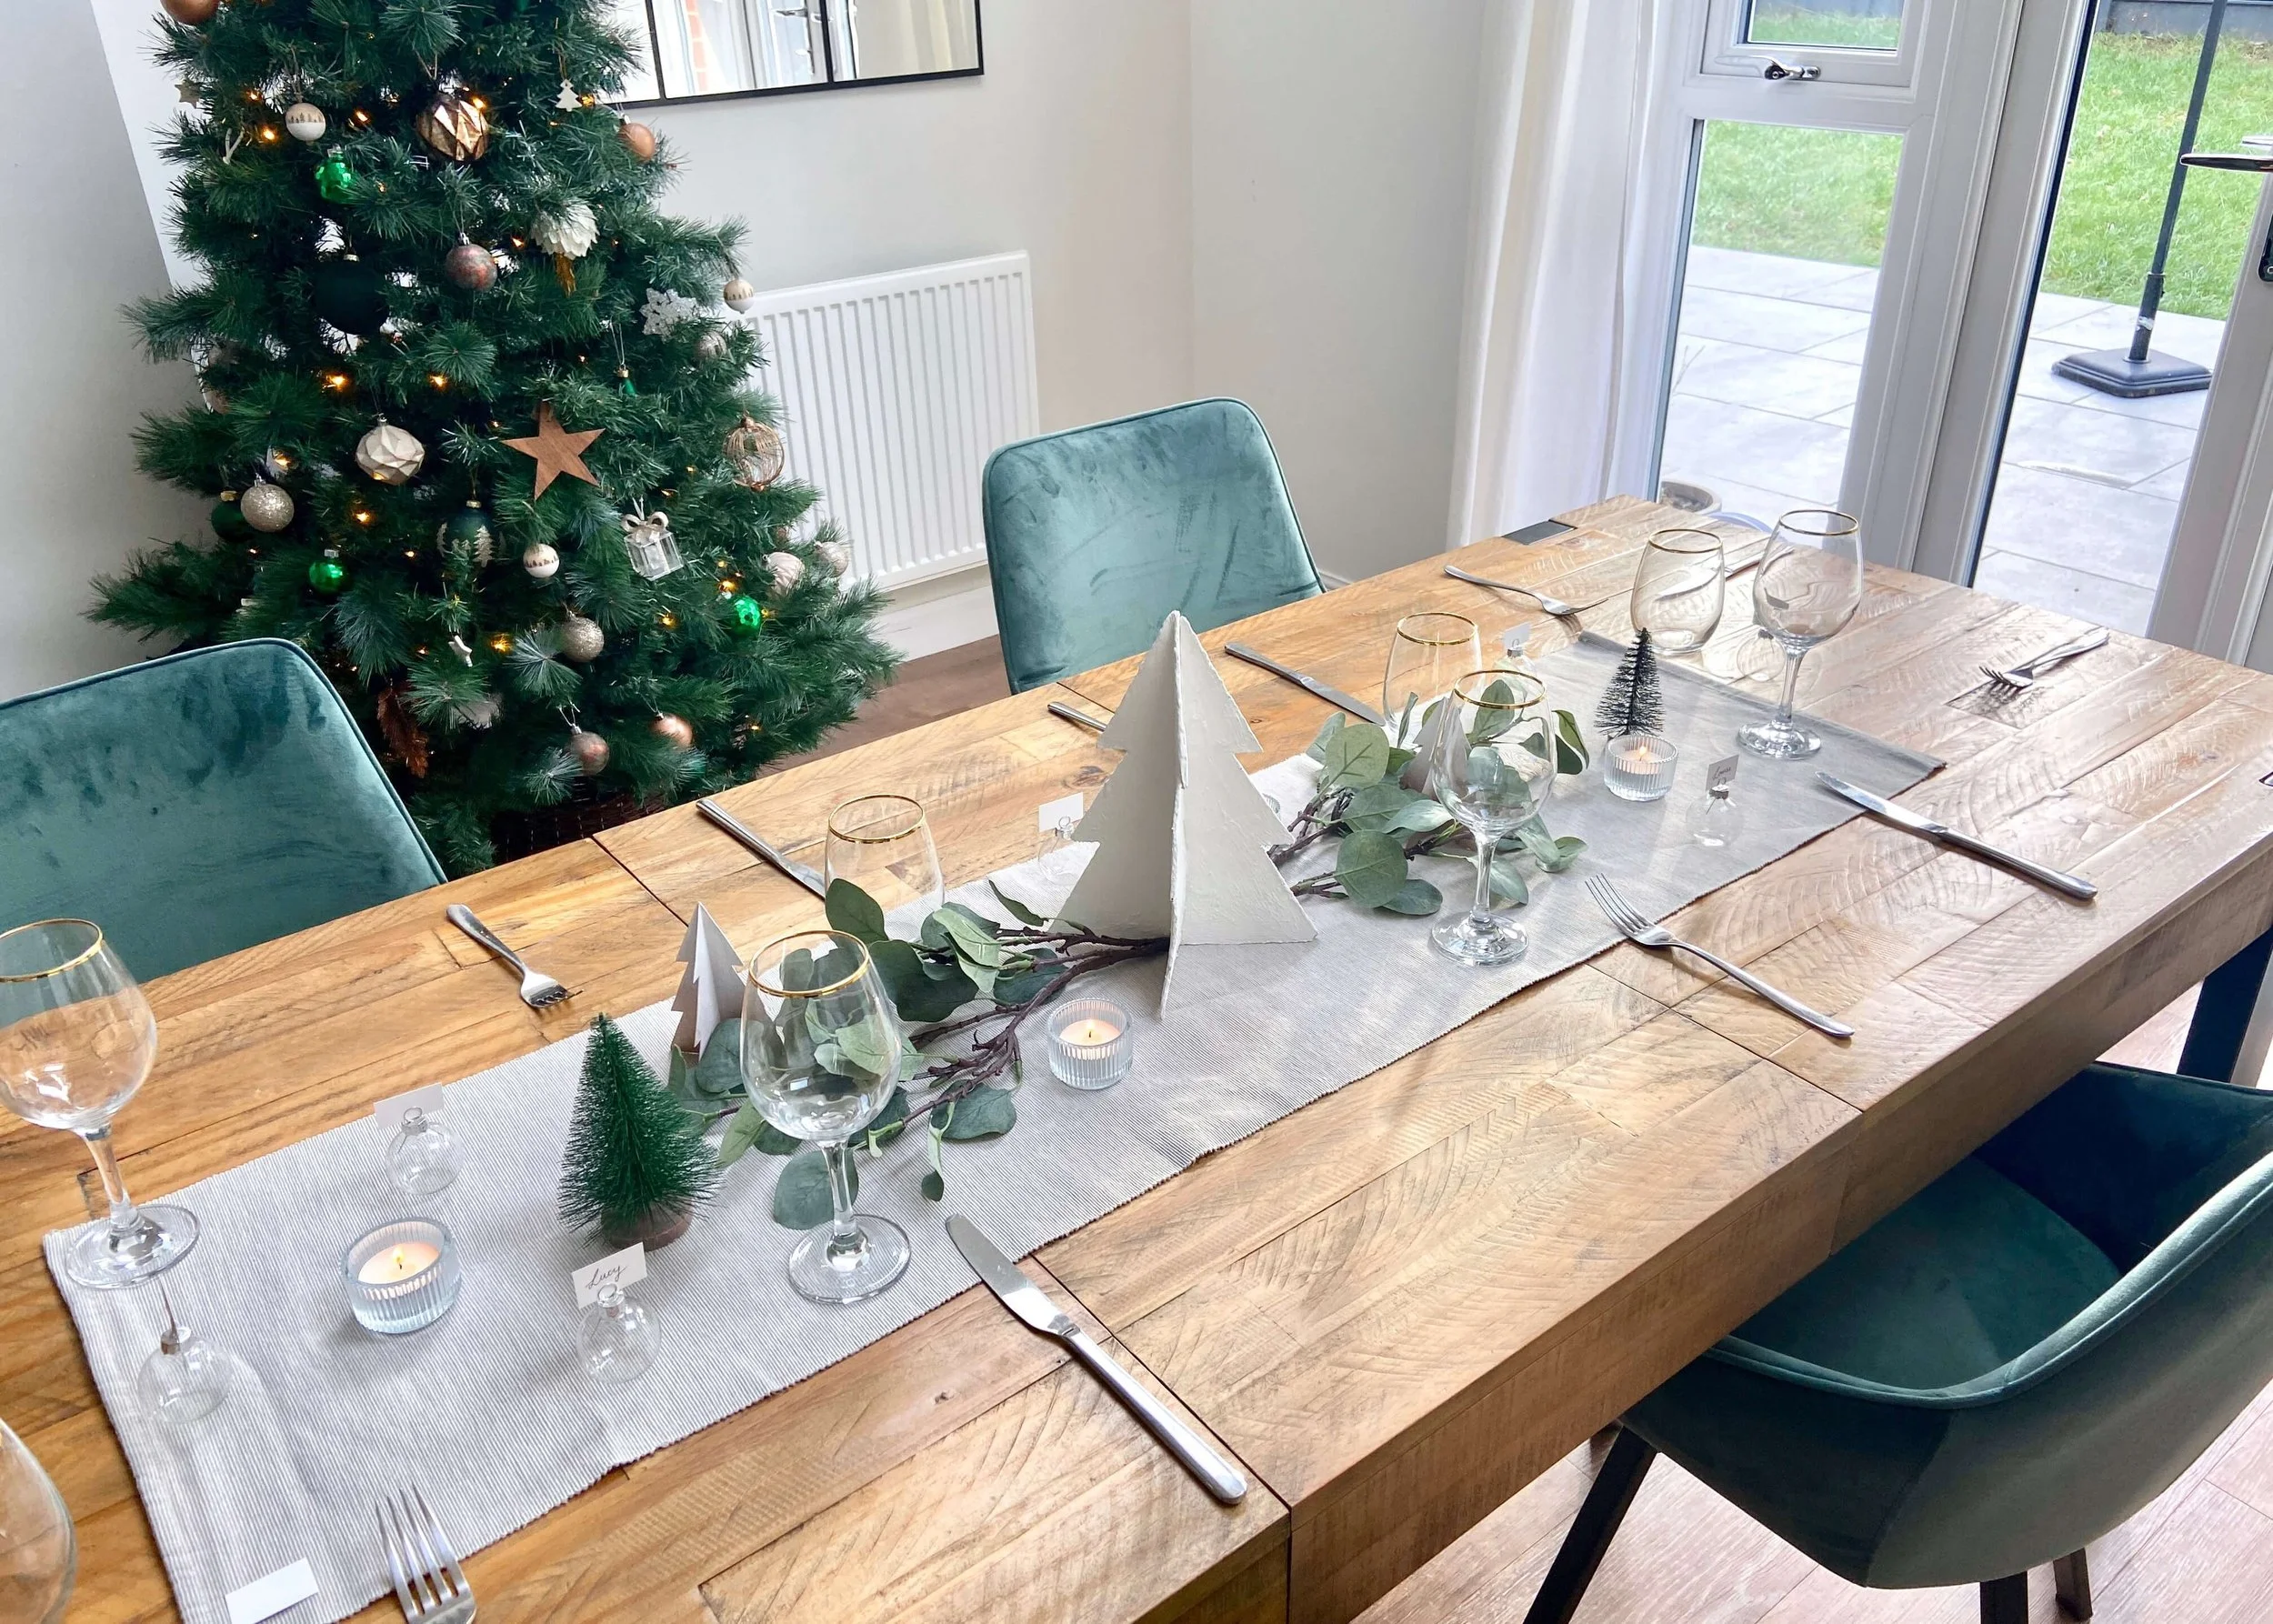
Minimal Christmas Tablescape
Nov 18, 2023
Minimal Christmas Tablescape
Nov 18, 2023
Nov 18, 2023
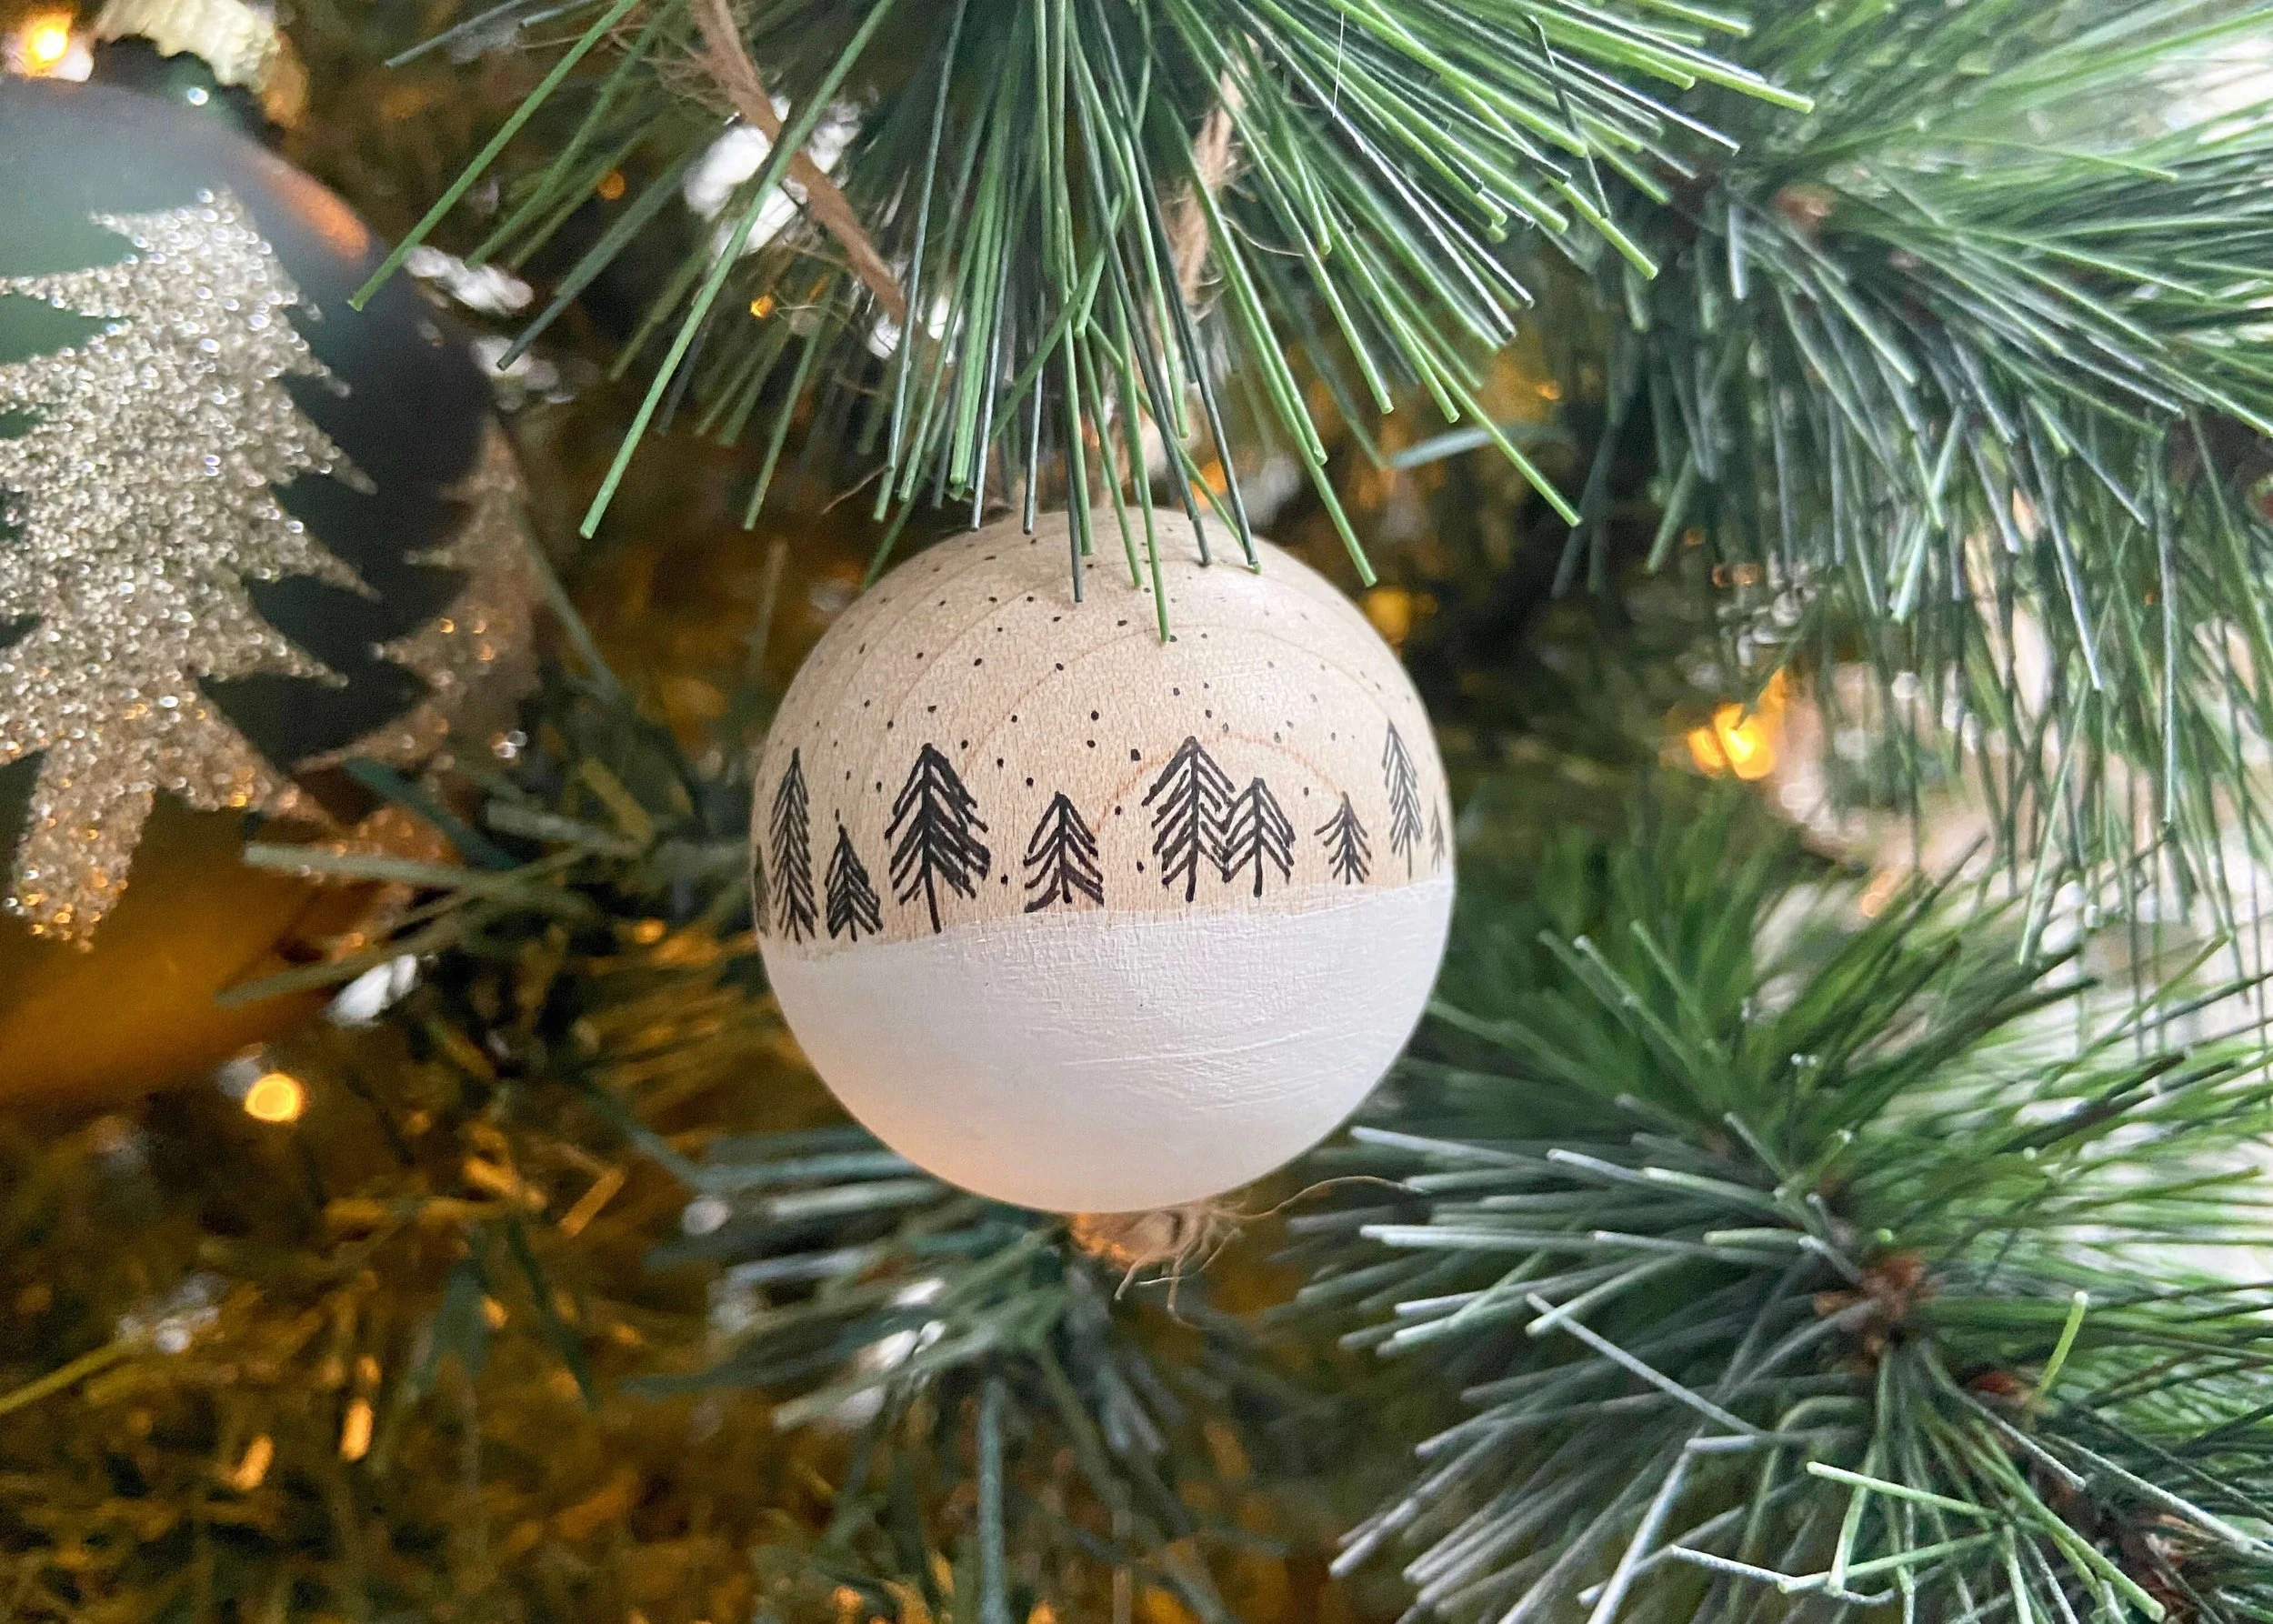
Snowy Forest Boho Baubles
Nov 11, 2023
Snowy Forest Boho Baubles
Nov 11, 2023
Nov 11, 2023
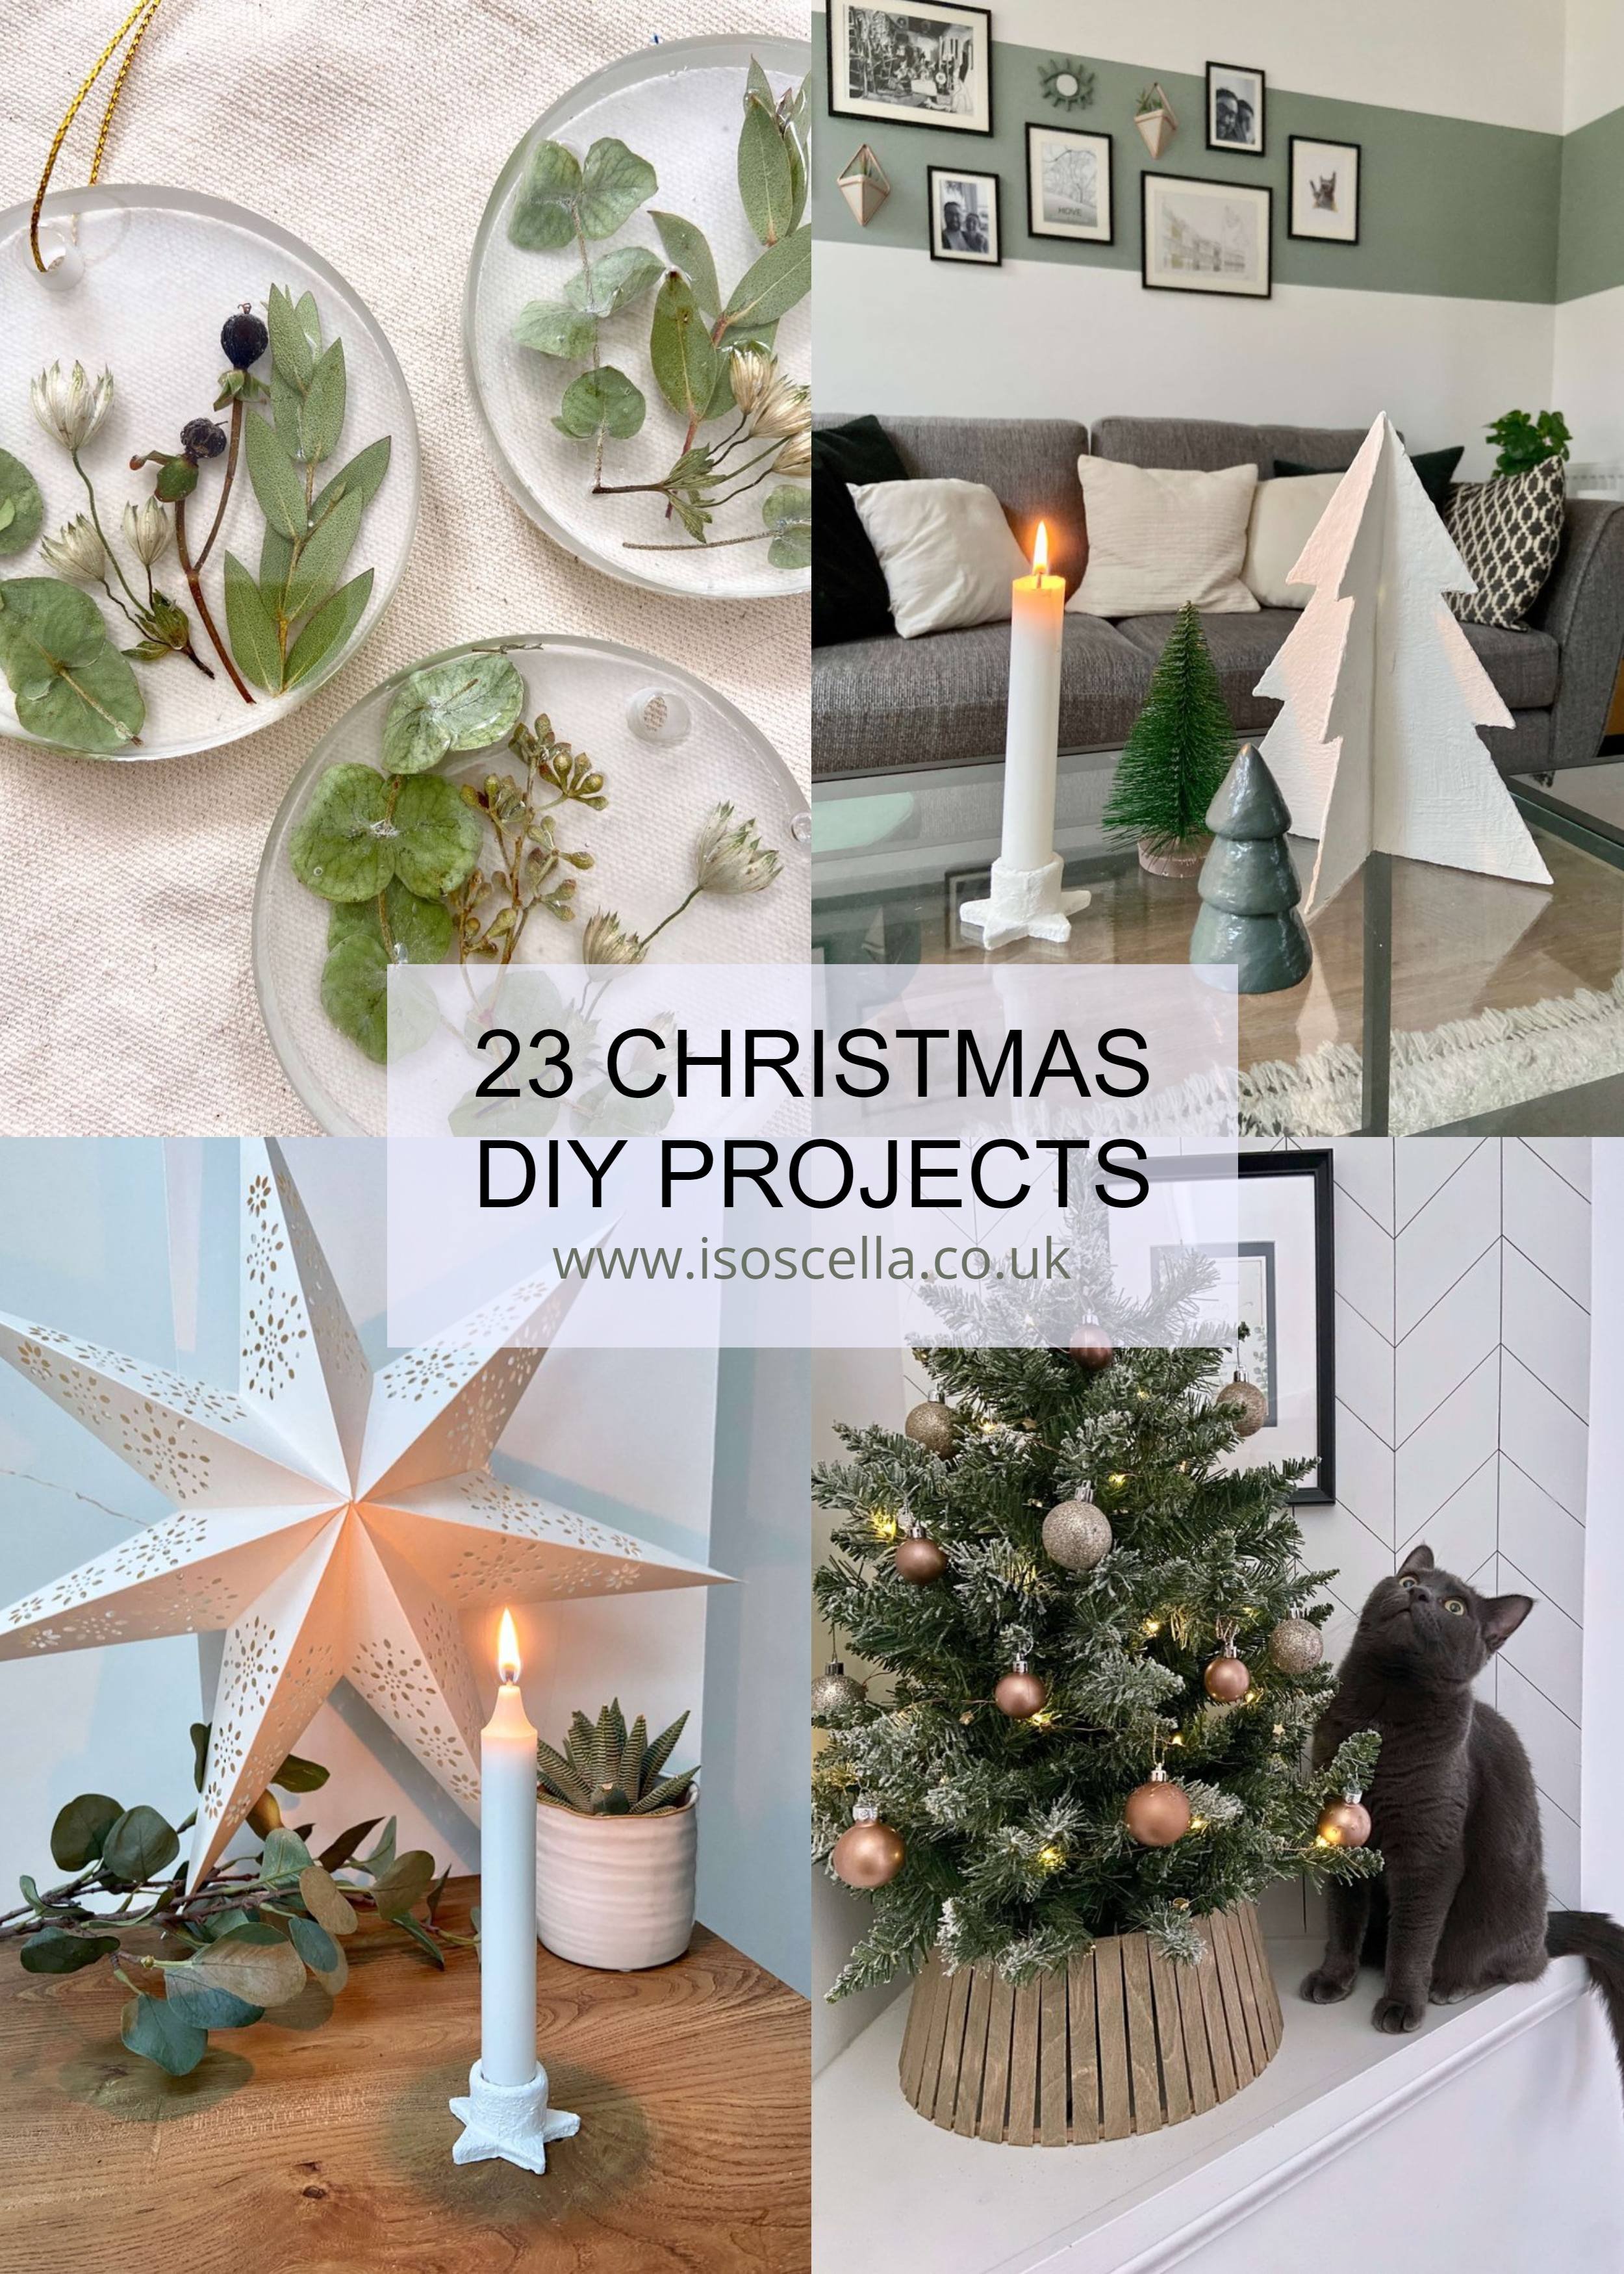
23 Christmas DIY Ideas
Nov 4, 2023
23 Christmas DIY Ideas
Nov 4, 2023
Nov 4, 2023
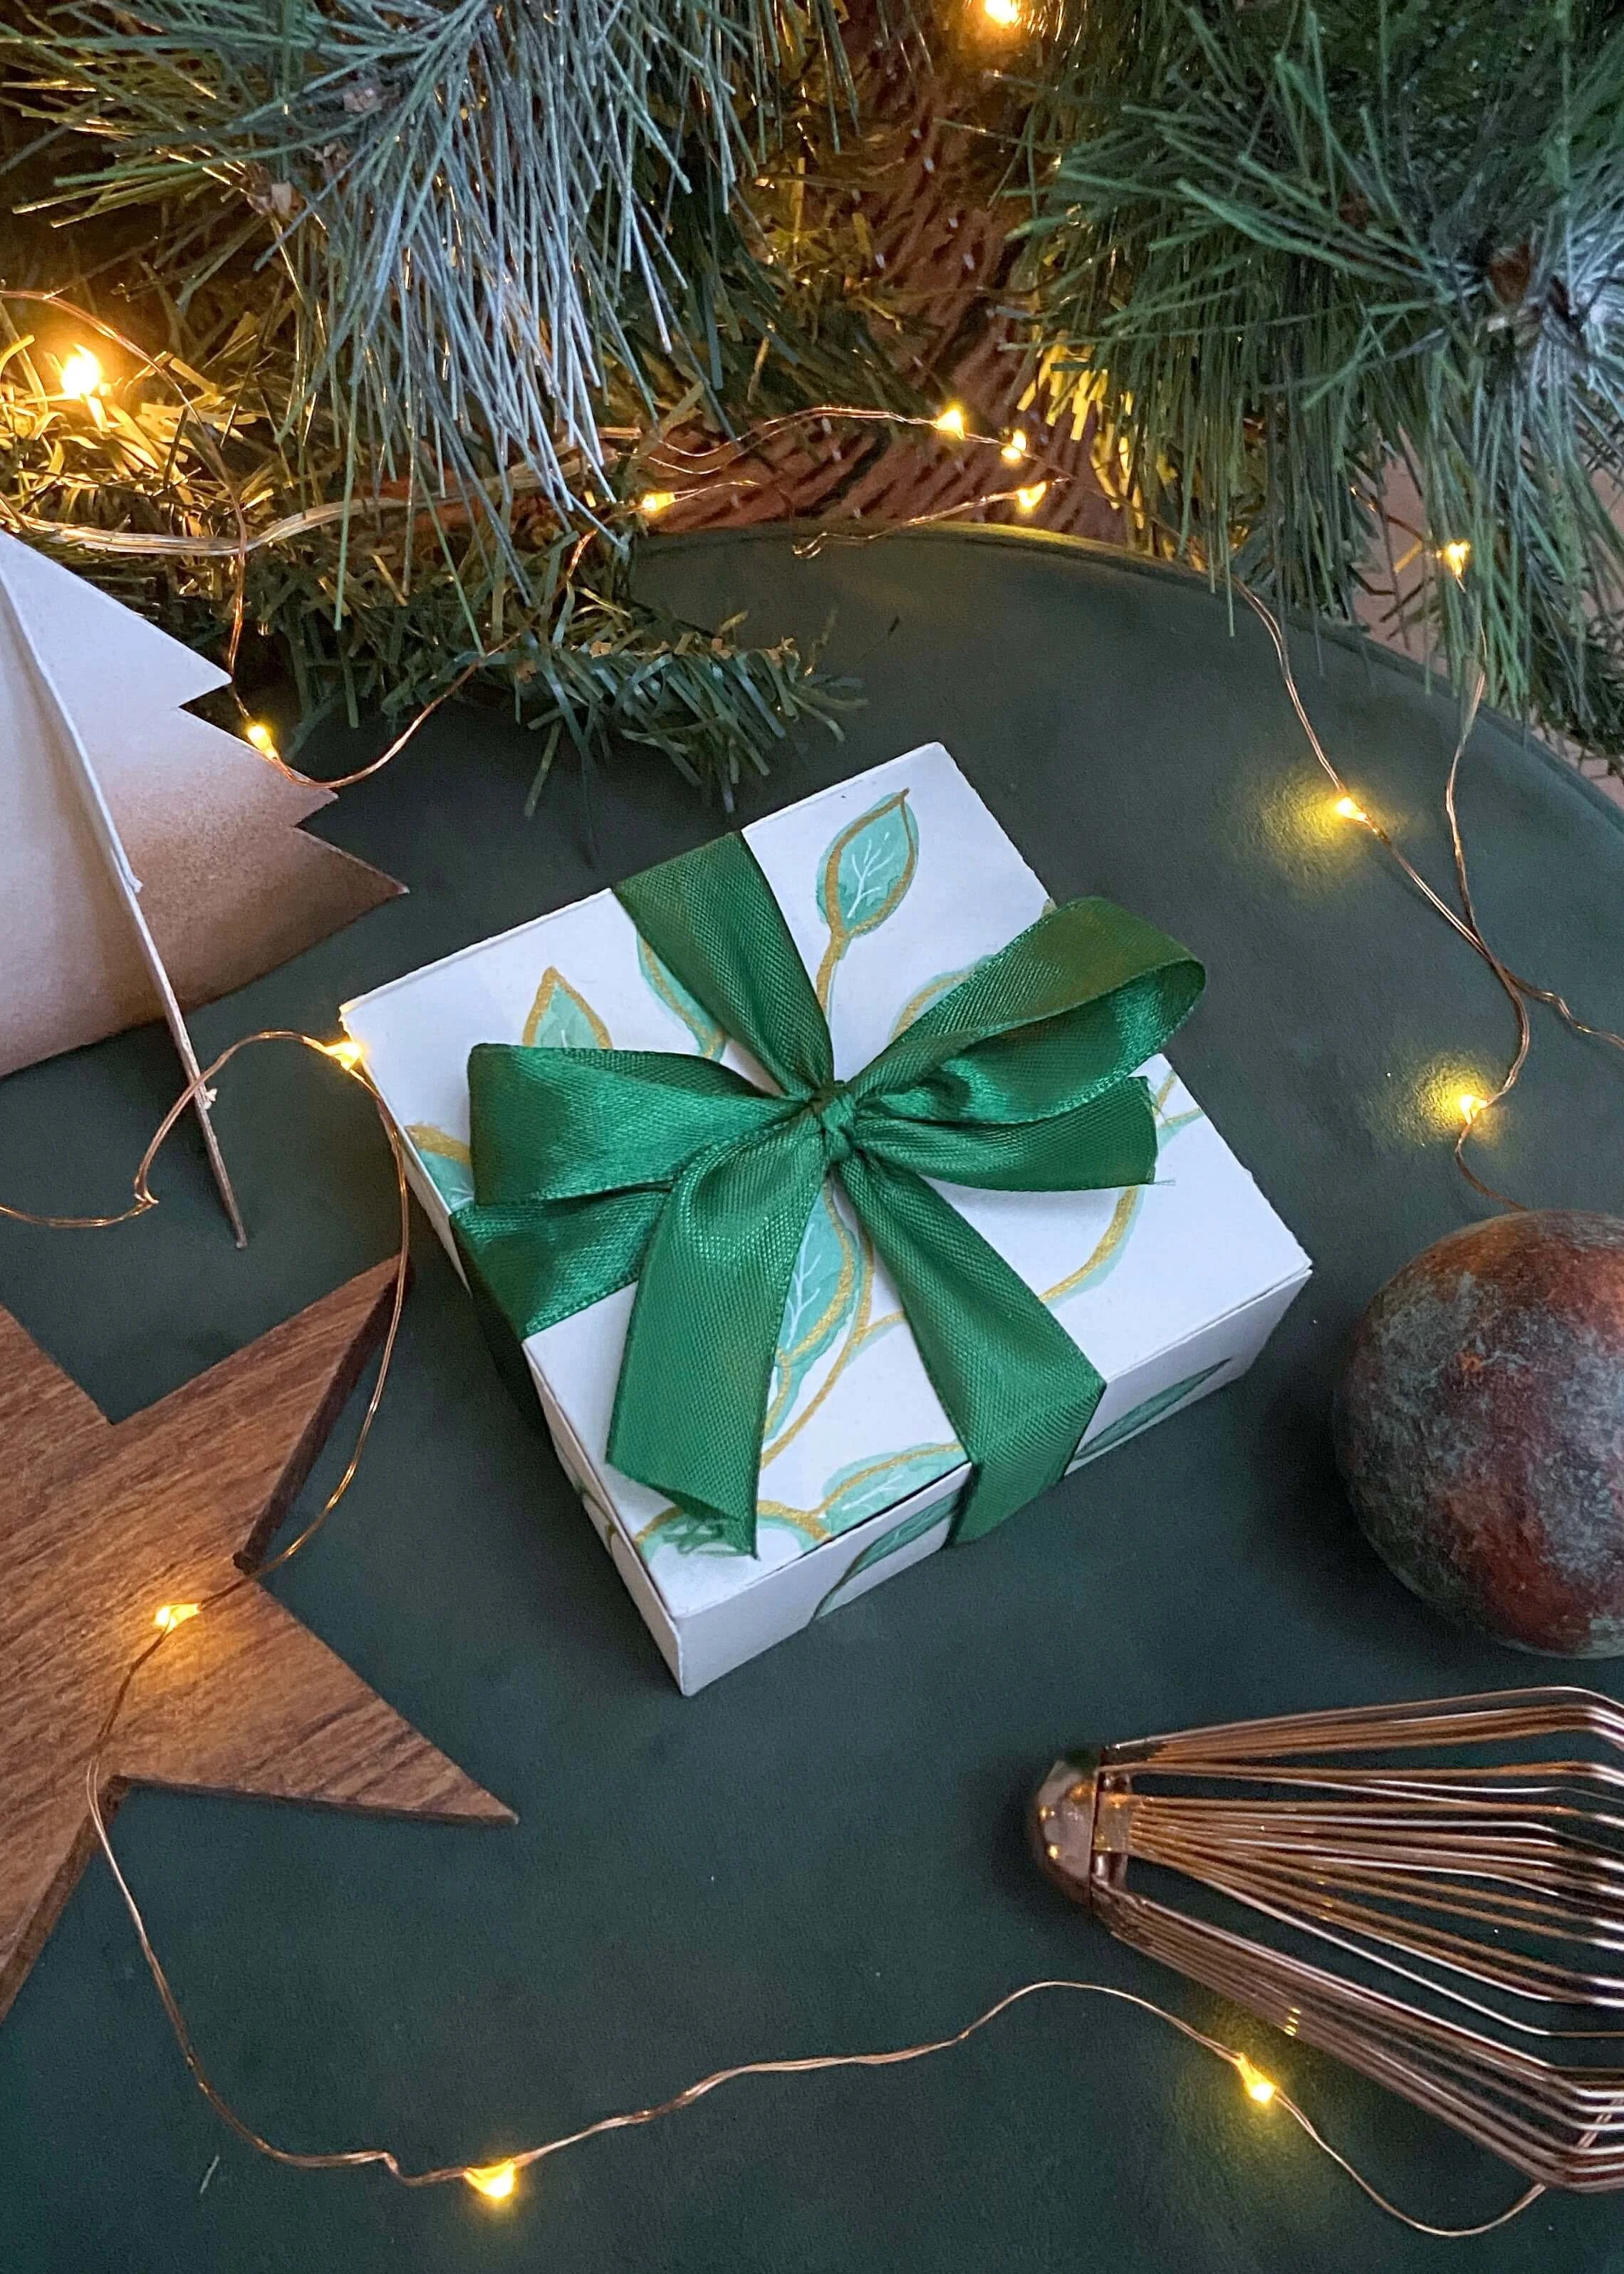
Handmade Gift Box
Dec 24, 2022
Handmade Gift Box
Dec 24, 2022
Dec 24, 2022
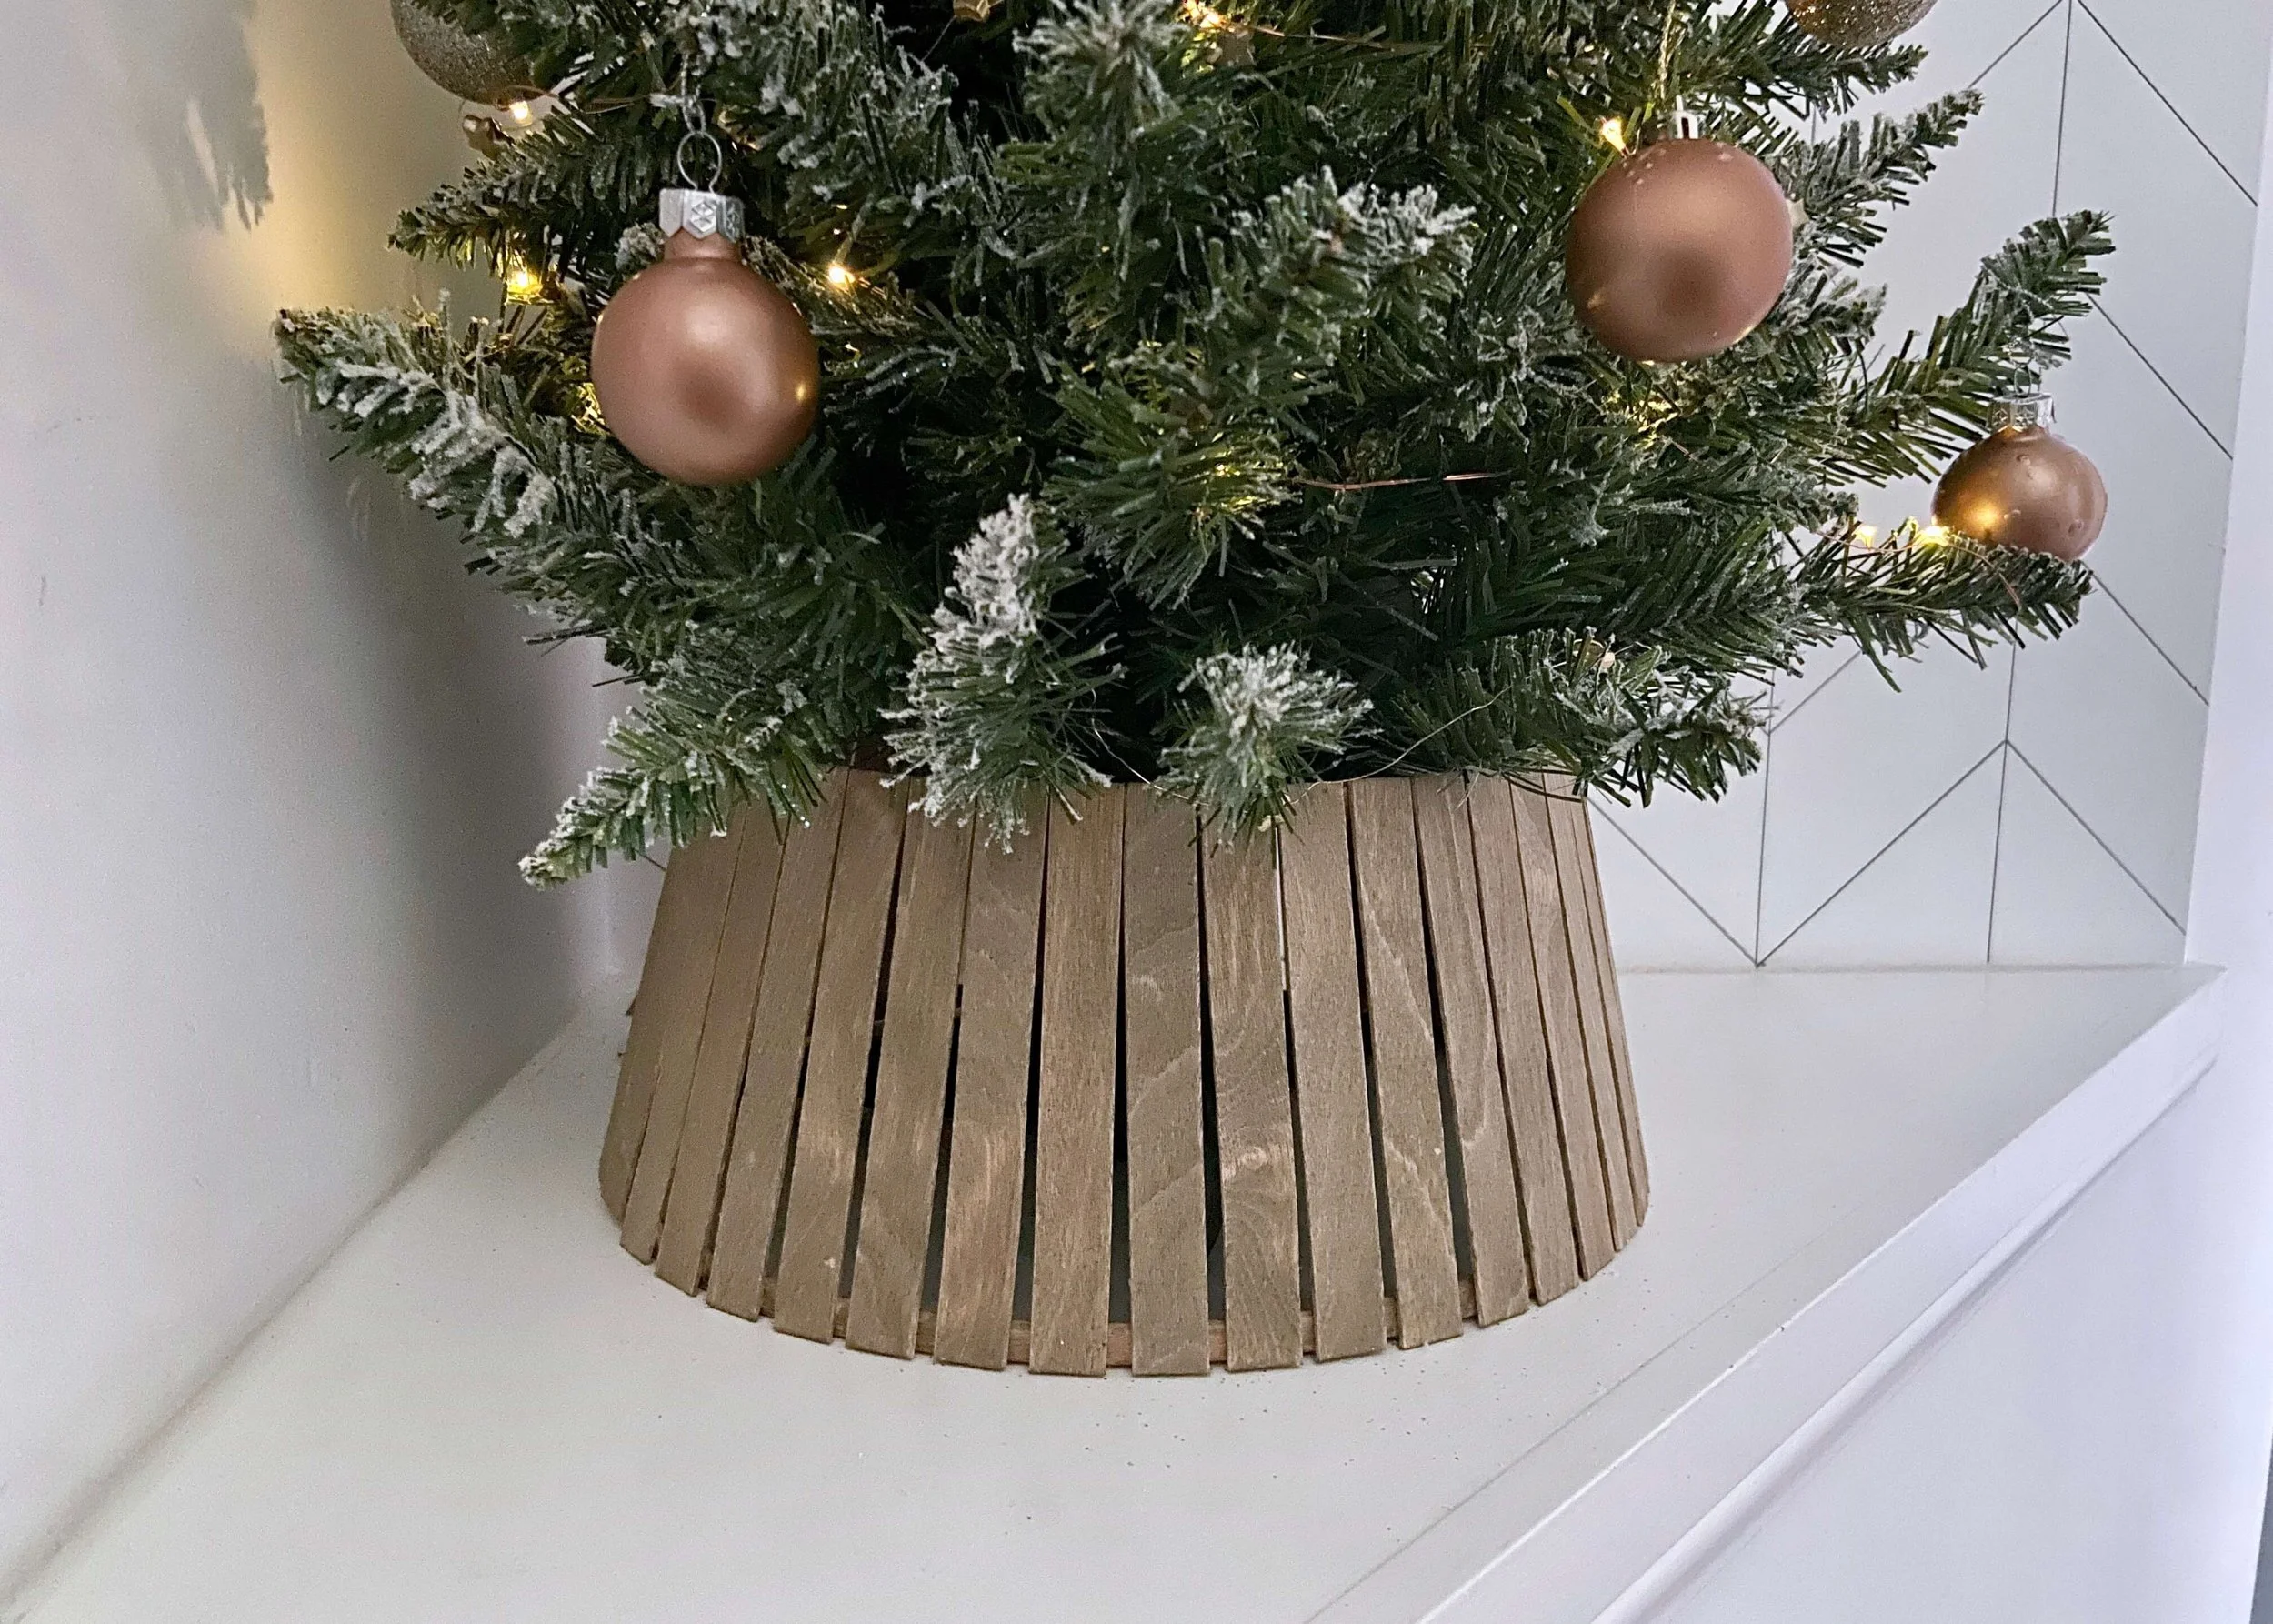
Slatted Wood Christmas Tree Skirt
Dec 17, 2022
Slatted Wood Christmas Tree Skirt
Dec 17, 2022
Dec 17, 2022
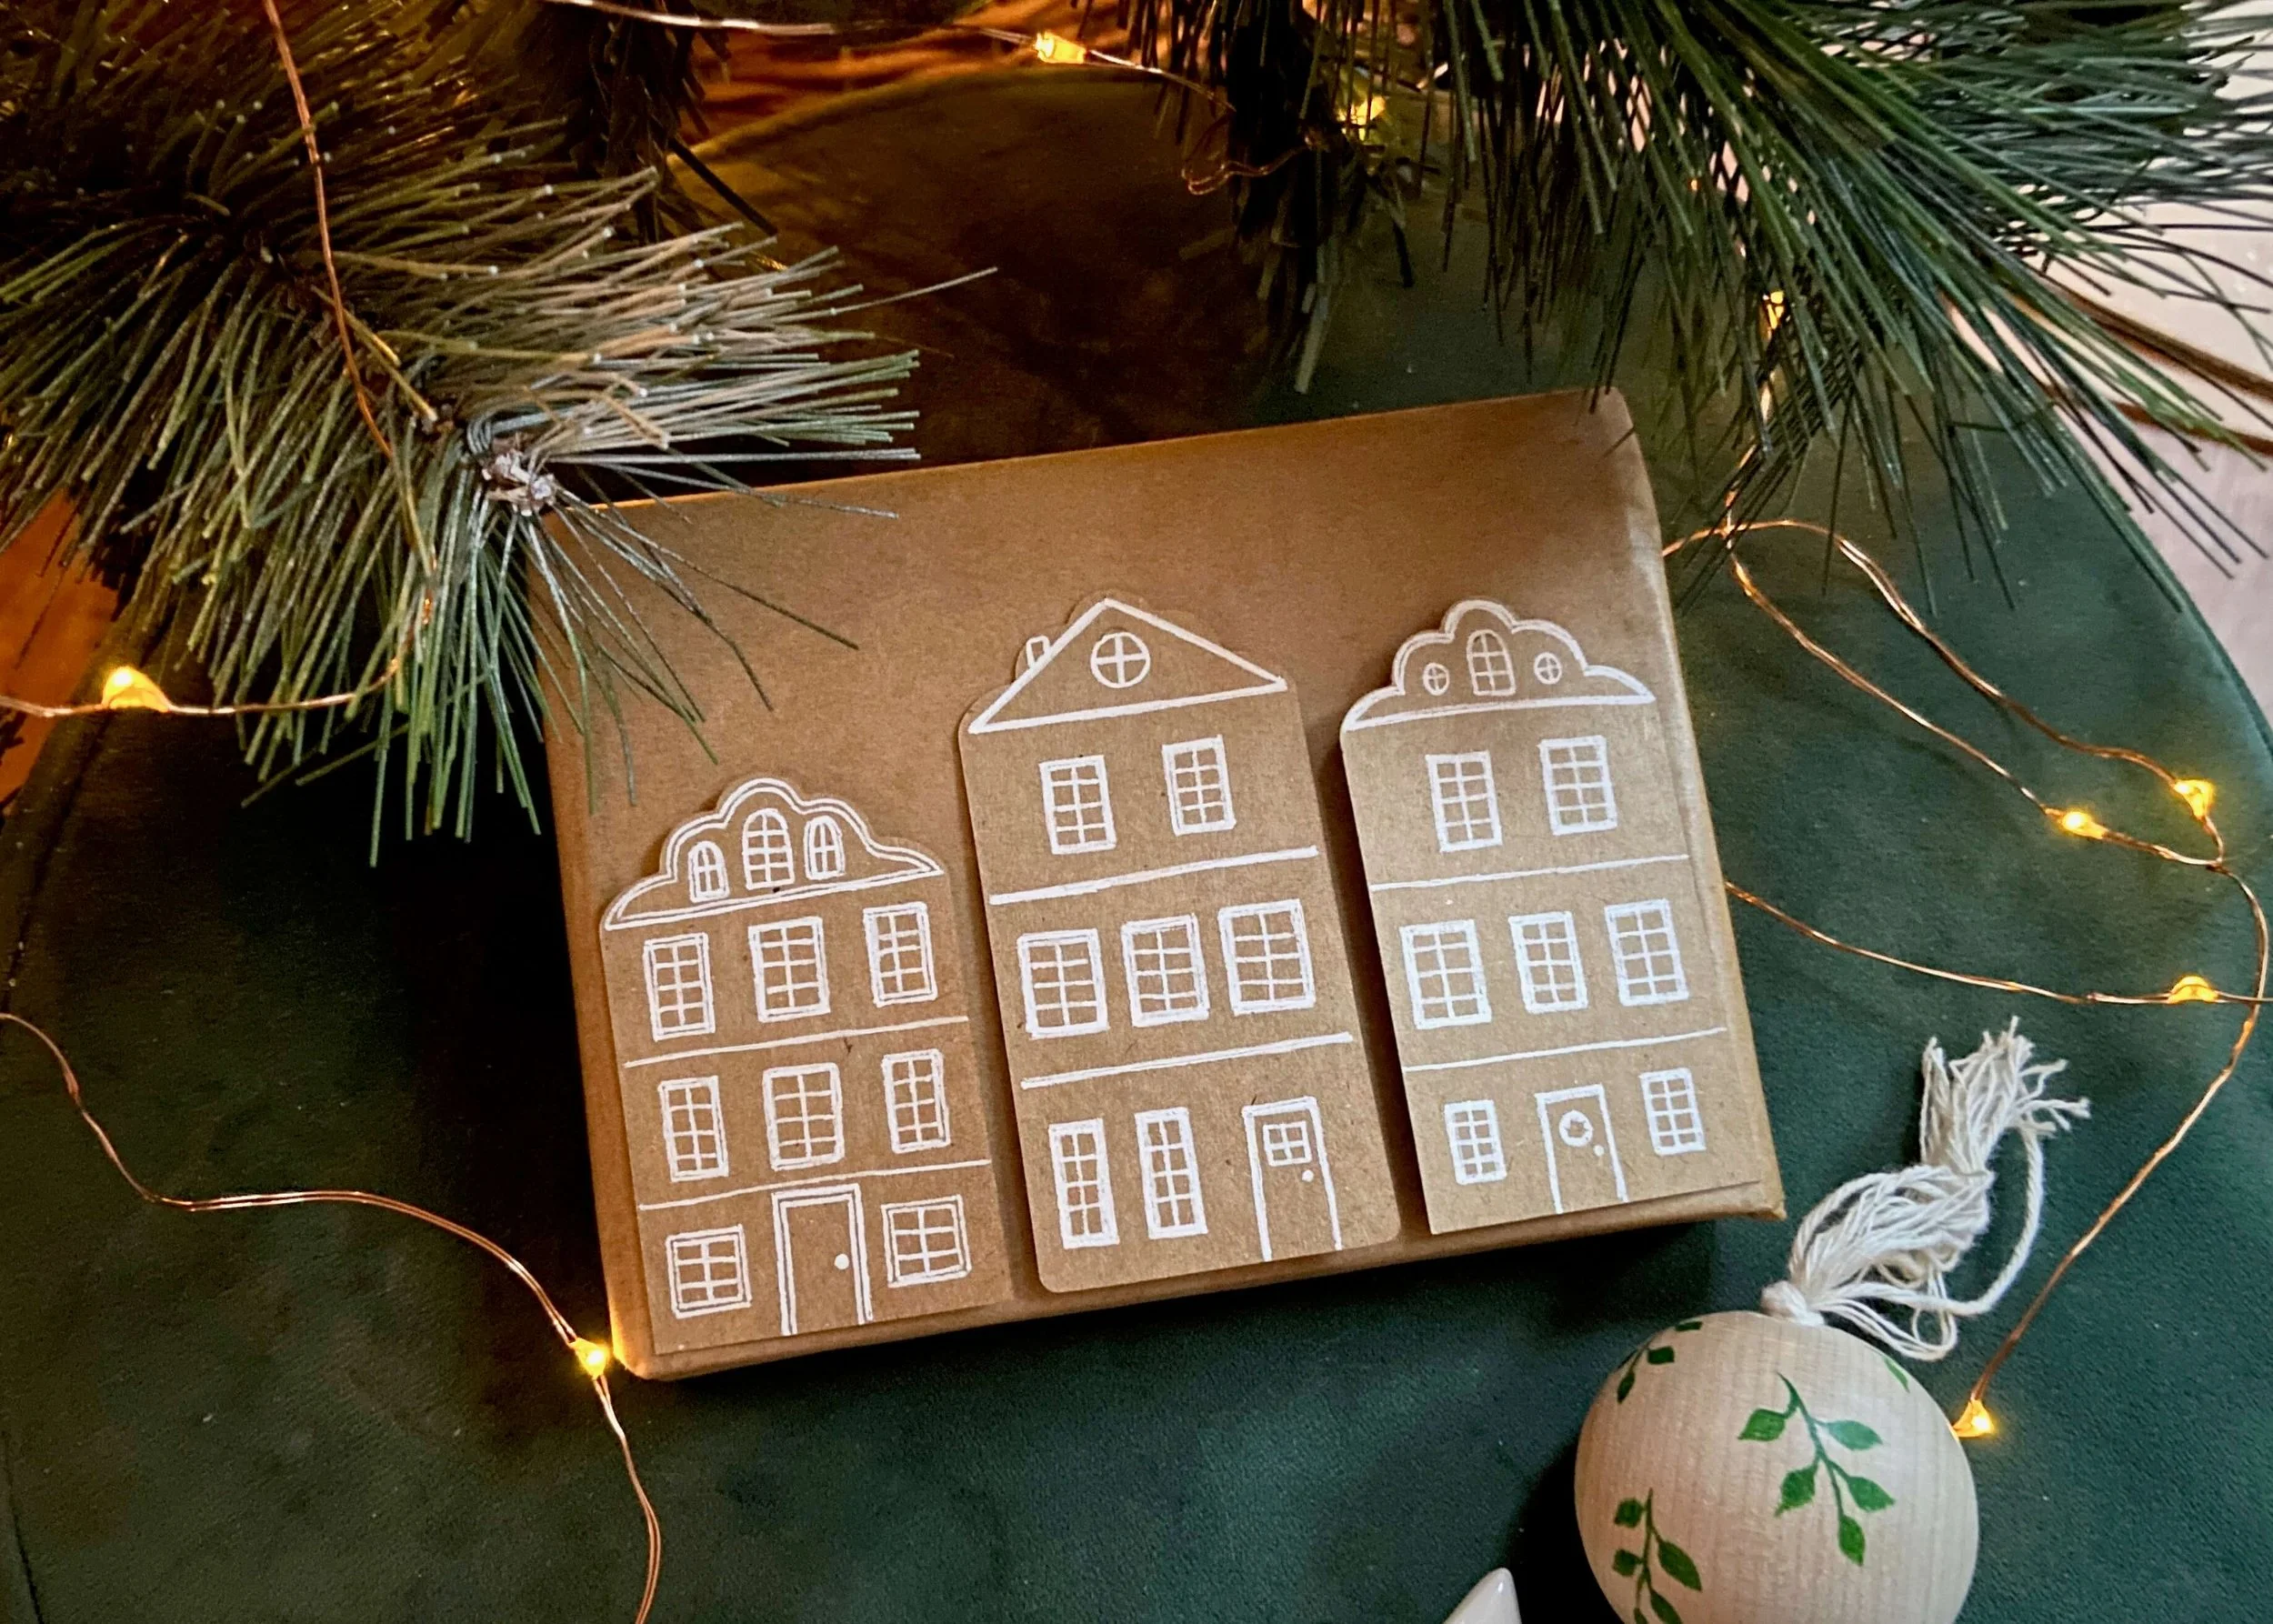
Nordic House Gift Wrapping
Dec 14, 2022
Nordic House Gift Wrapping
Dec 14, 2022
Dec 14, 2022
In DIY Tags christmas
← Rustic Metal Effect BaublesEasy Star Light Wreath →
 

Decorating, DIY-ing and doodling my way through life. Have a look around and let’s get creative!

>> FIND OUT MORE <<

Follow
The office is still one of my favourite transformations in the house! 😍

I started by panelling the wall with MDF strips and then painted the wall with a mix of colours. I used three IKEA drawer units for the base of the desk and then secured the de

ART

DIY

LIFE


THE LATEST

Featured
Wooden Mushroom Decor
Apr 26, 2025
Wooden Mushroom Decor
Apr 26, 2025
Apr 26, 2025
Hand-Painted Floral Mural Arch
Mar 29, 2025
Hand-Painted Floral Mural Arch
Mar 29, 2025
Mar 29, 2025
Easy IKEA Antilop Makeover
Mar 1, 2025
Easy IKEA Antilop Makeover
Mar 1, 2025
Mar 1, 2025
Clay Leaf Shelf
Jun 29, 2024
Clay Leaf Shelf
Jun 29, 2024
Jun 29, 2024
Nursery Feature Wall
Jun 15, 2024
Nursery Feature Wall
Jun 15, 2024
Jun 15, 2024


THE GREATEST

Featured
DIY // IKEA LACK TABLE INDUSTRIAL HACK
Sep 22, 2020
DIY
DIY // IKEA LACK TABLE INDUSTRIAL HACK
Sep 22, 2020
DIY
Sep 22, 2020
DIY
DIY // CLAY ALL-SEEING EYE MIRROR
Aug 14, 2020
DIY
DIY // CLAY ALL-SEEING EYE MIRROR
Aug 14, 2020
DIY
Aug 14, 2020
DIY
DIY // CLAY FACE DISH
Apr 29, 2020
DIY
DIY // CLAY FACE DISH
Apr 29, 2020
DIY
Apr 29, 2020
DIY
DIY // ABSTRACT ART FLORAL EGGS
Mar 25, 2020
DIY
DIY // ABSTRACT ART FLORAL EGGS
Mar 25, 2020
DIY
Mar 25, 2020
DIY
DIY // WIRE FACE EARRINGS
Feb 16, 2020
DIY
DIY // WIRE FACE EARRINGS
Feb 16, 2020
DIY
Feb 16, 2020
DIY

Follow
^^ BACK TO TOP
How does Monday come round so quick?!Wishing I could cosy up here today ✨

#mondaymood #storyofmyhome #mydailyhomesquare #interiordesign #budgetdiy #realstylishhomes #ourdiyhomes #femalediycollective #discoverunder5k #myhousethismonth #myhousedownsou
I&rsquo;ve got the day off today (woop!) and although it&rsquo;s not quite warm enough to sit out here yet, the sun is shining and I think a little walk to blow out the cobwebs is exactly what I need. Hope Monday is treating you well! ☀️

#summerdrea
Had such a lovely day seeing one of my besties and her adorable new baby that I completely forgot to share today&rsquo;s new blog post!

Head over to the blog for all the details of this easy DIY ring dish 🔝✨

#diy #diyhomedecor #diyhome #diyvalenti
That sunshine 👌🏻☀️

#mycosyhome #livingroomdecor #livingroominspo #mydiymydecor #homeobsessed #lovemydecor #homeinterioruk #discoverunder5k #diyhome #diyhomedecor #myhousethismonth #myhousedownsouth #realstylishhomes #ourdiyhomes #happythursday #in
A little corner our home on this chilly Tuesday morning ✨
.
.
#interior #homeobsessed #mycosyhome #homeinterioruk #instadecorating #homesofinstagram #happymonday #mondaymotivation #instainteriors #cornersofmyhome #myhousethismonth #myhousedownsouth #

Copyright 2021 isoscella. All rights reserved.

Powered by Squarespace